
Somewhere under your sink sits the one appliance that combines water, electricity, and a spinning metal chamber — and somehow we’ve all agreed to just… not think about it. Until the day it hums, leaks, or dies right before the in-laws arrive, and suddenly that little cave under the sink is the most important room in the house.
Relax. A replacement is genuinely one of the easiest swaps in the house — about an hour, basic tools, and three small traps to dodge, including the tiny plastic plug that backs dishwasher water into the sink when you forget it. This guide walks you through the whole thing in order, including the test that proves it’s leak-free before you ever flip the switch.
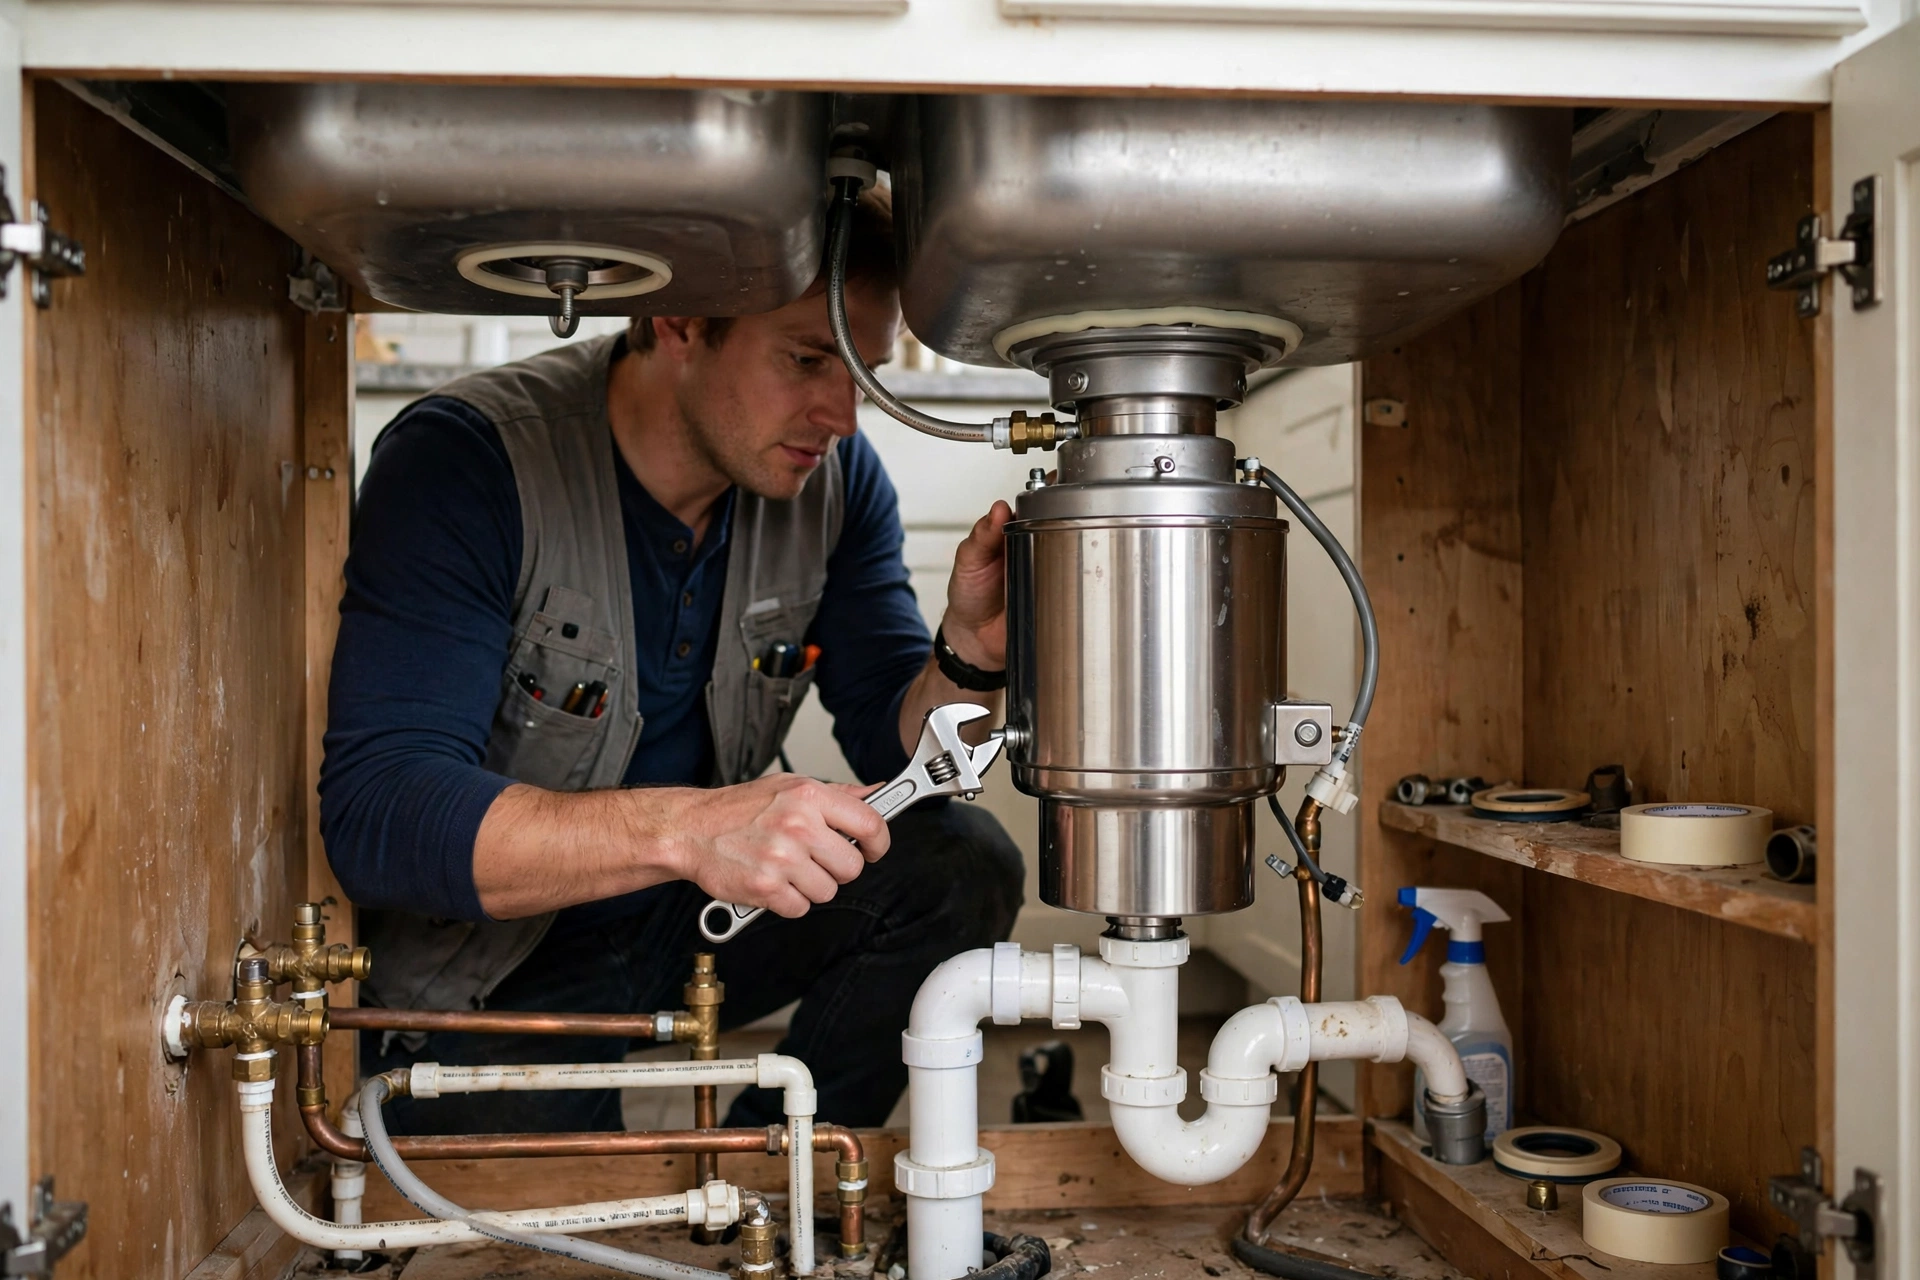
Safety first: Breaker OFF and verified (disposals are hardwired or plugged — test with a voltage tester). Never put your hand in the disposal (even when off — use tongs/pliers for retrieved items). Water + electricity under the sink demands full respect.
Replacement vs new install
Replacement (the 1-hour job)
Same size mounting, existing plumbing and electrical — disconnect, unmount, mount new, reconnect. The standard DIY case.
New install (the bigger project)
Requires: mounting assembly installation, drain plumbing modifications, and electrical (dedicated circuit or existing). If the sink lacks the mounting flange cutout or there’s no electrical: the complexity jumps. Often worth professional help for the first-time electrical/plumbing rough-in.
Tools needed
Before You Start — Print This Checklist
Ten minutes of prep is what keeps a one-hour swap from becoming a Saturday morning. Every item below comes from this guide.
- Photo first: photograph the wiring before disconnecting anything — ten seconds now saves twenty minutes of squinting at identical black wires in dim light.
- Breaker OFF and verified with a voltage tester at the disposal’s connection — disposals are hardwired or plugged, and water plus electricity under the sink demands full respect.
- Bucket and towels under the trap — the trap holds water, and the discharge tube will spill when you disconnect it.
- Plan to support the unit while unmounting: disposals weigh 10–15 lb (4.5–6.8 kg). Have a hand under it when the mounting ring twists loose — it drops.
- Roll the plumber’s putty rope about 1/2 in (1.3 cm) thick and tighten the mounting screws evenly — a thin rope leaks, and the putty seal is the entire leak-prevention system. Don’t substitute silicone.
- Check the dishwasher plug: if connecting a dishwasher, knock out the drain plug inside the inlet nipple before reconnecting the hose — the forgotten plug is the classic mistake, and the first dishwasher cycle will back water into the sink.
- Have the hex wrench handy — it’s included with the unit, inserts in the bottom centre, and frees most jammed flywheels. Most “dead” disposals are just jammed.
- Water test with the power still off before flipping the switch — run water and check every connection for leaks (flange, discharge tube, trap joints) first.
| Tool | For |
|---|---|
| Plumber’s putty | Sealing the sink flange (not silicone — putty is the standard) |
| Adjustable wrench / pliers | Connections — guide |
| Screwdrivers | Mounting, electrical cover — guide |
| Voltage tester | Verifying power is off |
| Bucket + towels | Water in the trap and hoses |
| Hacksaw or PVC cutter (if adjusting drain pipes) | Drain plumbing modifications |
Removal (the old unit)
- Breaker OFF — verify with the tester at the disposal’s connection.
- Disconnect — electrical (wire nuts in the cover plate, or unplug), then drain pipes (bucket ready — the trap holds water).
- Support the unit — disposals are heavy (10–15 lbs); support it while releasing the mount.
- Twist off the mount — the mounting ring twists counterclockwise (viewed from below) to release. The unit drops — have your hand supporting it.
- Remove the sink flange — from above: loosen the mounting assembly, push the flange up, scrape off old plumber’s putty.
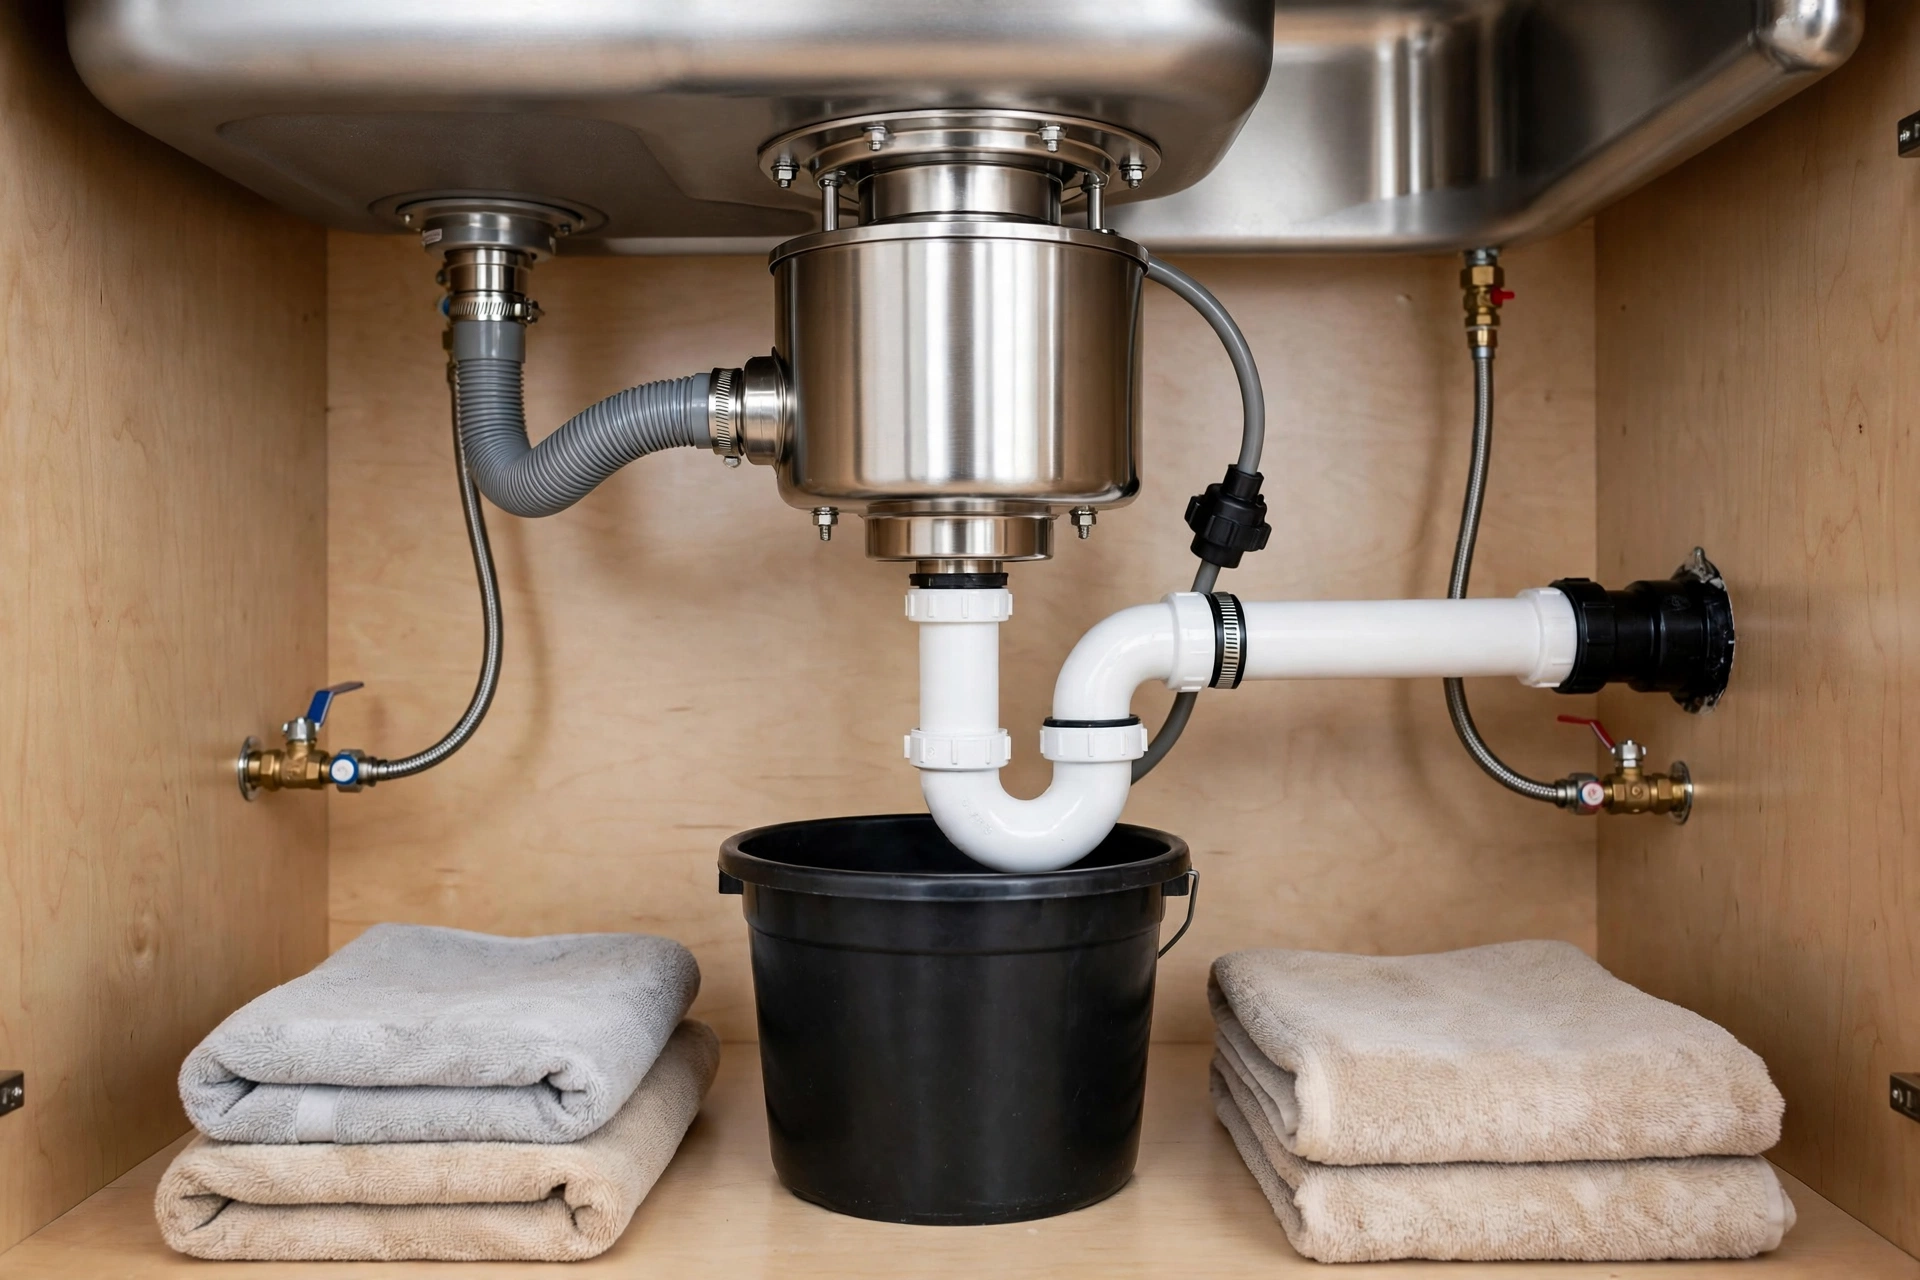
Installation (step by step)
1. Install the sink flange
- Roll plumber’s putty into a rope (~1/2″ thick), press it around the flange’s underside.
- Set the flange into the drain hole from above — press firmly.
- From below: install the mounting assembly (fiber gasket, backup flange, mounting ring) — tighten the screws evenly (the putty squeezes out — that’s correct).
- Scrape excess putty from inside the sink.
The putty seal is what prevents sink leaks — don’t skimp, don’t substitute silicone (putty remains pliable; silicone makes future removal miserable).
2. Mount the disposal
- If hardwiring: connect the electrical first (easier before mounting) — wire nuts in the disposal’s junction box, ground connected, cover plate on.
- Lift the disposal to the mounting assembly — align the tabs.
- Twist clockwise to lock — it should seat firmly with a distinct engagement.
- The unit hangs from the mount — verify it’s secure before releasing fully.
3. Connect the drain
- Dishwasher inlet: if connecting a dishwasher: knock out the drain plug inside the dishwasher inlet nipple (forgotten plug = dishwasher won’t drain — the classic mistake).
- Connect the discharge tube to the drain/Trap — align, tighten slip nuts (hand-tight + 1/4 turn — don’t crack the plastic).
- Verify the trap alignment — the disposal’s outlet must meet the existing drain without stress.
4. Connect electrical
- Hardwired: wire nuts (black-black, white-white, ground-ground) in the junction box, cover secured.
- Cord-and-plug: plug into the switched outlet (if your setup uses a plug).
- The switch: disposals are controlled by a wall switch or air switch — verify the switch controls the correct outlet/circuit.
5. Test everything
- Water test first (power still off) — run water, check every connection for leaks (flange, discharge tube, trap joints).
- Power on — breaker back, flip the switch.
- Run with water — disposals always run with cold water flowing (lubricates, flushes).
- Listen — smooth hum is correct; grinding/clunking means something’s inside (turn off, retrieve with tongs).
Troubleshooting
Disposal hums but doesn’t spin
The flywheel is jammed — turn off, press the reset button (bottom of the unit), use the hex wrench (included — inserts in the bottom center) to manually rotate the flywheel back and forth (dislodges the jam). Retrieve the object with tongs. This fixes 90% of “dead” disposals.
Disposal doesn’t turn on at all
Check: reset button (popped?), breaker (tripped?), wall switch (working?), electrical connections. In that order.
Leaking from the top (flange area)
The plumber’s putty seal failed or the mounting screws loosened — tighten the mounting assembly evenly. If it persists: remove, re-putty, reinstall.
Leaking from the side (dishwasher inlet)
Hose clamp loose or the knockout plug issue — tighten the clamp, verify the plug was removed (if dishwasher connected).
Slow draining
Usually not the disposal — it’s the drain line (grease buildup downstream). The disposal isn’t a drain cleaner; if the sink drains slowly with the disposal running: the issue is downstream plumbing.
What NOT to put in a disposal
- Grease/oil — solidifies downstream, causes clogs.
- Fibrous foods (celery, artichokes, onion skins) — wraps the impellers.
- Starchy foods (pasta, rice, potato peels) — forms paste, clogs drains.
- Bones (beyond small fish/chicken) — damages the unit.
- Coffee grounds (in quantity) — accumulates in pipes.
- Non-food items — obviously, but spoons find their way in.
What it’s for: small food scraps, rinsed with cold water running. It’s a convenience, not a trash can.
My one-hour swap took a Saturday morning (twice)
The guide above promises about an hour for a replacement, and I should be honest about my own first swap: it took two and a half hours, and the extra ninety minutes were three mistakes I now never repeat. The old unit had been humming for a month — I had freed it twice with the hex wrench, and the third time it gave off a burned-motor smell that meant the motor was done. The replacement was a $95, 1/2 HP unit, and I am firmly in the 1/2 HP camp now: the 1/3 HP unit in a previous rental was louder and jammed more often, and the price difference was about $30.
Mistake one was skipping a photo of the wiring. Under the sink, in dim light, the old unit’s wires all looked equally black, and I spent twenty minutes with the voltage tester sorting out which was which before I trusted a single connection. Now photographing the wiring before disconnecting anything is an absolute rule in my shop — it costs ten seconds and has saved me that twenty minutes on every appliance swap since.
Mistake two was a putty rope rolled too thin. The water test with the power still off showed a slow drip at the flange, and I had to pull the whole mounting assembly, re-roll a proper half-inch rope, and tighten the screws evenly in a star pattern. It has been dry ever since, and that drip taught me that the putty seal is not a detail — it is the entire leak-prevention system, and a thin rope is just a future puddle in the cabinet.
Mistake three was the classic from the guide, and I still walked straight into it: I forgot the dishwasher knockout plug. The first dishwasher cycle after the install backed water into the sink, and I had to disconnect the hose, knock the plug out with a screwdriver and hammer, and fish the little plastic disc out of the disposal with tongs — never a hand, even with the breaker off, because the impellers do not care that the power is off. The bucket and towels under the trap earned their keep twice that morning: once for the trap water during removal, once for the discharge tube spill during the rework.
One more discovery made the whole morning worthwhile. When I finally opened up the old unit, I found a teaspoon jammed in the impellers — the explanation for the months of jams. Before declaring any disposal dead, check for cutlery with tongs and try the reset button and hex wrench; most “dead” disposals are just jammed. My second disposal swap, in another kitchen, took exactly one hour. The first one teaches you the job; the checklist in the verdict above is what the first one taught me.
How long do garbage disposals last?
8–12 years typical. The reset-button/hex-wrench trick extends life significantly — most “dead” disposals are just jammed, not failed.
What size/horsepower do I need?
1/3 HP: light use. 1/2 HP: standard family use (the sweet spot). 3/4–1 HP: heavy use, quieter operation, handles more. Bigger = quieter and more capable, not just more powerful.
Can I replace it with a different brand?
Yes — the mounting assemblies are standardized (3-bolt mount fits most). Some brands use proprietary quick-mounts — check compatibility, but most swaps are straightforward.
Why does my new disposal leak from the dishwasher connection?
The knockout plug — if you connected a dishwasher hose but didn’t knock out the internal plug, water has nowhere to go. Disconnect the hose, knock out the plug with a screwdriver and hammer, retrieve the plug piece from inside, reconnect.
Is a garbage disposal bad for septic systems?
It adds solid load — septic-rated disposals exist, and moderation matters. Heavy disposal use with septic requires more frequent pumping. Check local regulations — some jurisdictions restrict disposals with septic.
Batch feed vs continuous feed?
Continuous (wall switch — most common): convenient, but can run with the cover off. Batch feed (requires the stopper to activate): safer (can’t run accidentally), slightly less convenient. Families with kids often prefer batch feed for safety.
Which Disposal Fits Your Kitchen? — Keep This Chart Handy
Support the unit while unmounting and mounting: disposals weigh 10–15 lbs (4.5–6.8 kg). Pick by use, not by the biggest number on the box.
| Your situation | Best pick from this guide | Why |
|---|---|---|
| Light use, single person or small household | 1/3 HP | Enough for light use |
| Standard family use | 1/2 HP | The sweet spot for a standard family |
| Heavy use, or you want it quieter | 3/4–1 HP | More capable and quieter in operation — bigger means quieter and more capable, not just more powerful |
| Kids in the house, safety first | Batch feed | Requires the stopper to activate, so it can’t run accidentally — slightly less convenient, but families with kids often prefer it |
| Everyday convenience | Continuous feed | Wall-switch operation, the most common type — but it can run with the cover off |
| Home on a septic system | Septic-rated disposal, used in moderation | Disposal use adds solid load; heavy use needs more frequent pumping, and some jurisdictions restrict disposals with septic — check local regulations |
Life expectancy from this guide: 8–12 years typical, and most “dead” disposals are just jammed — try the reset button and the hex wrench before declaring it failed.
The verdict: the replacement checklist
- [ ] Breaker OFF — verified with tester
- [ ] Old unit removed — supported during unmounting
- [ ] Flange installed — plumber’s putty, tightened evenly
- [ ] Disposal mounted — twisted and locked securely
- [ ] Dishwasher plug — knocked out if applicable
- [ ] Drain connected — slip nuts snug, aligned without stress
- [ ] Electrical connected — wire nuts, ground, cover on
- [ ] Water test — leaks checked with power off
- [ ] Power test — runs smooth with cold water flowing
One hour, basic tools, and the kitchen transforms. The garbage disposal is proof that the intimidating projects (plumbing + electrical together) are often just sequences of simple steps done in the right order. Respect the breaker, respect the putty seal, knock out the plug — and enjoy.
Keep Reading
More projects in the same league — measure twice, build once:
- How to Install a Bathroom Faucet (Step-by-Step Guide)
- How to Install a Toilet (The Complete Guide)
- How to Fix a Stripped Screw Hole (7 Methods, Easiest First)
Tool Worth Lab provides research-based installation guidance. Always turn off and verify the breaker before starting, never put hands inside the unit (use tongs), always run with cold water flowing, and knock out the dishwasher drain plug when connecting a dishwasher.