
Your sink just filled up with grey water, the plumber wants $150 to show up sometime next week, and there is a bottle under your sink promising to fix it in fifteen minutes. Here is the truth that bottle will not tell you: it is the worst possible move — and the real fix is probably already in your house, costs about five bucks, and takes less time than reading this page took.
I have cleared drains the wrong way — chemicals, no gloves, water everywhere — and the right way, and the difference is a simple ladder: five methods, easiest first, and one of them will have your water moving again tonight. No fumes, no burned hands, no plumber’s bill — just the method that matches your clog.

Safety first: Never mix chemical cleaners (toxic gas), and if you’ve already used chemicals, wear gloves and eye protection (the standing water is caustic). Mechanical methods avoid these risks entirely — one more reason to skip the chemicals.
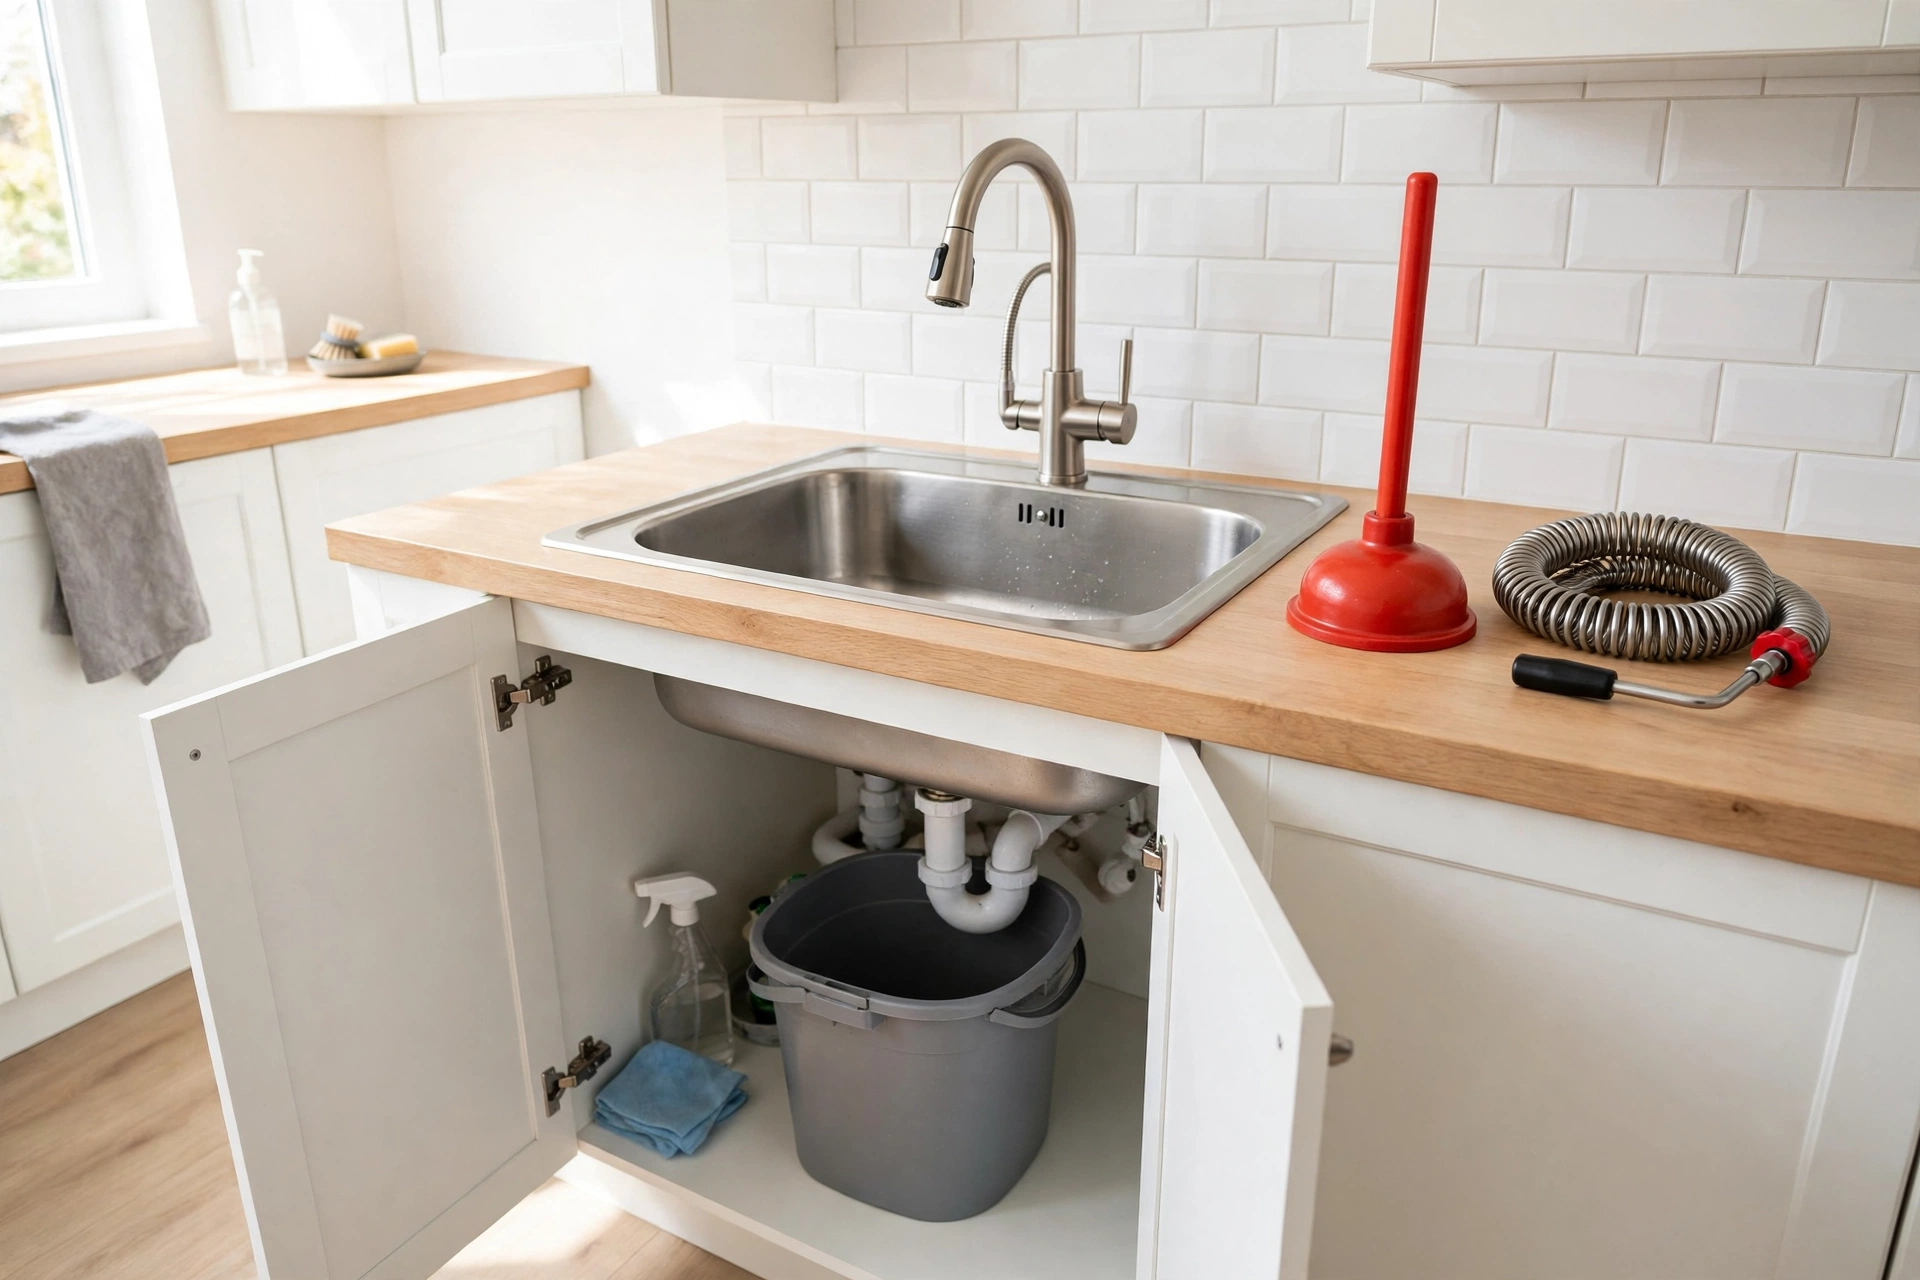
Method 1: The plunger (technique matters)
The most misunderstood tool — most people plunge wrong.
The right plunger
- Sink/tub: cup plunger (the simple red cup).
- Toilet: flange plunger (with the extended rubber flap that seals the toilet drain).
Using the wrong type = no seal = no pressure = frustration.
The technique
- Seal the overflow — cover the sink’s overflow hole with a wet rag (otherwise pressure escapes there instead of pushing the clog).
- Water in the basin — enough to cover the plunger cup (water transmits pressure; air compresses).
- Seal and pump — firm seal over the drain, then vigorous up-and-down pumping (15–20 strokes). The pull stroke is as important as the push — the alternating pressure dislodges the clog.
- Test — if it drains: run hot water to flush. If not: repeat or move to method 2.
Why plungers fail: wrong type, no overflow seal, insufficient water, or giving up too soon. Proper technique clears most simple clogs.
Method 2: Boiling water + dish soap (grease clogs)
For kitchen sinks with grease buildup:
- Squirt generous dish soap into the drain (it cuts grease).
- Follow with a kettle of boiling water (melts and flushes grease).
- Repeat if needed.
Works for: grease and soap buildup — the slow-draining kitchen sink. Doesn’t work for: solid obstructions, hair clogs, or anything mechanical.
Caution: boiling water can damage PVC pipes if used excessively (PVC softens at high temperatures). Very hot (not rolling-boil) water is safer for PVC. Porcelain sinks: avoid thermal shock (pour gradually).
Method 3: Drain snake / hair tool (the hair clog solution)
The zip tool ($5)
A flat plastic strip with barbs — push it into the drain, pull out the hair. Disgusting, effective, instant. The #1 tool for bathroom sink/tub clogs (which are almost always hair).
The hand auger / drain snake ($25–$40)
A coiled cable you feed into the drain, cranking to break through or grab the clog.
How: 1. Feed the cable into the drain while cranking clockwise. 2. When you feel resistance: crank through it (breaking the clog) or hook it (pulling it out). 3. Retract slowly, cleaning the cable as it comes. 4. Flush with hot water.
For: deeper clogs beyond the trap — the ones the zip tool can’t reach.
Method 4: Remove and clean the trap (the definitive fix)
The P-trap (the U-bend under the sink) catches most clogs — removing it gives direct access.
How: 1. Place a bucket underneath (water will spill). 2. Unscrew the slip nuts (usually hand-tight; channel-locks if stubborn). 3. Remove the trap, dump the contents, clean it thoroughly. 4. Check the wall pipe with a finger or zip tool (clogs sometimes lodge just inside). 5. Reassemble — hand-tighten the slip nuts, then 1/4 turn with pliers. Don’t overtighten (cracks the nuts). 6. Run water and check for leaks.
This fixes: essentially any clog in or near the trap — which is most sink clogs. It’s the most reliable method because you’re directly accessing the problem.
Method 5: The drain bladder / pressure (stubborn main clogs)
For clogs deeper in the line:
- Drain bladder ($10–$15) — attaches to a garden hose, expands to seal the pipe, then blasts water pressure at the clog. Effective for line clogs.
- When to stop DIY: if multiple fixtures back up simultaneously (the main line is blocked), or if you’ve tried everything — that’s plumber territory (sewer line issues, root intrusion, collapsed pipes).
Why not chemical cleaners?
- Pipe damage: the caustic reaction generates heat — it can warp PVC, corrode old metal pipes, and damage seals.
- Incomplete clearing: chemicals burn a narrow channel through the clog — it reclogs quickly.
- Safety: caustic burns to skin/eyes, toxic fumes (especially if mixed), and dangerous for anyone who later works on the drain.
- Septic systems: kills the beneficial bacteria your septic needs.
- Environmental: harsh chemicals in the water system.
The enzyme alternative: bacterial/enzyme drain maintainers (not emergency openers) — they digest organic buildup over time and are safe for pipes and septic. Good for prevention, not for active clogs.
The clog I made worse (and what it taught me)
I am going to confess to the exact sequence of mistakes this article warns against, because I made all of them in one evening, years ago, in a bathroom sink that was draining slowly. First, I poured in a chemical cleaner, because it was already under the sink and it promised to be fast. It was not fast, and it did not clear the clog — it just sat in the standing water, turning a simple hair clog into a basin full of caustic liquid that I then had to deal with. Second, I plunged anyway, without gloves, and splashed that water onto my hands and the floor. Nothing serious happened, but it easily could have, and I spent the rest of the evening cleaning up a mess that a $5 zip tool would have prevented.
When I finally did the sensible thing, the whole job took four minutes. I pulled the drain stopper, ran the zip tool down, and pulled out a clump of hair that looked like a small animal. The sink drained perfectly. The lesson was not that I lacked skill; it was that I reached for the most advertised solution instead of the most mechanical one. Chemicals promise to do the work for you. Mechanical tools actually do it, and they show you what the problem was, which is how you prevent the next one.
The second time a drain clogged in my house, I did it in the right order, and the difference was almost comical: plunger first, zip tool second, done in ten minutes, no chemicals, no mess, no plumber. That is the real reason I rank the methods the way I do. It is not theory. It is the difference between an evening ruined and a job finished before dinner.
Drain-by-drain cheat sheet
Not every drain clogs the same way, and reaching for the right method first saves you from working through the whole ladder every time. Here is the shortcut I use now:
| Drain | Most likely culprit | Try first | Try second | Call a plumber when |
|---|---|---|---|---|
| Bathroom sink | Hair and toothpaste scum | Zip tool | Remove and clean the trap | Water backs up into the tub too |
| Bathtub or shower | Hair at the drain cover | Zip tool through the cover | Plunger with overflow sealed | Multiple fixtures drain slowly together |
| Kitchen sink | Grease and food buildup | Hot water plus dish soap | Remove and clean the trap | The garbage disposal hums but does not turn |
| Toilet | Too much paper, or a foreign object | Flange plunger, proper technique | Closet auger (a toilet-safe snake) | Water rises in the tub when you flush |
| Floor drain | Silt, debris, dried-out trap | Flush with water, check the trap seal | Drain bladder for a line clog | Sewage smell persists after refilling the trap |
Two patterns in that table are worth memorizing. First, hair clogs are almost always near the surface, which is why the zip tool fixes them so fast — you do not need to snake the whole house for a problem that lives two inches down. Second, when more than one fixture misbehaves at the same time, the problem is almost never in the fixture you are looking at. It is downstream, in the shared line, and that is the point where a homeowner’s tools stop being the right answer.
What I keep under the sink now
After that first miserable evening, I put together a small kit that lives permanently under the bathroom sink, and I recommend the same to anyone who owns a home. It costs under $50 total, it fits in a small bucket, and it has meant I have never paid for a routine clog since:
- A zip tool, two of them. They are $5, they get disgusting, and having a spare means you never talk yourself out of using one.
- A cup plunger and a flange plunger, correctly labelled. I wrote “sink” and “toilet” on the handles with a marker, because in the moment, with water rising, nobody wants to guess which one seals.
- Rubber gloves and eye protection. Not optional, especially if a previous occupant ever used chemicals. The gloves also make the trap-cleaning job far less unpleasant.
- A small bucket and old towels. The trap will spill water when you open it. That is normal, not a disaster, provided the bucket is already underneath.
- A drain screen for every drain in the house. Three to five dollars each, and they catch the hair before it becomes a clog. This is the cheapest prevention in all of home maintenance, and I wish I had bought them before the first clog instead of after the third.
The kit is not impressive, and that is the point. Drain clearing is not a skill problem for most people; it is a preparation problem. The people who struggle are not the ones who lack strength or knowledge — they are the ones standing in a puddle at 9 p.m. without a plunger that seals. Buy the kit before you need it, and the next clog becomes a ten-minute job instead of an emergency.
The clog that taught me the ladder
Months after the chemical-bottle evening above, the kitchen sink clogged, and I went straight to method four — removing the trap — because I was feeling confident. I put a small bowl under the trap instead of a bucket, because the bowl was closer. The trap held more water than the bowl did, and grey water went all over the cabinet floor. It was not a disaster, just a mess, but it taught me the least glamorous lesson in plumbing: the bucket is part of the tool list, and “big enough” means bigger than you think. Now the bucket goes under the trap before any nut turns, and I keep old towels in the cabinet for exactly this job.
What my routine looks like now. Grease never goes down the kitchen drain — it goes into a jar, then the trash. Once a month I run an enzyme treatment down the drains, which costs a few dollars and takes a minute. I have not had a full clog in over a year, and the slow drains I do get are caught early by the zip tool before they become blockages. My firm opinion is simple: start at the top of the ladder, work down, and put a $4 screen on every drain today — it is the cheapest plumbing lesson you will ever buy, and I learned it the expensive way so you do not have to.
Keep This Chart Handy — Read the Symptom, Pick the Fix
Before you reach for any tool, match what the drain is doing to the cause — then start with the method in the right-hand column. Screenshot this for the next 9 p.m. emergency.
| Symptom | Most likely cause | Try first |
|---|---|---|
| Tub drains slowly but is not fully clogged | Hair at the drain cover | Zip tool first — it is almost certainly hair sitting two inches down — then the plunger |
| Sink full of standing grey water | Grease and food buildup | Hot water plus dish soap, then remove and clean the trap |
| Water rises in the tub when you flush | Blockage in the shared line | Stop DIY and call a plumber — the problem is downstream, not in the fixture |
| Sewage smell from a floor drain | Silt, debris, or a dried-out trap seal | Flush with water and check the trap seal; if the smell persists after refilling, call a plumber |
| Garbage disposal hums but does not turn | Disposal jam, not a drain clog | Call a plumber — this is not a clog your ladder can fix |
| Multiple fixtures drain slowly together | Blockage in the shared main line | Stop DIY and call a plumber — sewer-line, root-intrusion, or collapsed-pipe territory |
The pattern to memorize: hair clogs live near the surface, so the $5 zip tool fixes them fast. But the moment more than one fixture misbehaves at the same time, the problem is almost never in the fixture you are looking at.
Why won’t my plunger work?
Usually: wrong plunger type, overflow not sealed, insufficient water coverage, or the clog is beyond plunging (deep or solid). Check the technique points above before giving up — most “plunger failures” are technique failures.
Can I use a wire hanger instead of a zip tool?
You can, but the zip tool is $5 and designed for it (barbs grab hair; the hanger just pokes). The hanger also risks scratching the drain finish. Buy the zip tool — it’s the cheapest effective plumbing tool.
How do I prevent clogs?
Drain screens ($3–$5 — catch hair before it enters), never pour grease down the drain (wipe pans, dispose in trash), run hot water after each use, and monthly enzyme treatment. Prevention is dramatically easier than cure.
My tub drains slowly but isn’t fully clogged — what do I do?
Zip tool first (it’s almost certainly hair at the drain cover), then the plunger, then remove the overflow plate to access deeper (the linkage assembly sometimes catches hair). Slow drains are early clogs — address them before they’re full blockages.
When should I call a plumber?
Multiple fixtures backing up (main line), sewage smell with slow drains (vent or sewer issue), recurring clogs in the same spot (pipe damage or root intrusion), or if you’ve tried methods 1–4 without success. Know when the DIY ends.
Is it safe to use boiling water on all pipes?
Metal pipes: yes. PVC: use very hot (not boiling) water — repeated boiling water can soften PVC joints over time. When in doubt: hot tap water + dish soap is the safe version.
Bookmark This Checklist: 8 Drain Mistakes That Make Clogs Worse
Most clogs get worse because of something done before the real fix. Avoid all eight and the methods in this guide work the first time.
- Using the wrong plunger: Sink and tub drains need a cup plunger (the simple red cup). Toilets need a flange plunger (with the extended rubber flap that seals the toilet drain). Wrong type means no seal, no pressure, no result.
- Forgetting the overflow: On a sink or tub, cover the overflow hole with a wet rag before plunging. Otherwise the pressure escapes through the overflow instead of pushing the clog.
- Plunging with too little water: There must be enough water in the basin to cover the plunger cup. Water transmits pressure; air just compresses.
- Giving up too soon: Proper plunging takes 15–20 vigorous strokes, and the pull stroke matters as much as the push. Most “plunger failures” are technique failures.
- Pouring boiling water into PVC pipes: Boiling water can soften PVC pipes and joints if used excessively. Use very hot (not rolling-boil) water for PVC. For porcelain sinks, pour gradually to avoid thermal shock.
- Mixing chemical cleaners — or plunging after using them: Never mix chemical cleaners (toxic gas). If chemicals were already used, wear gloves and eye protection, because the standing water is caustic.
- Overtightening the trap: When reassembling a P-trap, hand-tighten the slip nuts, then add only a 1/4 turn with pliers. Overtightening cracks the nuts. Always place a bucket underneath first — the trap will spill water when opened.
- Ignoring the multi-fixture warning sign: If multiple fixtures back up at the same time, the blockage is in the shared main line, not the fixture in front of you. Stop DIY and call a plumber — that is sewer-line, root-intrusion, or collapsed-pipe territory.
The verdict: the unclogging ladder
| Step | Method | Fixes |
|---|---|---|
| 1 | Plunger (correct type + technique) | Simple clogs, pressure-displaceable |
| 2 | Boiling water + soap | Grease buildup (kitchen) |
| 3 | Zip tool / snake | Hair clogs, deeper obstructions |
| 4 | Remove the trap | Definitive — direct access to most sink clogs |
| 5 | Drain bladder | Deep line clogs |
| 6 | Plumber | Main line, recurring, sewage |
Start at the top, work down. And once it’s clear: drain screens, no grease, monthly enzymes. The best unclogging is the one you never need.
Keep Reading
- How to Install a Bathroom Faucet (Step-by-Step Guide)
- How to Install a Toilet (The Complete Guide)
- How to Install a Replacement Window (Step-by-Step Guide)
Tool Worth Lab provides research-based DIY guidance. Never mix chemical cleaners, wear protection if chemicals were previously used, and call a plumber for main-line issues, sewage backup, or recurring clogs in the same location.