
October potatoes, eaten in March, with zero electricity and zero grocery runs — that is the promise of a root cellar, and it is completely real. Here is the part nobody puts on the brochure: the digging is the fun, easy bit. The part that decides whether you eat well all winter or compost everything in January is a $5 thermometer and a pair of vents set the right way round.
Get those unglamorous details right and the earth does the rest for free — no power bill, no moving parts, just cold air sinking and warm air rising. Get them wrong and you have built yourself a very expensive damp hole. This guide covers the whole build, from the basement-corner version you can start this weekend to the full hillside classic, plus every mistake I already made so you do not have to.
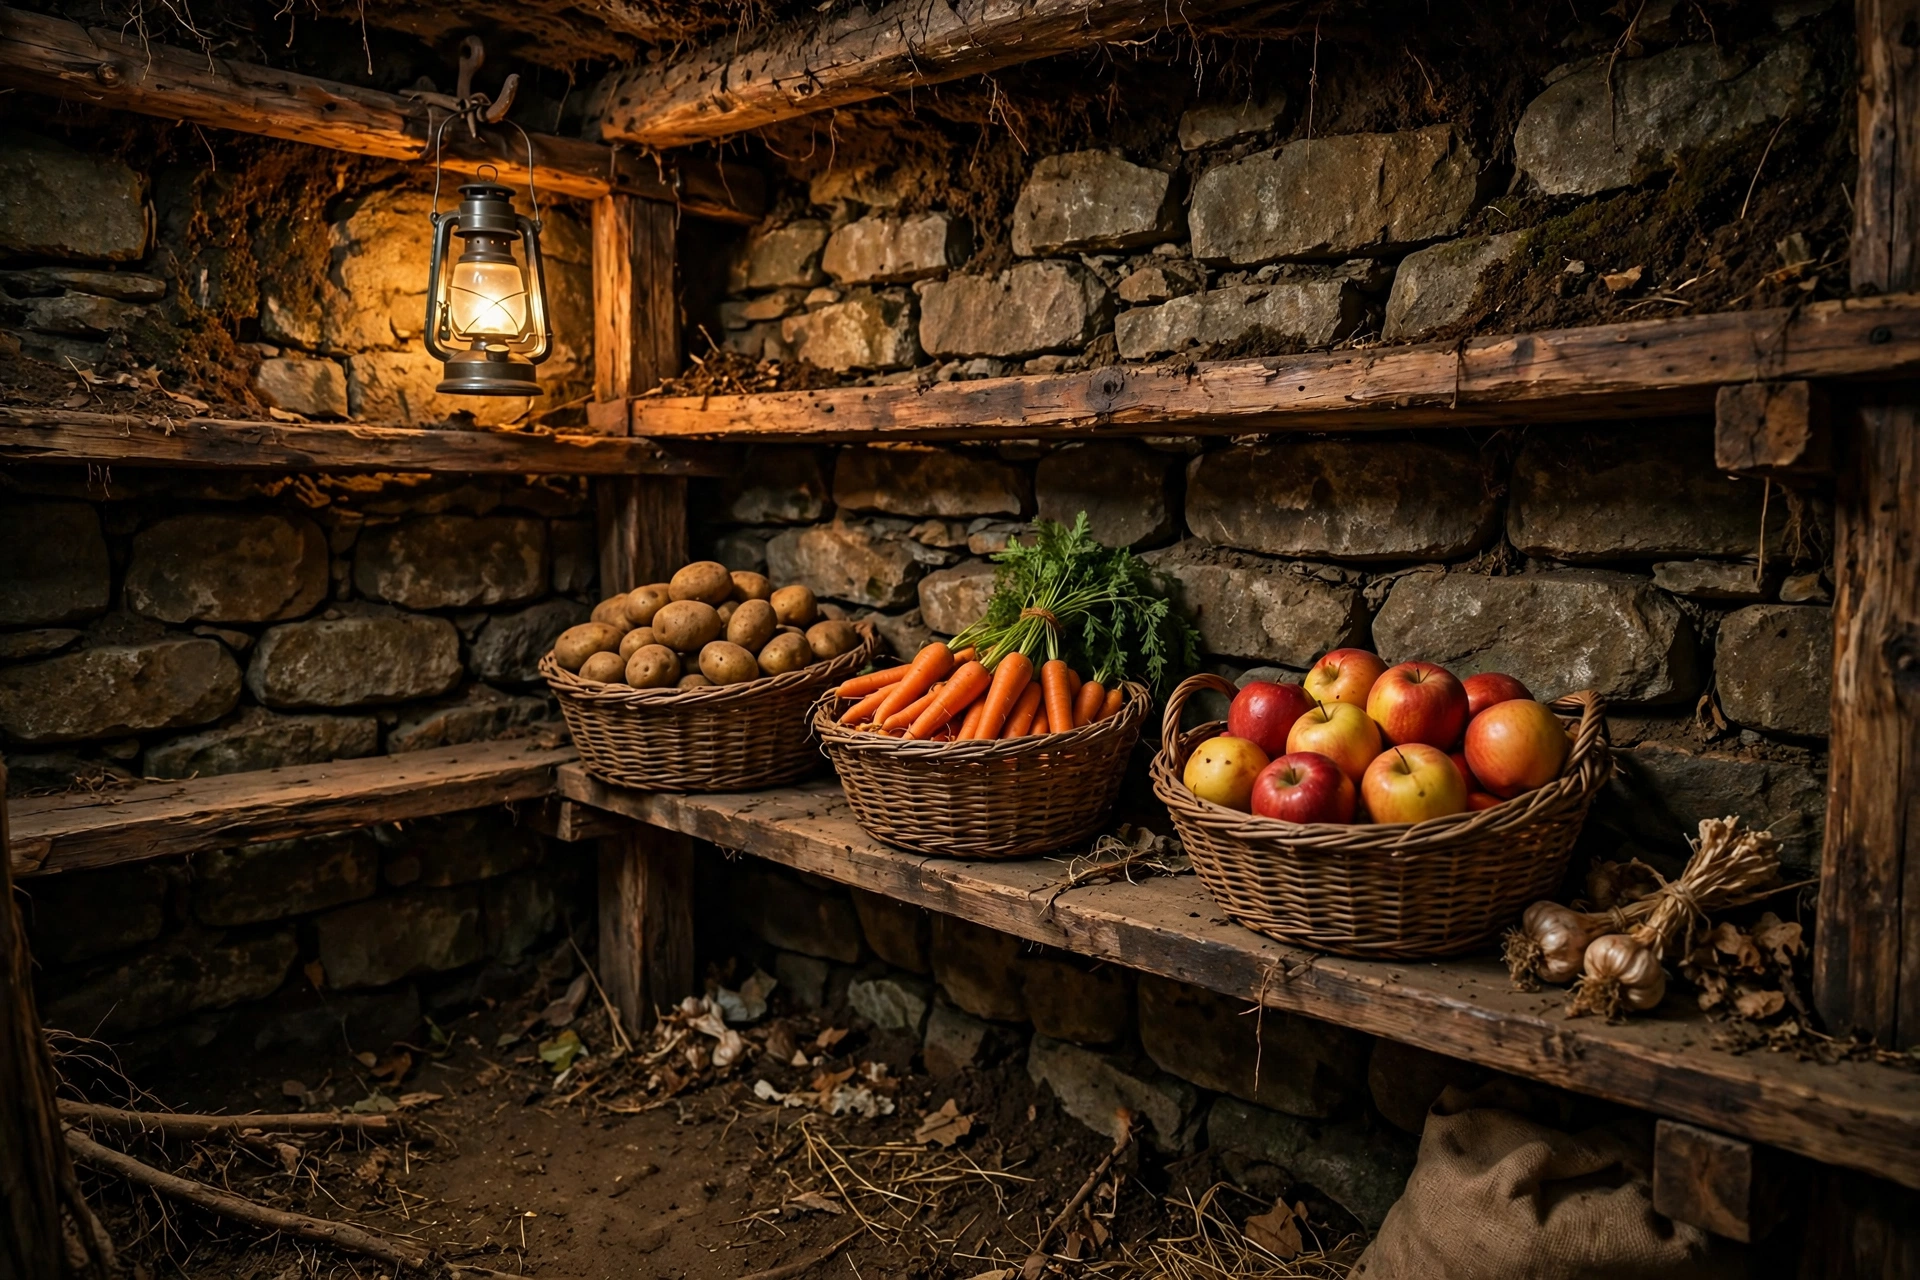
The principle: a root cellar maintains 32–40°F and 85–95% humidity — the conditions that keep produce dormant but not frozen, moist but not rotting. Every design decision serves these two numbers.
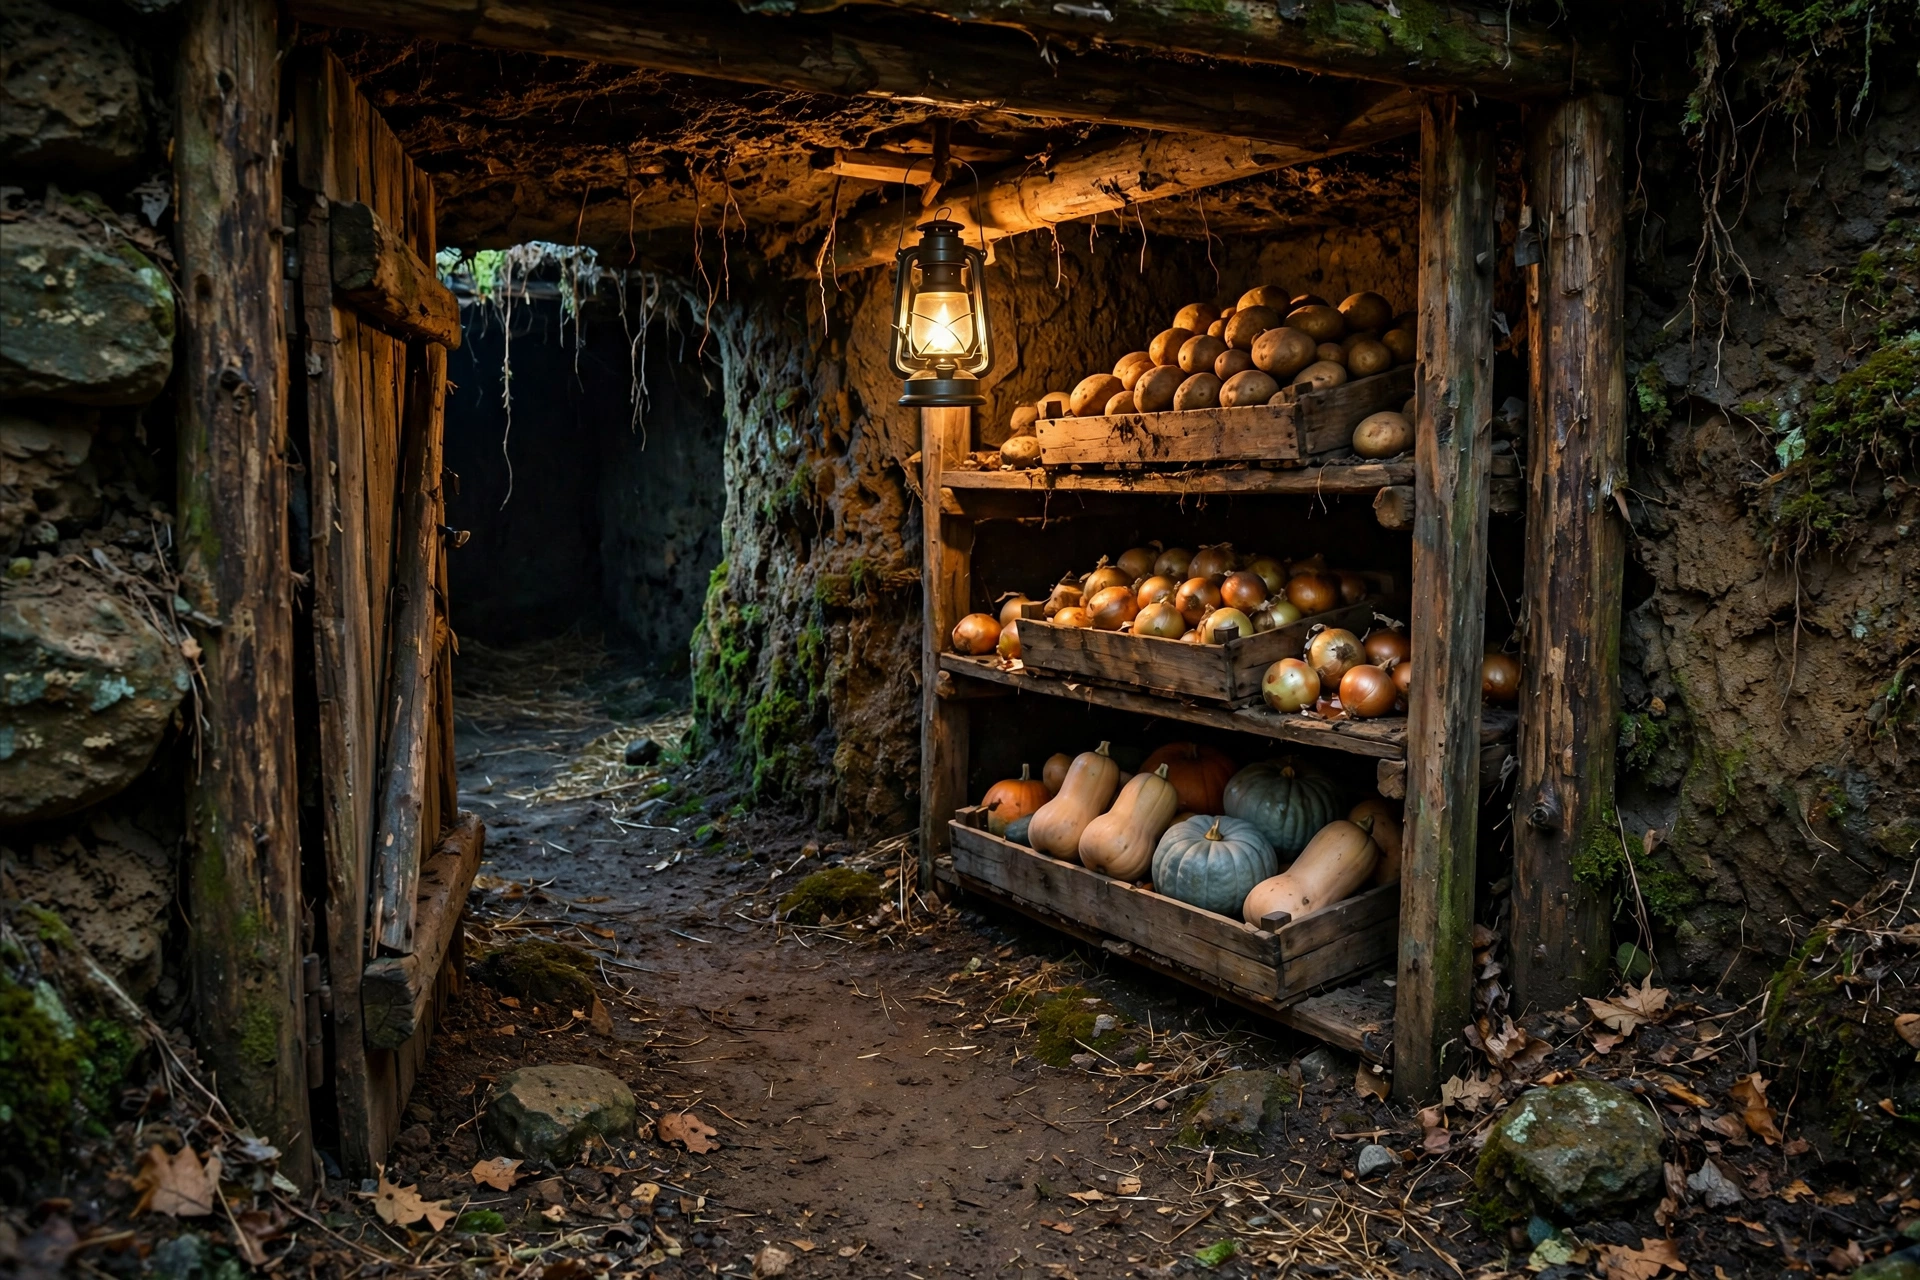
The conditions (the targets)
| Factor | Target | Why |
|---|---|---|
| Temperature | 32–40°F (0–4°C) | Cold enough to slow decay, warm enough to prevent freezing |
| Humidity | 85–95% | Prevents moisture loss (shriveling) without promoting rot |
| Ventilation | Controlled airflow | Removes ethylene gas (ripening), brings in cold air |
| Darkness | No light | Light triggers sprouting (potatoes turn green/solanine) |
Methods (choose your approach)
| Method | Cost | Capacity | Best for |
|---|---|---|---|
| Buried container (freezer/concrete) | $50–$200 | Small | Beginners, testing the concept |
| Hillside cellar | $500–$2,000 | Medium-large | Sloped properties — the classic |
| Basement corner | $100–$300 | Medium | Existing basement — easiest |
| Full underground | $2,000–$5,000+ | Large | Serious homesteaders — the real cellar |
1. Basement root cellar (easiest)
Partition a corner of an unheated basement (northeast corner — coolest):
- Insulate the interior walls (separate from the heated basement).
- Vent to the outside (two vents — high and low — for convection airflow).
- The existing basement provides the earth-cooling; you’re just isolating and ventilating a section.
This is the starting point — minimal construction, uses existing structure, very effective.
2. Buried container (simplest outdoor)
- Bury a chest freezer (non-working) or concrete septic tank — lid at grade.
- Vent pipes (intake low, exhaust high).
- Drainage (gravel bed — don’t bury it in a puddle).
- Insulate the lid (it’s the most exposed surface).
Limitations: small capacity, harder to access (lifting the lid, climbing in). But it works — the earth does the cooling.
3. Hillside cellar (the classic)
Dug into a slope — the hillside provides earth on three sides, the front faces outward:
- Excavate into the hill (8×10 ft typical).
- Walls: concrete block or pressure-treated timber.
- Roof: supported and insulated (earth on top — 2+ ft of soil cover).
- Front wall: insulated door + vents.
- Drainage: around the entire structure (waterproof the exterior).
The hillside is ideal — natural drainage (water flows away downhill), easy access (walk in the front), and maximum earth contact.
4. Full underground (the serious cellar)
Flat-ground version of the hillside — excavated pit with constructed walls and roof:
- More excavation (no hillside to dig into).
- Structural roof (must support 2+ ft of soil — this is real construction).
- Stairwell or hatch access.
- Same ventilation and drainage principles.
The critical systems
Ventilation (the breathing)
- Two vents: intake (low, near the floor) and exhaust (high, near the ceiling).
- Convection: cold air enters low, warm air exits high — passive circulation.
- Adjustable: close vents in deep cold (prevent freezing), open for cooling and ethylene removal.
- Ethylene: ripening fruits produce ethylene gas (accelerates ripening/spoilage of nearby produce) — ventilation removes it, and store ethylene-producers separately.
Drainage (the dryness)
- Site selection: not in a low spot (water collects where you’re digging).
- Gravel bed under the floor (drainage layer).
- Exterior waterproofing on walls (below-grade walls need it).
- Slope away from the structure (surface water management).
A wet cellar is a failed cellar — moisture beyond the target humidity causes rot. Drainage isn’t optional.
Temperature management
- Earth does the work — below frost line, ground stays ~50–60°F (the cellar’s ventilation brings it down to the 32–40°F target using cold outside air).
- Fall: open vents at night (cold air in), close during warm days.
- Winter: close vents in deep freezes (prevent the cellar freezing), open during thaws.
- Thermometer: monitor (the $5 tool — adjust vents based on readings, not guesswork).
Tools needed
| Tool | For |
|---|---|
| Shovels | Excavation (the big dig — or rent a mini-excavator) |
| Level | Level construction |
| Circular saw | Framing |
| Drill/driver | Assembly |
| Masonry tools | If block walls (trowel, level, mixer) |
What to store (and how)
| Produce | Temp | Humidity | Storage life | Notes |
|---|---|---|---|---|
| Potatoes | 35–40°F | 90% | 4–6 months | Dark! (light = green/solanine) |
| Carrots/beets | 32–40°F | 95% | 4–6 months | In damp sand/sawdust |
| Onions/garlic | 32–40°F | 65–70% | 5–8 months | Drier than root veg — separate area |
| Apples | 32–40°F | 90% | 3–6 months | Ethylene producers — separate from veg |
| Cabbage | 32–40°F | 90–95% | 3–4 months | Outer leaves protect |
| Winter squash | 50–55°F | 60–70% | 3–6 months | Warmer/drier — different zone |
The separation rule: ethylene producers (apples, pears) away from ethylene-sensitive (potatoes, carrots). Onions/garlic want drier conditions than root vegetables. Organize by needs, not by convenience.
Print This Before You Dig: The Root Cellar Pre-Build Checklist
Check every item before breaking ground. A cellar built wrong is far harder to fix than a cellar planned right.
- Pick high ground, not a low spot: Water collects where you dig. Choose a site where surface water slopes away from the structure, and plan a gravel bed under the floor as a drainage layer.
- Waterproof the below-grade walls: Exterior waterproofing on below-grade walls is mandatory, not optional. A wet cellar is a failed cellar — moisture beyond the target humidity causes rot.
- Plan two vents, high and low: Intake vent low near the floor, exhaust vent high near the ceiling. Cold air enters low, warm air exits high, and the vents must be adjustable: close them in deep cold to prevent freezing, open them for cooling and to remove ethylene gas.
- Insulate only the exposed surfaces: The earth insulates the buried walls. Insulate the lid, the door, and any front wall not protected by earth — the lid is the most exposed surface of all.
- Budget a thermometer, not guesswork: A basic thermometer costs about $5. Adjust the vents based on readings, not feelings. Target 32–40°F (0–4°C) and 85–95% humidity.
- Screen every vent against rodents: Fit hardware cloth with 1/4-inch (6 mm) mesh on all vents, and seal the door with no gaps. Mice love root cellars — defenses must be built in, not added after discovery.
- Plan the separation zones now: Ethylene producers (apples, pears) go away from ethylene-sensitive produce (potatoes, carrots). Onions and garlic want drier air (65–70% humidity) than root vegetables (90–95%), and winter squash wants a warmer, drier zone (50–55°F / 10–13°C, 60–70% humidity).
- Test for radon in high-risk areas: A working cellar entered briefly is lower risk than a living space, but radon testing is still the right precaution where radon is a known local issue.
- Match the method to your situation: Basement corner ($100–$300) is easiest with an existing basement; buried container ($50–$200) is the beginner test; hillside cellar ($500–$2,000) is the classic for sloped properties; full underground ($2,000–$5,000+) is for serious homesteaders.
My first cellar failed, and the reasons were boring
My first attempt at root storage was not a grand construction project. It was a corner of a basement, some crates, and a lot of optimism — and it failed in the most boring ways possible, which is why I am telling you about it. The potatoes sprouted, because a small window let in light I had not thought to block. The carrots went limp, because the air near the furnace vent was far drier than I had assumed. And a bag of onions rotted from the outside in, because I had stacked it against a damp wall where air could not circulate. None of these were dramatic failures. Each one was a detail from the table at the top of this article that I had read, nodded at, and then not actually checked.
The fix was equally boring, and it worked. I blocked the window with a piece of plywood, moved the crates six inches off the wall on a wooden pallet, and put a $5 thermometer on the shelf where I could see it every time I walked past. The next batch of potatoes lasted into March. That is the real lesson of root cellaring: it is not a building project, it is a monitoring habit. The cellar does not fail all at once; it drifts, a degree here and a few percent of humidity there, and the produce tells you about it weeks later. The thermometer is the cheapest tool in the whole project and the one I would buy first if I started again.
My second mistake was storing everything together because it was convenient. Apples went in next to potatoes, because they arrived from the orchard on the same weekend, and the potatoes sprouted weeks early. Ethylene is invisible, and that is what makes it dangerous — you cannot see the gas, you only see the result, and by then the damage is done. Now the apples live in a separate crate at the far end, and I treat the separation rule the way a cook treats raw meat and vegetables: different zones, no exceptions, even when it is inconvenient.
A seasonal vent calendar
Vent management is where most beginners get lost, because the right setting changes with the weather. Here is the simple calendar I follow now, adjusted for a temperate climate with cold winters. If your winters are mild, shift everything later and keep the vents open longer into autumn:
| Season | Vent setting | Why | What to watch |
|---|---|---|---|
| Early autumn | Open at night, closed by day | Pull cold night air in, keep warm days out | Thermometer dropping toward 40°F |
| Late autumn | Open most of the time | Outside air is now colder than the cellar | First hard frost — do not let the cellar freeze |
| Deep winter | Mostly closed, brief openings | Protect against freezing; air out ethylene | Cellar temperature creeping below 32°F |
| Early spring | Open at night again | Shed the last cold before warm weather arrives | Produce starting to sprout as days lengthen |
| Summer | Closed, or minimal ventilation | Keep the earth-cool air trapped inside | Humidity dropping — dampen the floor if needed |
The pattern to remember is simple: vents are how you import cold, not how you import fresh air for its own sake. In summer, opening the vents lets warm, humid air in, which is the opposite of what stored produce wants. In winter, leaving them open lets the cellar freeze, which ruins everything at once. Check the thermometer, adjust the vents, and write down what you did — after one full year, you will have a calendar tuned to your own cellar, which is worth more than any generic table, including this one.
The first-year harvest checklist
If this is your first year with a root cellar, do not try to store everything. Store a small amount of a few things, learn how your space behaves, and scale up next year. Here is the checklist I wish someone had handed me:
- Start with potatoes and carrots only. They are forgiving, they store well, and they teach you the two conditions that matter — darkness for potatoes, moisture for carrots.
- Check weekly for the first month. Pull out anything soft, sprouting, or smelling off immediately. One rotting potato can spoil its neighbours, and a weekly check takes five minutes.
- Keep a simple log. Date, temperature, humidity if you can measure it, and what you removed. Patterns appear fast — you will see, for example, that the back corner runs warmer, and you will stop storing onions there.
- Taste as you go. Eat from the cellar through winter, and notice when quality drops. That drop is your signal for next year’s changes, whether it is better ventilation, a different crate, or simply storing less.
- Plan the spring cleanout. By late spring, empty the cellar, scrub the shelves, and let it air out. Starting the next harvest in a clean, dry space prevents a whole class of problems that look like storage failures but are really hygiene failures.
A root cellar rewards patience more than effort. The first year teaches you your space. The second year, you store with confidence. By the third, you will wonder why you ever bought winter potatoes at the store at all.
My first season in a basement corner cellar
I built the basement corner version first, because it was the cheapest way to find out whether I actually wanted a root cellar before digging a hole in the yard. One season taught me two things the tables above do not spell out: vent timing and the gap you forget to seal.
The thermometer caught my vent routine backwards. My first week the cellar felt cold, so I assumed it was fine. Then I hung a five-dollar thermometer and it read 44 degrees — four degrees too warm for the 32 to 40 target, warm enough that carrots went limp in a month instead of staying crisp for four. The vents were the problem: I had the intake open during warm afternoons and closed at night, exactly backwards. Cold air comes in at night, vents close during warm days. Once I flipped the routine, the thermometer settled at 36 to 38 degrees and stayed there all winter. I check it every time I go down for produce now, because guessing the temperature is how you lose a season quietly.
The mouse found the gap I left. I sealed the vents with hardware cloth, but I left a thumb-sized gap where the partition wall met the foundation, telling myself I would seal it later. A mouse found it within a fortnight and chewed through two bags of carrots before I noticed the droppings. Sealing that gap with steel wool and caulk took ten minutes. The lesson stung because it was so avoidable: a root cellar is a pantry, and a pantry with a hole in it is a mouse restaurant. I also added a twelve-dollar hygrometer next to the thermometer, because humidity turned out to be the second number I was guessing at — a damp towel on a tray holds the cellar near 90 percent, and the hygrometer tells me when the towel has dried out.
My firm opinion: if you build only one version, build the basement corner, but do not skip the instruments. A thermometer and a hygrometer cost less than one lost crate of produce, and they turn the cellar from a hopeful hole into a controlled space. The earth does the cooling for free. Your job is measuring, separating, and sealing — and those three habits are the difference between eating your October harvest in March and composting it in January.
Bookmark This Checklist — 7 Boring Mistakes That Kill a Root Cellar
None of these failures are dramatic. Each one is a small detail from the tables above that is easy to read, nod at, and then not actually check. Run through this list before your first harvest goes in.
- Letting in light: a small unblocked window made my potatoes sprout — light turns potatoes green and triggers solanine. Block every window; a cellar must stay dark.
- Stacking crates against a damp wall: a bag of onions rotted from the outside in where air could not circulate. Keep crates 6 inches (15 cm) off the wall on a wooden pallet.
- Storing produce in dry air: carrots went limp in a month near a furnace vent. Root vegetables want 85–95% humidity — 90% for potatoes, 95% for carrots and beets.
- Storing apples next to potatoes: ethylene from the apples made the potatoes sprout weeks early. Keep ethylene producers (apples, pears) in a separate crate at the far end — different zones, no exceptions.
- Guessing the temperature: my cellar felt cold but the thermometer read 44°F (7°C) — four degrees too warm. Hang a $5 thermometer on the shelf and aim for 32–40°F (0–4°C); check it every time you go down for produce.
- Running the vents backwards: intake open on warm afternoons and closed at night pulls heat in. Cold air comes in at night; vents close during warm days.
- Leaving a gap in the wall: a thumb-sized gap where the partition met the foundation became a mouse restaurant within a fortnight. Seal every gap with steel wool and caulk, and cover vents with hardware cloth (1/4 in / 6 mm mesh).
The real lesson: a root cellar is not a building project, it is a monitoring habit. It does not fail all at once — it drifts, a degree here and a few percent of humidity there, and the produce tells you about it weeks later.
How cold is too cold?
Below 32°F (freezing damages most produce — cell walls rupture). If the cellar approaches freezing: close vents, add insulation to the door/lid, or add thermal mass (water barrels — they release heat as they cool).
Can I build one without a hillside?
Yes — the basement corner method (easiest) or full underground (more work). The hillside is ideal but not required. Flat-ground buried structures work with proper drainage and insulation.
What about radon?
Underground spaces can accumulate radon — test if you’re spending time inside (a working cellar you enter briefly is lower risk than a living space, but test in high-radon areas). Ventilation helps (it’s already part of the design).
How do I keep rodents out?
Hardware cloth on vents (1/4″ mesh), sealed door (no gaps), and clean management (no spilled produce). Mice love root cellars — the defenses must be built in, not added after discovery.
Can I store canned goods too?
Yes — the cool, dark, stable temperature is ideal for home-canned goods (extends quality). Store on shelves (not the floor — moisture), and it’s the same conditions that preserve produce.
What’s the minimum viable root cellar?
A buried cooler or trash can (with ventilation holes and drainage) — for a few bags of potatoes and carrots. It demonstrates the principle for $20. Scale up when you’re convinced.
The verdict: the root cellar essentials
- Right conditions — 32–40°F, 85–95% humidity, dark (the targets).
- Ventilation — high/low vents, adjustable (temperature control + ethylene removal).
- Drainage — site selection + gravel + waterproofing (wet = failed).
- Insulation where exposed — lid/door/front wall (the surfaces not protected by earth).
- Separation — ethylene producers away from sensitive produce, dry goods in drier zones.
- Monitoring — thermometer + regular checks (adjust vents by readings).
The root cellar is the original zero-energy refrigerator — earth for cooling, ventilation for control, darkness for dormancy. Build it once, and harvest in October what you’ll eat in March. The garden’s season doesn’t end at the first frost — it just moves underground.
Keep Reading
- How to Build a Privacy Screen (Balcony & Patio Guide)
- How to Build a Hammock Stand (No Trees Needed)
- How to Build a Fire Pit (Safe & Code-Compliant Guide)
Tool Worth Lab provides research-based project guidance. Ensure proper drainage (a wet cellar fails), ventilate for temperature control and ethylene removal, store potatoes in darkness (light produces toxic solanine), separate ethylene producers from sensitive produce, and test for radon in high-risk areas.