
Your garden at night can look like something from a magazine — or it can look like a car park with a few dim candles scattered around it. The difference is not money. It is whether the person who wired it understood one thing: voltage drop.
I learned that the hard way, standing at the end of a long garden path wondering why the last three lights glowed like candles in a draft while the first four shone beautifully. Fixing it meant digging the whole trench up again — a Saturday I will never get back.
This guide is the version where that never happens to you: design the system in the dark, size the transformer with room to grow, and wire the long runs the hub way from the start. By the end, your yard will be the one the neighbours slow down to look at.
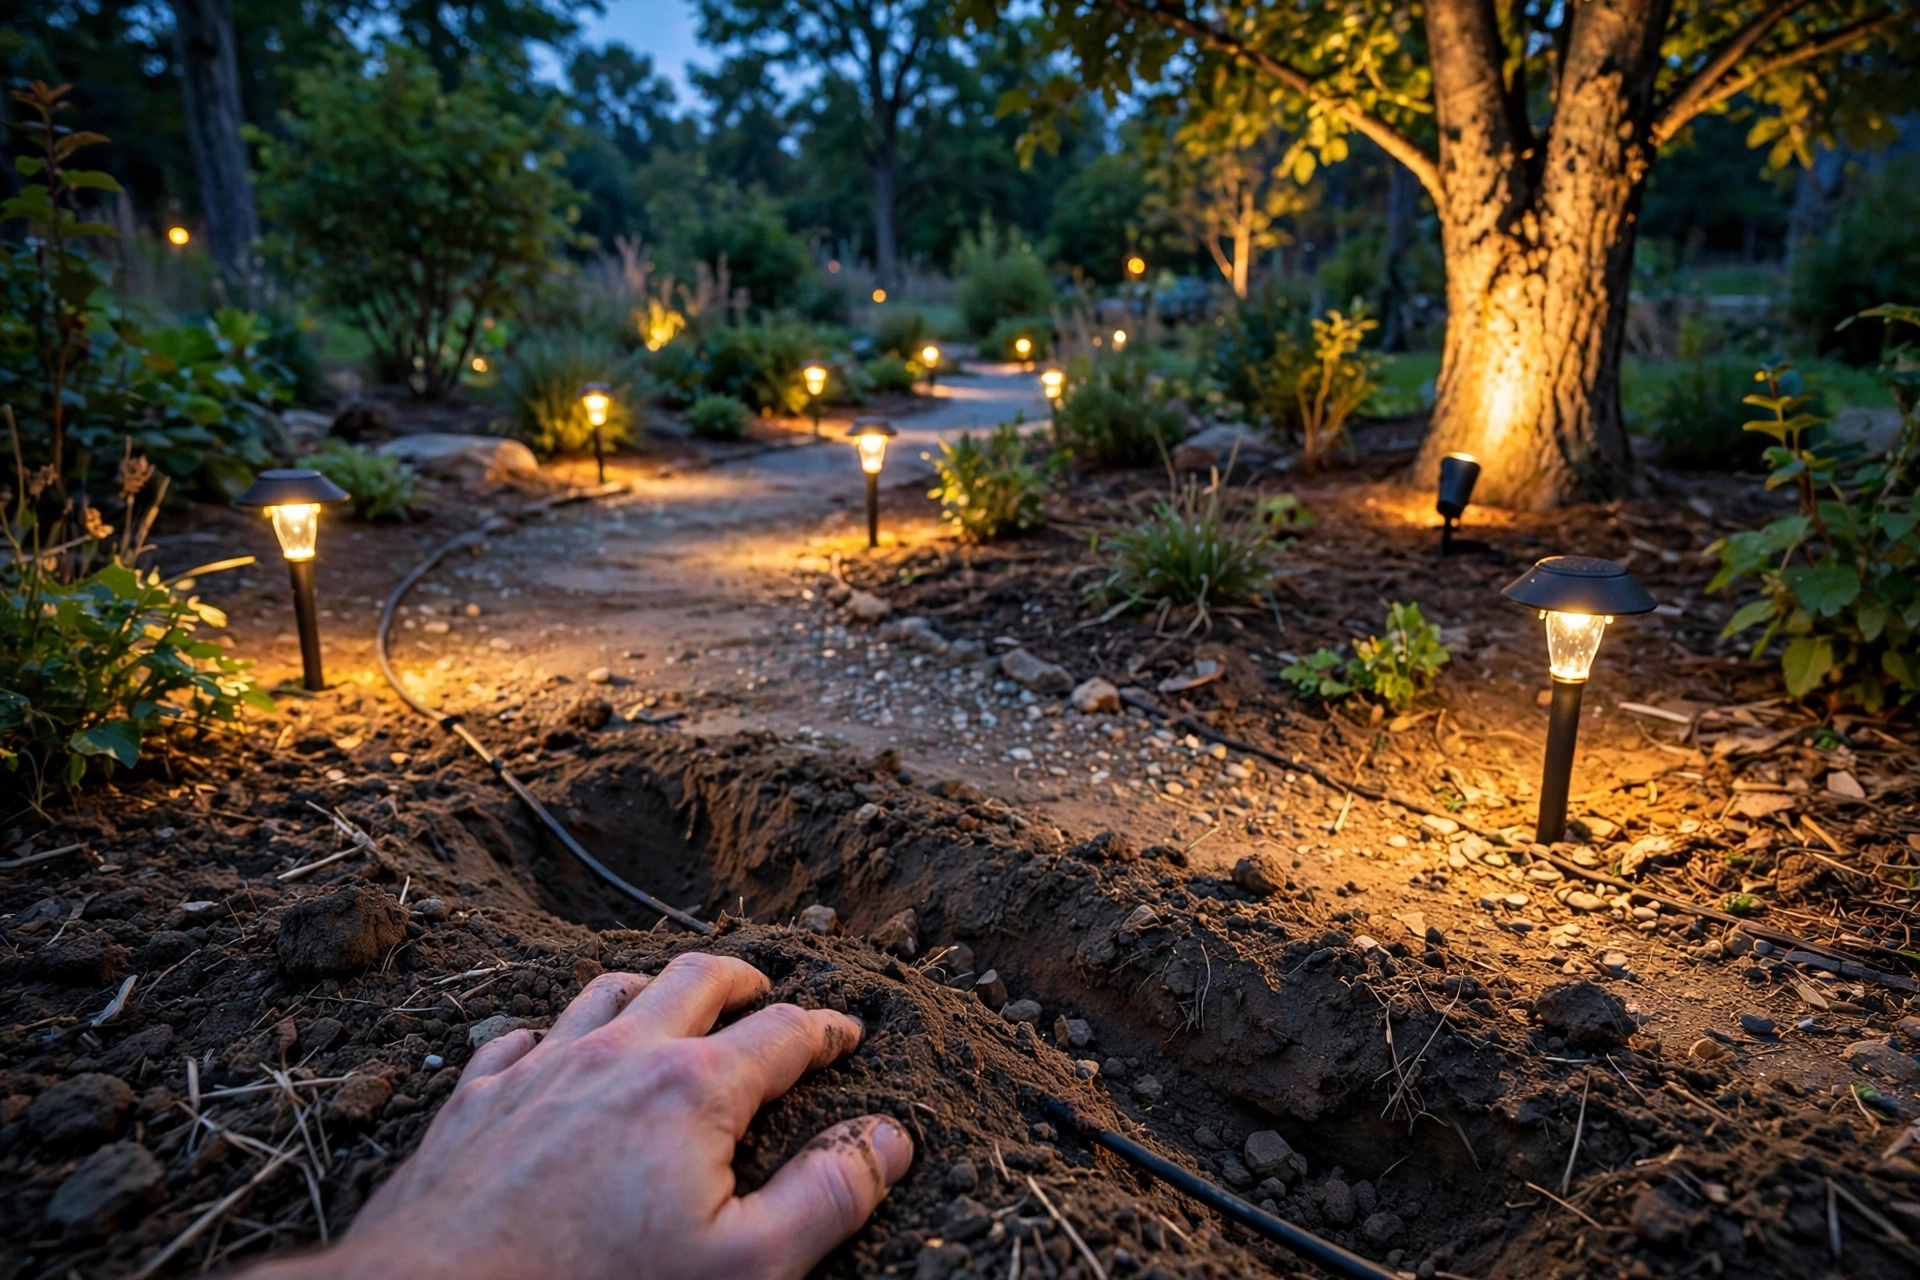
Your garden at night can look like something from a magazine — or it can look like a car park with a few dim candles scattered around it. The difference is not money. It is whether the person who wired it understood one thing: voltage drop.
I learned that the hard way, standing at the end of a long garden path wondering why the last three lights glowed like candles in a draft while the first four shone beautifully. Fixing it meant digging the whole trench up again — a Saturday I will never get back.
This guide is the version where that never happens to you: design the system in the dark, size the transformer with room to grow, and wire the long runs the hub way from the start. By the end, your yard will be the one the neighbours slow down to look at.

Safety first: Low-voltage (12V) is safe to handle — but the transformer plugs into 120V (keep it dry, GFCI-protected outlet). Call 811 before digging (utilities). Don’t overload the transformer (the #1 system failure).
Design first (the plan)
The zones
| Zone | Purpose | Fixture types |
|---|---|---|
| Entry/path | Safety — visible walkways | Path lights, step lights |
| Architectural | Beauty — highlight the house | Spotlights, wall wash |
| Landscape | Beauty — trees, beds, features | Spotlights, well lights |
| Security | Deterrence — eliminate dark areas | Floodlights, motion spots |
| Deck/patio | Usability — outdoor living after dark | Deck lights, string lights |
Lighting techniques (the pro vocabulary)
- Uplighting: fixture at the base, aimed up (trees, architectural features — dramatic).
- Downlighting: fixture above, aimed down (mimics moonlight — natural, subtle).
- Path lighting: low fixtures along walkways (safety + guidance).
- Wall washing: even illumination across a surface (house facade — elegant).
- Silhouetting: light behind the object (dramatic backlit effect — trees, sculptures).
- Shadowing: light in front, shadow cast on a wall behind (artistic).
The design rule: highlight focal points (trees, architecture, features), illuminate hazards (paths, steps, changes in elevation), and leave some darkness (contrast is what makes lighting beautiful — lighting everything is lighting nothing).
System sizing
Transformer
- Add up fixture wattages (LED: typically 3–7W each).
- Size the transformer at 80% of capacity (don’t run at 100% — the headroom handles voltage drop and future expansion).
- Example: 10 fixtures × 5W = 50W → 75W transformer minimum (the next standard size up).
Wire
- 12-gauge for most runs (handles distance + load).
- Voltage drop: the enemy of long runs (fixtures at the end dim). Solutions: heavier gauge, shorter runs, or multiple runs from the transformer (the hub method — separate runs to each zone).
Layout methods
| Method | How | Best for |
|---|---|---|
| Daisy chain | Wire runs fixture to fixture | Simple layouts, short runs |
| Hub | Separate runs from transformer to each zone | Long runs, even brightness — the pro method |
| T-method | Main run with branches | Medium complexity |
The hub method prevents the “last fixture is dim” problem — each zone gets full voltage directly from the transformer.
Tools needed
| Tool | For |
|---|---|
| Shovel / trenching spade | Burying cable (6″ deep) |
| Wire strippers | Connections |
| Screwdrivers | Fixture assembly |
| Voltage tester | Verifying transformer output |
| Tape measure | Layout |
Installation (step by step)
1. Layout
- Place fixtures (unwired) in their positions — at night (see the actual effect before committing — the daytime guess is always wrong).
- Adjust positions and angles (the nighttime preview is the design step).
- Mark wire routes (avoiding utilities — call 811).
2. Transformer
- Mount near a GFCI outlet (within the cord’s reach — typically 10–15 ft).
- Above ground, protected from direct water (under an eave is ideal).
- Set the timer/photocell (dusk-to-dawn automatic — the standard).
3. Wiring
- Run the main cable (6″ deep trench — no conduit needed for low-voltage in most jurisdictions, but check local code).
- Leave slack at each fixture (12–18″ — for adjustments and servicing).
- Connect fixtures (waterproof wire connectors — the direct-burial rated ones).
- Test as you go — connect each fixture and verify before burying (finding a bad connection after burial is miserable).
4. Fixture installation
- Stake or mount per the fixture type.
- Aim at night (final aiming is always done in the dark — the effect is what matters).
- Bury the cable (tuck into the trench, cover).
5. Final check (at night)
Walk the entire property — verify every fixture, check for dark spots (security gaps), glare (aimed at eyes instead of targets), and light trespass (into neighbors’ windows — be considerate).
LED (the only choice now)
- Efficiency: 3–7W replaces 20–50W halogen (the transformer can be smaller, the runs longer).
- Lifespan: 25,000–50,000 hours (install and forget for years).
- Color temperature: 2700K–3000K (warm white — the natural, inviting light; avoid cool/blue tones outdoors — they look institutional).
- Consistency: buy the same brand/temperature throughout (mixed temperatures look amateurish).
The run I had to re-dig
My first landscape lighting system taught me about voltage drop the hard way — by making me dig the same trench twice. I wired twelve fixtures in a single daisy chain, the simple way, down a long garden path. The first four fixtures glowed beautifully. The last three were visibly dim, like candles in a draft. I had read about voltage drop and nodded along, and then I had ignored it, because the daisy chain was easier and the run “was not that long.” It was about 90 feet. That is long enough.
The fix was the hub method: separate runs from the transformer to each zone, so every fixture gets full voltage instead of whatever is left at the end of the line. Rewiring meant reopening the trench, which meant an afternoon I had already spent once, plus the cost of extra cable I should have bought the first time. The lesson cost me a Saturday. It would have cost me nothing to do it right initially — the hub method uses more cable but the same fixtures, the same transformer, the same afternoon. Now I will say it plainly: for any run longer than about 50 feet, or any system with more than eight fixtures, wire the hub method first. The daisy chain is for short, simple layouts only, and most real gardens are neither.
A real project budget — 12 fixtures, one front yard
People ask what a system actually costs, so here is a realistic one, based on a typical front-yard layout: path lights along the walk, uplights on two trees, and wall wash on the facade.
| Item | Quantity | Typical cost |
|---|---|---|
| LED path lights | 6 | $180–$300 |
| LED spotlights (trees + facade) | 6 | $180–$360 |
| Transformer (150W, sized at 80% for ~85W load) | 1 | $90–$150 |
| 12-gauge direct-burial cable (200 ft) | 1 spool | $60–$90 |
| Waterproof connectors | 15 | $20–$30 |
| Timer/photocell (often built into transformer) | — | $0–$40 |
| Total | $530–$970 |
Two notes on that table. First, the fixture price range is mostly about housing quality — brass housings cost more than plastic and last decades longer, and this is the one place I would spend up rather than down, because replacing a buried fixture is miserable. Second, the transformer at 150W for an 85W load is deliberate: the 80% rule leaves room for the three fixtures you will add next year, and you will add fixtures next year. Everyone does.
What I would do differently next time
- Buy the bigger transformer on day one. Upgrading a transformer later means rewiring the connections and usually relocating the mount. The $40 difference between sizes is the cheapest future-proofing in the project.
- Leave a labeled map. I now keep a sketch of where every cable run is buried, with measurements from fixed landmarks. It has saved me from cutting a cable while planting twice.
- Buy two spare fixtures and connectors. Same brand, same color temperature, bought at the same time. Fixture models change, color temperatures drift between batches, and a single mismatched light in a row of matched ones is visible every night.
- Aim lower than you think. My first uplights washed the whole facade and glared into the upstairs windows. Aiming a fixture five degrees lower changed the effect from “floodlit” to “architectural” — and stopped annoying the neighbors.
- Test for a full week before burying the last section. I now leave the final zone’s cable unburied for a week of night-time checks. Plants grow, angles settle, and one fixture always needs moving once you see it in real darkness for several nights.
The seasonal maintenance checklist
Landscape lighting is not install-and-forget, but the maintenance is small if it is regular. Twice a year — spring and autumn — I walk the system with a screwdriver and a cloth:
- [ ] Clean the lenses. Dirt, pollen, and sprinkler mineral deposits dim fixtures more than most owners realize. A wipe restores full brightness.
- [ ] Check for plant growth. The shrub that was below the uplight in spring is blocking it by autumn. Prune, or move the fixture.
- [ ] Inspect connections. Pull-test each waterproof connector gently. A loose one is a dead fixture next month.
- [ ] Check for cable exposure. Mulch settles, soil erodes, and a mower finds exposed cable quickly. Rebury anything visible.
- [ ] Re-aim after storms. Wind and rain shift stakes. A night walk after the first big storm of the season catches it.
- [ ] Confirm the timer. Power cuts and daylight-saving changes silently shift schedules. A system running at noon is wasting electricity and advertising that nobody checked it.
The neighbor test
The final check on any system is not technical; it is social. Stand on the sidewalk at night and look at your house the way a neighbor does. Can you see the fixtures themselves, or just the light they cast? The fixtures should be invisible and the effect beautiful — that is the whole craft. Then check the property line: is any light spilling into a neighbor’s bedroom window? Glare into a neighbor’s window is the fastest way to turn a beautiful project into a complaint, and it is fixed by aiming a fixture a few degrees or adding a shield, not by arguing about it. I learned this one before it became a complaint, by walking the property line myself at night and being slightly embarrassed by one spotlight. A five-minute adjustment ended it. Design for the people who have to look at your house, not just the people who live in it.
Bookmark This Checklist — Before You Bury a Single Cable
Every item below is cheaper to check now than to dig up later. Run through it once, in order:
- 811 called and utilities marked — no guessing where the lines are.
- Fixtures placed unwired and previewed at night — the daytime guess is always wrong.
- Transformer sized at 80% of capacity — 10 fixtures × 5W = 50W means a 75W transformer minimum, the next standard size up.
- Hub runs planned for long zones — a 90 ft (27 m) daisy chain ends with dim fixtures, every time.
- 12-gauge direct-burial cable on hand for most runs.
- 12–18 in (30–46 cm) of slack left at each fixture for adjustments and servicing.
- Waterproof direct-burial connectors only — indoor connectors fail underground.
- Cable buried 6 in (15 cm) deep — and local code checked first, since some areas require more.
- Labeled map sketched from fixed landmarks, plus two spare fixtures bought in the same brand and color temperature (2700K–3000K) as the rest.
Dim Fixtures, Glare, Dead Lights? — Bookmark This Troubleshooting Checklist
Most landscape-lighting problems have one of the causes below. Find the symptom, try the fix first — every cause and fix comes from this guide:
| Symptom | Likely cause | Fix first |
|---|---|---|
| Fixtures at the end of a run are dim | Voltage drop — the wire’s resistance over distance | Heavier-gauge wire, shorter runs, or rewire using the hub method (separate runs from the transformer to each zone) |
| Last fixtures dim on a long daisy chain | A run that is too long for daisy-chain wiring | For any run longer than about 50 ft (15 m), or any system with more than eight fixtures, wire the hub method first — a 90 ft (27 m) daisy chain ends with dim fixtures |
| Glare into eyes or a neighbour’s window | Fixture aimed at viewing positions instead of targets | Aim fixtures away from eyes (down or at targets), use shielded fixtures, keep path lights low, and walk the property at night from every angle |
| System running at noon, or schedule shifted | Power cut or daylight-saving change moved the timer | Confirm the timer / photocell setting — a system running at noon is wasting electricity |
| Fixture dimmer than it used to be | Dirty lens, or plant growth blocking the light | Wipe the lens (dirt, pollen, and sprinkler mineral deposits dim fixtures); prune the shrub or move the fixture |
| One fixture dead | Loose waterproof connector | Pull-test each waterproof connector gently and replace the loose one; test each fixture before burying cable |
| Cable visible above ground | Mulch settled or soil eroded | Rebury the cable 6 in (15 cm) deep — a mower finds exposed cable quickly |
Keep This Chart Handy — Pick the Right Lighting Technique for Every Spot
Every technique below is named in this guide. Match the effect you want to the technique before you buy a single fixture:
| Technique | How it works | Use it for | The effect |
|---|---|---|---|
| Uplighting | Fixture at the base, aimed up | Trees, architectural features | Dramatic |
| Downlighting | Fixture above, aimed down | Canopy light over paths and beds | Mimics moonlight — natural, subtle |
| Path lighting | Low fixtures along walkways | Paths, steps, changes in elevation | Safety and guidance |
| Wall washing | Even illumination across a surface | House facade | Elegant |
| Silhouetting | Light behind the object | Trees, sculptures | Dramatic backlit effect |
| Shadowing | Light in front, shadow cast on a wall behind | Feature plants against a wall | Artistic |
Highlight focal points (trees, architecture, features), illuminate hazards (paths, steps, changes in elevation), and leave some darkness — contrast is what makes lighting beautiful.
Keep Reading
- How to Build a Privacy Screen (Balcony & Patio Guide)
- How to Build a Fire Pit (Safe & Code-Compliant Guide)
- How to Build a Hammock Stand (No Trees Needed)
How deep should I bury the cable?
6″ typical for low-voltage (check local code — some require 12″ or conduit). It’s low voltage (safe), but burial protects from mowers, edgers, and UV degradation.
Why are my end-of-run fixtures dim?
Voltage drop (the wire’s resistance over distance). Fix: heavier gauge wire, shorter runs, or rewire using the hub method (separate runs per zone). LEDs are more tolerant than halogens, but drop still matters.
Can I add fixtures later?
Yes — if the transformer has capacity (the 80% sizing rule leaves headroom). That’s why you oversize initially. Adding to a maxed-out transformer = dim everything.
Solar vs low-voltage?
Solar: easy (no wiring), but dim, inconsistent (cloudy days = no light), short-lived. Low-voltage: brighter, reliable, controllable — the real system. Solar is decoration; low-voltage is lighting. For paths and security: low-voltage wins decisively.
How do I prevent glare?
Aim fixtures away from viewing positions (down or at targets, not at eyes), use shielded fixtures (the glare guards), and keep path lights low (the light should fall on the path, not into eyes). Walk the property at night from every angle — glare reveals itself.
What about smart control?
Smart transformers (app control, scheduling, zoning, color) are the modern standard — worth the premium for the scheduling flexibility alone (different scenes for evening vs late night, vacation mode, etc.).
The verdict: the landscape lighting sequence
Design at night (place fixtures unwired, see the effect) → Size the system (transformer at 80%, hub wiring for long runs) → Install the transformer (GFCI, protected, timer set) → Wire and test as you go (before burying) → Aim at night (final aiming in the dark) → Walk and verify (every fixture, no glare, no dark spots).
The nighttime preview is the secret — design in the dark, not on paper. Highlight the focal points, light the hazards, leave the rest dark. Warm LEDs, hub wiring, transformer headroom. The yard you see every day becomes the yard you admire every night.
Tool Worth Lab provides research-based installation guidance. Call 811 before digging, use a GFCI-protected outlet for the transformer, don’t exceed 80% transformer capacity, use warm-white LEDs (2700K–3000K) for natural appearance, and do final aiming at night (daytime aiming is always wrong).