
Here is a scary thought: every person who walks your stairs trusts them with their safety without thinking twice — and one tiny math slip, like forgetting the thickness of a single tread, turns the very first step into a trip waiting to happen. Stairs are not just carpentry. They are applied math you can stand on.
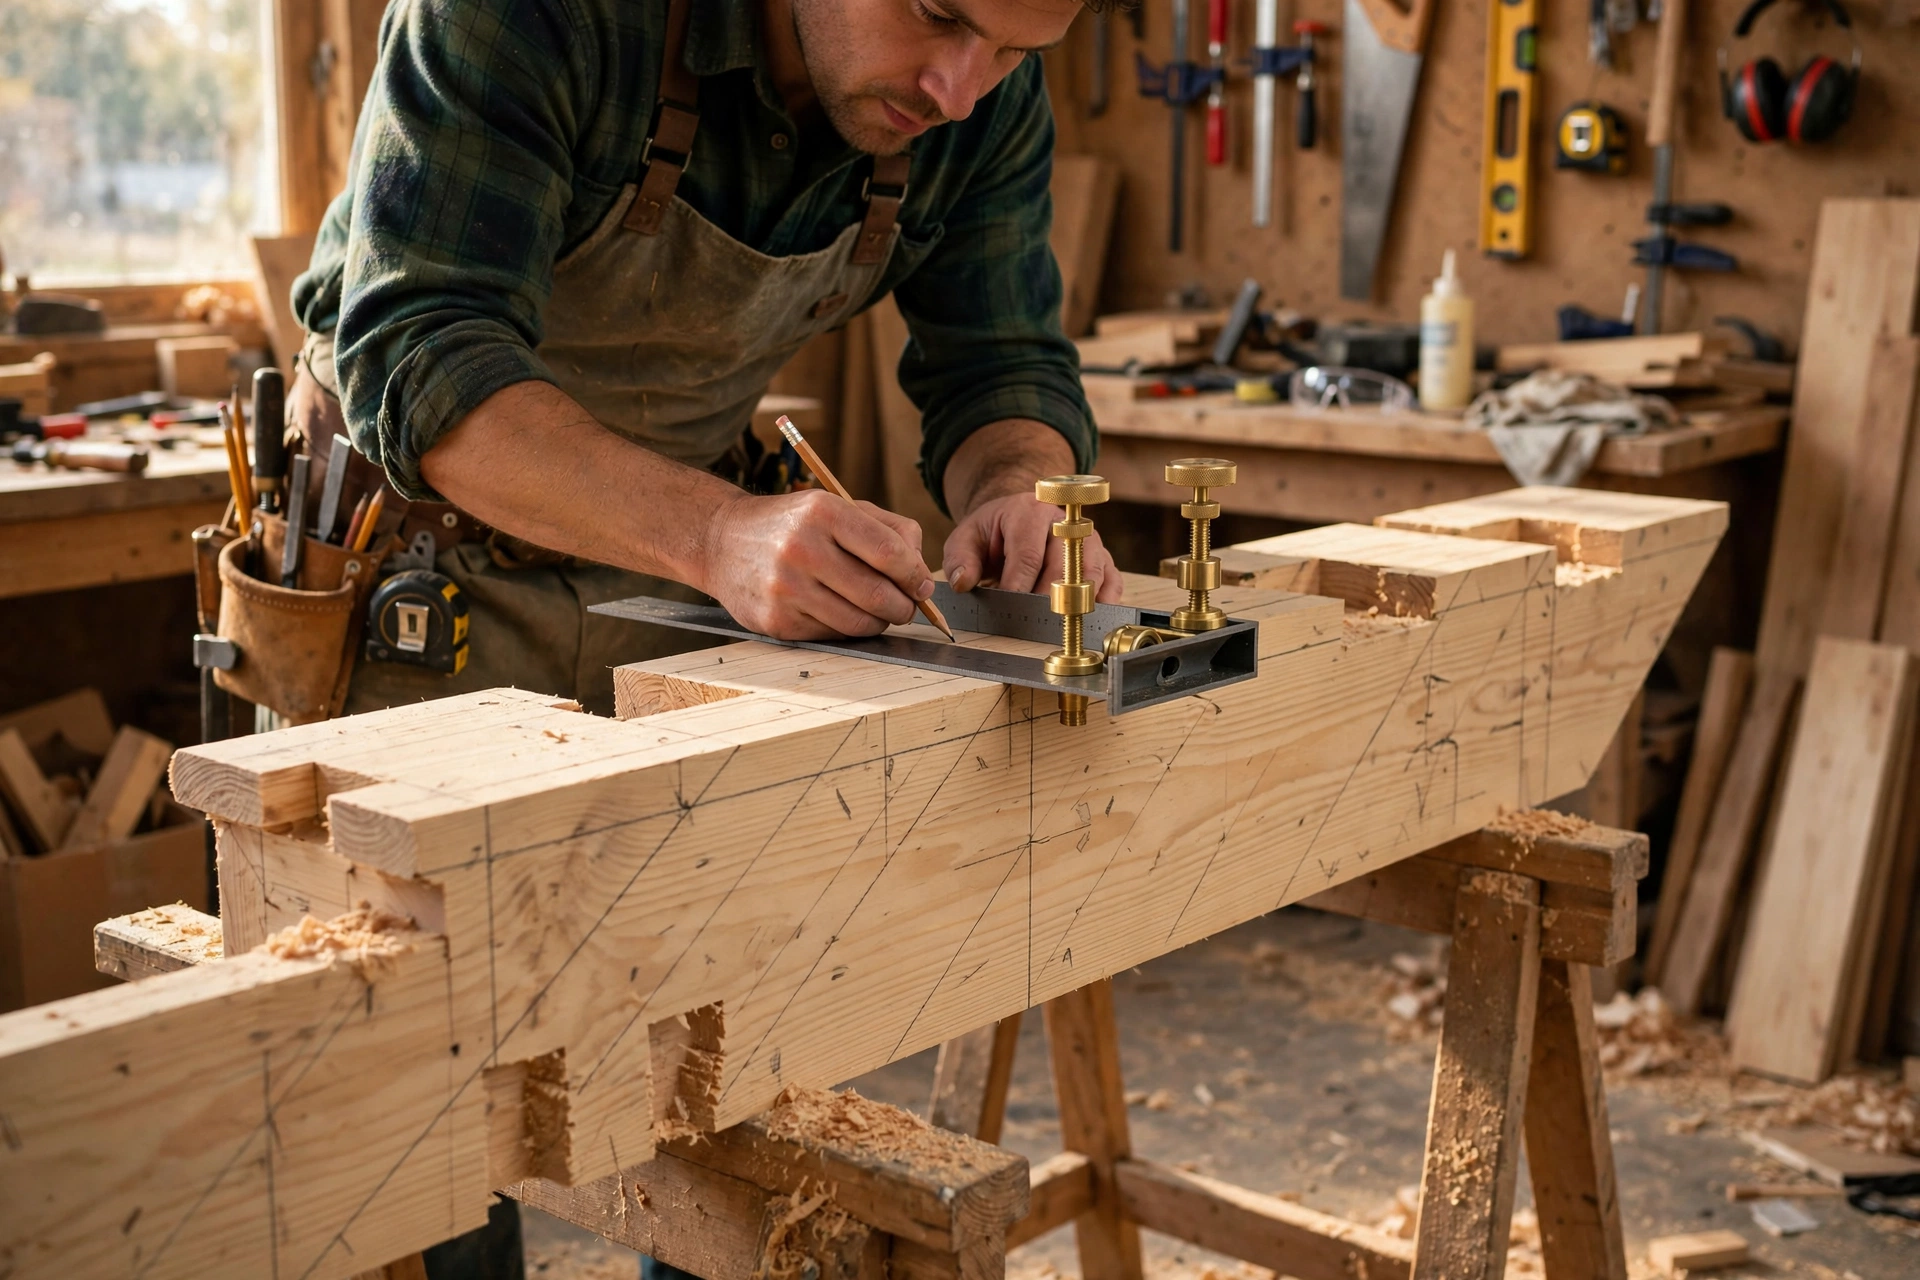
But here is the brilliant part: the math is simpler than it looks. One formula (2 × rise + run = 24–25 in / 61–63.5 cm), one test stringer, and a framing square with two little brass gauges — that is the whole secret. Get those right and your stairs will feel so effortless that nobody ever notices them, which is exactly the highest compliment stairs can get.
Safety first: Stairs are a safety-critical structure — follow code requirements (they exist because people get hurt on bad stairs). Eye, hearing, and dust protection for cutting. Temporary stairs during construction need railings — falls from stair openings are serious.
My first stringer, and the step everyone trips on
The first staircase I built looked perfect until someone walked down it. Every step felt fine except the first one, which was a full inch shorter than the rest — because I had forgotten to subtract the thickness of the tread from the bottom riser. The stringer math was right; the finished floor was wrong. I had to rebuild the bottom step, and I have never skipped that subtraction since. If you take one thing from this guide, take that: calculate with finished heights, tread thickness included, or your stairs will lie to your feet.
My second lesson was cheaper but just as annoying: I cut all three stringers from my layout in one go, then discovered my layout had a small error in the run. Three stringers, same error, three times the wasted lumber. Now I always cut one test stringer first, set it in place, and walk the rise and run with a level before I touch the other boards. A test stringer costs twenty minutes. Three wrong ones cost a Saturday and a sheet of lumber money.
My firm opinion: do not trust a stair calculator blindly, and do not freehand the layout. Run the numbers yourself, mark them on the board, and check them against the actual floor-to-floor height in your house — not the number on the plans. Plans lie; tape measures do not.
One more check I never skip now: after the test stringer is in place, I stand on each tread position and check headroom, handrail height, and whether the bottom step lands where feet expect it — not where the drawing says it should. Drawings assume level floors and square walls. Real houses have both out by a little, and stairs are the one place where a little becomes a trip. Ten minutes with a level on a test stringer has saved me from rebuilding a full flight twice, and it is the cheapest insurance in the whole job.
The math (rise and run)
Key terms
- Total rise: vertical distance from lower floor to upper floor.
- Total run: horizontal distance the stairs will occupy.
- Unit rise (riser height): height of each step — code typically 7–7.75″ max.
- Unit run (tread depth): depth of each step — code typically 10–11″ min.
- Stringer: the diagonal board with notches cut for each step.
The calculation
- Measure total rise (floor to floor, finished surfaces).
- Divide by 7 (target riser height) — round to the nearest whole number = number of risers.
- Divide total rise by number of risers = exact unit rise (must be ≤ code max, typically 7.75″).
- Unit run: 10–11″ (deeper = more comfortable; the 7/11 combination is the comfort standard).
- Total run = unit run × (number of risers − 1) (one fewer tread than risers — the top tread is the upper floor).
Example: 36″ total rise ÷ 7 = 5.14 → 5 risers → 36 ÷ 5 = 7.2″ unit rise. With 11″ treads: total run = 11 × 4 = 44″.
The comfort formula
2 × unit rise + unit run = 24–25″ (the ergonomic standard).
7.2″ rise + 11″ run: (2 × 7.2) + 11 = 25.4″ — comfortable. Deviate significantly and stairs feel wrong (too steep or too shallow).
Consistency is critical: all risers must be within 3/8″ of each other (code) — even small variations cause trips (the human gait detects inconsistencies unconsciously).
Code requirements (know these)
| Requirement | Typical code | Why |
|---|---|---|
| Max riser height | 7.75″ | Steeper = dangerous |
| Min tread depth | 10″ (11″ preferred) | Foot support |
| Riser consistency | Within 3/8″ | Trip prevention |
| Min width | 36″ | Egress |
| Headroom | 6’8″ min | Don’t hit your head |
| Handrail | Required (one side min) | Fall prevention |
| Guardrail | Required on open sides | Fall prevention |
Always verify local code — these are typical (IRC-based), but jurisdictions vary. Stairs are inspected — build to code, not to guesswork.
Tools needed
| Tool | For |
|---|---|
| Framing square | Stringer layout — the essential tool (with stair gauges) |
| Circular saw | Cutting stringers — guide |
| Jigsaw or handsaw | Finishing stringer cuts (don’t overcut with the circular saw) |
| Level | Installation verification — guide |
| Tape measure | Total rise measurement — a tape measure |
| Drill/driver | Fastening treads, risers |
Stair gauges ($5–$10) — brass stops that clamp to the framing square at the rise and run marks. They make the repetitive layout fast and consistent. The small investment that prevents layout errors.
Stringer layout (step by step)
1. Set the gauges
Clamp stair gauges to the framing square: one at the unit rise (on the tongue), one at the unit run (on the body). These are your constant references.
2. Mark the first step
- Place the square on the stringer board (2×12) — gauges against the edge.
- Trace the rise (vertical) and run (horizontal) — this is the first step’s outline.
- The top step adjustment: the top of the stringer meets the upper floor — subtract one tread thickness from the top riser (the floor itself acts as the top tread).
3. Step down the board
- Slide the square along — aligning the run gauge with the previous step’s run mark.
- Trace each step — the gauges ensure every step is identical.
- Continue for all risers.
4. Mark the bottom
- The bottom adjustment: subtract one tread thickness from the bottom riser (the first tread sits on top of the stringer bottom — without this adjustment, the first step is too tall).
- Cut the bottom plumb (vertical) to sit on the floor.
The top and bottom adjustments are the classic mistake — forgetting them makes the first and last steps wrong heights (the trip hazard). Mark them explicitly before cutting.
Cutting the stringer
- Circular saw for the main cuts — cut to the lines, but stop short of the corners.
- Jigsaw or handsaw to finish — cutting past the lines with the circular saw weakens the stringer (the overcut removes structural wood at the notch’s throat).
- Use the first stringer as a template — trace it for the remaining stringers (typically 3 for 36″ width — 16″ OC max spacing).
- Test-fit before cutting all — verify the math with one stringer first.
The overcut warning: the inside corner of each notch is a stress point. A circular saw overcut creates a crack initiation point. Always finish with the jigsaw/handsaw. This is structural, not cosmetic.
Installation
1. Attach the stringers
- Top: secured to the upper floor framing (joist hangers, ledger, or notched bearing — per the structural design).
- Bottom: sits on the lower floor (anchored — it must not kick out).
- Verify level and consistent spacing between stringers.
2. Install risers (optional but recommended)
- Risers (the vertical boards) close the gaps — required by code if the opening exceeds 4″ (child safety).
- They also stiffen the stairs significantly.
3. Install treads
- Tread material: 2×12, or 3/4″ plywood + hardwood nosing, or solid hardwood.
- Nosing overhang: 3/4″–1.25″ past the riser (the nosing is the visual and functional step edge).
- Glue + screw (the glue prevents squeaks — construction adhesive on every tread).
- Consistent nosing — the overhang must be uniform (inconsistent nosings catch toes).
4. Railings and guards
- Handrail: 34–38″ above the tread nosings, graspable profile, continuous.
- Guards: on open sides — balusters spaced so a 4″ sphere can’t pass (child safety).
- These aren’t optional — they’re code and they’re what prevents falls.
Bookmark This Checklist — The Test-Stringer Check Before You Cut the Rest
Never cut all your stringers from one layout. Cut ONE test stringer first and run every check below. Only trace the rest once the test stringer passes them all.
- One test stringer cut first: cut a single stringer from the layout, set it in place, and walk the rise and run with a level before touching the other boards.
- Top adjustment marked: one tread thickness subtracted from the top riser, because the upper floor itself acts as the top tread.
- Bottom adjustment marked: one tread thickness subtracted from the bottom riser, because the first tread sits on top of the stringer bottom.
- Riser consistency within 3/8 in (10 mm): all risers must match within 3/8 in of each other — even small variations cause trips.
- Comfort formula verified: 2 × unit rise + unit run lands at 24–25 in (61–63.5 cm); the 7/11 combination (7 in / 18 cm rise, 11 in / 28 cm run) is the comfort standard.
- Code limits respected: riser height at or below the typical 7.75 in (19.7 cm) maximum, tread depth at or above the typical 10 in (25 cm) minimum, 11 in (28 cm) preferred.
- Headroom checked in place: minimum 6 ft 8 in (203 cm) measured vertically from the tread nosing line — checked standing on the test stringer, not just on paper.
- Handrail height checked: 34–38 in (86–97 cm) above the tread nosings, graspable profile, continuous.
- Stringer spacing planned: typically 3 stringers for a 36 in (91 cm) wide stair, at 16 in (41 cm) on-center maximum spacing, so treads do not bounce.
- No overcuts at notch corners: circular saw stops short of the corners; a jigsaw or handsaw finishes each notch, because an overcut creates a crack initiation point at the notch throat.
- Nosing overhang uniform: 3/4–1.25 in (19–32 mm) past the riser on every tread — inconsistent nosings catch toes.
Keep Reading
- How to Use a Level Like a Pro
- Circular Saw Buying Guide — Pick the Right Saw First Time
- How to Frame a Wall — Straight, Square, and Solid
What’s the most common stair-building mistake?
Forgetting the top and bottom tread-thickness adjustments (making the first/last steps wrong heights). Second: overcutting the stringer notches with the circular saw (structural weakening). Third: inconsistent riser heights (trip hazard).
How many stringers do I need?
Typically 3 for a 36″ wide stair (16″ OC max). Wider stairs need more. The treads span between stringers — too few stringers = bouncy treads.
Can I use pre-cut stringers from the store?
They’re available for standard rises — convenient but inflexible (your total rise must match their design). For custom heights: layout your own (the skill this guide teaches). Pre-cuts work when the math happens to align.
What’s the minimum headroom?
6’8″ (code) — measured vertically from the tread nosing line. In basements with low ceilings: this often determines whether stairs are feasible. Plan the stair location around headroom, not just floor space.
How do I handle a landing?
L-shaped or U-shaped stairs use landings — each flight is calculated independently (same rise/run for consistency). Landings must be at least as wide as the stairs and 36″ deep minimum. The math per flight follows the same process.
Why do my stairs squeak?
Usually: treads not glued (just nailed/screwed — they flex microscopically), or loose riser-to-tread connections. Prevention: construction adhesive on every tread + riser joint during installation. Cure: screws from below (if accessible) or shim the gaps.
The verdict: the stair sequence
Measure total rise → Calculate (risers, unit rise, unit run) → Verify comfort formula → Set stair gauges → Layout stringer (top/bottom adjustments!) → Cut carefully (no overcuts) → Template the rest → Install (top secured, bottom anchored) → Risers + treads (glued + screwed, consistent nosing) → Railings (code-compliant).
Stairs are math made physical — the calculation determines the comfort, the layout determines the consistency, and the code determines the safety. Get the rise/run right, don’t overcut the notches, remember the top and bottom adjustments. The result: stairs so comfortable you never think about them — which is exactly the point.
Tool Worth Lab provides research-based carpentry guidance. Always verify local stair code (riser height, tread depth, railings, headroom) — stairs are safety-critical and inspected. Never overcut stringer notches (structural weakening), and ensure riser height consistency within 3/8″ (trip prevention).