
Quick Answer: Board and batten wainscoting is straight cuts, simple nailing, and a spacing formula that does the design work for you. Wear eye protection, and locate electrical runs before nailing — outlets and switches sit right at wainscot height.
Here’s the wildest part of board and batten: the wood itself costs less than a decent dinner out, yet guests will walk in and assume you hired a carpenter. The trim isn’t doing the magic — the maths is. Get the spacing even and a plain plaster wall suddenly looks like it belongs in a magazine spread.
And the maths is genuinely one formula — no art degree, no years of practice, no secret handshake. Straight cuts, a nail gun, one weekend, and a wall that makes the whole room feel finished. Here’s how to measure once, cut straight, and nail it like you’ve done it a hundred times.
So before you fire a single brad, let’s do the maths together — because the only thing standing between you and that “wait, you did this yourself?” reaction is measuring first and nailing second.
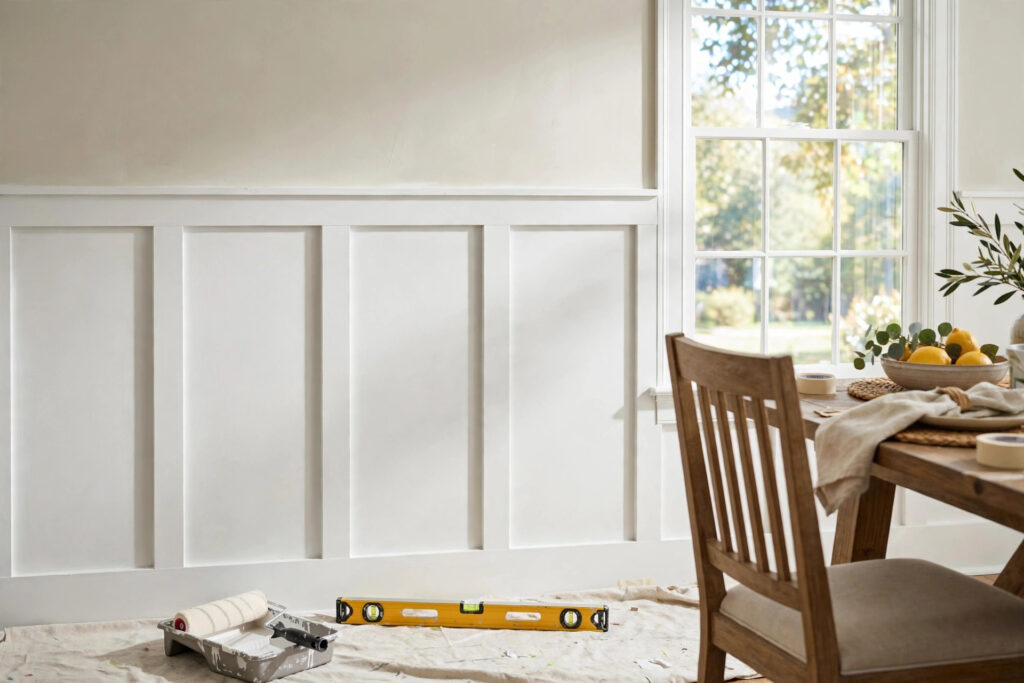
Safety first: Eye protection for cutting and nailing. Locate electrical before nailing (AC-detecting stud finder) — outlets and switches live at wainscot height. Standard nail gun safety applies.
The design
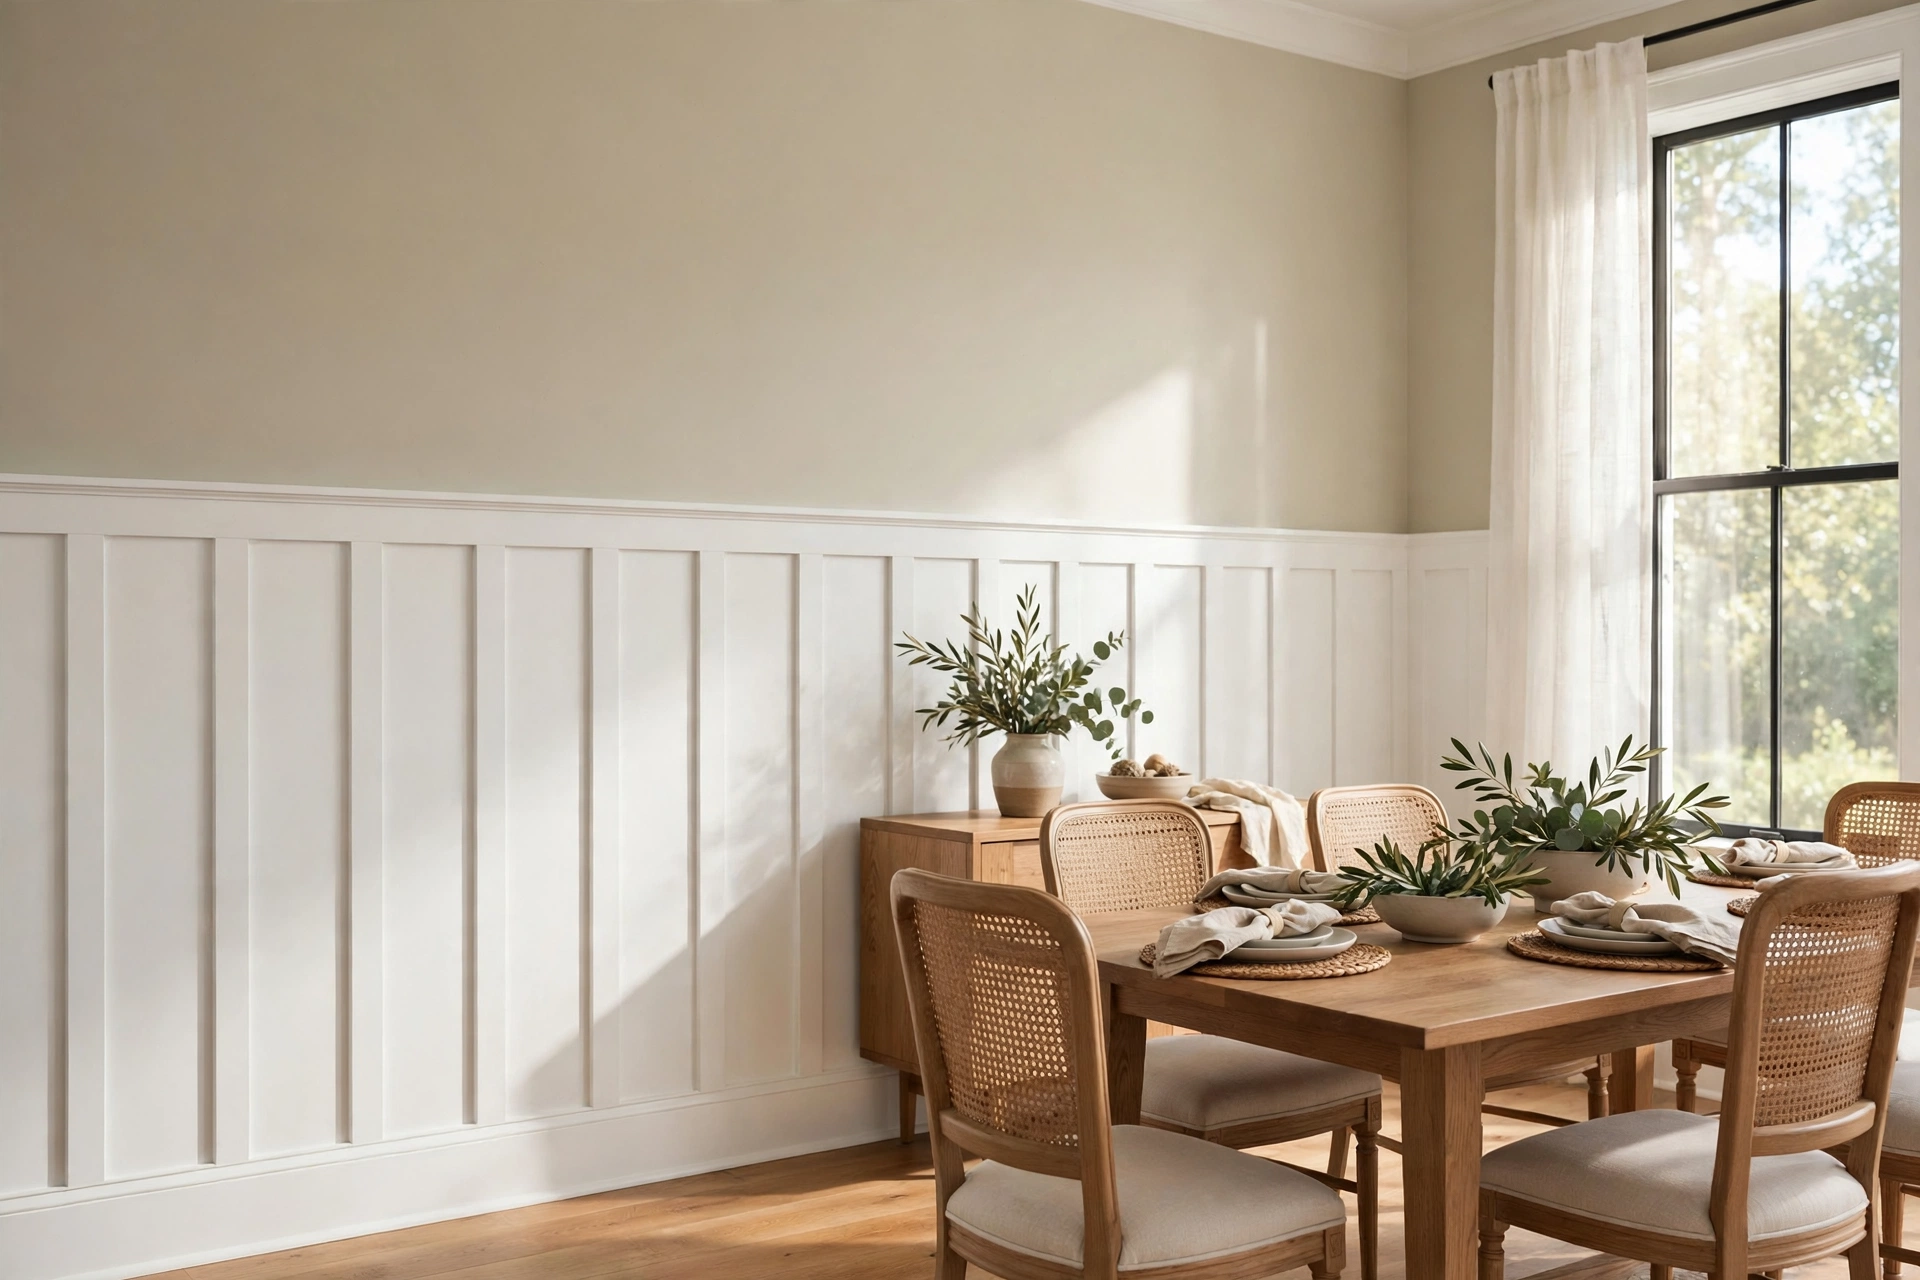
Board and batten anatomy
| Component | What it is |
|---|---|
| Backer boards (optional) | Full-height boards behind the battens (or use the wall itself) |
| Battens | Vertical strips (typically 1×3 or 1×4) — the rhythm |
| Chair rail | Horizontal cap at the top — the finished edge |
| Baseboard | The bottom (existing or new, taller for proportion) |
The modern method: skip the backer boards — the painted wall IS the background, battens applied directly. Simpler, cheaper, and the look everyone wants. (Traditional: full backer boards — more authentic, more work.)
Height
- Standard: 36–42″ (chair rail height — the classic).
- Tall: 48–60″ (dramatic — for high ceilings).
- Proportional rule: roughly 1/3 of the wall height (an 8-ft wall → 32″ wainscot feels right; 36–42″ is the common execution).
The spacing math (the design secret)
Even spacing is what makes wainscoting look professional. The formula:
- Measure the wall (exact inches).
- Choose batten width (3.5″ for 1×4 — the common choice).
- Target spacing — 12–18″ between battens (the aesthetic sweet spot).
- Calculate: (wall length) ÷ (batten width + target spacing) = number of bays → round to whole number → recalculate exact spacing.
Example: 144″ wall, 3.5″ battens, targeting 16″ spacing: 144 ÷ 19.5 = 7.4 → 7 bays → (144 − 8×3.5) ÷ 7 = 16.57″ exact spacing between battens.
The 8 battens (7 bays need 8 battens including the ends) are positioned at the calculated spacing — perfectly even, no awkward sliver at the end.
Corner rule: start and end with a batten at each corner (the frame) — the math distributes the interior battens evenly between them.
Tools needed
| Tool | For |
|---|---|
| Brad nailer (18ga) | Attaching battens and rails |
| Miter saw | Cutting battens and rails square |
| Level | Plumb battens, level rails — guide |
| Stud finder | Nailing into studs |
| Tape measure + pencil | The spacing math, marked on the wall |
| Caulk gun | Finishing — technique |
Installation (step by step)
1. Prep
- Remove existing chair rail/baseboard if replacing (or plan to integrate).
- Mark stud locations (vertical lines above the wainscot height).
- Mark the batten positions on the wall (pencil lines per the spacing math — this is the layout; take the time).
2. Install the battens
- Cut battens to height (chair rail underside to baseboard top — measure each, floors vary).
- Plumb each batten — level on the face (a leaning batten is visible in the rhythm).
- Nail into studs where possible — two brads per stud crossing (top and bottom).
- For battens between studs: construction adhesive + brads into drywall (the adhesive is the strength; brads hold until it cures).
3. Install the chair rail
- Cut to length (mitered or coped at corners — coping technique).
- Level installation — the chair rail is the visual datum; it must be level (not following a wavy floor).
- Nail into studs — the chair rail is structural enough to need solid attachment.
4. Baseboard integration
- Existing baseboard: the battens butt into it (caulk the joint).
- New/taller baseboard: install after battens (covers the batten bottoms — cleaner).
5. Fill and finish
- Caulk every joint — batten-to-wall, batten-to-rail, batten-to-baseboard (paintable caulk).
- Fill nail holes — wood filler, sanded.
- Prime + two coats — the entire wainscot is typically painted (white or the wall color — monochromatic is modern, white-on-color is classic).
The painted vs two-tone decision
- All white (wall + wainscot): clean, spacious, modern farmhouse.
- Wainscot white, wall color above: the classic — architectural contrast.
- Dark wainscot, light wall: dramatic, moody — for dining rooms and studies.
- Same color, different sheen: subtle, sophisticated (satin wainscot, eggshell wall).
Worked example: the spacing math on a real wall
The room that makes board and batten look expensive is rarely the room with the fanciest trim. It is the room where the bays come out even. Here is the formula from earlier in this guide, worked through slowly so you can copy the method on your own wall. Say your wall measures 144 inches between its inside corners and you want bays that feel like the 12- to 18-inch range already described. Start with a rough count: divide the wall length by a target bay width — 144 divided by about 16 gives you roughly nine bays. Round to a whole number you like the look of, in this case nine, then divide again for the exact spacing: 144 divided by nine is exactly 16 inches per bay. Your battens go on each bay boundary, including one at each corner, so nine bays need ten battens. Mark every 16 inches, check the last mark lands exactly on the far corner, and only then start cutting. If your wall gives you an awkward remainder — 147 inches, for example — do not dump the extra three inches into the last bay. Recalculate with nine or ten bays and spread the difference across every bay. The eye forgives bays that are all 16.3 inches; it never forgives one bay that is visibly wider than its neighbours.
Step by step: marking out without regrets
- Tape the chair-rail line first and live with it for a day, checking it against doors, windows, and furniture heights.
- Find and mark every stud in pencil at the top of the wainscot zone, where the chair rail will later hide the marks.
- Mark batten positions on the tape line, working from both corners toward the middle so any measuring slip shows up early, not at the last batten.
- Plan around outlets and switches before you cut anything. Nudge the bay count up or down by one if a batten would land dead-centre on a box — a small spacing change is invisible, a batten swallowing an outlet is not.
- Do a dry run on the longest wall with battens leaned in place or drawn in pencil, then step back to the doorway — the view you will actually live with — before nailing.
Mistakes that make it look DIY (in the bad way)
- Skipping caulk to save time. Uncaulked seams shadow-line every joint and instantly read as unfinished, however straight your battens are.
- Painting before filling. Nail holes and tiny gaps hide in bare wood and reappear under paint. Fill, sand, prime, inspect with a lamp held low, then paint.
- Forcing battens over humps in the wall. Shim behind a batten or plane the high spot; a batten bent to follow a wavy wall will telegraph that wave forever.
- Stopping at an outside corner without a plan. Decide in advance whether a batten wraps the corner or the pattern simply ends there — improvised corners always look improvised.
Bookmark This Chart — What Went Wrong and How to Fix It
Step back to the doorway — the view you will actually live with — find the flaw, and fix the cause, not the symptom.
| What you see | What caused it | The fix |
|---|---|---|
| One bay visibly wider than the rest | The extra inches were dumped into the last bay instead of spread out | Recalculate with one more or one fewer bay and spread the difference across every bay — the eye forgives bays that are all slightly wider, never one odd one out |
| A batten that leans and breaks the rhythm | It was nailed up without checking plumb | Level on the face of every batten; a leaning batten is visible in the rhythm |
| Shadow lines at every joint | Caulk was skipped to save time | Paintable caulk on every joint — batten-to-wall, batten-to-rail, batten-to-baseboard |
| Nail holes reappearing under paint | Paint went on before filling | Fill with wood filler, sand, prime, inspect with a lamp held low, then paint |
| A batten bent to follow a wavy wall | It was forced over a hump | Shim behind the batten or plane the high spot — a bent batten telegraphs the wave forever |
| A batten landing dead-centre on an outlet | Spacing was not planned around the boxes | Nudge the bay count up or down by one, use a box extender so the outlet sits flush, and turn off the breaker when working around outlets |
| A chair rail that follows a wavy floor | The rail was levelled to the floor instead of to level | The chair rail must be level — standard height 36–42 in (91–107 cm), or roughly one-third of the wall height |
Common questions
Can I do just one accent wall instead of the whole room? Yes, and it is often the smartest first project. A single wall behind a bed or dining table gives you the full effect, costs less in trim — expect roughly a quarter of the material of a full room, though prices vary — and lets you learn the spacing, caulking, and painting rhythm before committing everywhere.
How do I handle a staircase? Carefully, and as a second project rather than a first. The chair rail follows the slope of the stairs, batten tops are cut to that same angle, and spacing is measured along the slope, not the horizontal. Lay it out fully in pencil and tape first; if the angles fight you, a professional trim carpenter for the stair run alone is money well spent.
Keep This Handy — Your Board-and-Batten Weekend Plan
The whole project, in the order that actually works — tape this to the wall before you start:
- Day 1, morning — Tape the chair-rail line first and live with it for a day, checking it against doors, windows, and furniture heights. Standard height: 36–42″ (91–107 cm); tall rooms: 48–60″ (122–152 cm); or roughly 1/3 of the wall height.
- Day 1 — Do the spacing math. Batten width 3.5″ (9 cm, a 1×4); target spacing 12–18″ (30–46 cm) between battens. Wall length ÷ (batten width + target spacing) = number of bays, rounded to a whole number, then recalculated for exact spacing. Start and end with a batten at each corner.
- Day 1 — Mark everything. Find and mark every stud in pencil at the top of the wainscot zone, where the chair rail will hide the marks. Mark batten positions on the tape line, working from both corners toward the middle. Plan around outlets and switches before cutting anything.
- Day 2 — Install plumb and level. Plumb each batten (a leaning batten shows in the rhythm); two brads per stud crossing, construction adhesive + brads between studs. The chair rail is the visual datum — it must be level, not following a wavy floor.
- Day 2 — Integrate the baseboard. Battens butt into an existing baseboard (caulk the joint); a new, taller baseboard goes on after the battens and covers the batten bottoms.
- Day 2 — Finish like a pro. Caulk every joint (batten-to-wall, batten-to-rail, batten-to-baseboard) with paintable caulk, fill nail holes with wood filler and sand, then prime + two coats. Never paint before filling — holes hide in bare wood and reappear under paint.
Keep This Chart Handy — Wainscot Height by Wall Height
The guide’s proportional rule is roughly one-third of the wall height. Here it is worked out for common ceilings, next to the classic and tall ranges the guide recommends — battens are typically 1×3 or 1×4, spaced 12–18 in (30–46 cm) apart, whatever the height.
| Your wall height | The one-third rule gives you | What the guide recommends |
|---|---|---|
| 8 ft (2.4 m) | ~32 in (81 cm) | 36–42 in (91–107 cm) is the common execution |
| 9 ft (2.7 m) | ~36 in (91 cm) | Sits neatly inside the classic 36–42 in (91–107 cm) range |
| 10 ft (3.0 m) | ~40 in (102 cm) | Near the top of the classic 36–42 in (91–107 cm) range |
| 11–12 ft (3.4–3.7 m) | ~44–48 in (112–122 cm) | 48–60 in (122–152 cm) — the tall, dramatic option for high ceilings |
When the one-third rule and the classic range disagree by an inch or two, trust your eye: tape a line on the wall at both heights and stand back before you cut anything.
What’s the ideal batten spacing?
12–18″ on center (the visual sweet spot). Tighter looks busy; wider looks sparse. The math ensures evenness — the exact number matters less than the consistency.
Should the battens go over the existing baseboard?
No — remove the baseboard first, install battens, then install (or reinstall) the baseboard over the batten bottoms. Layered correctly: wall → battens → baseboard overlapping the batten bottoms. This hides the bottom cuts.
How do I handle outlets in the wainscot?
Box extenders (the outlet must sit flush with the batten surface per code) — and plan batten spacing to avoid landing a batten directly on an outlet (adjust the math slightly). Turn off the breaker when working around outlets.
Can I install wainscoting on textured walls?
Yes, but the texture shows between battens (the background). Options: skim-coat the wainscot area smooth first (best), or embrace the texture (it reads as intentional in most cases). Heavy orange-peel + crisp battens can clash — assess before committing.
MDF or wood for battens?
MDF: cheaper, perfectly smooth (no grain), paints beautifully — but swells with moisture (not for bathrooms) and doesn’t hold screws well. Wood (poplar/pine): more durable, moisture-tolerant, takes abuse better. For most rooms: MDF is fine and economical. For high-traffic or moisture: wood.
How high should the chair rail be?
36–42″ standard. The 1/3 rule (wall height ÷ 3) for proportion. In rooms with 9+ ft ceilings: go taller (48″+) or the wainscot looks stubby. Tape the line on the wall and live with it for a day — the eye knows.
The verdict: the wainscoting method
Spacing math (even bays, corner battens) → Marked layout → Plumb battens (nailed to studs) → Level chair rail → Integrated baseboard → Caulked everything → Primed and painted.
Wainscoting is applied rhythm — the spacing math creates the design, the level and plumb create the quality, the caulking creates the finish. It’s the trim project that looks expensive and installs in a weekend. The dining room transforms; the method was just arithmetic and patience.
Bookmark This Chart — Wainscoting Numbers at a Glance
Every measurement that matters for board and batten, on one chart:
| Decision | The number |
|---|---|
| Batten spacing | 12–18″ between battens — the visual sweet spot |
| Batten width | 3.5″ (a 1×4) — the standard choice |
| The spacing formula | Wall length ÷ (batten width + target spacing) = number of bays — round to a whole number, then recalculate the exact spacing |
| Battens to cut | Bays + 1 — one at each corner, the rest spread evenly between |
| Chair rail height | 36–42″ standard; 48–60″ for high ceilings; or wall height ÷ 3 |
| Fastening | Two brads per stud crossing; construction adhesive + brads between studs |
| Material call | MDF for dry rooms (smooth, paints beautifully); poplar or pine where moisture or abuse is likely |
Tool Worth Lab provides research-based installation guidance. Always locate electrical before nailing (outlets live at wainscot height), turn off breakers when working around outlets, use box extenders for outlets in the wainscot zone, and follow nail gun safety — sequential mode, finger off trigger.
Keep Reading
Loved this guide? These related articles will keep your project moving: