
Somewhere out there, a jigsaw is sitting in a garage drawer, banished for crimes it did not commit. Rough cuts, wandering lines, splintered plywood — the saw gets blamed every time, and nine times out of ten the setup is the real culprit. Wrong blade, wrong speed, a board flapping around unclamped: fix those three and the same saw suddenly behaves like a different tool.
And here is why it is worth rescuing: the jigsaw is the cheapest ticket in the shop to cuts no other saw can even attempt — swooping curves, perfect circles, interior cutouts that make people ask “wait, you cut that yourself?” Get the blade right, slow down, clamp the work, and your fourth cut will embarrass your first three.

So forget the horror stories. Get the blade right, slow down, clamp the work, and your fourth cut will embarrass your first three — in the best possible way.
Safety first: Eye protection always, hearing protection (jigsaws are loud and shrill), secure the workpiece (clamped — never hand-held), keep hands clear of the blade path, and unplug when changing blades. The blade moves fast; respect the reciprocation.
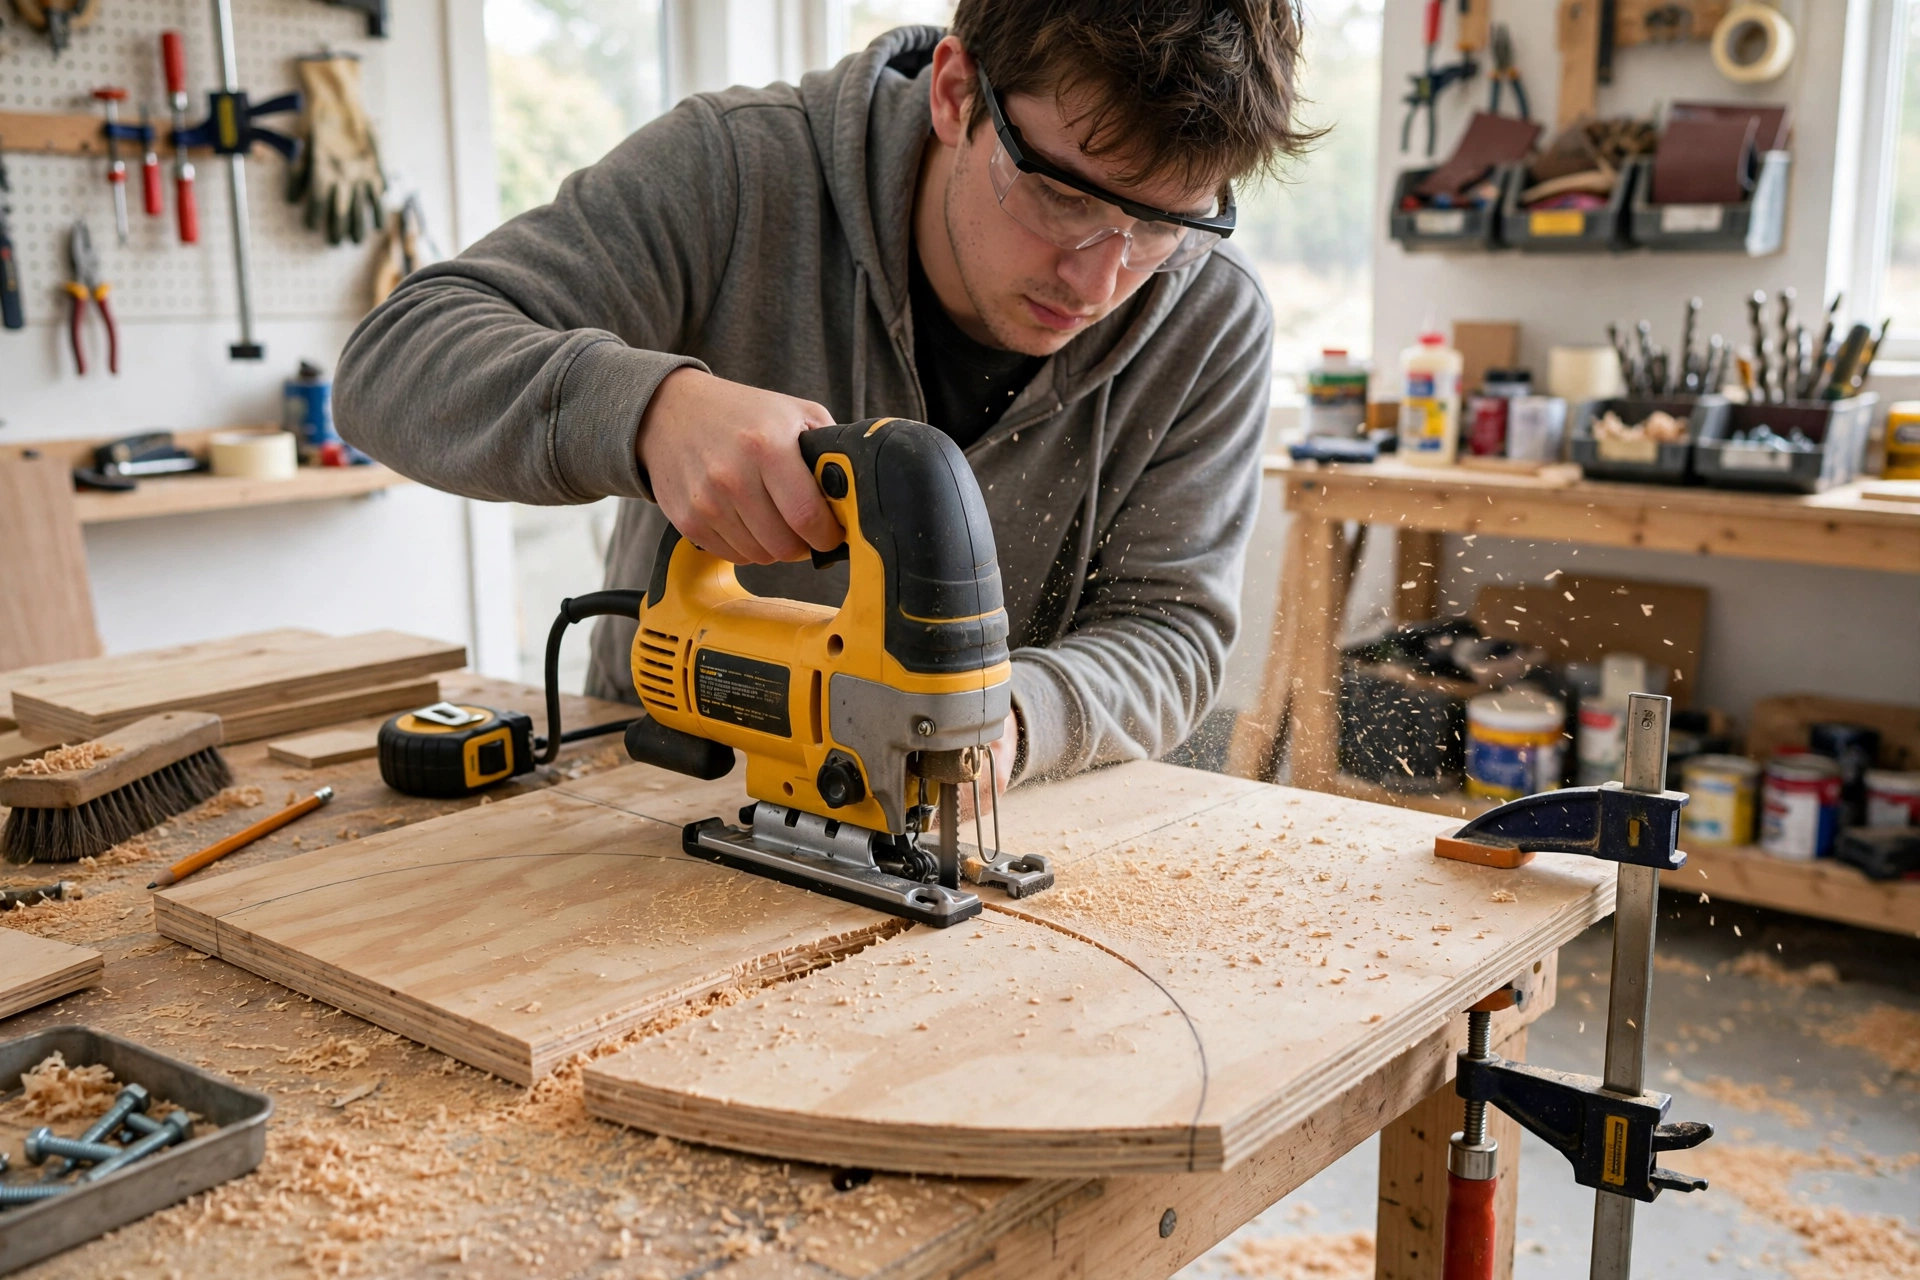
Blade selection (matters more than the saw)
The blade determines the cut quality more than any other factor. The stock blade is always the first thing to upgrade.
TPI (teeth per inch) — the key spec
- Low TPI (6–10): aggressive, fast cutting — for wood, rough cuts. Rougher edge.
- High TPI (12–20+): slower, smoother — for fine woodworking, plywood (less tearout), plastics.
- The rule: thicker material = lower TPI; thinner material = higher TPI. Too-fine teeth on thick wood clog and burn; too-coarse teeth on thin material tear and vibrate.
Blade types by material
| Material | Blade | Notes |
|---|---|---|
| Softwood | 6–10 TPI, ground teeth | Fast, clean enough |
| Hardwood | 8–12 TPI | Slightly finer for control |
| Plywood | 12+ TPI, reverse-tooth | Reverse teeth cut on the downstroke — less top tearout |
| Laminate | 12+ TPI, fine | Tape the cut line to prevent chipping |
| Metal | 18–24 TPI bimetal | Slow speed, cutting fluid |
| Plastic | 10–14 TPI | Medium speed — too fast melts plastic |
| Ceramic tile | Carbide grit (no teeth) | Slow, water cooling |
Shank type
- T-shank: the modern standard — tool-free changes, secure grip. Buy T-shank blades.
- U-shank: older style — needs a screwdriver/set screw. Avoid unless your saw requires them.
Buy a variety pack ($15–$25 for 30+ blades) — it covers every material and you’ll learn which blades you actually use.
The settings
Orbital action — what it does
The orbital setting controls how aggressively the blade moves:
- 0 (off): straight up-and-down — smoothest cut, slowest. For fine work, metals, plastics.
- 1–2: slight orbital — balance of speed and quality. General woodworking.
- 3 (max): aggressive orbital — fastest cutting, roughest edge. For rough construction cuts.
Beginners: start at 0 or 1. The cut quality difference is dramatic, and speed isn’t your priority while learning.
Speed — match to material
- Wood: high speed.
- Metal: low speed (heat kills blades and work-hardens steel).
- Plastic: medium speed (too fast melts, too slow cracks).
- Tile: low speed.
Variable speed trigger: use it — start slow to establish the cut, then bring it up to working speed.
Technique: the fundamentals
Straight cuts
- Mark clearly — pencil line, visible.
- Clamp a straightedge as a guide — freehand straight cuts wander (that’s the reputation). A clamped guide gives table-saw-straight results.
- Start the cut: rest the shoe flat, blade just behind the line, start the saw, ease into the cut.
- Steady feed — let the blade cut; don’t force it forward. Forcing causes deflection (the blade bends, the cut wanders).
- Support both sides — the offcut must not pinch or fall and splinter the edge.
Curves
- Drill a starter hole for interior cuts (or start from an edge).
- Relief cuts for tight curves — cut away waste in sections so the blade doesn’t bind in the turn.
- Slow down in curves — the tighter the curve, the slower the feed.
- Narrow blades for tight curves — standard blades can’t turn tightly; scroll-cutting blades (narrower) navigate curves the wide ones can’t.
- Steer from behind — guide the saw’s body, not the blade. The blade follows; forcing the turn bends it.
Interior cutouts
- Drill a starter hole inside the waste area (large enough for the blade).
- Insert the blade, cut to the line, follow the shape.
- For rectangular cutouts: drill a hole in each corner (the holes become the clean corners — trying to turn 90° with a jigsaw gives rounded, messy corners).
Reducing tearout
- Good side down (for most blades — teeth cut on the upstroke, so tearout happens on top; put the visible face down). Reverse-tooth blades flip this.
- Tape the cut line — painter’s tape on both sides reduces splintering dramatically.
- Zero-clearance insert — some saws accept them; they support the wood fibers at the cut.
- Sharp, appropriate blade — dull blades tear instead of cutting.
Bookmark This Checklist — Clean-Cut Jigsaw Setup, Every Single Time
- ☐ Blade matched to the material: softwood 6–10 TPI with ground teeth, hardwood 8–12 TPI, plywood 12+ TPI reverse-tooth, laminate 12+ TPI fine, metal 18–24 TPI bimetal, plastic 10–14 TPI, ceramic tile carbide grit with no teeth.
- ☐ T-shank blade fitted: T-shank is the modern standard with tool-free changes and a secure grip; U-shank needs a screwdriver or set screw and belongs only on saws that require it.
- ☐ Orbital action set for the job: 0 (off) for the smoothest cut on fine work, metals, and plastics; 1–2 for a balance of speed and quality in general woodworking; 3 (maximum) only for fast, rough construction cuts.
- ☐ Speed matched to the material: high speed for wood, low speed for metal and tile, medium speed for plastic — medium avoids melting on the fast side and cracking on the slow side.
- ☐ Good face positioned correctly: good side down for standard blades, since teeth cut on the upstroke and tearout lands on top; reverse-tooth blades flip that rule.
- ☐ Cut line taped: painter’s tape on both sides of the cut line to reduce splintering on plywood and laminate.
- ☐ Workpiece clamped on both sides: clamping stops vibration, protects accuracy, and keeps hands clear of the blade path — a workpiece must never be hand-held.
- ☐ Straightedge clamped for straight cuts: a clamped straightedge guide gives table-saw-straight results, since freehand straight cuts wander.
- ☐ Shoe flat and blade just behind the line at the start: rest the shoe flat, ease into the cut, and feed steadily without forcing — forcing bends the thin blade and the cut wanders.
- ☐ Curves handled slowly with relief cuts: drill a starter hole for interior cuts, cut away waste in sections on tight curves, slow the feed as the curve tightens, and use a narrow scroll-cutting blade for tight turns.
- ☐ Rectangular cutouts corner-drilled: drill a hole in each corner of a rectangular cutout, since the drilled holes become clean corners and turning 90° with a jigsaw gives rounded, messy corners.
- ☐ Thickness limits respected: wood up to 2 in / 51 mm or more with a long enough blade, and steel up to about 1/4 in / 6 mm with bimetal blades at slow speed — thicker cuts wander more.
- ☐ Fresh blade fitted when cutting gets hard: jigsaw blades dull fast, and a fresh blade costs about $0.50 each in packs — a dull blade tears instead of cutting.
The mistakes that cause bad cuts
- Wrong blade — the #1 cause. Coarse blade on plywood = tearout disaster.
- Forcing the feed — pushing too hard bends the blade → wandering cuts. Let it cut at its pace.
- Too much orbital — max orbital on fine work = rough, wavy edges. Match orbital to the task.
- Dull blade — jigsaw blades dull fast (they’re thin with small teeth). When cutting gets hard or the cut wanders: new blade. They’re $0.50 each in packs.
- Unsecured workpiece — vibration ruins accuracy and is dangerous. Clamp everything.
- No guide for straight cuts — freehand straight is a skill; a clamped straightedge is a guarantee.
My first jigsaw cuts, and why they were all terrible
My first jigsaw project was a set of wooden letters for a nursery wall, and I am still slightly embarrassed by how bad the first three letters were. I clamped nothing, I used the blade that came in the box, I set the speed to maximum because faster felt like better, and I pushed the saw forward as if I were in a race. The blade bent, the cut wandered off the line by a quarter of an inch, and the back face of the plywood blew out in splinters that no amount of sanding could fully hide. I threw the first letter away, I nearly threw the saw away with it, and then a neighbour who builds cabinets watched me for about thirty seconds and said the sentence that fixed everything: let the blade do the cutting, and steer like you are driving slowly around a corner. I slowed down, I let the saw advance at its own pace, and the fourth letter came out clean enough to hang. The saw had not changed. My hands had.
The second lesson cost me a sheet of good birch plywood and a Saturday. I was cutting a curved apron for a small table, and I kept the same coarse blade I had used for rough framing cuts because changing a blade felt like admitting I did not know what I was doing. The coarse teeth tore the curve, the orbital action was set to its most aggressive setting, and the result looked chewed rather than cut. When I finally switched to a fine-tooth, reverse-tooth blade, turned the orbital action off, and taped the cut line with painter’s tape, the same curve came out smooth on the first try. The blade cost four dollars. The wasted sheet cost forty-two. That ratio has stayed with me ever since, and it is why I now keep a small labelled box of jigsaw blades on the bench instead of a single blade rattling around in the saw case. Ten blades, sorted by tooth count and purpose, cost less than one ruined sheet of hardwood plywood, and they are the difference between a jigsaw that frustrates you and a jigsaw that feels like magic.
The third lesson is about holding the work, and it is the one beginners resist most because clamping feels slow. I used to hold a board with one hand and saw with the other, which meant the board vibrated, the blade chattered, and my cut line moved every time the board shifted. The day I started clamping both sides of the cut, with the cut line just past the edge of the bench so the offcut could fall free, my accuracy doubled overnight. It added perhaps ninety seconds per cut. It saved me from re-cutting roughly one piece in three, which is a trade I would make every single time. If you remember nothing else from this guide, remember this: a sharp, correct blade, a slow feed rate, and a clamped workpiece will beat an expensive saw in unskilled hands, and they will cost you less than the price of a takeaway dinner.
Print This Before You Cut — Jigsaw Rescue Chart: Symptom to Fix in Seconds
| Symptom | Likely cause | The fix |
|---|---|---|
| Cut wanders crooked | Blade deflection from forcing the feed, a dull blade, or too much orbital action | Slow down, ease off, fit a fresh blade, reduce orbital — and check the blade is perpendicular at 0° bevel |
| Saw vibrates excessively | Dull blade, too-coarse blade for the material, forcing the cut, or an unsecured workpiece | Fit a sharp blade matched to the material, stop forcing, and clamp the workpiece on both sides |
| Top face splinters and tears | Wrong blade, or the good face is up | Put the good side down (teeth cut on the upstroke), or switch to a reverse-tooth blade; tape the cut line on both sides |
| Plastic melts along the cut | Speed too high for plastic | Drop to medium speed — too fast melts, too slow cracks |
| Thick wood burns and the blade clogs | Teeth too fine for the thickness | Thicker material needs lower TPI — too-fine teeth on thick wood clog and burn |
Why does my jigsaw cut crooked?
Blade deflection — usually from forcing the feed (pushing too hard bends the thin blade), a dull blade, or too much orbital action. Slow down, ease off, fresh blade, less orbital. Also: check the blade is perpendicular (some saws allow bevel adjustment — make sure it’s at 0°).
Can a jigsaw cut a straight line?
Yes — with a clamped straightedge guide. Freehand straight cuts are possible with practice but the guide is foolproof. Don’t judge the tool by freehand results.
What thickness can a jigsaw cut?
Wood: up to 2″+ with the right blade (longer blades for thicker stock). Metal: up to ~1/4″ steel with bimetal blades (slowly). Practical limit is blade length and patience — thick cuts wander more.
Jigsaw vs circular saw — which first?
Different tools: circular saw for straight cuts (faster, more powerful); jigsaw for curves and cutouts (more versatile shapes). Circular saw guide. If you can only buy one first: circular saw for construction, jigsaw for craft/detail work.
Why is my jigsaw vibrating so much?
Usually: dull blade, too-coarse blade for the material, forcing the cut, or the workpiece isn’t secured. Some vibration is normal (it’s a reciprocating tool); excessive vibration means something’s wrong.
How do I cut a perfect circle?
Circle-cutting guide attachment ($15–$25) — a pivot arm that guides the saw around a center point. Or: mark the circle, drill a starter hole, cut just outside the line with a narrow blade, then sand to the line. The attachment is worth it if you cut circles regularly.
The verdict: the technique summary
Right blade (TPI matched to material) + appropriate orbital + right speed + steady feed (no forcing) + secured work + guide for straights = clean jigsaw cuts.
The jigsaw’s bad reputation comes from wrong blades and forced feeding — both instantly fixable. Treat blade selection as seriously as the saw selection, let the tool cut at its pace, and the humble jigsaw produces work that surprises everyone who thinks it’s a rough-cut-only tool.
Tool Worth Lab provides research-based technique guidance. Always wear eye and hearing protection, secure workpieces with clamps, and unplug when changing blades. Let the blade do the cutting — forcing causes deflection and wandering.
Keep Reading: jigsaw skills that pay off
Setup sorted? These fix the three jigsaw problems beginners hit next:
- Cutting Laminate Countertop with a Jigsaw? Do THIS to Avoid Chipping! — the down-cutting blade trick for chip-free laminate edges.
- Jigsaw Cutting Crooked? The REAL Reason Why! — why cuts wander, and the setup fix for each cause.
- Jigsaw Blade Keeps BREAKING? STOP Doing THIS! — the pushing, TPI and orbital mistakes that snap blades.