
Your doorbell just rang. You are halfway through a sandwich, the dog is losing its mind, and some stranger is standing on your porch holding a parcel the size of a washing machine. Thirty seconds later, you know exactly who it is, you have told the courier where to leave it, and you have not even stood up. That is the whole point of a video doorbell — and it is also why a bad install is so maddening, because the magic only works when the boring bits underneath it work first.
Here is the part the box never mentions: the mounting takes fifteen minutes, but two invisible checks decide whether those fifteen minutes turn into a perfect install or a weekend of buzzing chimes, frozen video, and a doorbell that dies every time someone rings it. This guide walks you through both checks first, then the actual install — wired or battery, your call — so the first time you mount it is the last time you touch it.
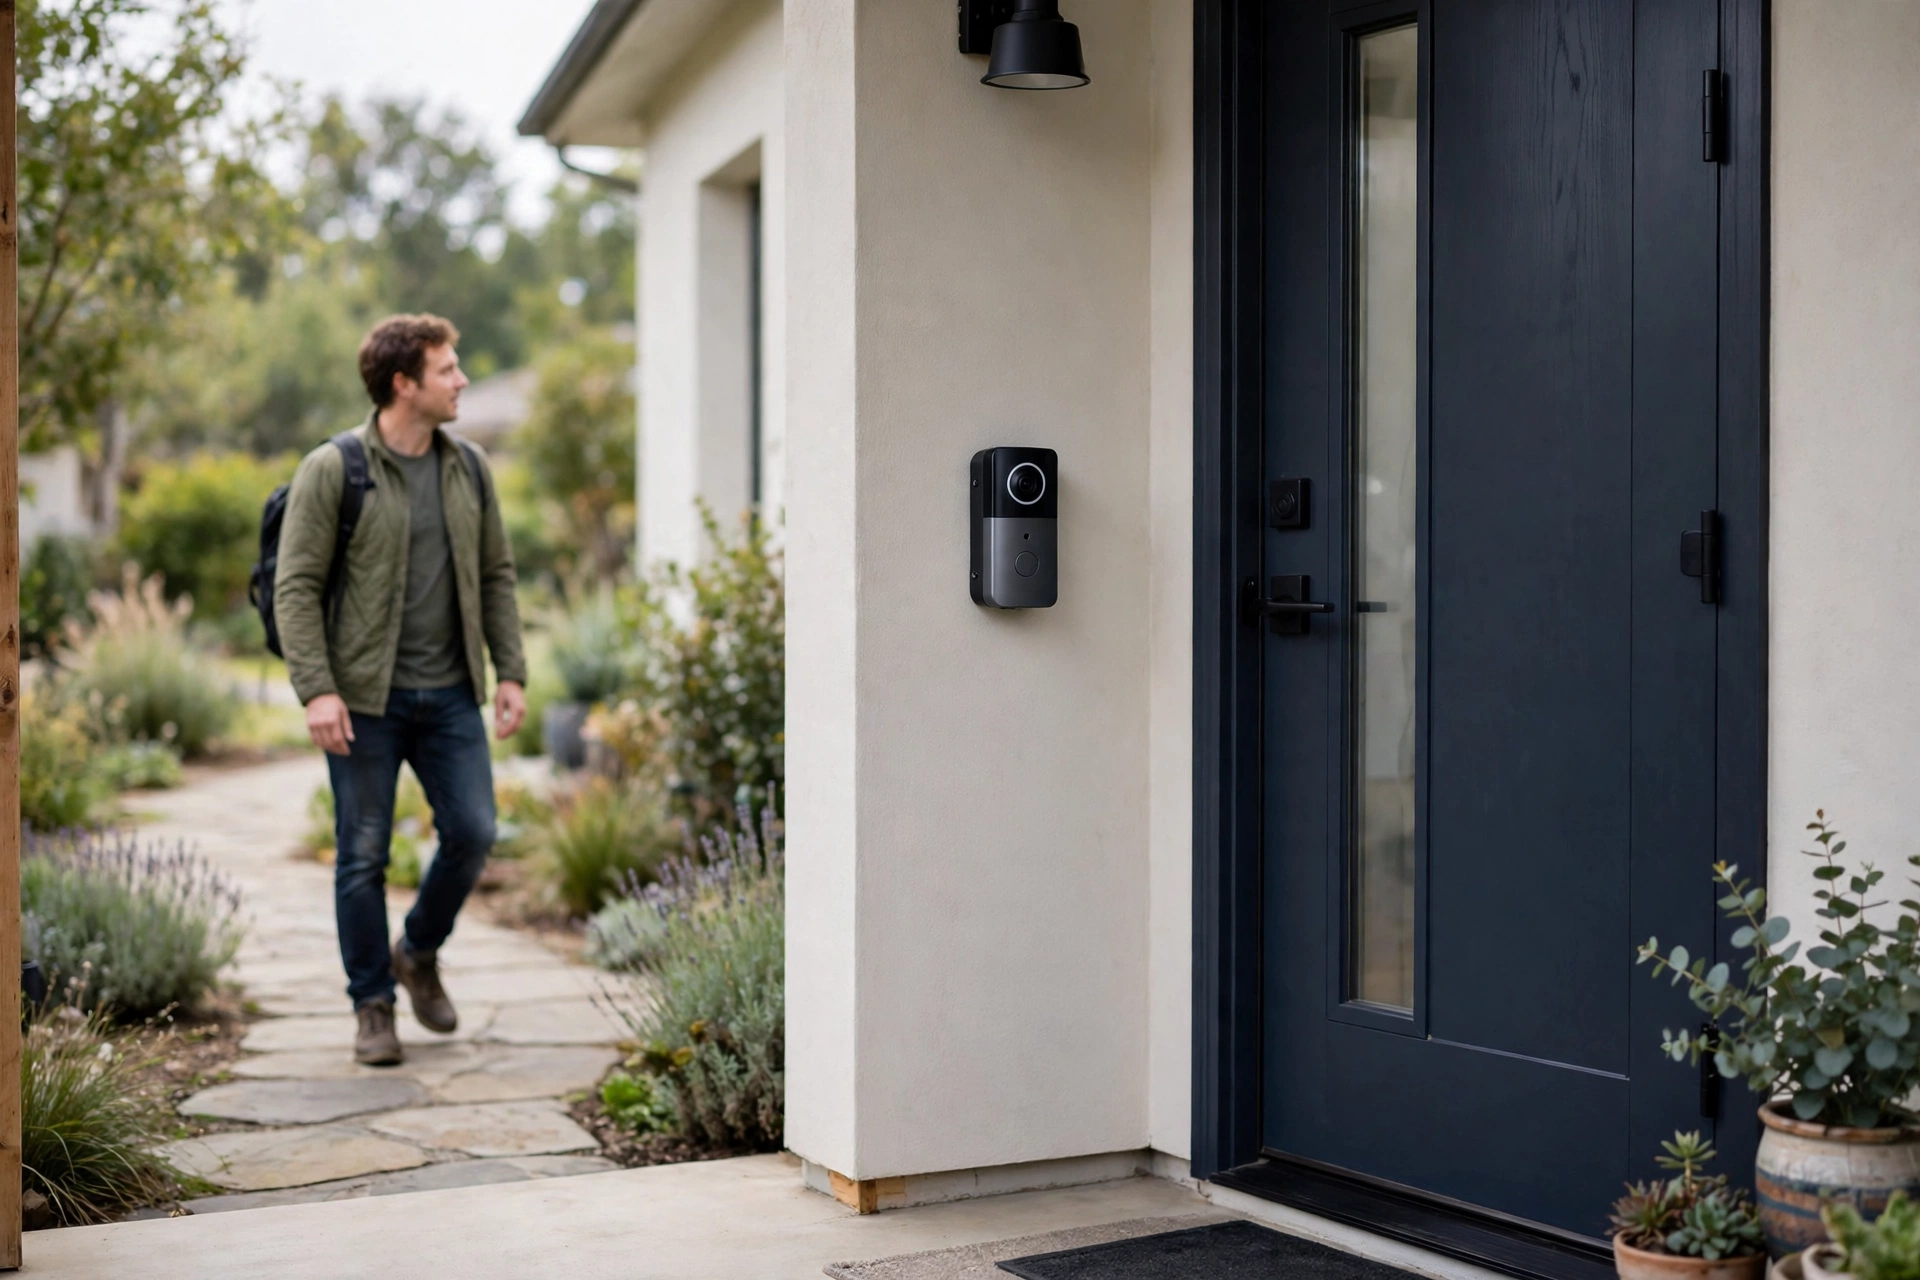
Do the checks in this guide first, and the actual mounting is the easy part. Wired or battery, you will know which one fits your door before you buy anything.
Safety first: Turn off the doorbell breaker for wired installs (low voltage, but the transformer connects to line voltage — stay at the doorbell, not in the panel). Don’t work in rain (electrical + water). If your doorbell wiring is ancient or damaged: assess before proceeding.
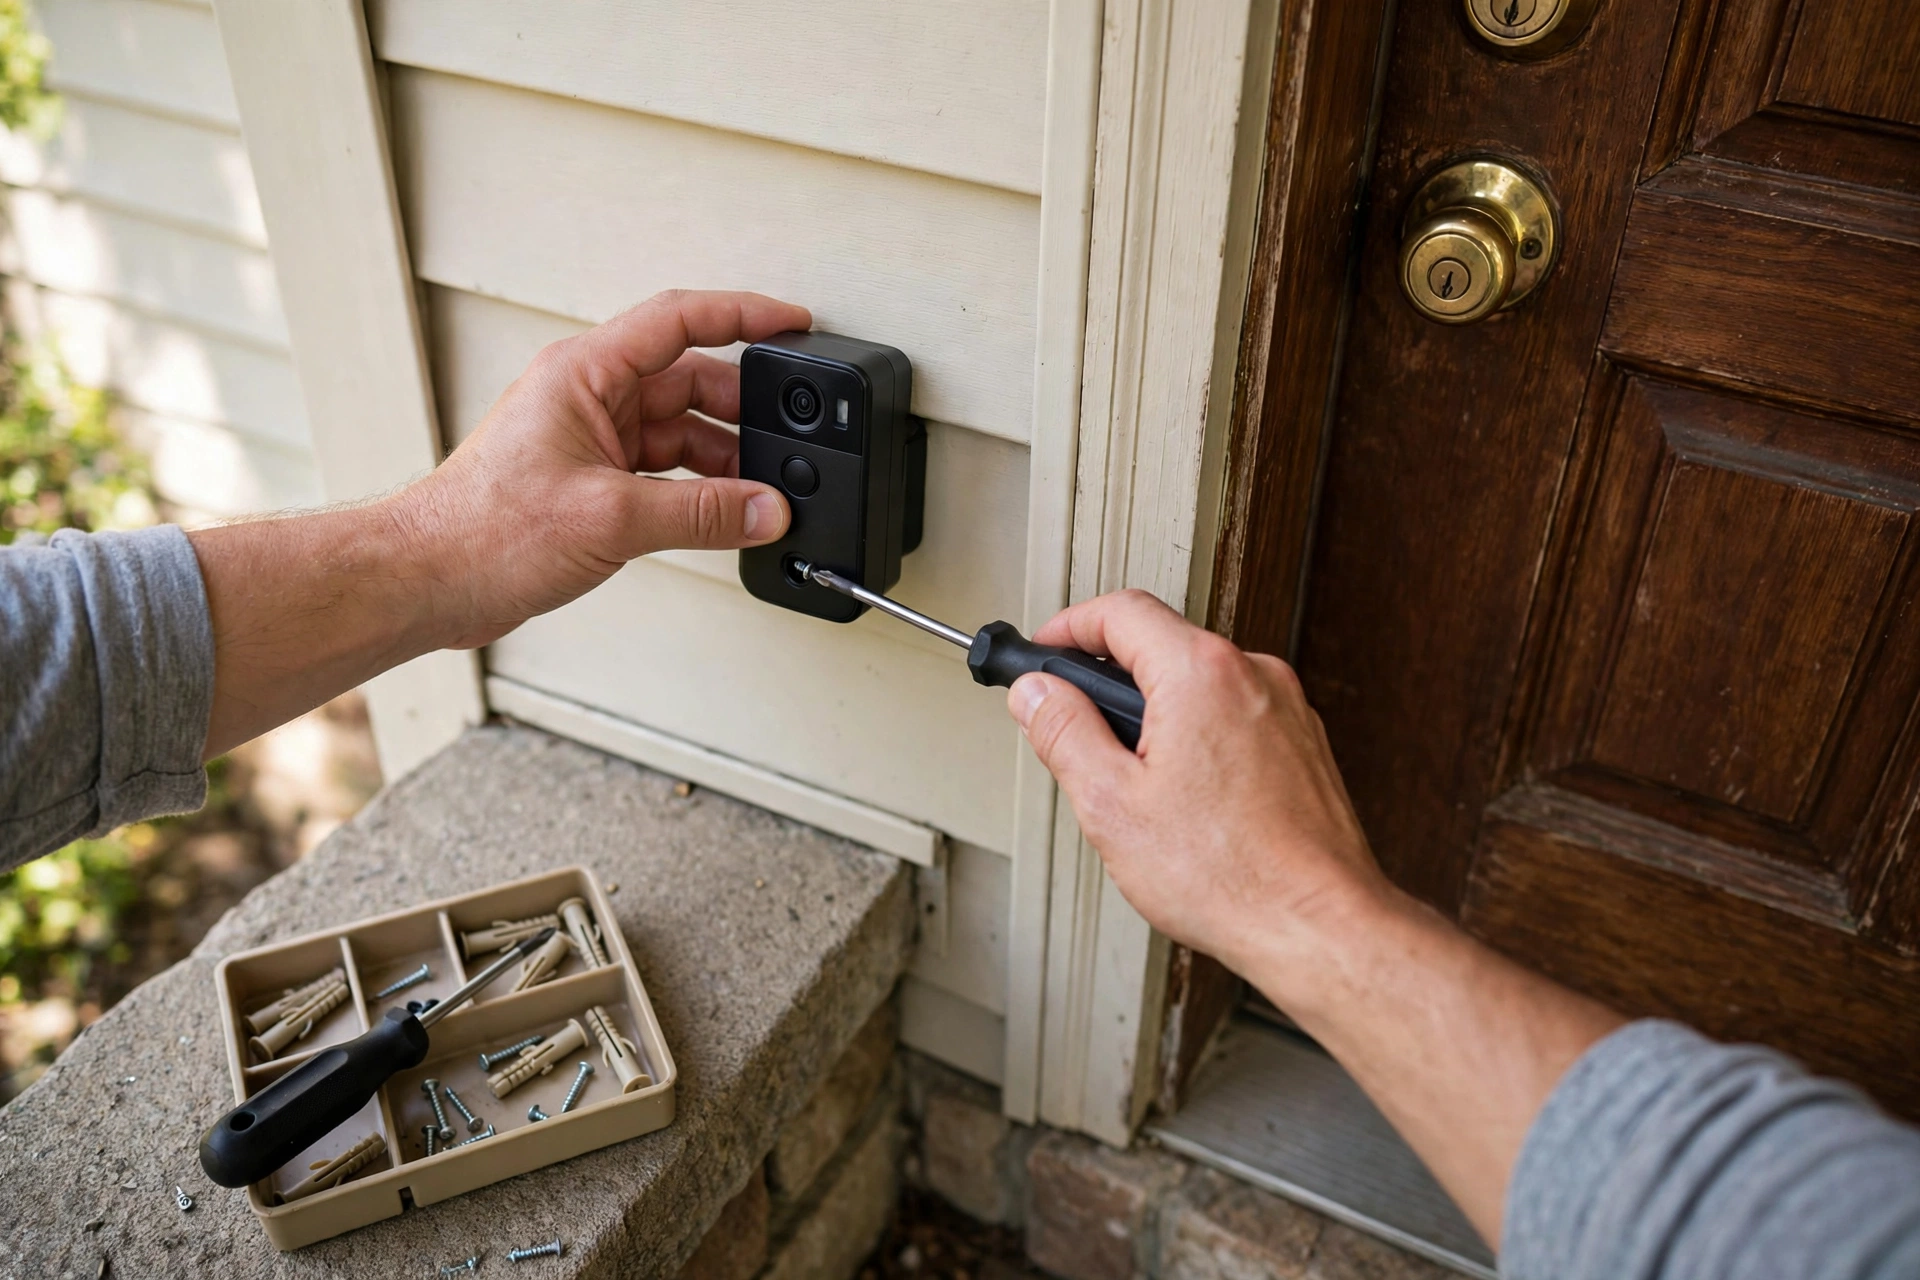
Wired vs battery (the decision)
| Wired | Battery | |
|---|---|---|
| Power | Existing doorbell wires (16–24V) | Rechargeable battery |
| Install | 20–30 min (wiring + mount) | 10–15 min (mount only) |
| Features | Full (continuous recording with some models) | May limit features (to preserve battery) |
| Maintenance | None (always powered) | Recharge every 1–6 months |
| Chime | Existing chime works | Needs electronic chime or app alerts |
| Best for | Existing doorbell wiring | Renters, no existing wiring |
The honest take: wired is better if you have the wiring (no charging, full features, existing chime). Battery is the easy path when there’s no wiring (or you’re renting). Both work well — the decision is about your situation, not quality.
The transformer check (wired installs)
The doorbell transformer (usually in the basement, garage, or near the panel) must supply adequate power:
- Required: typically 16–24V, 10–40VA (check your doorbell’s specs).
- Old transformers (10V, low VA) are inadequate — the #1 cause of “my wired doorbell doesn’t work right.”
- Test: multimeter on the doorbell wires (multimeter guide) — verify voltage in range.
- Upgrade: transformers are $15–$25 and swap easily (breaker off! — the transformer connects to line voltage).
Check this BEFORE buying the doorbell — an inadequate transformer causes intermittent operation, poor night vision, and charging issues that look like a defective doorbell.
Tools needed
| Tool | For |
|---|---|
| Screwdrivers | Mounting, terminals |
| Drill/driver | Mounting holes, anchors |
| Voltage tester / multimeter | Verifying power off + transformer voltage |
| Level | Straight mounting (small, visible) |
| Phone | Setup app, testing |
Bookmark This Checklist — Pre-Order Compatibility Checks for a Video Doorbell
- ☐ Existing doorbell wiring confirmed: wired power suits a home with existing doorbell wiring, while battery power suits renters and homes with no existing wiring.
- ☐ Transformer located before ordering: the doorbell transformer usually sits in a basement, garage, or near the electrical panel.
- ☐ Transformer voltage and capacity verified with a multimeter on the doorbell wires: typically 16–24V and 10–40VA, checked against the doorbell model’s own specifications.
- ☐ Old transformer flagged for replacement: old transformers at 10V with low VA are inadequate and are the number-one cause of wired doorbells working badly — replacement transformers cost $15–$25 and swap with the breaker off.
- ☐ Chime plan decided: wired installs keep the existing chime working, while battery installs need an electronic chime or app alerts for audible indoor alerts.
- ☐ WiFi signal tested at the door with a phone before mounting: video doorbells are WiFi-dependent, 2.4 GHz penetrates walls better than 5 GHz, and most doorbells prefer 2.4 GHz — a WiFi extender or mesh node near the door fixes a weak signal.
- ☐ Mounting surface and fixings planned: the bracket must be level and securely mounted, with masonry bits and anchors for brick or concrete surfaces.
- ☐ Camera angle planned: a wedge kit angles the camera about 15° toward the approach path when a door faces the street at an angle, and chest-height mounting frames visitors’ faces instead of the tops of heads.
- ☐ Battery expectations set honestly: battery models recharge every 1–6 months on paper, with 1–3 months typical in real-world use, since motion triggers drain faster than the box suggests — and cold weather reduces battery capacity further.
- ☐ Subscription cost factored into the total price: basic live view and alerts usually need no subscription, while video recording and history usually cost $3–$10 per month depending on brand.
- ☐ Renter permission checked for wired models: battery models with adhesive mounts need no drilling, while wired models need landlord permission.
Installation: wired
1. Power off
Turn off the doorbell breaker. Verify with the tester at the doorbell wires.
2. Remove the old doorbell
- Unscrew and pull forward (don’t let wires fall into the wall — tape them).
- Note the wire positions (photo!).
3. Mount the new bracket
- Thread wires through the bracket.
- Level and mark holes.
- Drill + anchors (brick/concrete needs masonry bit + anchors).
- Secure the bracket.
4. Connect wires
- Connect to the terminals per the instructions (usually just two wires — polarity often doesn’t matter for AC doorbells, but follow the manual).
- If you have an existing chime: install the included chime adapter/connector (it manages power between the doorbell and the mechanical chime).
5. Attach, power on, configure
- Snap/screw the doorbell to the bracket.
- Breaker back on.
- Follow the app setup (WiFi, chime settings, motion zones, notifications).
6. Test everything
- Press the button (does the chime ring? does the app alert?).
- Check the video (day and night — verify night vision).
- Test two-way audio.
- Verify motion detection (walk through the zone).
Installation: battery
1. Charge fully first
Charge to 100% before mounting (don’t mount a half-charged doorbell).
2. Mount the bracket
Same as wired (minus the wiring) — level, anchors for the surface, secure.
3. Attach and configure
Snap on, follow the app setup. Configure the electronic chime (plug-in chime accessory) if you want audible alerts indoors.
4. Optimize for battery life
- Motion zones: narrow to the essential area (fewer false triggers = longer battery).
- Sensitivity: medium (high sensitivity drains battery on passing cars).
- Video quality: balance quality vs battery (max quality = max drain).
- Realistic expectation: 1–3 months typical (not the 6 months on the box — real-world motion triggers drain faster).
The WiFi factor (both types)
Video doorbells are WiFi-dependent — weak signal = delayed alerts, poor video, disconnections.
- Test signal at the door location before mounting (phone WiFi indicator — or the doorbell’s signal test during setup).
- 2.4 GHz penetrates walls better than 5 GHz (most doorbells prefer 2.4).
- If weak: WiFi extender or mesh node near the door (the $30 fix that prevents 90% of “my doorbell is unreliable” complaints).
The WiFi is the real installation — the physical mounting takes 15 minutes; ensuring reliable connectivity is what determines satisfaction.
Troubleshooting
Chime doesn’t ring (wired)
Usually: the chime adapter not installed (required for mechanical chimes), transformer inadequate, or chime settings wrong in the app (mechanical vs electronic). Check in that order.
Delayed notifications
Almost always WiFi (signal strength at the door). Improve the signal before blaming the doorbell. Also: phone notification settings (battery optimization killing the app in the background — whitelist it).
Poor night vision
Usually: IR reflection (mounted too close to a wall/surface — the IR bounces back), or inadequate power (wired — check the transformer). Reposition slightly away from reflective surfaces.
Battery drains fast
Motion sensitivity too high, too-wide motion zones, poor WiFi (the radio works harder), or cold weather (batteries drain faster in cold — normal). Optimize zones and sensitivity first.
The doorbell that taught me to check the transformer first
I installed my first video doorbell on a Saturday morning, confident it would take twenty minutes, and it took most of the afternoon because I skipped the one check that matters: the transformer. The old doorbell chimed fine, so I assumed the transformer was fine too, and assumption is a wonderful way to waste a Saturday. I wired the new doorbell, the app showed it online, and then the chime buzzed faintly every few minutes like an angry insect, and the video froze whenever someone rang the bell. The transformer was putting out 10 volts. The doorbell wanted 16 to 24. I spent an hour convinced the doorbell was faulty, another hour on a support chat that asked me to reset the device three times, and then ten minutes with a multimeter that told me the truth in one reading. The replacement transformer cost 18 dollars, the junction box and wire nuts added another 7 dollars, and the whole job after that took twenty minutes, exactly as promised. Check the transformer before you buy anything else. It is the cheapest part of the system and the most common reason a wired install misbehaves.
My second mistake was about Wi-Fi, and it was almost as embarrassing. The doorbell sat on a brick wall at the far end of the house from the router, and the signal there was just strong enough for the doorbell to connect and just weak enough for the video to stutter whenever anyone moved. I blamed the doorbell, I blamed the app, I blamed the internet provider, and then I stood at the front door with my phone and ran a speed test that showed one bar and a fraction of a megabit. A 29-dollar plug-in Wi-Fi extender in the hallway nearest the door fixed it completely, and I have since learned to run that phone test at the door before I drill a single hole. If the phone struggles there, the doorbell will struggle worse, because its antenna is smaller and it is mounted on a wall that blocks signal. Fix the signal first, then mount the hardware, and you will never have to take a freshly installed doorbell back off the wall to troubleshoot it.
The third lesson is about the wedge mount, which looks like an optional extra and is not. My door faces the street at an angle, and without a wedge the camera spent its first week filming mostly my neighbour’s hedge and a slice of my own porch. A 12-dollar wedge kit angled the camera fifteen degrees toward the path, and suddenly visitors’ faces were in frame instead of their shoulders. I also learned to mount the doorbell at chest height rather than at the old doorbell’s height, which on my house was nearly six feet up and gave me excellent footage of the tops of people’s heads. Chest height, angled toward the approach path, with a transformer that actually delivers the rated voltage and a Wi-Fi signal that holds up at the door: those four details are the whole job, and they are all cheaper than the doorbell itself. Total cost of my education, including the transformer, the extender, and the wedge kit, was 66 dollars and one lost Saturday. Yours can be just the 66 dollars.
Keep This Chart Handy — Doorbell Acting Up? Diagnose It in 30 Seconds
Something misbehaving after install? Find the symptom, check the most likely cause first, and fix that — not the whole doorbell.
| Symptom | Most likely cause | Fix this first |
|---|---|---|
| Chime doesn’t ring (wired) | Chime adapter not installed, transformer inadequate, or chime settings wrong in the app (mechanical vs electronic) | Check in that order: adapter, then transformer voltage (typically 16–24V), then the app setting |
| Delayed notifications | Almost always WiFi — weak signal at the door | Improve the signal before blaming the doorbell; also check phone notification settings (battery optimization can kill the app in the background — whitelist it) |
| Poor night vision | IR reflection from a wall or surface too close, or inadequate power on a wired install | Reposition slightly away from reflective surfaces; on wired installs, check the transformer |
| Battery drains fast | Motion sensitivity too high, motion zones too wide, poor WiFi (the radio works harder), or cold weather | Optimize zones and sensitivity first — narrow the zone to the essential area and set sensitivity to medium |
Do I need a subscription?
For basic live view and alerts: usually no. For video recording/history: usually yes ($3–$10/month depending on brand). Factor this into the total cost — the “cheap” doorbell with mandatory subscription costs more over 3 years than the premium one without.
Can renters install one?
Battery models: yes (adhesive mounts available — no drilling). Wired: only with landlord permission. The battery + adhesive combo is the renter’s solution.
What about cold weather?
Battery models suffer in cold (reduced capacity — expect more frequent charging in winter). Wired models are unaffected (continuous power). Cold-climate battery users: it’s the main drawback to know about.
How do I prevent theft?
Security screws (included with most — the special bit prevents casual removal), mounting in a visible location (thieves avoid cameras that see them stealing the camera), and the cloud backup (the video uploads before they can take it — the real deterrent).
Can it replace my peephole?
Functionally: yes (and better — you see who’s there from anywhere, not just at the door). Some people keep both (the peephole as backup). The doorbell doesn’t require you to approach the door — that’s the security advantage.
The verdict: the installation checklist
- [ ] Wired or battery — decided based on existing wiring
- [ ] Transformer verified — 16–24V, adequate VA (wired)
- [ ] Breaker off — verified (wired)
- [ ] Old wiring documented — photo taken
- [ ] Bracket level — mounted securely (proper anchors for the surface)
- [ ] Wires connected — per instructions, chime adapter installed (wired)
- [ ] WiFi signal verified — strong at the door location
- [ ] All functions tested — button, chime, video (day/night), audio, motion
- [ ] Motion zones optimized — essential area only (battery life + fewer false alerts)
- [ ] Subscription decided — factored into total cost
Fifteen minutes of mounting, but the real work is the transformer check (wired), the WiFi verification (both), and the motion zone tuning (satisfaction). Get those right and the doorbell just works — the quiet sentinel that answers the door before you do.
Tool Worth Lab provides research-based installation guidance. Turn off the breaker for wired installs, verify transformer voltage before buying (inadequate transformers cause most wired issues), ensure strong WiFi at the door location, and factor subscription costs into the total price comparison.
Keep Reading: more smart-home installs, done right
Doorbell sorted? These are the next installs where the pre-check matters more than the mounting:
- How to Install a Smart Thermostat (Wiring & Setup Guide) — the wiring check that decides whether a smart thermostat install is smooth or miserable.
- How to Install a Bathroom Faucet (Step-by-Step Guide) — another 30-minute upgrade where shut-offs and measurements come first.
- How to Install a Replacement Window (Step-by-Step Guide) — the measuring mistake that turns a window order into an expensive return.