
Quick Answer: A sandbox kids actually use comes down to three invisible details: drainage (or it’s a mud pit), the cover (or it’s a litter box), and the sand itself (or it’s full of debris). Get those three right and this complete weekend build becomes the backyard’s most-used feature — for about the price of a nice dinner out.
I have seen a gorgeous sandbox sit empty all summer — not because the kids were bored, but because the sand turned into a swamp after one rainy week and the cover weighed more than the kids did. That is the heartbreak version, and it is completely avoidable.
Here is the version where it all goes right: a box that drains after the rain instead of turning into a swamp, a lid light enough that the kids can open it themselves, and sand so clean you would happily dig in it barefoot. One weekend of honest work, and the sandbox becomes the place they beg to visit every single morning — no heartbreak, no swamp, no litter-box surprises.
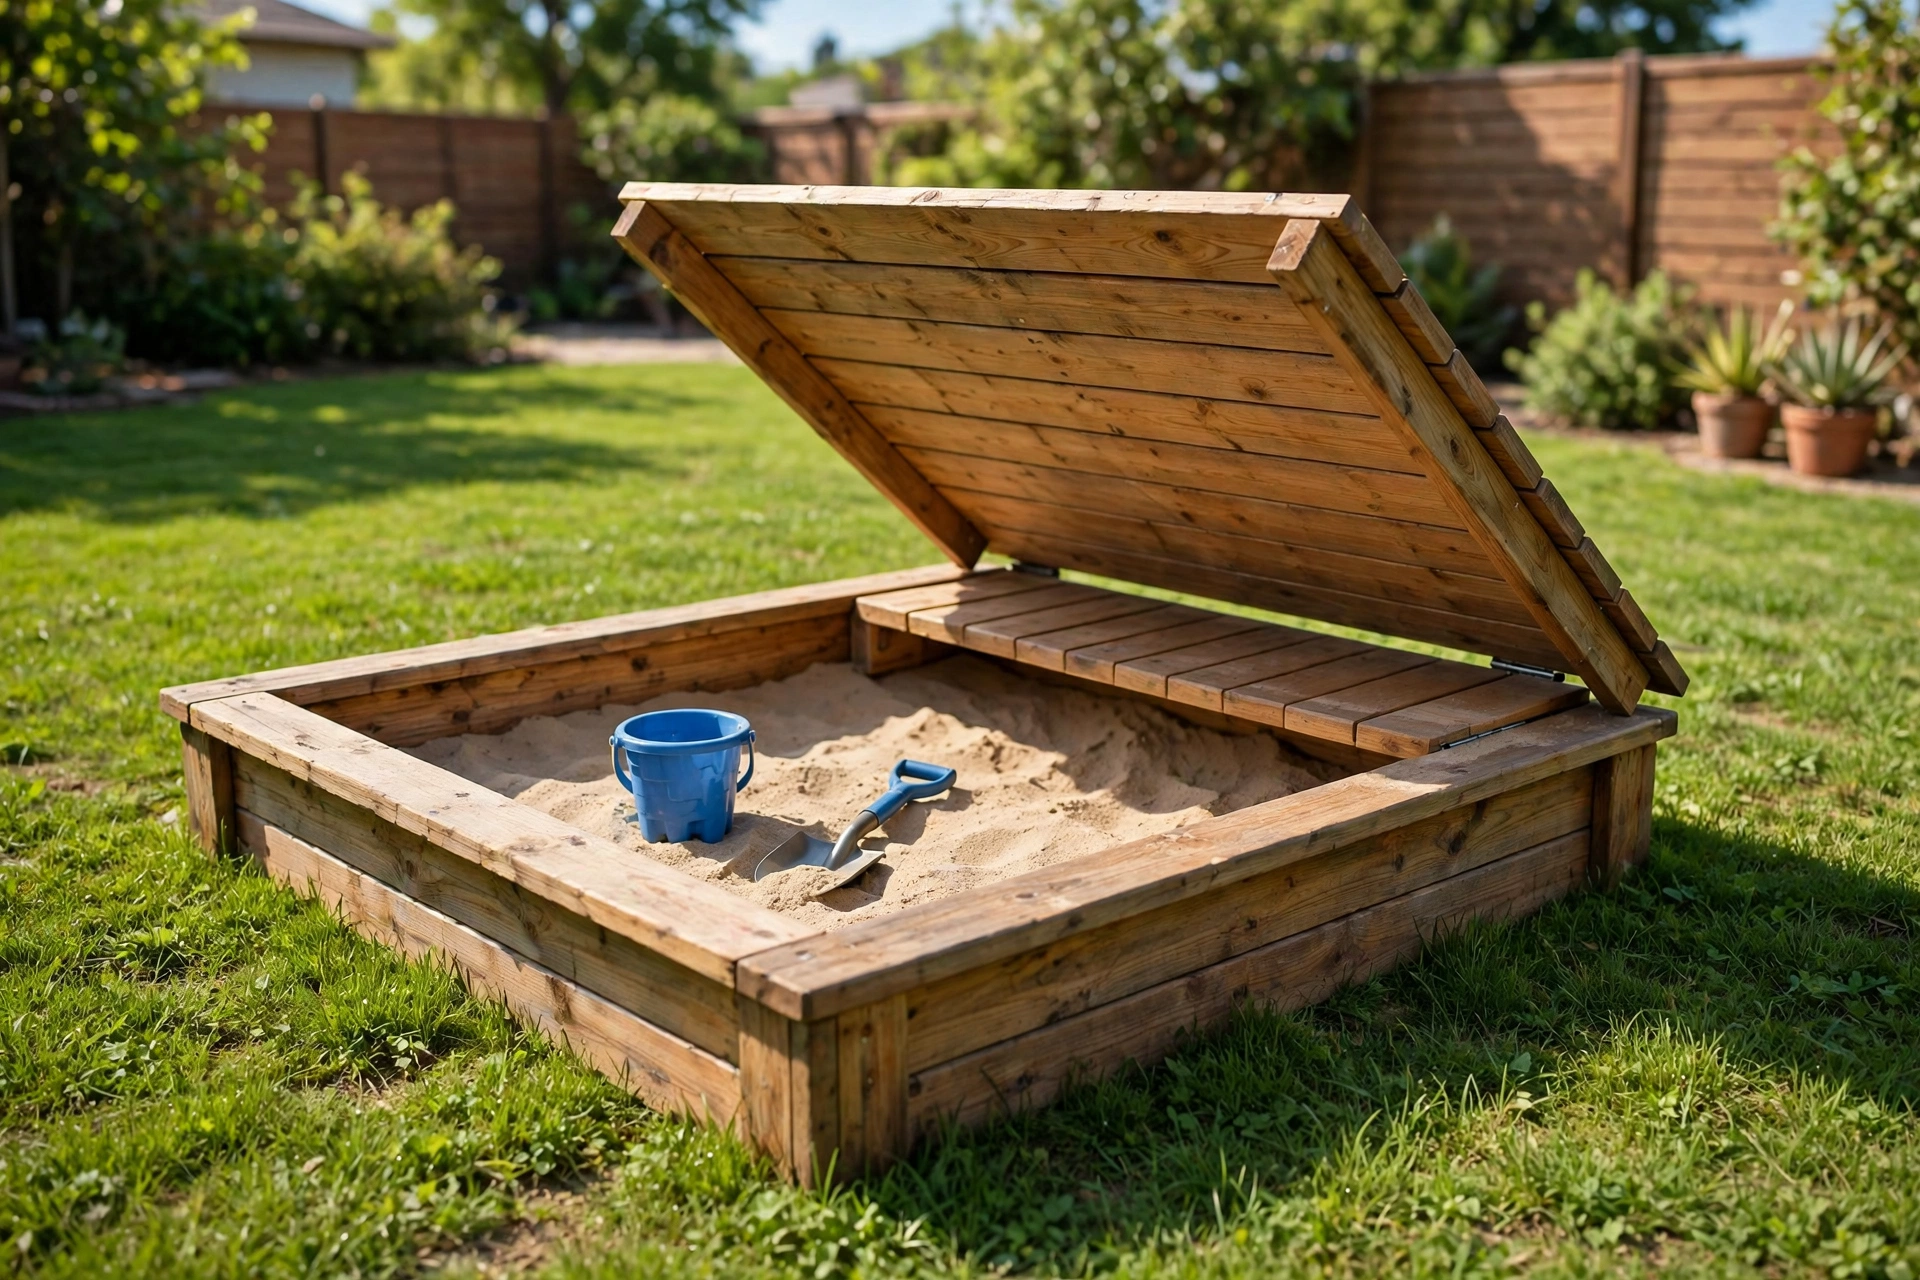
The principle: a sandbox manages three things — water (drainage), contamination (cover), and sand quality (the play surface). Every decision serves one of these three.
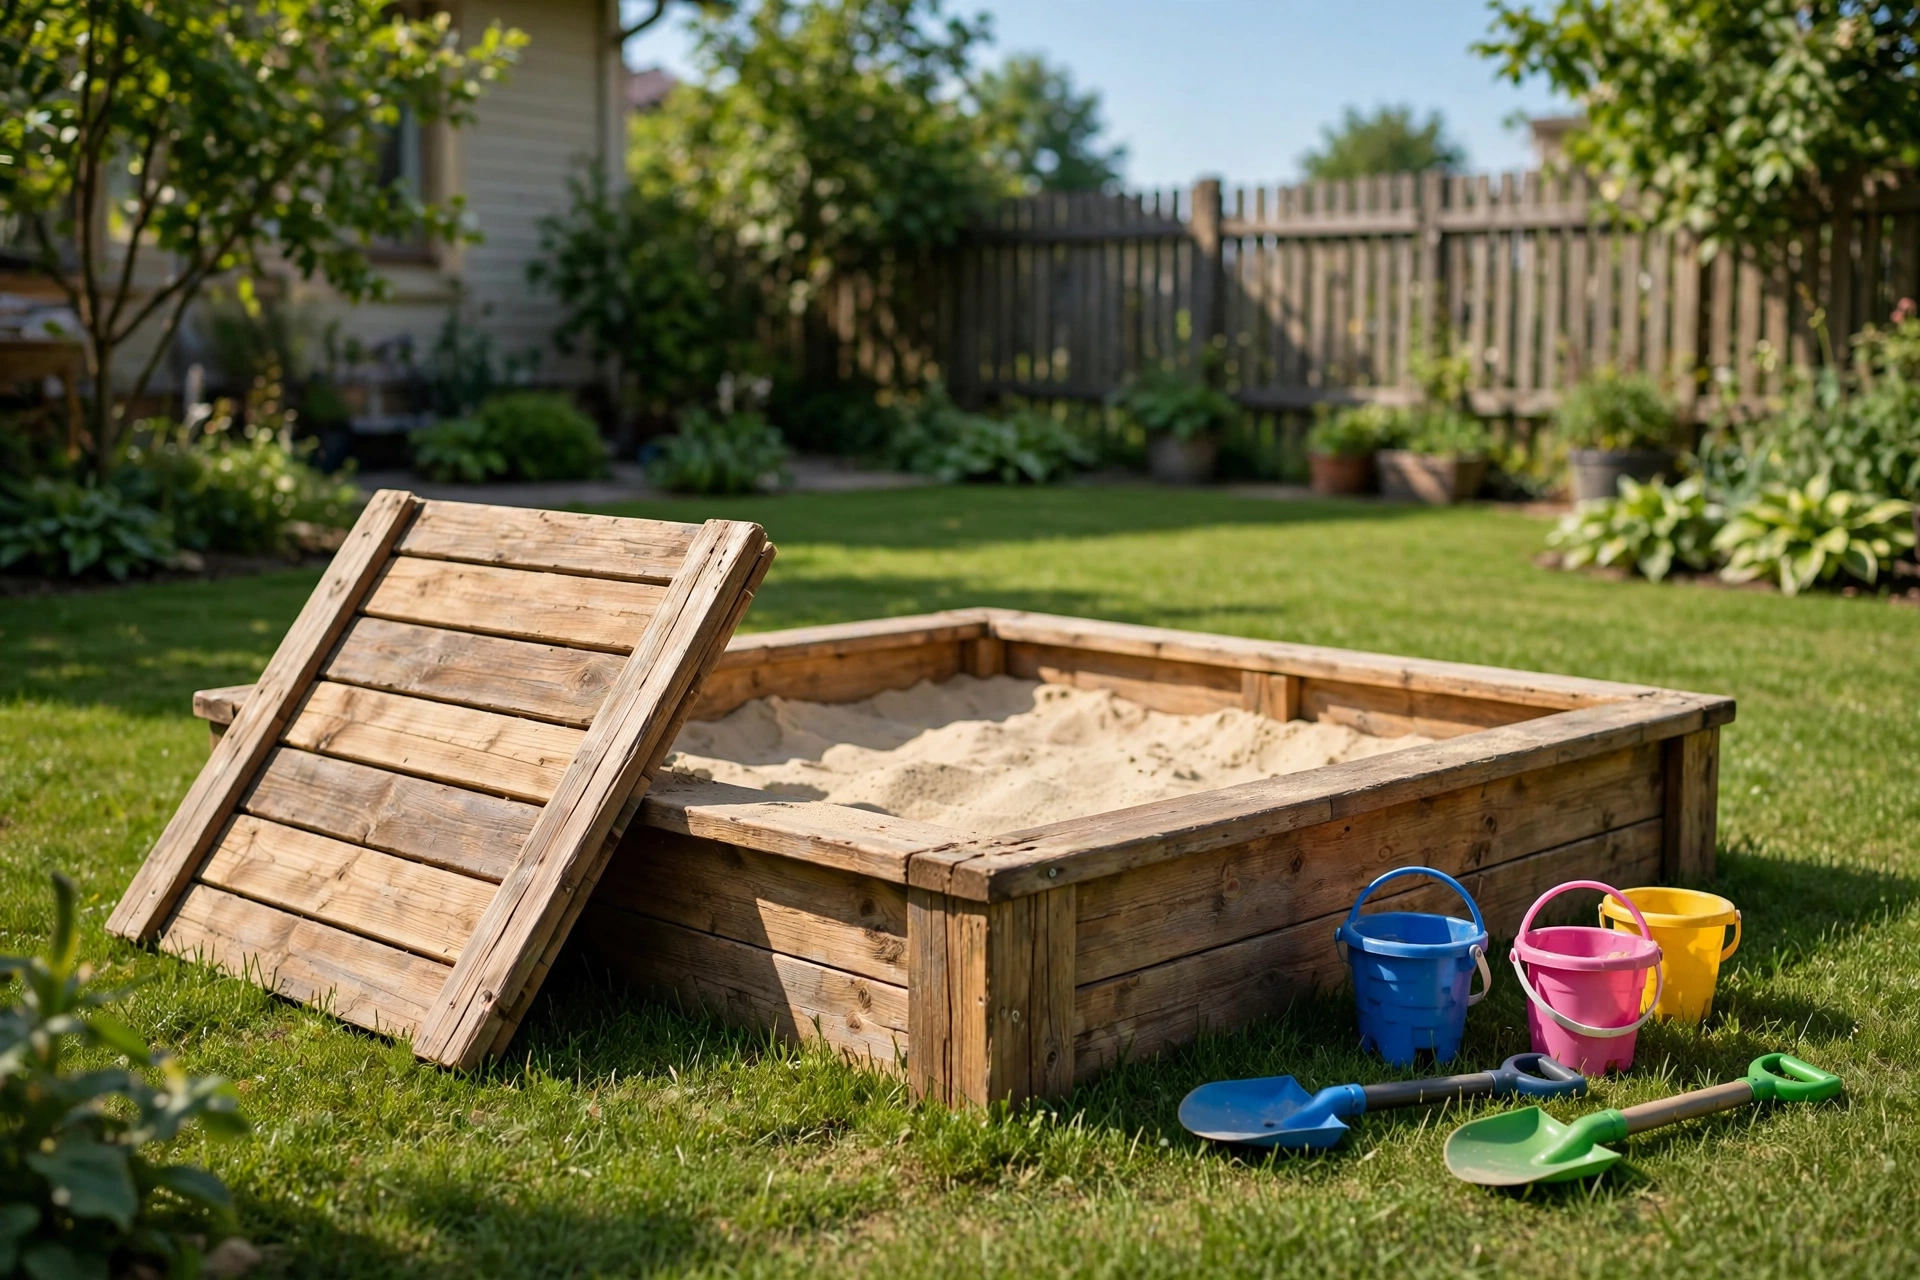
Project at a glance: Time — one weekend · Cost — a few hundred dollars (bulk sand + lumber) · Skill level — beginner
Sizing
| Size | Ages | Notes |
|---|---|---|
| 4×4 ft (1.2×1.2 m) | 1–2 kids, toddlers | The starter — manageable, movable |
| 6×6 ft (1.8×1.8 m) | 2–4 kids | The sweet spot — room to play, reasonable sand volume |
| 8×8 ft (2.4×2.4 m) | 4+ kids | The destination — significant sand (and cost) |
Depth: 8–12 in (20–30 cm) of sand (deep enough to dig, shallow enough to manage). The frame is typically 10–12 in (25–30 cm) tall.
Sand volume: length × width × depth (ft) ÷ 27 = cubic yards. A 6×6×1 ft box = 1.33 cubic yards ≈ 3,600 lbs (1.6 tonnes) of sand. That’s nearly two tons — have it delivered (bagged sand for a 6×6 costs a fortune; bulk delivery is the way).
Location
- Visible from the house (supervision — the non-negotiable).
- Partial shade (full sun + sand = scorching; under a tree = debris rain — the tradeoff; a shade sail is the engineered solution).
- Away from the house (sand migrates — it WILL end up inside; distance reduces it).
- Level ground (or leveled — the frame must sit flat).
- Good drainage (not the yard’s low spot — standing water + sand = swamp).
Bookmark This Checklist — Materials & Tools
Screenshot this for the lumber yard — everything for a 6×6 ft (1.8×1.8 m) box in one trip.
| Part | Recommendation | Notes |
|---|---|---|
| Frame | Cedar or pressure-treated 2×8 / 2×10 (38×184 mm / 38×235 mm) | Ground contact — rot resistance |
| Liner | Landscape fabric | Weed barrier + drainage (NOT plastic — traps water) |
| Sand | Washed play sand | Specifically “play sand” — washed, screened, safe; buy 10% extra |
| Cover | See designs below | The critical accessory |
| Hardware | Exterior screws | Weather exposure |
Tools you’ll need
- Circular saw — cutting frame lumber
- Drill/driver — assembly (two exterior screws per joint, pre-drill)
- Tape measure — layout
- Level — the frame must sit flat
- Staple gun — attaching landscape fabric
- Shovel — site prep and moving sand
Sand selection (matters more than you’d think)
- Washed play sand — the standard (screened, washed, uniform — safe for kids).
- NOT: construction sand (too coarse, may contain debris), beach sand (salt, unknown contaminants), unwashed sand (dust, clay — the muddy mess).
- Amount: buy 10% extra (settling + spillage).
Drainage (the mud-pit prevention)
- Landscape fabric on the ground (weed barrier that drains — NOT plastic sheeting, which creates a bathtub).
- Gravel layer (2–3″ — optional but recommended in wet climates — the drainage reservoir).
- Frame gaps: leave small gaps between bottom boards (or drill drainage holes) — water must escape.
- Site grading: the surrounding ground should drain away (don’t build in a depression).
The test: after a rain, the sandbox should drain within hours, not days. If it ponds: the drainage has failed — address it (more gravel, better grading, unblocked holes).
The cover (non-negotiable)
An uncovered sandbox becomes a litter box (cats), a leaf collector, and a rain catcher. The cover isn’t optional — it’s the difference between a sandbox and a problem.
Cover designs
| Design | Pros | Cons |
|---|---|---|
| Plywood lid (hinged) | Simple, cheap, effective | Heavy (for big boxes — split into sections) |
| Fold-down benches | Cover converts to seating — the clever design | More complex build |
| Tarp | Cheapest, lightest | Less secure, blows off, holds water |
| Fabric cover (fitted) | Light, easy | Less durable, not walkable |
The fold-down bench design is the gold standard — the lid splits into two benches (seating when open, cover when closed). It’s the most-built sandbox design for good reason: functional, attractive, and the kids love the transformation.
Cover requirements
- Keeps animals out (the primary purpose — secure enough that cats can’t push in).
- Sheds water (slight slope or crown — no ponding on the cover).
- Manageable (if it’s too heavy/awkward, it won’t get used — and an unused cover is the same as no cover).
Mistakes to Avoid — Keep This Handy
- Using plastic sheeting instead of landscape fabric. Plastic traps water — you’ve built a bathtub, not a sandbox.
- Buying construction or beach sand. Coarse debris, salt, unknown contaminants — washed play sand only.
- Building in the yard’s low spot. Standing water + sand = swamp. Grade the site so water drains away.
- A cover that’s too heavy to bother with. If opening it is a chore, it stays off — and an unused cover is the same as no cover.
- Skimping on sand depth. Less than 8 in (20 cm) and the digging fun — the whole point — disappears.
- Forgetting the 10% extra sand. It settles and migrates — buy extra on day one, not in a panic later.
Construction
1. Site prep
- Mark the outline.
- Level the ground (dig down high spots — the frame must sit flat).
- Lay landscape fabric (overlapping, extending beyond the frame).
- Optional gravel layer (for drainage).
2. Frame
- Cut boards to length (butt joints or mitered corners — butt joints are fine).
- Assemble with exterior screws (two per joint minimum — pre-drill).
- Corner seats (optional but beloved — triangular seats in the corners, the kids’ favorite feature).
- Set on the prepared site — verify level.
3. Cover
Build per your chosen design (fold-down bench recommended — plans are widely available; the mechanism is simple hinges + the bench conversion).
4. Fill
- Bulk sand delivered (or bags for small boxes).
- Fill to 8–12″ (leave 2–3″ below the frame top — contains the sand).
- Rake level.
5. Final details
- Corner seats installed (if included).
- Cover tested (opens/closes easily — the kids should be able to manage it with help).
- Shade solution (sail, umbrella, or strategic placement).
Sandbox Numbers at a Glance — Keep This Chart Handy
Screenshot this before the lumber yard — every size, depth, and sand number in one place.
| What | Number | Notes |
|---|---|---|
| Starter box | 4 × 4 ft (1.2 × 1.2 m) | 1–2 kids, toddlers — manageable, movable |
| Sweet spot | 6 × 6 ft (1.8 × 1.8 m) | 2–4 kids — room to play, reasonable sand volume |
| Destination box | 8 × 8 ft (2.4 × 2.4 m) | 4+ kids — significant sand (and cost) |
| Sand depth | 8–12 in (20–30 cm) | Deep enough to dig, shallow enough to manage |
| Frame height | 10–12 in (25–30 cm) | Fill to 2–3 in below the frame top to contain the sand |
| Sand volume formula | Length × width × depth (ft) ÷ 27 = cubic yards | A 6 × 6 × 1 ft box = 1.33 cubic yards ≈ 3,600 lbs (1.6 tonnes) |
| Buy extra | 10% extra sand | It settles and migrates — buy it on day one |
| Top-up | 2–3 bags every year | Sand compacts, spills, and migrates |
| Full sand refresh | Every 2–3 years | Sooner if contaminated |
| Outgrown typically | 7–9 years | Then it becomes a garden bed — the graceful retirement |
Print This Before You Fill It — The Sandbox Readiness Checklist
Run through this list before a single scoop of sand goes in — every item below comes from this guide, and each one prevents a problem that is miserable to fix later.
- Site sits level and drains away from the box. Never build in the yard’s low spot, where standing water collects and turns sand into a swamp.
- Landscape fabric lines the ground, overlapping and extending beyond the frame. Never use plastic sheeting — plastic traps water instead of draining it.
- Gravel layer of 2–3 in (5–7.5 cm) sits under the sand in wet climates. Small gaps between the bottom boards, or drainage holes, let water escape from the frame.
- Frame stands 10–12 in (25–30 cm) tall, set flat and level on the prepared site. A frame that rocks or tilts will not stay level once the sand goes in.
- Washed play sand fills the box to 8–12 in (20–30 cm) deep. Leave 2–3 in (5–7.5 cm) below the frame top so the sand stays contained during play.
- Cover opens and closes easily enough for kids to manage with help. The cover must shed water without ponding and stay secure enough that cats cannot push in.
- Sand supply includes 10% extra on day one. Sand settles, spills, and migrates — plan to top up 2–3 bags every year and fully refresh the sand every 2–3 years.
Maintenance
Sandbox Problems — Diagnose and Fix It in 30 Seconds
If something is wrong with your sandbox, it is almost certainly one of these six — find your symptom, fix the cause, done.
| Problem | Likely cause | Fix |
|---|---|---|
| Cats using it as a litter box | Cover left off between play sessions | Cover every time — the cover is 90% of the solution; locate away from gardens; motion-activated sprinklers as backup |
| Sand turns to mud after rain | No drainage, or a plastic liner trapping water | Landscape fabric (never plastic) + gravel base + drainage holes in the frame |
| Sand full of leaves and debris | Cover off between sessions; no raking | Cover when not in use; rake regularly; inspect before play |
| Sand level keeps dropping | Sand compacts, spills and migrates | Top up yearly — 2–3 bags a year |
| Sand smells or looks dirty | Sand is old or contaminated | Full refresh — replace the sand every 2–3 years, sooner if contaminated |
| Water pools (built on concrete) | No ground absorption underneath | Drainage holes in the frame become critical; add a thicker gravel base inside |
- Cover when not in use (every time — the habit that prevents 90% of problems).
- Rake regularly (aerates, reveals debris/foreign objects).
- Inspect for contamination (the pre-play check — especially after the cover’s been off).
- Top up sand yearly (it compacts, spills, and migrates — 2–3 bags annually).
- Replace sand every 2–3 years (full refresh — or sooner if contaminated).
How do I keep cats out?
The cover (the real answer — used consistently). Plus: locate away from gardens (cats prefer garden soil), and consider motion-activated sprinklers (the high-tech deterrent). But the cover is 90% of the solution.
Is play sand safe?
Washed play sand is specifically processed for children’s use (screened, washed — the industry standard). The silica concern applies to industrial blasting sand, not washed play sand. Buy bags labeled “play sand.”
What about the wood treatment?
Modern pressure-treated lumber (ACQ/micronized copper) is rated safe for playground use (the old CCA arsenic treatment was phased out). Cedar is the natural alternative (no chemicals, naturally rot-resistant, more expensive).
How deep should the sand be?
8–12″ (digging depth for play, manageable volume for maintenance). Deeper wastes sand and makes cleaning harder; shallower limits the digging fun (which is the entire point).
Can I build it on concrete?
Yes — with modifications (drainage holes in the frame become critical — there’s no ground absorption; add a thicker gravel base inside). It’s workable but ground placement drains better naturally.
When do kids outgrow it?
Typically 7–9 years (then it becomes a garden bed — the graceful retirement: remove sand, add soil, plant vegetables — the frame’s second life).
The verdict: the sandbox essentials
- Right location — visible, partial shade, good drainage (supervision + comfort).
- Drainage built in — landscape fabric (not plastic) + gravel + frame drainage (no mud pit).
- Washed play sand — the safe, correct material (bulk delivered for larger boxes).
- Cover, always — fold-down bench design (the gold standard — seating + protection).
- Cover habit — every time, without exception (the 90% solution for contamination).
- Maintenance — rake, inspect, top up, refresh (the ongoing care).
The sandbox is the simplest high-joy project — a weekend, a few hundred dollars, and years of digging, building, and imagining. Build the drainage, commit to the cover, buy the right sand. The kids handle the rest (they always do).
Keep Reading
- Window Seat with Hidden Storage: Build It in a Weekend (Step-by-Step)
- How to Install Trim & Molding (Tool Guide & Technique)
- Clean Power Tools Like THIS (They’ll Last 2x Longer)!
Tool Worth Lab provides research-based project guidance. Use washed play sand (specifically labeled for play use), install drainage (landscape fabric — never plastic sheeting), always cover when not in use (animal contamination prevention), and supervise children (location visible from the house).