
Quick Answer: A window seat with hidden storage is a one-weekend build for a confident beginner: one sheet of 3/4-inch plywood plus trim, hinges, and paint. If you can cut a straight line and hold a drill, you can turn that wasted sunny patch under a window into the seat everyone fights over — with the clutter hidden inside it.
Somewhere in your house there is a sunny rectangle doing absolutely nothing — a dead zone under a window that the dog has claimed and everyone else walks past. Meanwhile the blankets live in a heap, the board games are stacked where nobody can reach them, and the best seat in the house does not exist yet.
One weekend from now, that dead zone could be doing three jobs at once: the sunniest seat in the house, a secret stash for all the clutter, and the spot everyone quietly fights over. All it takes is a sheet of plywood, a drill, and the trim tricks that make a plain box look like it was built with the house.
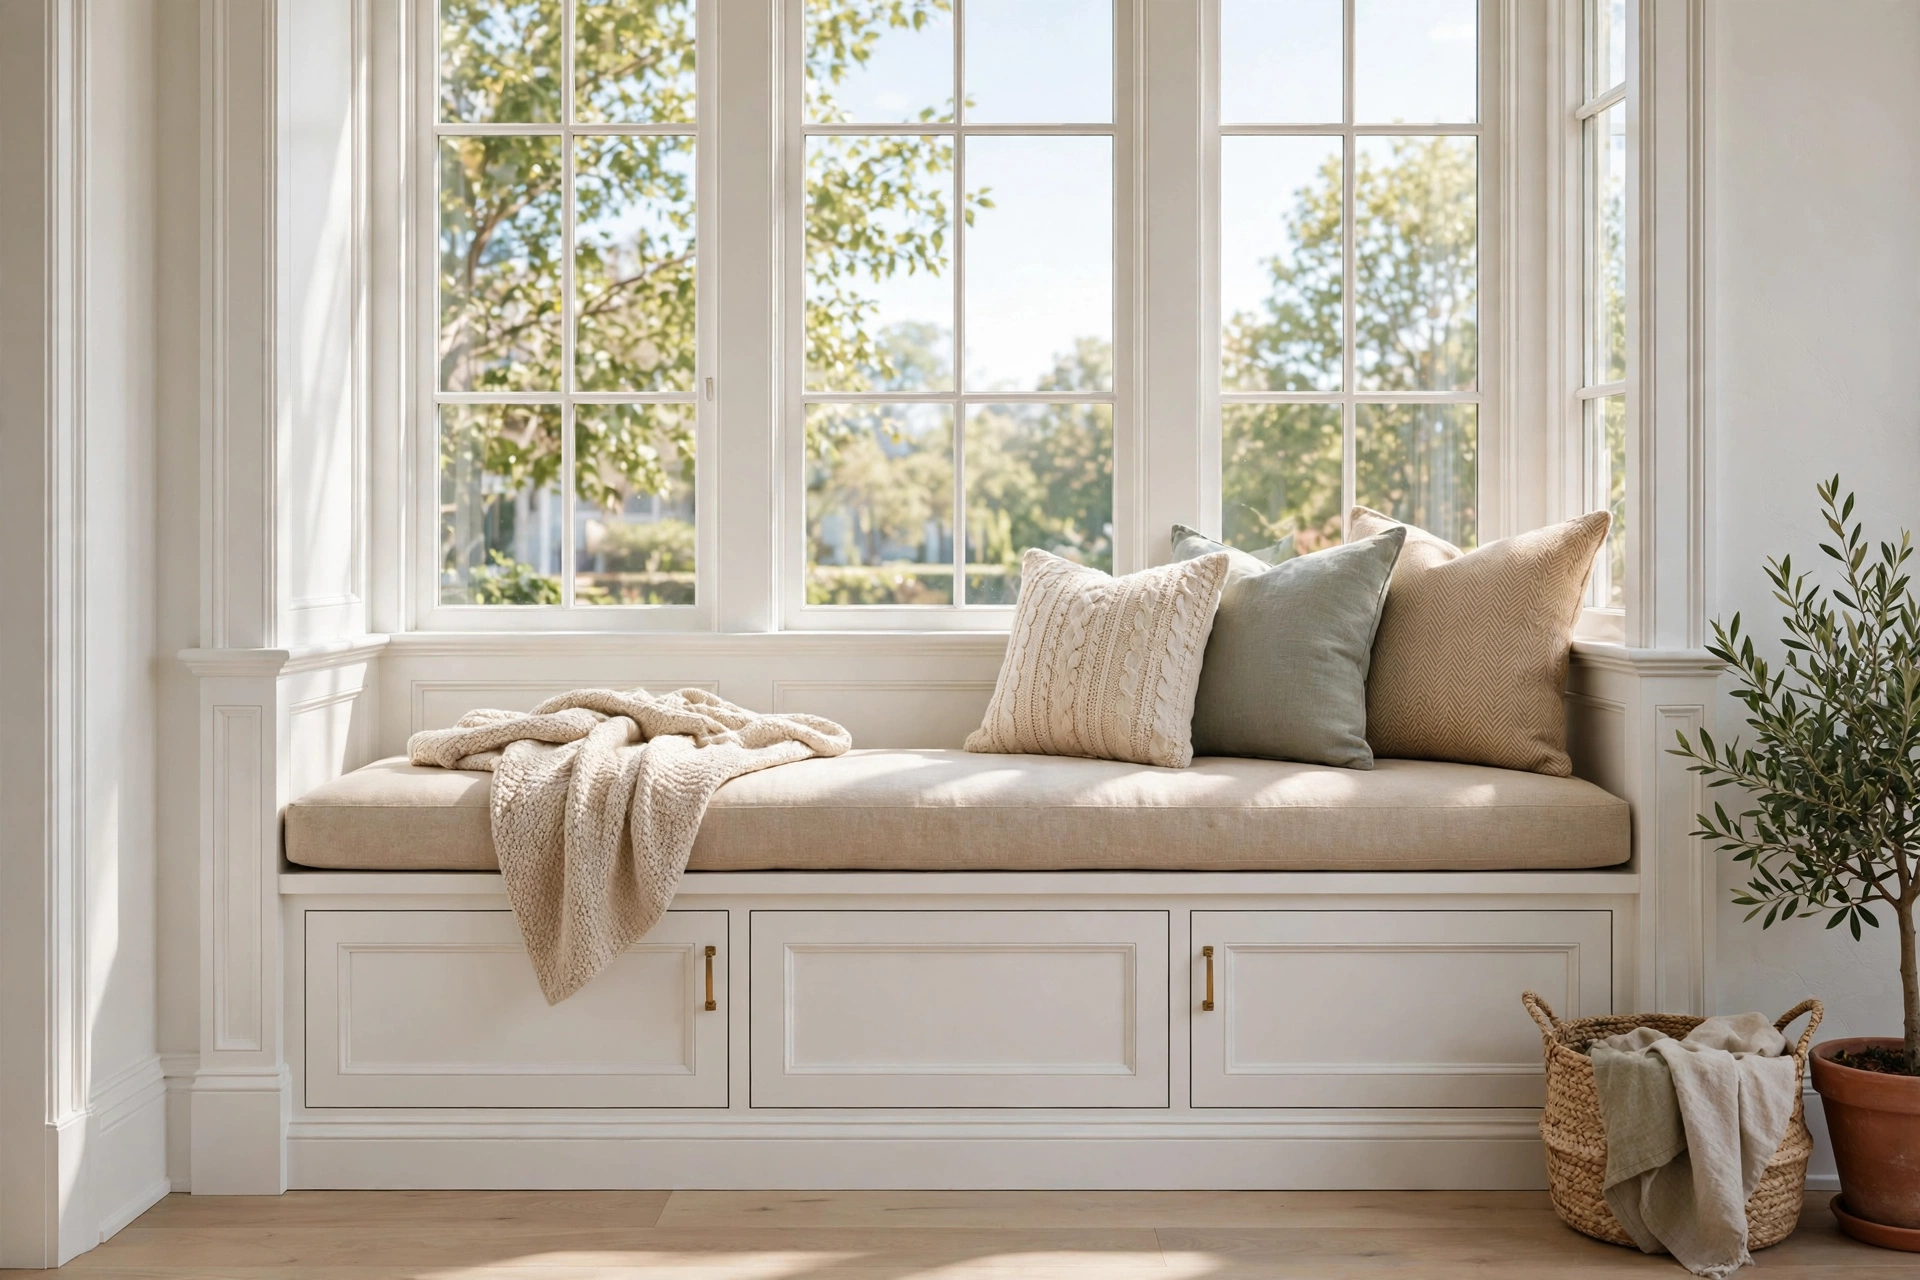
Project header: one weekend · confident beginner · one sheet of 3/4″ plywood plus trim, hinges, paint, and a cushion — no specialty tools required.
The principle: a window seat is furniture masquerading as architecture — it should look original to the house (trim matched, paint matched) while functioning as seating + storage. The built-in look is what elevates it from furniture to feature.
Design
Dimensions
| Dimension | Standard | Notes |
|---|---|---|
| Height | 18–20″ | Seating height (with cushion — account for cushion thickness) |
| Depth | 18–24″ | 18″ minimum for comfortable sitting; 24″ for lounging |
| Length | Window width + trim | Typically 4–6 ft (the window dictates) |
Measure YOUR window — the seat spans the window (plus casing). The cushion thickness (3–4″) affects the final seat height — build the box 3–4″ lower than target seat height.
Storage: hinged top vs drawers
| Hinged top | Drawers | |
|---|---|---|
| Access | Full interior (great for bulky) | Organized (great for categorized) |
| Build | Simpler (box + lid) | More complex (drawer boxes + slides) |
| Use | Seasonal, linens, toys | Daily items, clothes |
| Cushion | Must remove to access | Access without moving cushion |
The hybrid: hinged top for the deep storage + the cushion stays put (it’s the tradeoff — full access requires cushion removal). Drawers for daily-access needs. Choose based on what you’re storing.
The toe kick
Recess the base 3″ (the toe kick — like kitchen cabinets). It makes the seat look built-in (not like a box on the floor) and prevents stubbed toes. This small detail is what separates “DIY box” from “custom built-in.”
Bookmark This Checklist — Tools & Materials
Screenshot this before heading to the store. Everything a window seat with hidden storage needs, in one list.
Materials
- 3/4″ (19 mm) plywood — one 4×8 ft (1.2×2.4 m) sheet covers most seats; the carcass.
- Trim boards — profile matched to the room’s existing trim; the built-in illusion depends on this.
- Piano hinge — full seat-width length, plus soft-close hinges or two lid stays (one at each end).
- 2″ (50 mm) wood screws — for carcass assembly; wood glue for extra strength.
- Shims — floors are never flat; a handful fixes the leveling.
- Paintable caulk — the seam-eraser; uncaulked joints look DIY.
- Primer + matching paint — two topcoats in the room’s trim color.
- 3–4″ (7.5–10 cm) high-density foam — cut to seat size, with a washable cover.
Tools
- Circular saw — for cutting the plywood panels.
- Drill/driver — for assembly.
- Brad nailer — for attaching trim.
- Tape measure + pencil — precise measuring.
- Level (24″ / 600 mm minimum) — for a level installation.
- Stud finder — for securing the seat to the wall.
Construction
1. Measure and plan
- Window width (including casing — the seat typically spans casing to casing).
- Wall condition (baseboard — remove or build around; outlets — plan around).
- Check for heat vents (don’t block HVAC registers — redirect or design around).
2. Build the carcass
- Cut the panels: front, sides, top (the lid), bottom (optional — the floor can be the bottom).
- Assemble the box (pocket holes or screws — the joinery isn’t visible).
- Toe kick: recess the front bottom 3″ x 3″ (the built-in detail).
- Internal dividers (optional — organizes the storage interior).
3. Install
- Position (level — shim as needed; floors aren’t flat).
- Secure to the wall (into studs — it gets sat on, leaned on, and loaded).
- Secure to the floor (prevents shifting — the solid feel).
4. Trim (the built-in illusion)
- Baseboard trim (matching the room — continues the architectural line).
- Top edge trim (the finished edge under the lid/cushion).
- Face frame (optional — the cabinet look).
- Caulk all joints (the seamless appearance — caulk is what makes trim look professional).
- Paint (two coats — matching the room’s trim).
5. The top
- Hinged: piano hinge along the back (full-length — supports the lid’s weight evenly).
- Safety: lid support (prevents slamming — especially with kids; the soft-close hinge or lid stay).
- Ventilation: small gaps or holes (enclosed storage gets musty — airflow prevents it).
6. The cushion
- Custom: 3–4″ high-density foam, cut to size, washable cover (the tailored fit — worth it for the daily-use seat).
- Standard: pre-made bench cushions (cheaper, may not fit perfectly).
- Fabric: washable, durable (it gets sat on daily — indoor/outdoor fabric is the practical choice).
Window Seat Dimensions at a Glance — Keep This Chart Handy
Screenshot this before you cut a single board — every key measurement in one place.
| Measurement | Standard | Watch out for |
|---|---|---|
| Seat height | 18–20 in (with cushion) | Build the box 3–4 in (7.5–10 cm) below target height — the cushion adds the rest |
| Seat depth | 18–24 in (46–61 cm) | 18 in minimum for comfortable sitting; 24 in for lounging |
| Seat length | Window width + trim | Typically 4–6 ft — the window dictates; measure casing to casing |
| Cushion | 3–4 in (7.5–10 cm) high-density foam | Forgetting it in the height math leaves a bar-stool-high seat |
| Toe kick | 3 in (75 mm) recess | It is what makes the seat look built-in, not stuck-on |
| Carcass plywood | 3/4 in (19 mm), one 4 × 8 ft (1.2 × 2.4 m) sheet | Covers most seats; secure to wall studs and floor |
| Lid hardware | Full-length piano hinge + 2 lid stays | A short hinge warps a long lid; no stays means a slamming hazard |
| Low window option | 12–14 in step-seat, or an L-shaped nook beside the window | Windows below 18 in cannot have a full-height seat in front |
The reading nook details (the coziness)
Pick Your Cushion — Keep This Chart Handy
The cushion is not an afterthought — it decides the seat height, the comfort, and whether the seat gets used every day or never.
| Cushion choice | Pick it when | Remember |
|---|---|---|
| Custom foam — 3–4 in (7.5–10 cm) high-density foam, cut to size, washable cover | This is the daily-use seat and you want a tailored fit | Worth it for the seat everyone sits on every day |
| Pre-made bench cushion | Budget matters more than a perfect fit | Cheaper, but may not fit perfectly |
| The height rule (either cushion) | Always — before you cut a single board | The cushion adds 3–4 in (7.5–10 cm); build the box that much below your 18–20 in (46–51 cm) target seat height, or the finished seat rides bar-stool high |
Fabric: washable, durable indoor/outdoor fabric is the practical choice — the seat gets sat on daily.
- Pillows (the back support — against the window).
- Lighting (a sconce or nearby lamp — the evening reading light).
- Nearby shelf (books within arm’s reach — the nook’s purpose).
- Throw blanket (the finishing touch — the invitation to stay).
Bookmark This Checklist — The Final Fit Check Before You Paint
Check every measurement below before the paint goes on — paint hides nothing, and a seat that is too high or a lid that slams is far harder to fix afterwards.
- Seat height checks out at 18–20 in (46–51 cm) with the cushion counted. The box itself is built 3–4 in (7.5–10 cm) below the target seat height, because the 3–4 in cushion adds the rest.
- Seat depth measures 18–24 in (46–61 cm). 18 in is the minimum for comfortable sitting; 24 in is the depth for lounging.
- Seat spans the window casing to casing, typically 4–6 ft (1.2–1.8 m). Baseboard and outlets are planned around before the carcass is fixed in place.
- Heat vents stay clear. Air is redirected with a deflector or a vent channel — a vent is never simply covered by the seat.
- Base recesses 3 in (75 mm) as a toe kick. That recess is what makes the seat read as built-in rather than a box sitting on the floor.
- Lid hardware runs the full seat width as a piano hinge, with two lid stays or soft-close hinges. A hinge that is too short will twist a long lid, and a lid without stays slams.
- Carcass screws into wall studs and the floor. Small ventilation gaps or holes keep the enclosed storage from turning musty.
Mistakes to Avoid — Read Before You Cut
- Skipping the toe kick. A box sitting flat on the floor reads as furniture, not a built-in. The 3″ (75 mm) recess is the cheapest upgrade on this list.
- Blocking an HVAC vent. Seats under windows often sit over heat registers. Redirect the air with a deflector or design a vent channel — never just cover it.
- Forgetting the cushion in the height math. Build the box 3–4″ (7.5–10 cm) below your target seat height, or the finished seat rides bar-stool high.
- Cheaping out on the lid hardware. A long lid on a single short hinge warps; without lid stays it slams — a real hazard with kids. Full-length piano hinge plus two lid stays.
- Skipping caulk. Uncaulked trim joints are the single fastest tell between DIY and professional. Caulk every seam before painting.
- Not securing to studs. It gets sat on, leaned on, and loaded daily. Screws into drywall alone will walk it out of place; hit studs in both the wall and the floor.

Will it look DIY or built-in?
The trim and paint determine this (matching existing trim + caulked joints + same paint = built-in). The box construction is invisible; the finish is everything. Take the trim seriously.
What about the radiator/heating vent under the window?
Don’t block it (redirect with a vent deflector, or design the seat with a vent channel — the warm air must still circulate). Blocking HVAC creates cold rooms and system strain. Plan around it from the start.
Hinged top or drawers — which is better?
Hinged: simpler build, maximum storage volume, but cushion must move for access. Drawers: daily convenience, organized, but complex build and less volume. For kids’ toys/seasonal: hinged. For daily clothes/items: drawers. The hybrid (one section each) is the best of both.
How do I keep the storage from getting musty?
Ventilation gaps (don’t seal it airtight), and don’t store damp items. Cedar lining (the natural anti-musty — also smells wonderful). If the window condenses: address the window (the moisture source), not just the seat.
Can I build it without advanced skills?
Yes — it’s a box (the woodworking is basic: straight cuts, screws, trim). The skills needed: measuring accurately, cutting straight, and finishing trim well (caulk + paint). The beginner’s toolkit covers every tool required.
What if the window is low?
Low windows (below 18″) can’t have a full-height seat in front (it blocks the window). Options: a lower storage bench (12–14″ — the step-seat), or the seat beside the window (the L-shaped nook). Work with the window height, not against it.
The verdict: the window seat formula
Right dimensions (18–20″ high accounting for cushion, 18–24″ deep, window-width long) + Strong carcass (3/4″ plywood, secured to wall+floor) + Toe kick (the built-in detail) + Matching trim (the architectural illusion) + Caulk + paint (the seamless finish) + Storage access (hinged or drawers, ventilated) + Cushion (3–4″ foam, washable) + Nook details (pillows, light, books nearby).
The window seat is the rare project that’s simultaneously practical (storage), comfortable (seating), and emotional (the favorite spot in the house). Build the box strong, trim it like architecture, cushion it generously. The sunny corner becomes the destination — and the clutter finds its home inside.
Keep Reading
- How to Install Trim Molding — match the room’s existing trim profile for the built-in illusion.
- How to Hang Heavy Things on Drywall — secure shelving and decor around your new nook without tearing out the wall.
- Essential Power Tools for Beginners — every tool this weekend build needs, in one starter kit.
Tool Worth Lab provides research-based project guidance. Match existing trim for the built-in look (the finish determines the perception), recess a toe kick (the custom detail), secure to wall studs (it bears weight), ventilate the storage (prevents mustiness), use lid supports (safety — especially with kids), and never block HVAC vents (redirect, don’t obstruct).