
Quick Answer: Pro-looking trim is 80% technique and 20% tools. Cope inside corners instead of mitering them, measure the wall as it actually is instead of trusting it, and use one tube of caulk properly. The mistakes that expose a DIYer — like the 1/16-inch miter gap you can see from across the room — are almost never about talent.
Here is a confession I wish someone had made to me before my first room: I assumed the saw did the hard work, so I bought the fanciest blade I could afford — and still ended up with corners that looked like they were arguing with each other.
Here is a confession I wish someone had made to me before my first room: I assumed the saw did the hard work, so I bought the fanciest blade I could afford — and still ended up with corners that looked like they were arguing with each other.
Forget the blade for a minute. The difference between trim that looks hired-in and trim that looks homemade lives in three unglamorous moves: the corner joint you shape instead of force, the measurement you take from the wall itself instead of the tape, and the finish you refuse to rush. Nail those and the room changes; miss them and the most expensive saw in the shop cannot help you.
Project header: one weekend per room · confident beginner · trim, caulk, and basic power tools.

Safety first: Eye protection (trim nailers, sawdust), hearing protection (compressor + nailer), and nailer discipline — sequential mode, finger off the trigger, disconnect when not nailing. Sharp miter saw blades demand respect: review the table saw safety rules before your first cut.
Bookmark This Checklist — Tools & Materials
Screenshot this before the lumber yard. Everything needed to install trim and molding, in one list.
Tools
- Miter saw — 10″ sliding is ideal; accurate angle cuts are the whole game.
- Brad nailer (18 gauge) — attaches trim with small holes and minimal splitting.
- Coping saw — for coped inside corners, the pro method.
- Tape measure — measure twice, cut once.
- Level — plumb door casing, level chair rail.
- Caulk gun — for gap-filling with paintable caulk.
- Angle finder — measures actual wall angles (they’re never exactly 90°).
- Stud finder — nail into studs, not just drywall.
- Jigsaw (helpful) — rough-cuts coped profiles before fine-tuning with the coping saw.
Materials
- Trim/molding — buy extra; your first copes and a few test miters will eat some.
- Paintable caulk — for trim-to-wall joints and inside corners. Never silicone — it can’t be painted.
- Wood filler — paint-grade holes; for stain-grade, use wax filler sticks matched to the finish.
- Wood glue — for miter joints, applied before nailing.
- 150–180 grit sandpaper — for smoothing miter joints and filled holes.
- Primer + paint — pre-finish before installation, final coat after.
Coping vs mitering (the key decision)
Inside corners: COPE (the pro method)
Coping = cutting one piece square into the corner, then shaping the mating piece’s end to match the first piece’s profile.
Why coping wins: walls are never square, houses settle, and wood moves. A mitered inside corner that fit perfectly in summer gaps in winter. A coped joint can’t gap the same way — the shaped end overlaps the face of the mating piece, hiding movement.
How: 1. Cut the first piece square, install it tight into the corner. 2. Miter the second piece at 45° (this exposes the profile shape). 3. Cope along the profile with a coping saw — cut just outside the line, then fine-tune. 4. Test fit, adjust, install. The coped end should fit snugly against the first piece’s face.
It takes practice — your first copes will be rough. Practice on scrap. By the fifth one, it clicks.
Outside corners: MITER
Outside corners get mitered (45° + 45° = 90°) — there’s no profile to cope against.
The trick: measure the actual angle (walls are rarely exactly 90°). An angle finder gives the real number; split the difference between the two cuts. Glue the miter (wood glue + brad nails) for strength.
The honest assessment
Coping takes longer to learn but gives better long-term results on inside corners. Mitering is faster initially but gaps with seasonal movement. Learn to cope — it’s the skill that separates trim carpenters from installers.
Measuring (the part that wastes trim)
The golden rules
- Measure the wall, not the old trim — old trim may have been cut wrong.
- Mark in place — hold the trim up, mark it. More accurate than measuring with a tape alone.
- Cut long, sneak up — for critical fits, cut 1/16″ long and shave to fit. You can’t add wood back.
- Account for the reveal — door/window casing typically sits 1/4″ back from the jamb edge (the reveal). Consistent reveals = professional look.
Outside corners: the wrap technique
For casing around doors/windows: cut the head casing with 45° miters on both ends, then the side casings with matching 45° at top and square (or 45°) at bottom. Assemble the joints with glue before nailing for tight miters.
Nailing technique
Placement
- Nail into studs where possible (not just drywall) — stud finder guide. Trim nailed only to drywall eventually loosens.
- Two nails at each stud location (top and bottom of wide trim) — prevents cupping.
- Angle slightly — toenailing at slight angles increases holding power.
Depth
- Set the nailer so heads sit just below the surface (not deep craters, not proud).
- Test on scrap of the actual trim — hardness varies.
Avoiding splits
- Brad nailer (18ga) for most trim — the thin nails rarely split.
- Pre-drill near ends (within 2″ of the cut) — the splitting zone.
- Blunt the nail tip (old carpenter’s trick) — a slightly dulled point crushes fibers instead of wedging them apart. Tap the tip with a hammer before driving by hand.
Print This Before You Cut — Measuring Checklist — Keep This Handy
Run through this list before the saw comes out. Every item below comes from the measuring rules in this guide, restated so you can tick them off at the wall.
- Start from the bare wall. Take dimensions from the wall surface itself, because a piece of trim fitted earlier may carry someone else’s error.
- Mark the piece in position. Hold the trim up against the wall and mark it there; a mark made in place beats a tape-only measurement for accuracy.
- Leave yourself room to sneak up on the fit. For a critical joint, cut 1/16 in (1.5 mm) overlong and shave down gradually — removed wood cannot be put back.
- Find the real corner angle. Find the true corner angle with a measuring finder instead of assuming a right angle, then split any difference evenly between the two cuts.
- Keep the casing setback consistent. Hold door and window casing back a uniform 1/4 in from the jamb edge all the way round for a professional-looking reveal.
- Try the nail depth on a spare piece first. Test nail depth on an offcut of the same trim first, aiming for heads slightly below the surface, since hardness varies.
The finishing details (pro vs DIY)
Keep This Chart Handy — Paint-Grade or Stain-Grade? Decide Before You Buy
Decide this before you buy filler and caulk — every row below comes straight from this guide.
| Decision | Paint-grade trim | Stain-grade trim |
|---|---|---|
| Filling nail holes | Wood filler — sand flush after drying, then prime | Wax filler sticks matched to the finish colour, applied after finishing; fine sawdust and glue for small holes |
| Caulk | Paintable caulk on trim-to-wall joints and inside corners | Same rule — paintable caulk only. Never silicone: it cannot be painted, so the seams stay shiny forever |
| Hiding small gaps | Caulk covers gaps up to 1/8 in (3 mm) | Same — caulk covers up to 1/8 in (3 mm); larger gaps need scribing, or the wall needs shimming |
| When to finish | Prime and first coat before installing, final coat after — much faster than cutting in around installed trim | Finish first, then fill holes with wax sticks after finishing; touch up after installation |
Caulk the gaps
- Caulk top edge (trim-to-wall), inside corners, and any gaps — paintable caulk only (silicone can’t be painted).
- Pro caulking technique — small tip, push don’t pull, tool immediately.
Fill nail holes
- Paint-grade: wood filler, sand flush after drying, prime.
- Stain-grade: wax filler sticks matched to the finish color (applied after finishing), or fine sawdust + glue for small holes.
Sand the joints
Light sanding on miter joints and filled holes — 150–180 grit, just enough to smooth. Don’t round over the trim’s crisp edges.
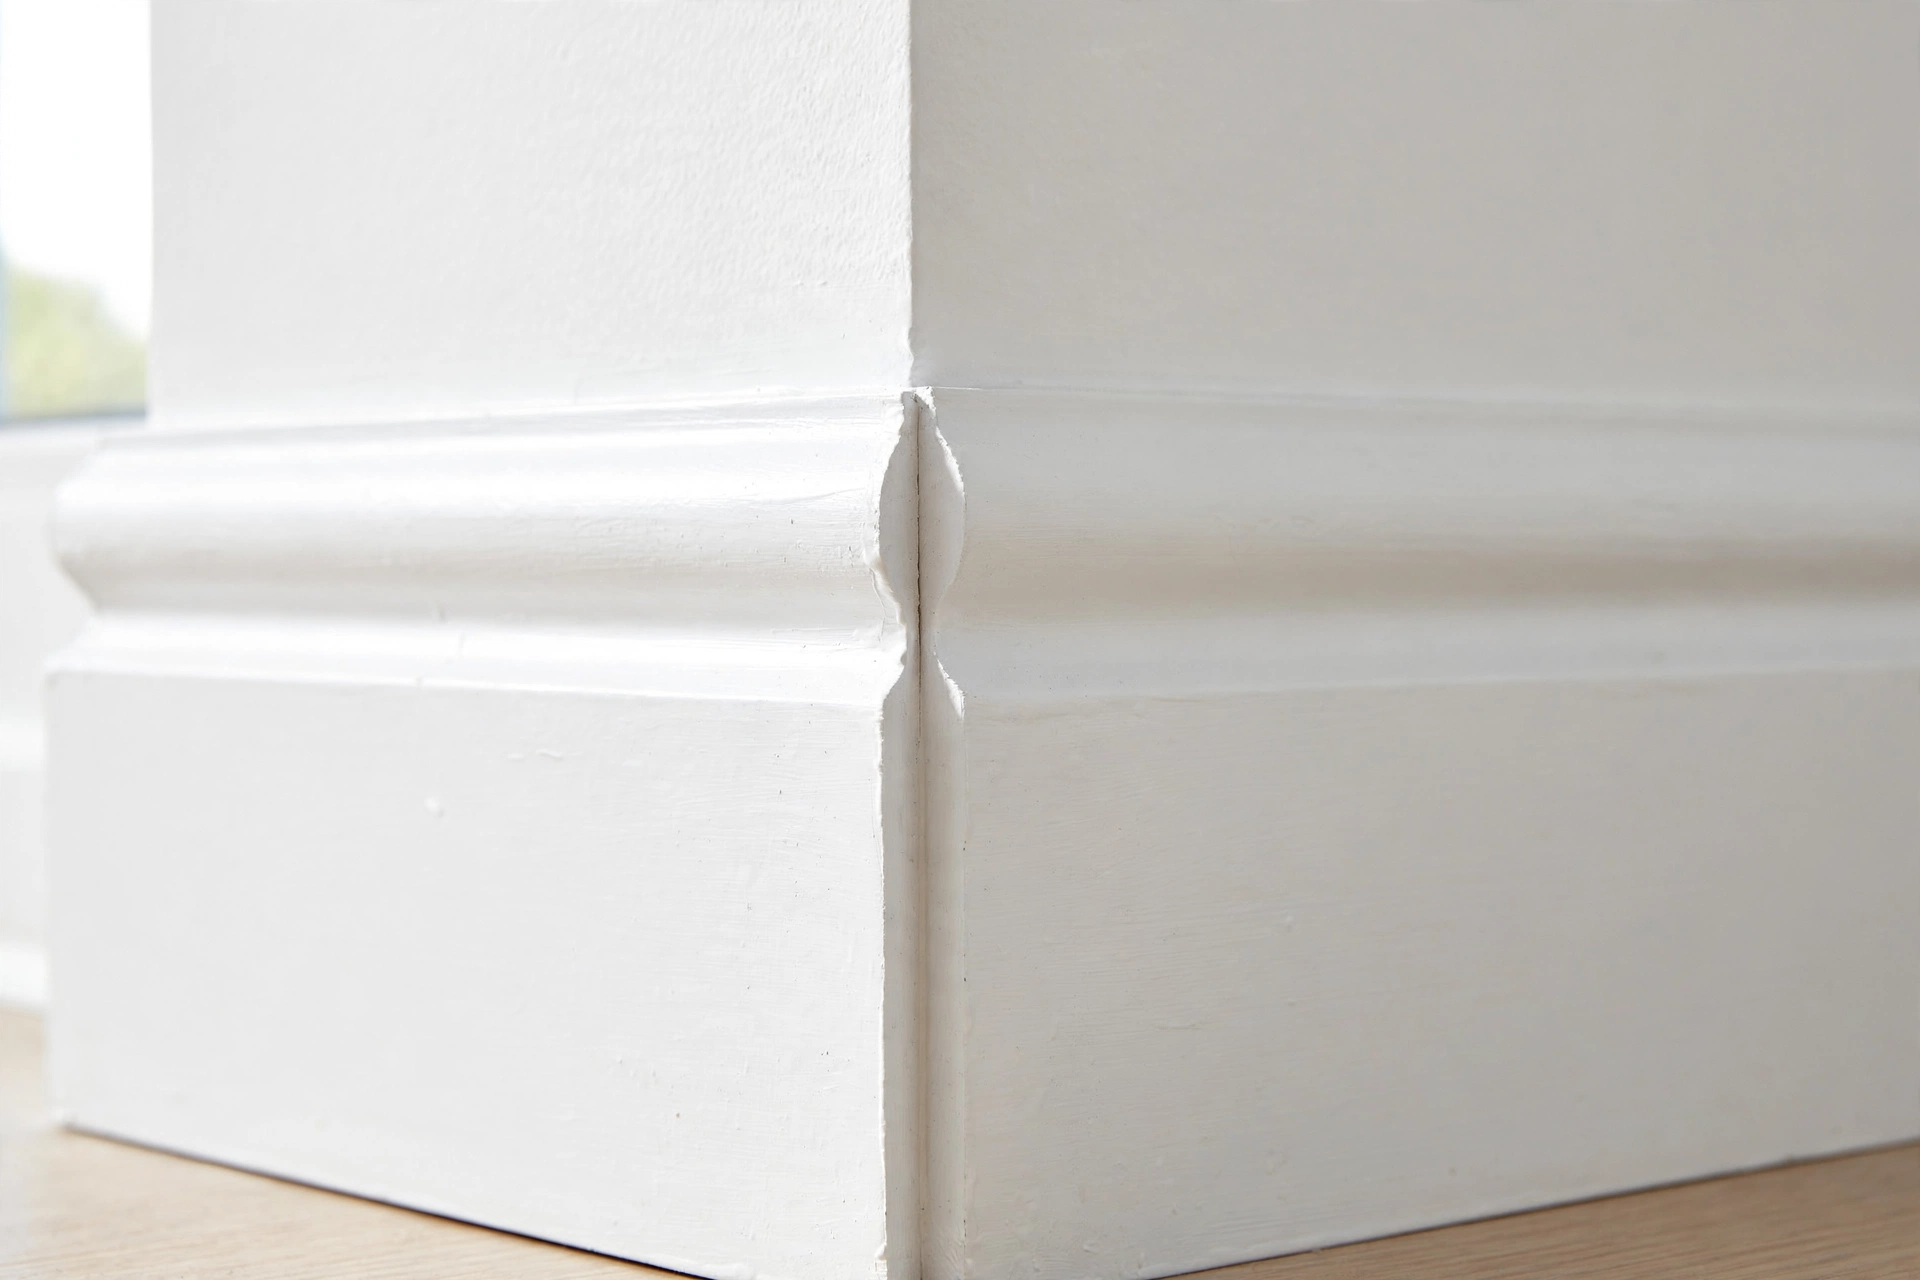
Mistakes to Avoid — 6 Trim Sins
- Mitering inside corners. It looks perfect in July and gaps by January — wood moves and houses settle. Cope inside corners; miter only outside ones.
- Trusting the wall. No wall is square, straight, or plumb. Measure the actual angle, scribe to the actual contour, mark the trim in place.
- Cutting exactly to the tape. Cut 1/16″ (1.5 mm) long and shave to fit — you can’t add wood back.
- Nailing into drywall alone. Trim anchored only to drywall eventually loosens. Hit studs; two nails per location on wide trim.
- Skipping glue on miters. Nails hold trim to the wall; glue holds the joint together. Glue miter joints before nailing.
- Caulking with silicone. Silicone can’t be painted — use paintable caulk, or the trim-to-wall seams stay shiny forever.
Keep This Chart Handy — Inside Corner vs Outside Corner at a Glance
Screenshot this before you cut. One decision — cope or miter — decides whether your corners still look good next winter. Every fact below is from this guide.
| Corner type | Method | Why it wins (and the one thing to get right) |
|---|---|---|
| Inside corner | COPE (the pro method) | Walls are never square, houses settle, and wood moves — a mitered inside corner that fit in summer gaps by winter. A coped joint can’t gap the same way: the shaped end overlaps the face of the mating piece, hiding movement. How: cut the first piece square into the corner, miter the second piece at 45° to expose the profile, then cope along the profile with a coping saw. Practice on scrap — by the fifth one, it clicks. |
| Outside corner | MITER (45° + 45° = 90°) | There is no profile to cope against, so outside corners get mitered. The trick: measure the actual angle with an angle finder (walls are rarely exactly 90°) and split the difference between the two cuts. Glue the miter with wood glue plus brad nails — nails hold trim to the wall, glue holds the joint together. |
| Any critical fit | Cut long, sneak up | Cut 1/16″ (1.5 mm) long and shave to fit — you can’t add wood back. Mark the trim in place rather than trusting the tape alone, and keep the casing reveal consistent at 1/4″ back from the jamb edge. |
Should I paint trim before or after installation?
Before (pre-finish): prime and first coat before installing, then fill holes, caulk, and final coat after. Much faster than cutting in around installed trim, and the finish is more even. Touch up after installation.
Why are my miter joints gapping?
Usually: the wall angle isn’t 90° (measure it), the saw’s miter detent isn’t accurate (verify on scrap), or the pieces shifted during nailing (glue + clamp the joint before nailing). Test-joint on scrap first, always.
How do I handle a wall that’s not straight?
Scribe the trim — hold it in place, mark the wall’s contour with a compass, cut/shave to the line. For small gaps: caulk covers up to 1/8″. For larger: the trim needs scribing or the wall needs shimming.
What’s the correct order for installing trim?
Generally: door/window casing first, then baseboards, then crown molding (if any), then chair rail. Work top-down for the finishing (paint/caulk) to avoid dripping on completed work below.
Can I install trim without a nail gun?
Yes — hand-nailing with finish nails works (pre-drill to prevent splitting, set with a nail set). It’s slower but perfectly effective. The nail gun is a speed and consistency upgrade, not a capability requirement.
How do I match existing trim profiles?
Take a sample to the lumber yard — or make a profile rubbing (paper + pencil) to compare. For historic profiles: specialty millwork suppliers can match or custom-knife most profiles (at a premium). When in doubt, replace the whole room’s trim for consistency rather than mismatching.
The verdict: the trim installation sequence
- Pre-finish trim (prime + first coat) before installation.
- Measure in place, cut long, sneak up on the fit.
- Cope inside corners, miter outside corners (measure actual angles).
- Glue joints before nailing (miters especially).
- Nail into studs, two nails per location, heads just below surface.
- Fill holes, caulk gaps (paintable caulk), sand smooth.
- Final coat after installation.
Trim is patience made visible. The tools matter less than the technique — a coping saw, a miter saw, and a brad nailer in practiced hands produce work that looks like a craftsman did it. Because at that point, one did.
Related: Undercutting trim and door casing is exactly where a multi-tool earns its keep — see 12 oscillating multi-tool uses and tricks before your next trim job.
Tool Worth Lab provides research-based carpentry guidance. Always follow nail gun safety rules (sequential mode, disconnect when not nailing), wear eye and hearing protection, and practice coping on scrap before the real trim.
Keep Reading
Loved this guide? These related articles will keep your project moving: