
Quick Answer: Framing is beautifully simple: plates, studs, 16 inches apart, openings where you need them. Most wavy, weak walls aren’t caused by bad lumber — they’re caused by skipped steps: sloppy layout marks, mismatched plates, a top plate that’s straight-ish instead of string-line straight. Follow the full sequence in this guide and the wall comes out plumb and strong.
I will never forget the first wall I framed: it looked fine lying on the floor, then went up crooked, wobbled in a light breeze, and made every later job — drywall, trim, even hanging a shelf — ten times harder. The lumber was not the problem. I was, because I had skipped the dull, careful setup at the beginning that makes everything else line up.
I will never forget the first wall I framed: it looked fine lying on the floor, then went up crooked, wobbled in a light breeze, and made every later job — drywall, trim, even hanging a shelf — ten times harder. The lumber was not the problem. I was, because I had skipped the dull, careful setup at the beginning that makes everything else line up.
The good news is that framing is less about muscle and more about a sequence — and once you know the sequence, a pile of 2x4s turns into a skeleton you can trust. This guide lays it out in the order you will actually use it: the layout marks that stop wavy walls before they start, the plate-and-stud rhythm that keeps everything square, and the opening details that keep doors from sticking for the next twenty years.
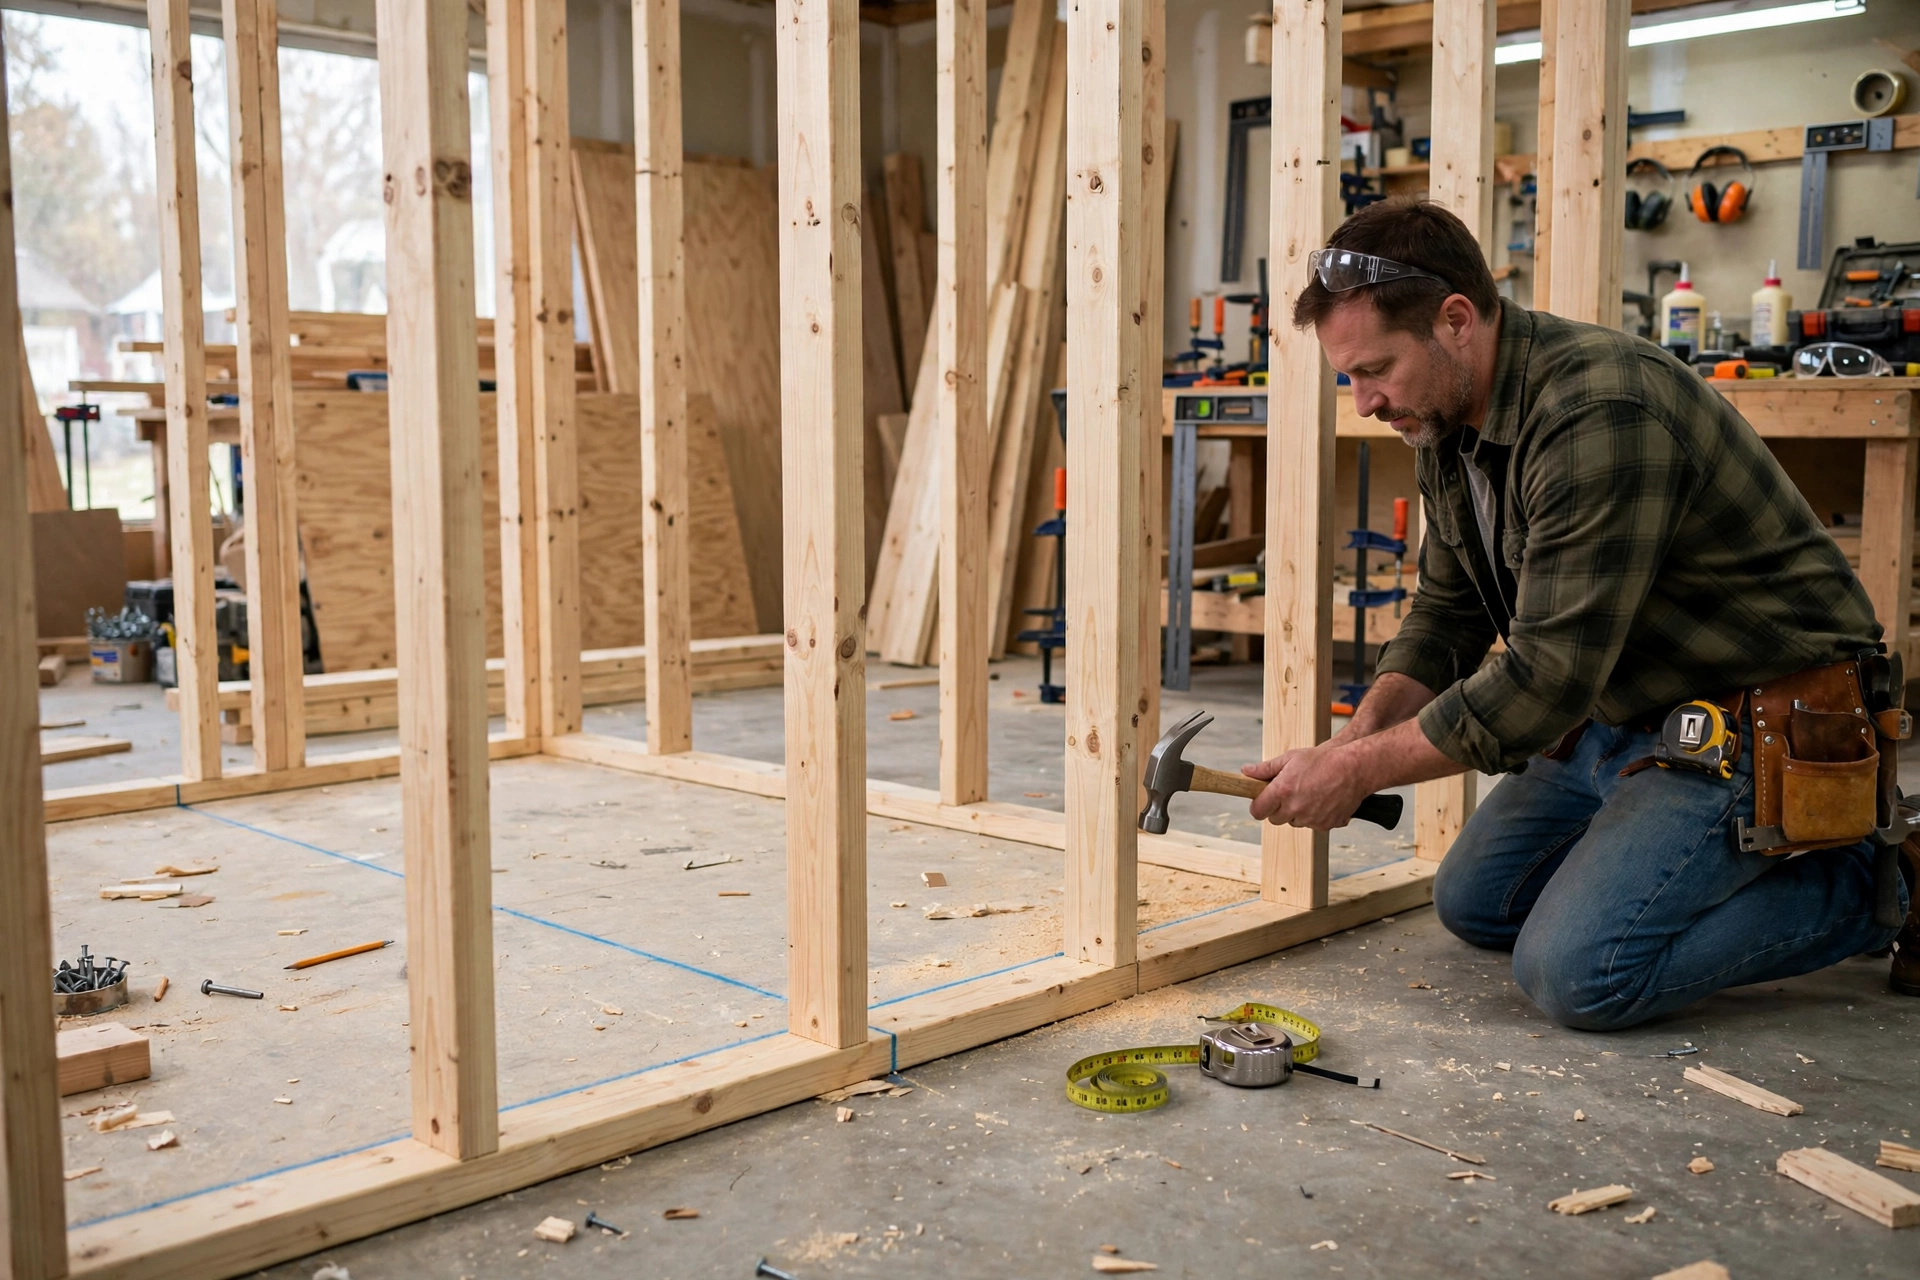
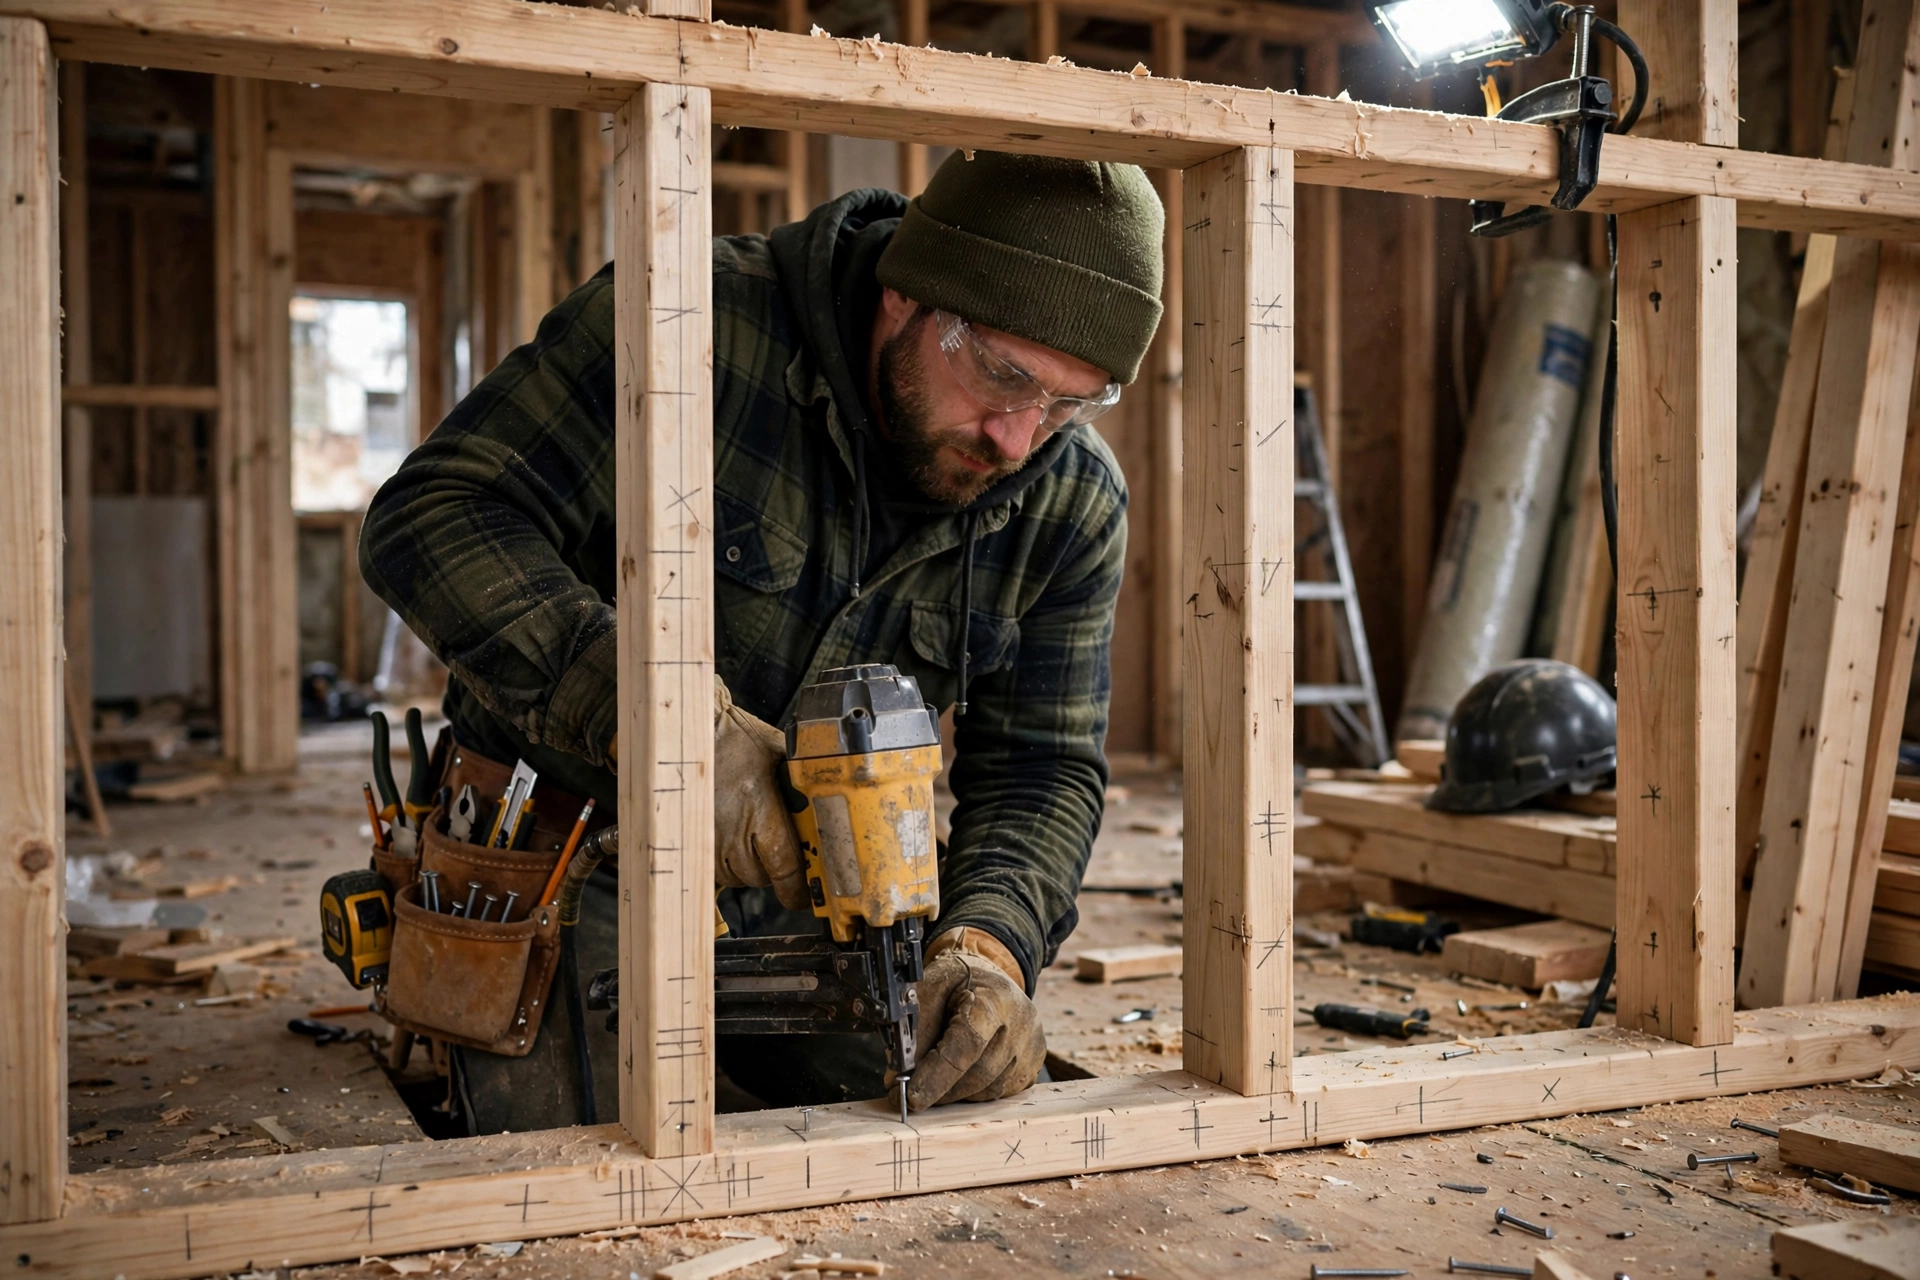
Safety first: Eye and hearing protection for nailing/cutting. Framing nailers demand full respect — nail gun safety (sequential mode, never carry with finger on trigger). Walls are heavy when raised — get help, watch for wind.
The anatomy of a wall
| Component | What it is | Standard |
|---|---|---|
| Bottom plate (sole plate) | Horizontal 2×4 on the floor | Pressure-treated (concrete contact) |
| Top plate | Horizontal 2×4 on top of studs | Doubled (two plates — ties walls together) |
| Studs | Vertical 2x4s | 16″ on center (or 24″ OC for non-load-bearing) |
| Header | Beam over openings (doors/windows) | Sized per opening width and load |
| Cripple studs | Short studs above/below openings | Maintain the layout rhythm |
| King + jack studs | Frame the opening sides | Jack supports the header |
The 16″ on center system (understand this)
Keep This Chart Handy — 16″ OC or 24″ OC? Pick Your Spacing
Plywood and OSB come in 4×8 ft (1.2 x 2.4 m) sheets — at 16 in (406 mm) spacing every sheet edge lands on a stud center (48 in ÷ 16 in = 3, perfect), and drywall 4 ft (1.2 m) wide works the same way. That is why 16 in is the default.
| Spacing | Use it when | Watch out for |
|---|---|---|
| 16 in (406 mm) on center | Load-bearing walls — and whenever you are unsure. It is the structural standard | Nothing — this is the default. When in doubt, use 16 in (406 mm) OC |
| 24 in (610 mm) on center | Non-load-bearing interior walls only, where local code permits it — fewer studs, faster build | Less stiff, and not all sheathing spans 24 in (610 mm) well |
| 12 in (305 mm) on center | Almost never | Overkill and wasteful — extra lumber for no real gain |
16″ OC means stud centers are spaced 16 inches apart — starting from one end. This isn’t arbitrary:
- Plywood/OSB comes in 4×8 ft sheets — 16″ spacing means every sheet edge lands on a stud center (48″ ÷ 16″ = 3, perfect).
- Drywall (4 ft wide) — same logic.
- It’s the structural standard for load-bearing walls.
The layout: hook your tape on the end, mark at 16″, 32″, 48″… — but mark the stud position (draw an X on the side where the stud goes, not just a line). The X-system prevents the “which side of the line?” confusion.
24″ OC: permitted for non-load-bearing interior walls in many codes — fewer studs, but less stiff and not all sheathing spans 24″ well. When in doubt: 16″ OC.
Bookmark This Checklist — Tools & Materials
Save this one — it’s the full shopping list: everything needed to frame a standard 8-ft (2.44 m) wall with 16″ OC (406 mm) stud layout.
| Item | What to get | Notes |
|---|---|---|
| 2×4 lumber (bottom plate) | Wall length in linear feet | Pressure-treated when the plate sits on concrete |
| 2×4 lumber (top plate) | 2x the wall length | The top plate is always doubled — stagger the second plate’s joints |
| 2×4 precut studs | One per 16″ OC (406 mm) mark | 92-5/8″ (2,353 mm) is the standard precut for 8-ft walls with a double top plate |
| 16d framing nails | Several pounds | 3.5″ (89 mm) — 2 nails per stud through the plate into the stud end |
| Anchor bolts or screws | Per floor type | Anchor bolts for concrete; nails or screws for a wood deck/subfloor |
| Framing nailer or hammer | 1 | Fastening — the nailer is about 5x faster; use sequential mode and keep the finger off the trigger |
| Circular saw | 1 | Cutting studs and plates |
| Speed square | 1 | Marking square cuts — the framer’s essential |
| Tape measure | 1 | Layout — hook the tape on the end, mark at 16″, 32″, 48″… with X’s on the stud side |
| Level (4 ft / 1.2 m) | 1 | Plumbing the wall after raising |
| Chalk line | 1 | Straight layout lines on floors |
Building (step by step)
1. Layout the plates
- Cut the bottom and top plates to the wall length.
- Gang them together (hold both plates edge-to-edge) and mark the stud layout once — both plates get identical marks (this guarantees alignment).
- Mark openings (doors, windows) — king studs, jack studs, header positions.
- Mark with X’s (stud side) — the pro marking system.
2. Cut the studs
- Stud length = wall height minus plate thicknesses. For an 8-ft wall: 96″ − 4.5″ (three plates: bottom + double top) = 91.5″ — hence “precut studs” (92-5/8″ is the standard precut for 8-ft walls with double top plate).
- Cut all studs identically — gang-cut or use a stop block (consistency = level top plate).
3. Assemble flat
- Lay the bottom plate on the floor/deck.
- Stand studs on their marks (X side correct).
- Nail through the plate into the stud end — 2 nails per stud (16d nails, or framing nailer).
- Install the top plate (single for now — the second top plate goes on after walls are raised and joined).
- Frame openings — king studs full height, jack studs supporting the header, header sized per the opening, cripple studs maintaining layout above/below.
4. Sheathe (optional at this stage)
Sheathing the wall while flat is easier (no ladder work) — but the sheathed wall is much heavier to raise. First-timers: sheathe after raising (lighter lift, still straightforward).
5. Raise the wall
- Get help — even an 8-ft wall section is heavy and catches wind like a sail.
- Tilt up into position — bottom plate on the layout line.
- Plumb — level on the face, adjust, brace diagonally to the floor (temporary 2×4 braces).
- Secure the bottom plate — nails/screws into the floor/deck (or anchor bolts for concrete).
6. Tie it together
- Double top plate — the second plate overlaps the wall intersections (ties adjacent walls structurally). Stagger joints (don’t align with the first plate’s joints).
- Plumb and line — string line along the top plate (walls must be straight, not just plumb).
- Sheathe if not done — the sheathing locks everything square.
Openings (doors and windows)
The header
The header carries the load above the opening — sizing depends on width and load:
- Non-load-bearing, ≤4 ft: doubled 2×4 or 2×6 is typically adequate.
- Load-bearing: consult span tables or an engineer — undersized headers sag visibly and crack drywall.
When structural: don’t guess. Span tables exist for a reason; a sagging header is a structural failure.
The assembly (for a door opening)
- King studs (full height) on both sides.
- Jack studs (supporting the header) inside the kings.
- Header on the jacks, sized appropriately.
- Cripple studs above (maintaining 16″ OC rhythm to the top plate).
- Bottom: the opening is clear (door) — no cripples needed below.
Keep This Handy — Wall-Raising Day Checklist
Tick these off in order on the day the wall goes up. Each item restates a step already given in this guide.
- Bring help for the lift. Even one 2.44 m (8 ft) section weighs a lot and acts like a sail in wind, so do not attempt a long or boarded wall on your own.
- Start with the bottom plate on its line. Tilt the wall up so the bottom plate lands exactly on the layout line marked on the floor.
- Plumb the face, then brace it. Check the wall face with a level, adjust until plumb, and hold it with diagonal temporary boards braced to the floor.
- Fix the bottom plate down. Fasten it into the floor or deck, using anchor bolts where it sits on concrete.
- Add the second top plate with staggered joints. The extra plate overlaps wall intersections to tie neighbouring walls together; never line its joints up with the joints of the lower plate.
- Check straightness with a string line. Once the wall is upright and before sheathing, run a line along the top plate, adjusting the braces until the line just touches consistently all along.
- Sheathe last to lock it square. If the wall went up unsheathed, fitting the sheathing now locks the whole assembly square.
Mistakes to Avoid — Keep This Handy
A framed wall forgives almost nothing once the drywall goes up — every one of these mistakes shows itself later as a wavy wall, a sticking door, or a cracked ceiling. Check yourself against this list before you raise anything.
- Marking the plates separately. Gang the bottom and top plates edge-to-edge and mark the stud layout once, so both plates get identical marks. Marked separately, they drift — and a stud that misses its mark is a wall that fights you.
- Marking lines instead of X’s. A line leaves you guessing which side the stud goes on. Draw an X on the side where the stud sits — the pro system that kills “which side of the line?” confusion.
- Cutting studs one at a time, freehand. Cut all studs identically — gang-cut or use a stop block. For an 8 ft (2.44 m) wall, stud length is 96 in minus 4.5 in of plates; inconsistent studs mean an unlevel top plate.
- Skipping the double top plate. The second top plate overlaps wall intersections and ties adjacent walls together structurally. Stagger its joints — never align them with the first plate’s joints.
- Raising a long or sheathed wall solo. Even an 8 ft (2.44 m) wall section is heavy and catches wind like a sail. Get help for anything over 8 ft, and sheathe after raising if you are a first-timer — a sheathed wall is far heavier to lift.
- Calling it straight without a string line. Plumb is not the same as straight. Run a string line along the top plate after raising and before sheathing, and adjust braces until the string just touches consistently — ten minutes here prevents hours of drywall and trim frustration.
- Guessing a load-bearing header. A non-load-bearing opening up to 4 ft (1.2 m) can take doubled 2×4 or 2×6, but a load-bearing header must come from span tables or an engineer. An undersized header sags visibly and cracks drywall.
- Using an untreated bottom plate on concrete. Moisture wicks from concrete into wood, always. On concrete the bottom plate must be pressure-treated (plus a foam sill gasket).
- Getting casual with the nailer. Use sequential mode, never carry it with your finger on the trigger — framing nailers demand full respect.
Can I frame a wall alone?
Building flat: yes. Raising: get help for anything over 8 ft (weight + wind). An 8-ft wall section is manageable solo with careful technique; longer walls need a crew.
What’s the difference between load-bearing and non-load-bearing framing?
Load-bearing walls support structure above (headers sized per span tables, double top plates critical, bottom plate anchored). Non-load-bearing (partition) walls just divide space (simpler headers, still 16″ OC for drywall). If you’re unsure whether a wall is load-bearing: assume it is and consult a professional before modifying.
Why 16″ on center and not 12″ or 24″?
16″ is the sweet spot — aligns with 4×8 sheet goods, structurally adequate for most residential loads, and code-standard. 12″ OC is overkill (wasteful); 24″ OC is permitted for non-load-bearing but less stiff.
How do I frame around existing plumbing/electrical?
Plan the wall location to avoid them when possible. When unavoidable: drill holes through studs (centered, within code limits for hole size — typically 40% of stud width for non-load-bearing), use nail plates to protect wires/pipes from drywall screws. Coordinate with the plumber/electrician on sequencing.
Do I need pressure-treated bottom plates?
On concrete: yes — always (moisture wicks from concrete into wood). On wood subfloor: not required, but doesn’t hurt. The PT plate + sill gasket (foam barrier) is the standard for concrete contact.
How straight do the walls need to be?
Very — drywall, trim, and cabinets all reveal wavy walls. The string line along the top plate (after raising, before sheathing) is how you straighten. Shim or adjust braces until the string just touches consistently. This 10-minute step prevents hours of drywall and trim frustration.
The verdict: the framing sequence
Layout plates (ganged, X-marked) → Cut studs (identical) → Assemble flat (openings framed) → Raise with help → Plumb and brace → Double top plate (staggered, tied) → String-line straight → Sheathe (locked square).
Framing is applied geometry — 16″ OC, square corners, plumb faces, straight lines. The system is a century old because it works. Learn the wall, and you’ve learned the alphabet of every framed structure from a doghouse to a house.
Tool Worth Lab provides research-based carpentry guidance. Always wear eye and hearing protection, respect framing nailers (sequential mode, finger off trigger), get help raising walls, and consult span tables or professionals for load-bearing headers — don’t guess on structure.
Keep Reading
Loved this guide? These related articles will keep your project moving: