
Quick Answer: Size the dog house small, not roomy — a dog warms it with its own body heat, and an oversized house can never hold that heat. It is a weekend build: plywood and 2x2s, an elevated floor, sandwiched insulation and draft-free ventilation.
You built the dog house. You painted it, you shingled the roof, you even gave it a little name plaque — and your dog sleeps on the porch in the rain, staring at it like it owes him money. Before you blame the dog, consider the possibility that you built him a fridge with a roof: too big, too cold, and smelling of fresh paint and new plywood.
Dogs do not have radiators; they have body heat, and a house only stays warm if it is snug enough to hold it. Get the size right — small, not roomy — and the rest is a weekend build: plywood, 2x2s, an elevated floor, and insulation your dog’s teeth can never reach. This guide has the sizing formula, the build sequence, and the first-week tricks that turn a suspicious dog into a resident.
Best part? This is a one-weekend build — plywood, 2x2s, a Saturday afternoon, and a mate with a circular saw if you’re lucky. Just remember who you’re building for: a chewer. Plan for the teeth from board one, and you’ll never have to rebuild it.
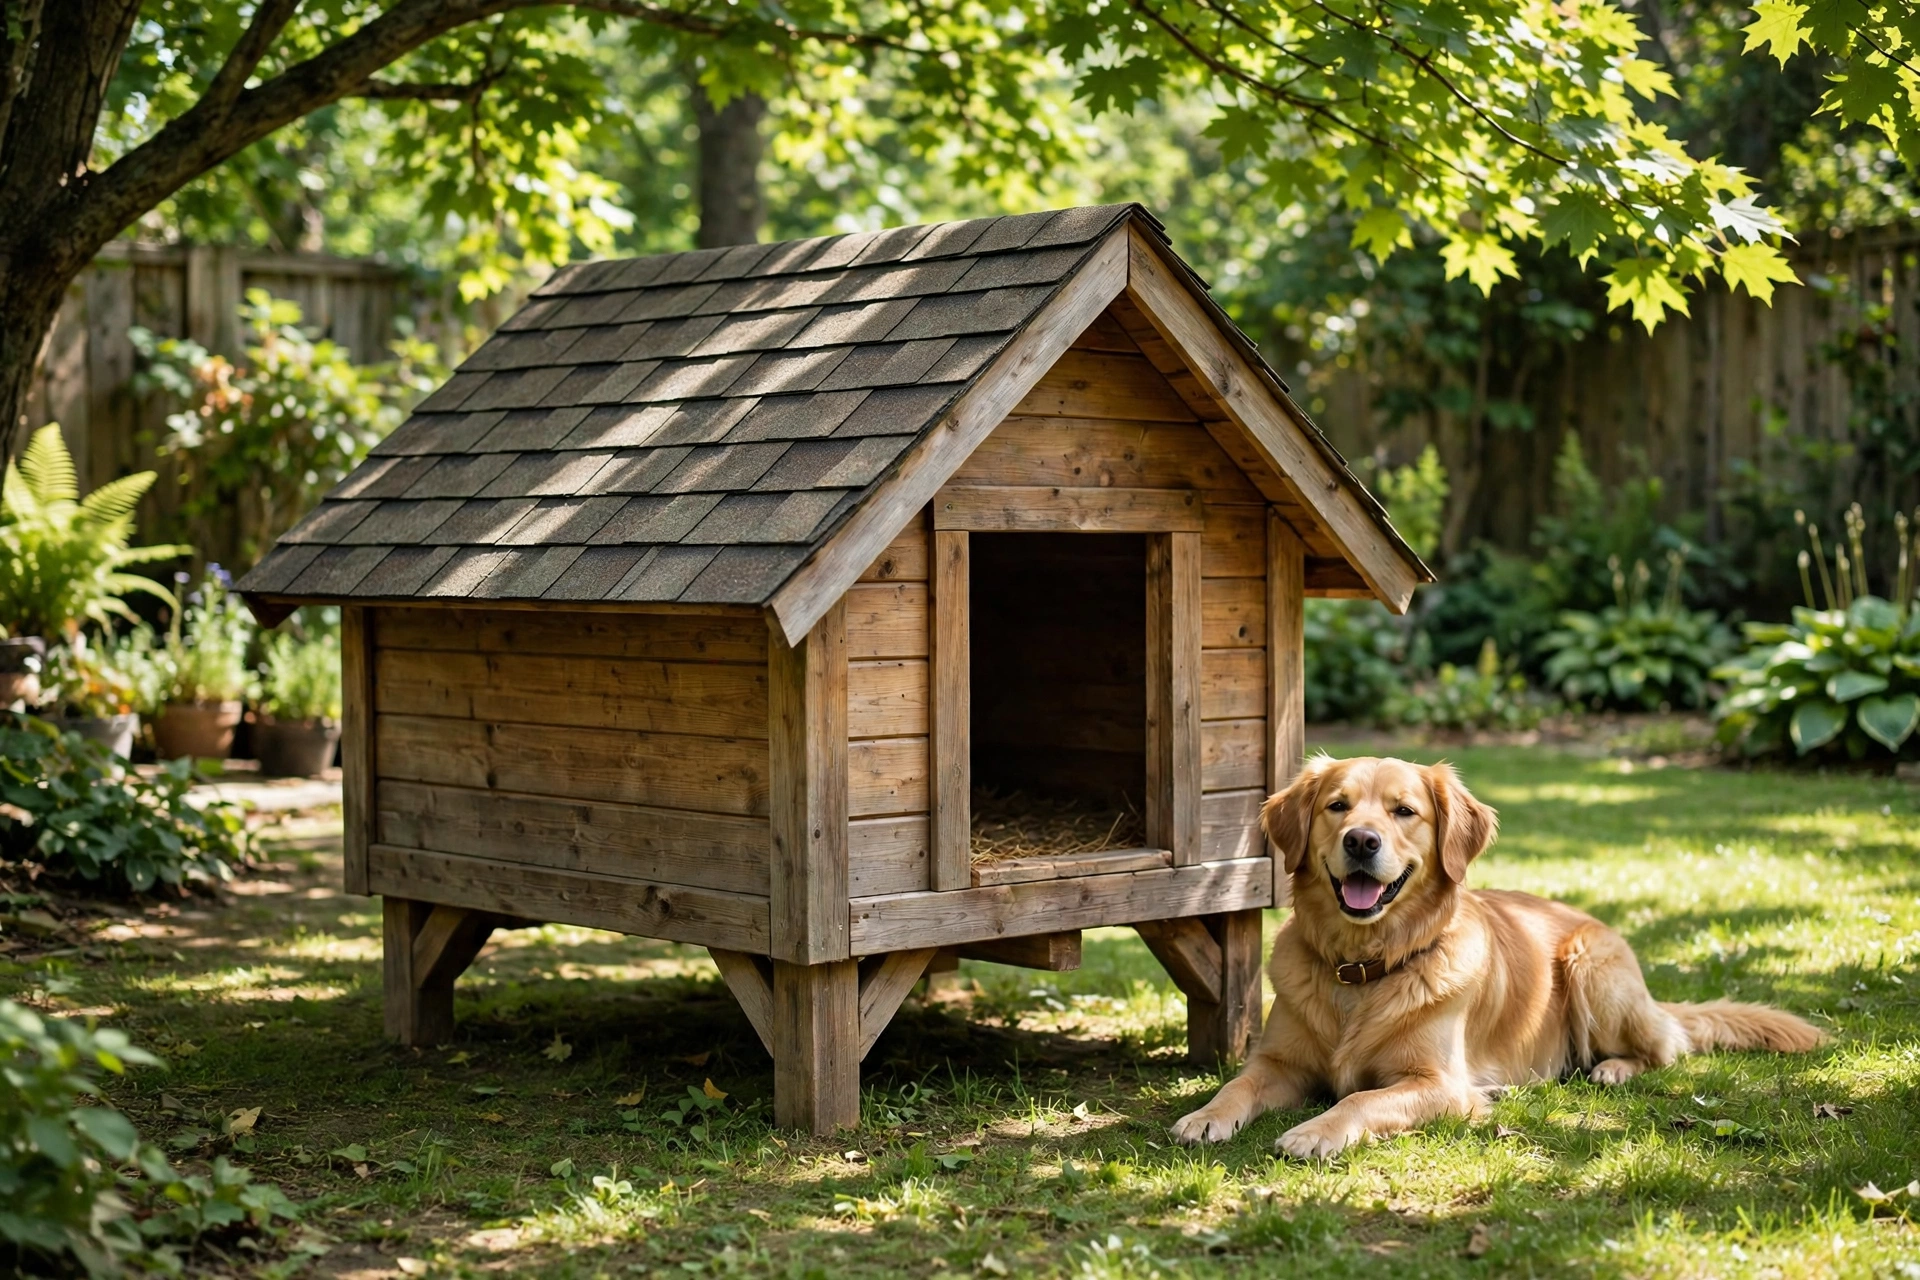

Safety first: Standard woodworking safety (eye, hearing, dust protection). Pet-safe materials only — no treated lumber where dogs chew, no toxic finishes inside. The dog will chew things; plan for it.
Sizing (the critical math)
The #1 dog house mistake: building too big. Dogs stay warm through body heat — an oversized house can’t retain it. The house should be cozy, not spacious.
The sizing formula
| Dimension | Rule |
|---|---|
| Width | Dog’s length (nose to tail base) × 1.25 |
| Depth | Dog’s length × 1.0 |
| Height | Dog’s standing height × 1.25 |
| Door | Dog’s shoulder height × 0.75 (width: chest width × 1.25) |
Example (medium dog — 30″ long, 24″ tall): 36″ wide × 30″ deep × 30″ tall, with an 18″ tall × 12″ wide door.
The test: the dog should be able to stand, turn around, and lie down comfortably — but not much more. If you can fit two dogs, it’s too big for one (unless it’s for two).
The comfort requirements
1. Elevated floor
12–18″ off the ground (legs or skids) — prevents ground moisture, improves airflow underneath, and deters pests. The floor is where dampness kills comfort — elevation is the fix.
2. Insulation
- Walls and roof: rigid foam insulation between sheathing layers (1″ minimum).
- Why it matters: uninsulated dog houses are ovens in summer and iceboxes in winter. Insulation moderates both.
- Protect the insulation — dogs chew exposed foam (sandwich it between plywood layers).
3. Ventilation (but not drafts)
- High vents under the eaves (like chicken coops — same principle: moisture and heat escape high, no drafts at dog level).
- Adjustable: closable vents for winter (retain heat), open for summer.
- Never airtight — sealed dog houses accumulate moisture and overheat.
4. Weatherproofing
- Sloped roof with overhangs (water sheds away from walls and door).
- Door placement: off-center (creates a windbreak corner inside — the dog shelters from wind behind the solid wall section).
- Door flap (optional): rubber or vinyl flap for wind/rain (some dogs won’t use them — know your dog).
- Raised door sill (2–3″) — keeps bedding in and water out.
Construction
Bookmark This Checklist — Tools & Materials
Tools:
- Tape measure (for the sizing formula above)
- Circular saw or jigsaw (for plywood panels and the door opening)
- Drill/driver (for exterior screws)
- Speed square (for square cuts and the roof slope)
- Paintbrush or roller (for pet-safe exterior paint or stain)
Materials:
- Exterior: plywood or T1-11 siding, weather-resistant.
- Framing: 2×2 or 2×3 lumber (actual 38 × 38 mm or 38 × 64 mm) — full 2×4 is overkill for a house this small.
- Insulation: 1″ (25 mm) rigid foam — sandwiched between interior and exterior plywood so teeth cannot reach it.
- Floor: framed platform with plywood top, on legs or skids for 12–18″ (30–46 cm) of elevation.
- Roof: sloped roof with overhangs, asphalt shingles or metal; hinges plus a hook-and-eye latch for the cleaning hatch.
- Vents: hardware cloth to keep pests out of the high eave vents.
- Fasteners & finish: exterior screws; pet-safe exterior paint or stain only — interior left unfinished.
- Bedding: straw (not hay) or cedar shavings — never blankets or sawdust.
Avoid: pressure-treated lumber on any surface a dog can chew — use untreated wood inside, PT only for ground-contact legs/skids.
Build sequence
- Floor platform — framed, insulated, plywood top, on legs/skids (elevated!).
- Walls — framed, insulated (foam sandwiched between interior and exterior plywood), assembled.
- Front wall — with door opening (off-center per the windbreak principle).
- Roof — sloped (single slope is simplest), overhangs on all sides, shingled or metal.
- Vents — high on the walls, under the eaves (with hardware cloth to keep pests out).
- Finish — exterior paint/stain (pet-safe), interior left unfinished (dogs chew finishes).
The hinged roof (the cleaning essential)
Make the roof open (hinged on one side) — you’ll clean the interior regularly, and a fixed roof makes it miserable. The hinged roof is the single best usability feature. Secure with a hook-and-eye (wind protection).
Bedding
- Straw (not hay — hay molds): the classic — insulating, replaceable, dogs love it.
- Cedar shavings: aromatic, pest-repelling (but some dogs are sensitive — observe).
- Avoid: blankets/towels (retain moisture, freeze in winter), sawdust (dusty, respiratory irritant).
Replace regularly — damp bedding is worse than no bedding (it wicks heat away from the dog).
Worked sizing examples: see the formula in action
Worked examples make the sizing formula much easier to trust than the formula on its own, because most of us think in dogs, not in multipliers. Here are three, using the rules above. Treat them as starting points, not gospel — your actual tape measurements of your actual dog always win, and rounding to a size that suits standard sheet goods is perfectly fine. What you are avoiding is the big error, building a house half as big again as the dog needs.
| Example dog | Measurements you took | House size that follows |
|---|---|---|
| Small dog — terrier or similar | About 18″ long (nose to tail base), about 15″ standing height | Roughly 23″ wide × 18″ deep × 19″ tall — a genuinely small box, and that is the point |
| Medium dog | 30″ long, 24″ tall (the example used earlier in this guide) | 36″ wide × 30″ deep × 30″ tall, with an 18″ tall × 12″ wide door |
| Large dog — shepherd or similar, 75–90 lb | Measure your own dog, but expect length and height to land well above the medium example | Around 42″ wide × 36″ deep × 36″ tall is the usual landing spot |
For the door on any of them, go back to the formula: door height is your dog’s shoulder height × 0.75, and width is chest width × 1.25. Dogs duck happily through a door that looks low to human eyes — what they will not forgive is a house so tall inside that their body heat escapes above them all winter.
Picking the spot: where it sits matters as much as how it is built
Builders obsess over the box and then drop it in the first empty corner. Placement quietly decides whether the dog is comfortable in it, so walk the yard with these points in mind before you carry anything out there:
- High ground, never the low spot. If water puddles anywhere after rain, it will puddle under (and eventually in) a dog house placed there. Pick the spot that dries first, not last.
- Real shade for the hot part of the day. A tree or the shadow of the house beats any vent you can cut. A box in full afternoon sun is a box the dog will abandon in summer, however well you built it.
- Door facing away from the prevailing wind and driving rain. You already placed the door off-center to create a sheltered corner inside; do not undo that good work by pointing the opening straight into the weather.
- Off the drip line. Do not tuck it directly under a roof edge or gutter that pours water off in a storm — the house will get a waterfall exactly where you least want one.
- Close enough to family life. Dogs are social. A house exiled to the far end of the yard, out of sight of the back door, often stays empty simply because the dog would rather be where you are.
- Firm and level. Set it on pavers, a slab, or well-compacted ground so the legs or skids sit evenly and the floor does not rock or rot into soft soil.
The first week: helping your dog actually move in
A surprising number of “my dog hates the house” stories are really first-week stories. The house smells of fresh paint and new plywood, it appeared overnight, and from the dog’s point of view it is the strangest object in the yard. Introduce it gradually:
- Let it air out first. A day or two with the roof propped open clears most of the new-material smell before the dog is ever asked to go in.
- Move familiar bedding in. Bedding the dog has already slept on, carrying its own scent, makes the space read as “mine” far faster than brand-new straw alone.
- Make good things happen there. Feed a favourite treat just inside the door. Put a valued toy in, and let the dog fetch it back out. Short, voluntary visits are what you want.
- Never force, drag, or shut the dog in. The house must never become a punishment or a trap. One frightened experience can put a dog off it for months.
- Be patient for a week or two. Many dogs investigate for days before they first nap inside. That first voluntary nap is the real handover — after it, the house is theirs.
Common questions
Should I build it bigger because my puppy is still growing? Build for the adult dog you expect, but cheat the space down for now: a simple removable plywood partition that shrinks the interior while the puppy is small gives you both things — the finished house later, and a cozy, heat-holding space today. Remove or move the partition as the dog grows.
Can the house sit on a concrete patio instead of grass? Yes, and the hard, dry surface is a genuine plus for rot and mud. You still want the floor raised on its legs or skids so air moves underneath, and in summer check the spot carefully — sun-baked concrete makes the area around the house hotter, which makes shade over a patio placement even more important.
Print This Before You Cut — The Dog-House Go/No-Go Check
Every box ticked before you cut a single board. One “no” means stop and fix it now — not after the walls are up.
- ☐ Dog measured, not guessed. Length (nose to tail base) and standing height taken, formula applied — width × 1.25, depth × 1.0, height × 1.25. If two dogs could fit, it is too big for one.
- ☐ Floor raised 12–18 in (30–46 cm) on legs or skids — ground moisture, airflow underneath, and pests all handled by elevation.
- ☐ Insulation 1 in (25 mm) rigid foam, sandwiched between interior and exterior plywood — teeth cannot reach it.
- ☐ High vents under the eaves, closable for winter — moisture and heat escape high, no drafts at dog level, never airtight.
- ☐ Door off-centre with a raised sill 2–3 in (5–8 cm), facing away from the prevailing wind and driving rain — the windbreak corner stays intact.
- ☐ Chew-safe materials only. No pressure-treated lumber on any chewable surface, interior left unfinished, pet-safe exterior paint or stain only.
- ☐ Roof hinged with a hook-and-eye latch — you will clean the interior regularly, and a fixed roof makes that miserable.
- ☐ Spot picked, not defaulted. High ground that dries first, real shade for the hot part of the day, close enough to family life, and off the roof drip line.
Mistakes to Avoid — Keep This Handy
An empty dog house is almost always a fixable mistake, not a picky dog. Run through this list before you cut a single board.
- Building too big. The #1 dog house mistake. The dog should be able to stand, turn around, and lie down — but not much more. If two dogs could fit, it is too big for one: an extra 12 in (30 cm) defeats the body-heat principle (an extra 2 in / 5 cm is fine).
- Making it airtight. A sealed house accumulates moisture and overheats. Fit high vents under the eaves — moisture and heat escape high, with no drafts at dog level — and make them closable for winter.
- Leaving insulation exposed. Dogs chew exposed foam. Sandwich the 1 in (25 mm) rigid foam between interior and exterior plywood so teeth cannot reach it.
- Using treated lumber where dogs chew. No pressure-treated lumber on any chewable surface — use untreated wood inside, and pressure-treated only for ground-contact legs and skids.
- Finishing the inside. Leave the interior unfinished (dogs chew finishes) and use pet-safe exterior paint or stain only.
- Choosing the wrong bedding. Straw (not hay — hay molds) or cedar shavings. Never blankets or towels (they retain moisture and freeze in winter) and never sawdust (a respiratory irritant). Replace damp bedding promptly — damp bedding is worse than no bedding.
- Skipping the elevation. Raise the floor 12–18 in (30–46 cm) on legs or skids. The floor is where dampness kills comfort — elevation fixes ground moisture, improves airflow, and deters pests.
- Building a fixed roof. Make the roof hinged (secured with a hook-and-eye latch) — you will clean the interior regularly, and a fixed roof makes that miserable. It is the single best usability feature.
- Pointing the door into the weather. Place the door off-centre for a windbreak corner inside, and face it away from the prevailing wind and driving rain — never into it.
- Dropping it in the worst spot in the yard. Avoid the low spot that puddles, full afternoon sun, and the roof drip line that pours water in a storm. Pick high ground that dries first, real shade, and somewhere close enough to family life that the dog actually wants to be there.
- Forcing the dog in. Never drag or shut the dog inside — one frightened experience can put it off the house for months. Air it out, use familiar bedding, offer treats inside, and let the first voluntary nap happen on the dog’s schedule.
Keep This Chart Handy — Dog Won’t Use the House? Diagnose It in 30 Seconds
An empty dog house is almost always a fixable mistake, not a picky dog. Find the reason, fix that one thing, and give it a week.
| What you notice | Likely reason | Fix it like this |
|---|---|---|
| Dog sniffs it and walks away | Too big — it doesn’t feel secure, and body heat escapes | Size to the formula: width is the dog’s length × 1.25, depth × 1.0, height is standing height × 1.25 — if two dogs could fit, it is too big for one |
| Dog goes in, comes straight back out | Too hot — no ventilation or shade | Open the high eave vents and move the house into real shade for the hot part of the day — shade is the single biggest cooling factor |
| Dog won’t go near it at all | Smells wrong — fresh paint and new plywood | Let it air out a day or two with the roof propped open before asking the dog to go in |
| Dog prefers the back door, even in bad weather | House is too far from family life | Move it closer to the back door, on high ground that dries first and off the roof drip line — dogs are social and want to be where you are |
| Dog panics or freezes near it | It was forced in once — one frightened experience can put a dog off for months | Never force, drag, or shut the dog in. Put familiar bedding and a favourite treat just inside the door, and let the first voluntary nap happen on the dog’s schedule |
| Puppy outgrowing the cozy fit | Built for a puppy, not the adult dog | Build for the adult dog you expect, and shrink the interior for now with a removable plywood partition — remove or move it as the dog grows |
What size dog house for a large dog (e.g., German Shepherd)?
Measure YOUR dog (the formula above) — but roughly: 42″ wide × 36″ deep × 36″ tall for a 75–90 lb dog. When in doubt: measure, don’t guess. An extra 2″ is fine; an extra 12″ defeats the body-heat principle.
Should I heat the dog house?
Usually unnecessary — a properly sized, insulated house with bedding retains the dog’s body heat effectively (dogs handle cold far better than humans assume). Heated pads exist but introduce electrical hazards outdoors. Exception: very young, old, sick, or short-coated dogs in extreme cold — consult your vet.
How do I keep it cool in summer?
Ventilation (high vents open), shade placement (under a tree — the single biggest cooling factor), light-colored exterior (reflects heat), and elevated floor (airflow underneath). Position matters more than any feature — shade is the air conditioning.
My dog won’t use the house — why?
Usually: too big (doesn’t feel secure), too hot (no ventilation/shade), smells wrong (new materials — let it air out), or the dog just prefers being near you (many dogs do — the house is for when you’re away). Try bedding with your scent, treats inside, and patience. Some dogs never take to houses — that’s okay too.
How often should I clean it?
Weekly bedding check (replace when soiled/damp), monthly deep clean (remove all bedding, sweep, inspect for damage/pests). The hinged roof makes this a 10-minute job.
Can I use pallets for the structure?
For the base/skids: yes (elevates the floor). For walls: not recommended (gaps, inconsistent dimensions, potential chemical treatment — use proper lumber for the living space). Pallets are great for compost bins; less ideal for pet housing.
The verdict: the dog house formula
Measured sizing (cozy, not spacious) + elevated floor + sandwiched insulation + high ventilation (no drafts) + sloped roof with overhangs + off-center door + hinged roof for cleaning = a dog house dogs actually use.
The dog house is a thermodynamics project disguised as a box — body heat retention, moisture management, and draft control. Get the size right (the #1 factor), insulate and ventilate properly, elevate the floor. The dog will tell you if you succeeded — by choosing to sleep there.
Tool Worth Lab provides research-based project guidance. Use pet-safe materials (no treated lumber on chewable surfaces, no toxic interior finishes), size to the dog (not too big — body heat retention matters), ensure ventilation (never airtight), and elevate the floor (moisture prevention).
Keep Reading
Loved this guide? These related articles will keep your project moving: