
Walk into any hardware store and you will face a wall of drill bits that all look like twisted metal — yet grab the wrong one and your quick hole turns into smoke, a wandering bit, and a workpiece with a scar it did not deserve. The drill is not the problem. The bit is — and nobody hands you the decoder ring at the checkout.
This guide is that decoder ring. You will learn which shape belongs in wood, metal, masonry, and thin sheet metal, which ones to never mix up, and the small starter set that handles nearly every job in a normal home — all in plain language, no engineering degree required.
Safety first: Drill bits are sharp and spin fast. Clamp your workpiece (never hold small pieces by hand), wear eye protection, and ease off pressure as the bit breaks through — that’s when grabbing and spinning the workpiece happens. For metal drilling, cutting oil prevents overheating and extends bit life dramatically.

The bits, explained
Twist bits — the all-rounder
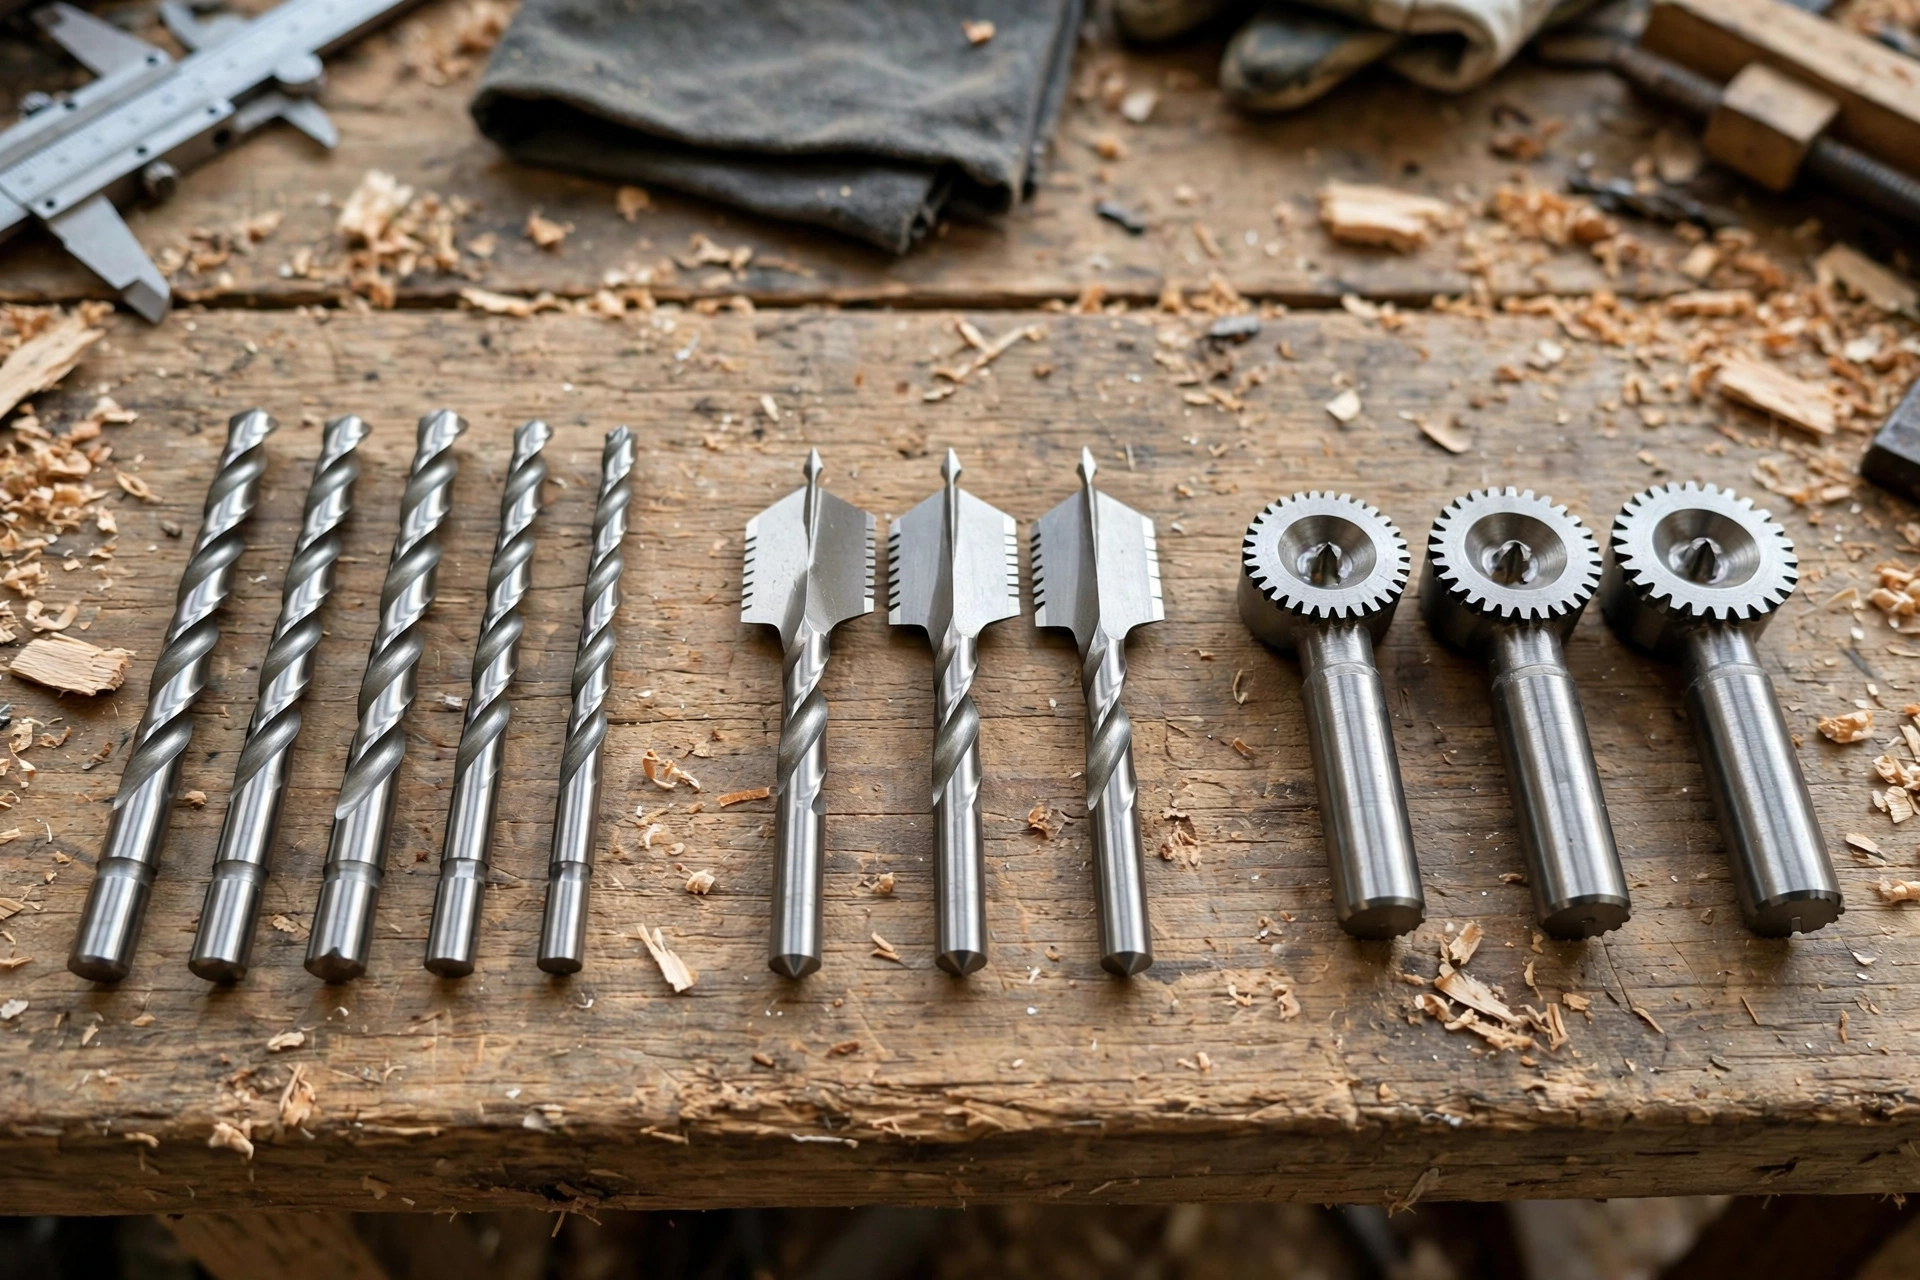
The standard spiral bit everyone pictures. The twisted flutes pull chips out of the hole as it drills.
- Best for: metal, plastic, and general-purpose drilling. The only bit that handles steel well (with proper speed and oil).
- In wood: works, but holes are rougher than brad-point, and the bit can wander on entry without a center punch or pilot.
- Variants: black oxide (general), titanium-coated (longer life in metal), cobalt (hard metals like stainless steel).
You need these: a basic set (1/16″–1/2″) is non-negotiable — it’s the foundation of every bit collection.
Brad-point bits — the woodworker’s choice
Twist bits with a sharp center spur (the “brad”) and two cutting spurs. The brad locates the bit precisely; the spurs score the wood fibers before the main cutters remove them.
- Best for: clean holes in wood — minimal tear-out on entry, precise positioning, no wandering.
- Result: dramatically cleaner holes than twist bits in wood, especially in plywood and hardwood.
- Limitation: the spurs don’t handle metal; wood and soft materials only.
You need these: if you drill wood regularly, a brad-point set (1/8″–1/2″) is one of the highest-value upgrades in the shop. The difference in hole quality is immediately visible.
Spade bits (paddle bits) — fast and rough
Flat paddle with a center point and two cutting wings. Aggressive, fast, cheap.
- Best for: rough holes in wood where speed matters more than beauty — running wires, plumbing holes through studs, construction work.
- Result: fast but rough — tear-out on exit is common, holes are rarely clean.
- Tip: clamp a scrap backer board behind the workpiece to dramatically reduce exit tear-out.
You need these: a small set (1/2″–1″) for construction and utility holes. At $10–$15 for a set, they’re disposable workhorses.
Forstner bits — the precision large-hole bit
A cylindrical bit with a rim that shears wood fibers cleanly. Drills flat-bottomed holes with glass-smooth walls.
- Best for: large, clean holes in wood — hinge cups (35mm Euro hinges), dowel holes, counterbores, overlapping holes (it can drill into an adjacent hole or an edge, which almost no other bit can).
- Result: the cleanest large holes possible — no tear-out, flat bottoms, precise diameters.
- Needs: low speed and firm pressure — ideally a drill press, though careful handheld use works for smaller sizes.
You need these: when your projects demand clean large holes — cabinetry (hinge cups), furniture (dowel joinery), any flat-bottomed hole. Buy individually in the sizes you need (3/4″, 1″, 35mm are the common starters) rather than a full set.
Hole saws — the big-diameter solution
A cup with saw teeth that cuts a circular plug — for holes from 3/4″ up to 6″+.
- Best for: doorknob holes (2-1/8″), recessed lights, pipe penetrations, large openings in wood, drywall, and thin metal (with bi-metal hole saws).
- Result: good for large diameters where no other bit reaches; the hole walls are rougher than Forstner.
- Technique: drill halfway from each side for clean edges; clear chips frequently (pull out, let the teeth clear); use the pilot bit to prevent wandering.
You need these: a bi-metal set covering common sizes (3/4″–2-1/2″) handles most household needs — doorknobs, deadbolts, plumbing, electrical.
Step bits (unibits) — the sheet-metal specialist
A cone with stepped diameters — each step is a different hole size.
- Best for: thin materials — sheet metal, plastic panels, electrical boxes. One bit drills many sizes; the stepped design prevents grabbing in thin stock.
- Result: clean, burr-free holes in thin materials where twist bits grab and deform.
You need these: if you work with sheet metal, automotive panels, or electrical enclosures. Otherwise optional.
Masonry bits — the concrete solution
Carbide-tipped, designed for hammer drills (or rotary hammers) in concrete, brick, and stone.
- Best for: any hole in masonry. Nothing else works — wood/metal bits just overheat and die.
- Needs: hammer function for real masonry (a standard drill struggles in concrete even with the right bit).
You need these: a few common sizes (5/32″, 3/16″, 1/4″) if you’ll ever mount anything to brick or concrete. Cheap and essential when needed.
Countersink bits — the finishing touch
Cuts a conical recess so screw heads sit flush with (or below) the surface.
- Best for: any visible screw in woodworking — the difference between “screwed together” and “crafted.”
- Use: drill the pilot hole, then countersink, then drive the screw. Three steps, professional result.
You need this: one adjustable countersink bit ($10–$15) if you do any woodworking with visible screws. Non-negotiable for furniture and trim.
Keep This Chart Handy — Bit Type × Material
Bookmark this page: the fastest way to pick a bit is to start from your material, not the bit drawer. This table compresses the whole guide above into one decision chart — every row comes straight from the sections you just read.
| Bit type | What it cuts best | When to pick it |
|---|---|---|
| Twist (HSS) | Metal, plastic, general purpose | The only safe pick for steel — slow speed + cutting oil |
| Brad-point | Wood — plywood, hardwood | Clean holes in wood where tear-out matters |
| Spade (paddle) | Wood (rough) | Speed over beauty — wiring, plumbing, studs |
| Forstner | Wood (large, clean holes) | Flat-bottomed holes — hinge cups (35 mm / 1-3/8″), dowels, counterbores |
| Hole saw | Wood, drywall, thin metal | Big diameters (3/4″–6″+) — doorknobs, recessed lights, pipes |
| Step bit (unibit) | Sheet metal, plastic panels | Thin stock where twist bits grab — electrical boxes, automotive panels |
| Masonry | Concrete, brick, stone | The ONLY pick for masonry — nothing else survives it |
| Countersink | Wood (finishing) | Visible screws — pilot hole, countersink, drive: the pro finish |
The minimal bit collection (covers 95% of DIY)
| Bit type | Sizes | Approx. cost |
|---|---|---|
| Twist bit set (titanium) | 1/16″–1/2″ | $20–$35 |
| Brad-point set | 1/8″–1/2″ | $15–$30 |
| Spade bit set | 1/2″–1-1/2″ | $10–$15 |
| Forstner bits (individual) | 3/4″, 1″, 35mm | $8–$12 each |
| Hole saw kit (bi-metal) | 3/4″–2-1/2″ | $25–$45 |
| Countersink bit | Adjustable | $10–$15 |
| Masonry bits | 3/16″, 1/4″ | $8–$12 |
| Total | ~$100–$175 |
That’s the complete hole-making arsenal for under $175. Everything else is specialization.
Speed and technique matter as much as the bit
The right bit with wrong technique still fails:
- Wood: medium-high speed, moderate pressure. Let the bit cut; don’t force.
- Metal: SLOW speed, firm pressure, cutting oil. High speed in metal = overheated, dulled bit in seconds. (This is the #1 bit-killer.)
- Masonry: hammer mode, moderate pressure, blow dust out of the hole periodically.
- Breakthrough: ease off pressure as the bit exits — that’s when grabbing, tear-out, and workpiece-spinning happen.
- Pilot holes: for large bits in hard material, drill a small pilot first. It guides the big bit and halves the cutting load.
Keep This Chart Handy — Speed, Pressure & Technique by Material
The right bit with the wrong technique still fails. Screenshot this and check it before you pull the trigger — every rule below comes from the technique section of this guide.
| Material | Speed | Pressure & technique |
|---|---|---|
| Wood | Medium-high | Moderate pressure. Let the bit cut; don’t force it. With a spade bit, put a scrap board behind the workpiece to cut exit tear-out. |
| Metal | SLOW | Firm pressure, cutting oil. High speed in metal overheats and dulls the bit in seconds — this is the #1 bit-killer. Only twist bits (titanium-coated for normal use, cobalt for stainless steel) belong in metal. |
| Masonry (concrete, brick, stone) | Hammer mode | Moderate pressure, blow dust out of the hole periodically. A standard drill struggles in concrete even with the right bit — hammer function is needed for real masonry. |
| Thin sheet metal / plastic panels | Low-medium | Use a step bit — the stepped design prevents grabbing in thin stock where twist bits grab and deform the material. |
| Any material, at breakthrough | Same speed | Ease off pressure as the bit exits — that is when grabbing, tear-out, and workpiece-spinning happen. |
| Large bits in hard material | Per material above | Drill a small pilot hole first. It guides the big bit and halves the cutting load. |
Keep Reading
- How to Sharpen Drill Bits — a sharp bit is a safe bit — the 5-minute touch-up that doubles bit life.
- What Size Drill Bit for a Concrete Anchor — match the bit to the anchor before you drill the hole.
- Impact Driver vs Drill: What’s the Difference — which tool should actually be holding that bit?
Why do my drill bits keep breaking?
Usually: too much pressure (forcing), wrong speed for the material (too fast in metal), or side-loading (drilling at an angle stresses the bit). Quality bits break less, but technique breaks fewer than any brand upgrade.
Can I use wood bits in metal?
Brad-points and spades: no — the geometry is wrong and they’ll dull instantly or snap. Twist bits: yes, that’s what they’re for (with correct speed and oil). Forstner: no. Match the bit to the material.
What’s the difference between titanium and cobalt bits?
Titanium nitride is a coating on HSS bits — harder surface, longer life in normal use, but the coating wears through eventually. Cobalt is an alloy throughout the bit — genuinely harder steel for stainless and hard metals. For general DIY: titanium-coated HSS is plenty. For stainless steel: cobalt.
How do I keep bits sharp?
Use correct speeds (especially slow in metal), use cutting oil in metal, don’t force, and sharpen when they dull instead of pushing through. A sharp bit is a safe bit — dull bits cause the forcing that breaks them.
Why does my hole saw wander?
The pilot bit isn’t engaged — start with the pilot bit drilling a guide hole before the saw teeth touch. Also: too much pressure tilts the saw. Let the teeth cut at their own pace, and clear chips often.
Are cheap bit sets worth it?
For spade bits and basic twist bits: the cheap sets are fine (they’re consumables). For brad-points and Forstners where hole quality matters: mid-range pays off visibly. Never buy the absolute cheapest Forstner bits — the rims are often poorly ground and they burn more than cut.
Print This Before You Drill — The 8-Step Pre-Drill Checklist
Run through this list before you pull the trigger. Every step below comes from the technique rules in this guide — skip one, and the hole pays for it.
| Step | Do this | Why |
|---|---|---|
| 1. Pick from the material, not the drawer | Start from what you are drilling, then choose the bit type | The fastest way to pick a bit is by material — the wrong geometry in the wrong material dulls, snaps, or burns. |
| 2. Clamp the workpiece | Clamp it down — never hold small pieces by hand | A spinning bit grabs workpieces; a clamped board cannot jump into your hand. |
| 3. Eye protection on | Wear eye protection, especially at breakthrough | Bits break through suddenly, and chips and snapped bits fly exactly when you least expect it. |
| 4. Set the right speed | Slow in metal, medium-high in wood, hammer mode in masonry | High speed in metal overheats and dulls the bit in seconds — it is the number-one bit-killer. |
| 5. Oil in metal | Use cutting oil when drilling metal | Oil keeps the bit cool and cutting instead of burning out — slow speed plus oil is the metal rule. |
| 6. Back up spade-bit exits | Put a scrap board behind the workpiece for spade bits | It cuts exit tear-out — without it, the bit blows splinters out the back of the board. |
| 7. Engage the pilot first (hole saws) | Start with the pilot bit drilling a guide hole before the saw teeth touch | A hole saw wanders when the pilot bit isn’t engaged — and too much pressure tilts the saw, so let the teeth cut at their own pace. |
| 8. Ease off and clear out | Ease off pressure at breakthrough; in masonry, blow dust out of the hole periodically | Forcing at breakthrough breaks bits, and packed dust in masonry slows the cut and overheats the bit. |
Bookmark This Checklist — 8 Mistakes That Kill Drill Bits (and Ruin Holes)
Keep this open on your phone at the workbench. Every mistake below comes straight from the sections above — the wrong bit, the wrong speed, or the wrong habit — and each one is fixable in seconds.
- Using a wood bit in metal. Brad-point and spade bits have the wrong geometry for metal — they dull instantly or snap. Only twist bits belong in steel, with slow speed and cutting oil.
- Drilling metal too fast. High speed in metal overheats and dulls the bit in seconds — the number-one bit-killer in this guide. Slow speed, firm pressure, cutting oil.
- Forcing the bit. Too much pressure is why bits break. Let the bit cut; in hard material, drill a small pilot hole first — it guides the big bit and halves the cutting load.
- Holding small pieces by hand. A spinning bit grabs workpieces at breakthrough. Clamp the workpiece down — never hold small pieces by hand — and wear eye protection.
- Skipping the backer board with spade bits. Spade bits blow splinters out the back of the board. Clamp a scrap board behind the workpiece and exit tear-out mostly disappears.
- Letting a hole saw wander. Start with the pilot bit drilling a guide hole before the saw teeth touch, and let the teeth cut at their own pace — too much pressure tilts the saw.
- Drilling masonry without hammer mode. A standard drill struggles in concrete even with the right bit. Carbide-tipped masonry bits need the hammer function — and blow dust out of the hole periodically.
- Forgetting the countersink on visible screws. Drill the pilot hole, then countersink, then drive the screw — skip the middle step and the screw head sits proud. That one extra step is what separates screwed-together from crafted.
Sizes in this guide are in inches as sold in US stores — a twist-bit starter set runs 1/16 in (1.6 mm) to 1/2 in (12.7 mm), and Forstner bits for Euro hinge cups are 35 mm (1-3/8 in).
The verdict
Holes are holes the way cuts are cuts — the tool determines the quality, and quality determines the project. The twist-bit set is the foundation; brad-points are the woodworker’s upgrade; Forstners and hole saws handle the big diameters; and the countersink bit is what separates “assembled” from “crafted.”
Buy the minimal collection above, learn the speed rules (slow in metal, oil in metal, ease off at breakthrough), and keep them sharp. The best bit collection isn’t the biggest — it’s the sharpest, matched to the material, in the right hands.
Tool Worth Lab provides research-based buying guidance. Prices are approximate US street prices and vary by retailer. Always clamp workpieces and wear eye protection — especially when bits break through.