
Your thumb knows something your brain has not admitted yet: the hammer you are using is the wrong one. Every bent nail, every dented tile edge, every knuckle that met a steel face at speed — that is not bad luck. That is a claw hammer being asked to do a ball-peen’s job, or a sledge’s job, or a mallet’s job, and failing in exactly the way it was always going to fail.
Here is the good news, and it is the best deal in the whole toolbox: three hammers, under $75, cover essentially every striking task in DIY life. A 16oz claw hammer, a rubber mallet, and a 16oz ball-peen — that is the whole core set. No wall of hammers required, no guesswork, no more blaming your own hands.
This guide is the family tree: what each type is actually for, what you will pay, and which ones earn a permanent spot in your hand — plus the second-hand inspection checklist that stops you buying someone else’s problem. By the end, you will know exactly which hammer to grab before your thumb finds out the hard way.
Your thumb knows something your brain has not admitted yet: the hammer you are using is the wrong one. Every bent nail, every dented tile edge, every knuckle that met a steel face at speed — that is not bad luck. That is a claw hammer being asked to do a ball-peen’s job, or a sledge’s job, or a mallet’s job, and failing in exactly the way it was always going to fail.
Here is the good news, and it is the best deal in the whole toolbox: three hammers, under $75, cover essentially every striking task in DIY life. A 16oz claw hammer, a rubber mallet, and a 16oz ball-peen — that is the whole core set. No wall of hammers required, no guesswork, no more blaming your own hands.
This guide is the family tree: what each type is actually for, what you will pay, and which ones earn a permanent spot in your hand — plus the second-hand inspection checklist that stops you buying someone else’s problem. By the end, you will know exactly which hammer to grab before your thumb finds out the hard way.
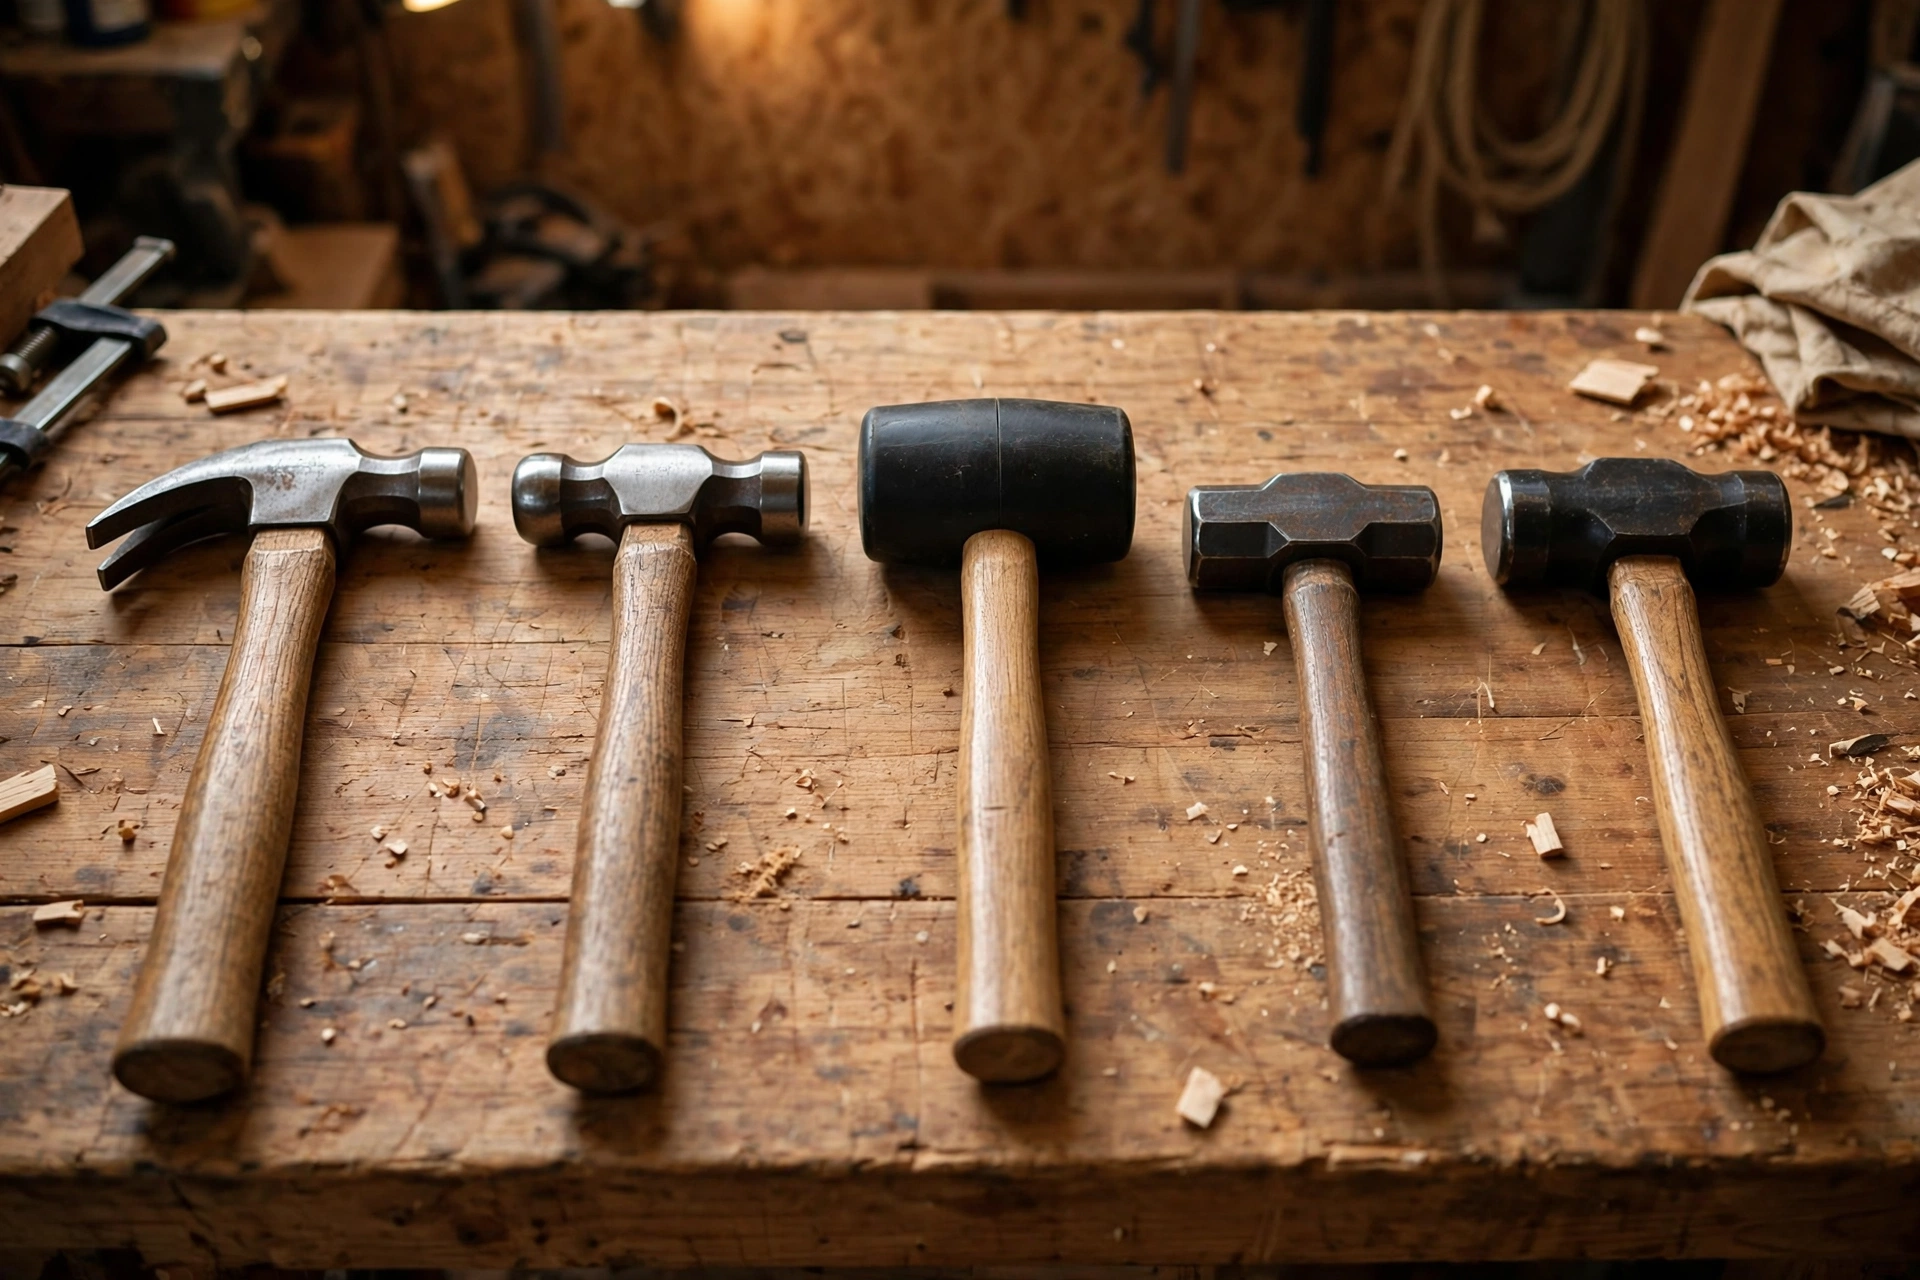
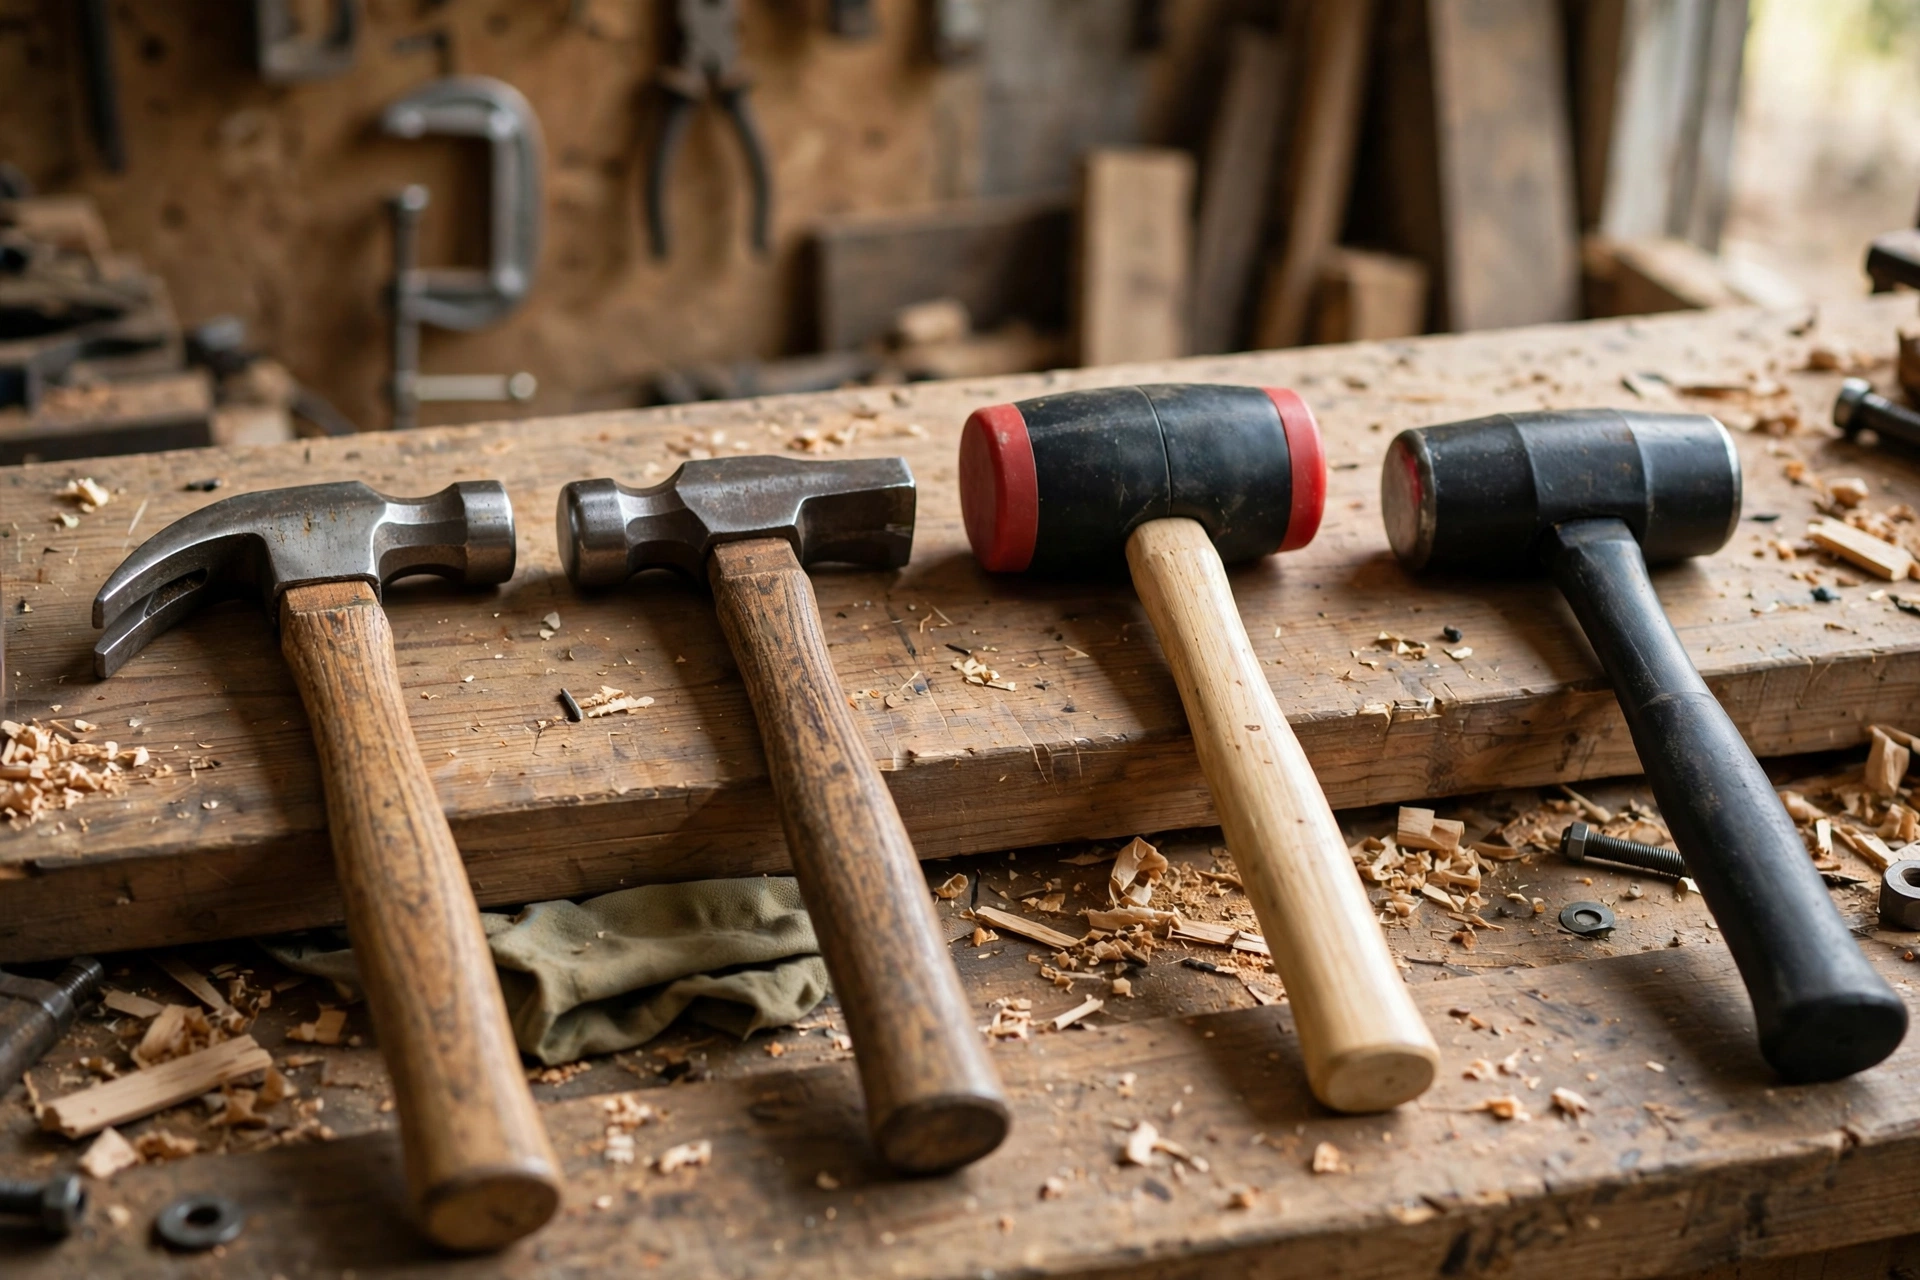
Safety first: Hammers cause more injuries than their simplicity suggests — mostly thumbs, fingers, and flying chips. Wear eye protection (hardened steel can chip), strike squarely (glancing blows send the hammer sideways), and check the handle before use (a cracked handle + a hard swing = the head flying off).
The core types
Claw hammer — the household standard
The curved (or straight) claw for pulling nails, the flat face for driving them. The hammer everyone pictures.
- Curved claw: better leverage for pulling nails — the curve acts as a fulcrum. The general-purpose choice.
- Straight (rip) claw: straighter claw for prying and demolition — the framer’s choice. Less nail-pulling leverage, more prying strength.
- Weight: 16oz is the standard for general DIY. 20oz for framing (more driving power, more fatigue). 13oz titanium for the weight-conscious.
You need: one 16oz curved-claw hammer. It’s the first hammer and the most-used hammer for 90% of people.
Ball-peen hammer — the metalworker’s hammer
One flat face, one rounded (“peen”) end. Designed for metalwork — shaping, riveting, and striking punches and chisels.
- The peen rounds and shapes metal; the flat face does normal striking.
- For: automotive work, metal shaping, striking punches and chisels (the hardened face is designed for it — a claw hammer’s face can chip on hardened steel).
- Weight: 8–32oz; 16oz is the versatile middle.
You need one if you do automotive, metalwork, or machinery — or if you strike chisels and punches regularly (that’s what the hardened face is for).
Sledgehammer — the demolition heavyweight
The 8–12 pound double-face beast for breaking concrete, driving stakes, and demolition.
- For: breaking up concrete/pavers, driving fence posts and stakes, heavy demolition. The “apply maximum force” tool.
- Technique: let the weight do the work — guide the fall, don’t muscle it. Overhead swings are exhausting and inaccurate; controlled, deliberate strikes break more with less effort.
- Handle length matters: longer handle = more force = more fatigue. Match to the job.
You need one (8lb is the versatile choice) if you do demolition, fencing, or landscaping with stakes. Otherwise, borrow one — they’re infrequent-use tools for most homeowners.
Rubber mallet — the gentle persuader
Rubber (or plastic) head that delivers force without marring surfaces.
- For: tapping tile into place, assembling furniture (IKEA’s best friend), seating pavers, persuading trim without dents, tapping chisels with plastic handles.
- The rule: when the workpiece can’t take a steel face, reach for the mallet.
You need one — it’s inexpensive ($10–$15) and irreplaceable for assembly and tile work.
Tack hammer / upholstery hammer — the precision tapper
Small, light hammer with a magnetic tip that holds tacks for starting them one-handed.
- For: upholstery tacks, small nails, picture frame work — anywhere small fasteners need precise, light taps.
- The magnetic face is the feature: place the tack, position it, tap it home. No fumbling, no bent tacks.
You need one if you do upholstery or detailed small-nail work. Otherwise, the claw hammer covers it.
Dead-blow hammer — the controlled thud
Hollow head filled with shot (sand or steel pellets) that eliminates bounce and delivers dead, controlled force.
- For: seating stubborn parts, knocking assemblies together, automotive work (suspension, hubs), any situation where bounce would damage or misalign.
- Why it’s special: no rebound means all the energy goes into the workpiece — and no bounce-back toward you.
Worth having if you do automotive or machinery assembly — the no-bounce characteristic is genuinely different from a mallet.
Club hammer (lump hammer) — the compact sledge
A 2–4 pound short-handled sledge — one-handed demolition power.
- For: light demolition, striking cold chisels, breaking small masonry, driving stakes in tight spaces.
- The in-between: more force than a claw hammer, more control than a full sledge.
Handy for masonry and chisel work — the natural partner for a cold chisel set.
Keep This Chart Handy — Pick Your Hammer in 30 Seconds
Find your job in the left column, grab the hammer in the middle, and trust the “why” — it is the same advice the type-by-type section above gives, boiled down to one glance.
| Your job | Grab this | Why (from this guide) |
|---|---|---|
| Driving and pulling nails, general DIY | 16oz curved-claw hammer | The first hammer and most-used hammer for 90% of people; curved claw gives the best leverage for pulling nails |
| Prying and demolition | Straight (rip) claw hammer | Straighter claw for prying; the framer’s choice, more prying strength |
| Framing (driving lots of nails fast) | 20oz claw hammer | More driving power per swing (more fatigue — the trade-off this guide warns about) |
| Metalwork, riveting, striking punches and chisels | 16oz ball-peen hammer | Hardened face is designed for hardened steel; a claw hammer’s face can chip on it |
| Breaking concrete, driving fence posts and stakes | 8lb sledgehammer | The versatile demolition choice; let the weight do the work, guide the fall |
| Tapping tile, assembling furniture, seating pavers | Rubber mallet | Delivers force without marring surfaces; $10–$15 and irreplaceable for assembly and tile work |
| Upholstery tacks, small nails, picture-frame work | Tack / upholstery hammer | Magnetic tip holds tacks for one-handed starting; precise, light taps |
| Seating stubborn parts with no bounce-back | Dead-blow hammer | Shot-filled head eliminates bounce; all energy goes into the workpiece |
| Light demolition, striking cold chisels, tight spaces | Club (lump) hammer, 2–4 lb | More force than a claw hammer, more control than a full sledge |
Pro tip from this guide: if the workpiece can’t take a steel face, reach for the mallet — and never strike a chisel with a claw hammer as a habit, because chips from a chipped face become projectiles.
Hammer Weight Guide — Keep This Chart Handy
Weight is the fastest way to pick the wrong hammer — too light and you swing twice as hard, too heavy and your arm gives up first. Match the weight to the job, not to your ego.
| Hammer | Weight | Best for | Watch out |
|---|---|---|---|
| 13oz titanium claw | 13 oz (≈370 g) | Light work, sore wrists | The weight-conscious choice — less fatigue, but less driving power per swing |
| 16oz curved-claw | 16 oz (≈450 g) | General DIY, driving and pulling nails | The standard for a reason — the first hammer and most-used hammer for 90% of people |
| 20oz claw | 20 oz (≈570 g) | Framing, driving lots of nails fast | More driving power per swing — and more fatigue, which causes misses |
| 16oz ball-peen | 16 oz (≈450 g) | Metalwork, riveting, striking punches and chisels | The versatile middle of the 8–32 oz (230–900 g) range; hardened face is made for hardened steel |
| Club / lump hammer | 2–4 lb (0.9–1.8 kg) | Light demolition, striking cold chisels, tight spaces | More force than a claw hammer, more control than a full sledge |
| Sledgehammer | 8–12 lb (3.6–5.4 kg) | Breaking concrete, driving fence posts and stakes | 8 lb is the versatile choice; let the weight do the work and guide the fall |
Handle materials: wood, steel, fiberglass
- Hickory (wood): the traditional choice — natural shock absorption, comfortable, replaceable. Breaks eventually under abuse, but replacement handles are cheap and the swap is a satisfying skill.
- Steel (one-piece): nearly indestructible, but transmits maximum vibration to your hand — fatiguing for extended use. The demolition choice.
- Fiberglass: the modern compromise — strong, good vibration damping, weather-resistant. The best all-rounder for most buyers.
For a general-purpose claw hammer: fiberglass or hickory. Steel for demolition-dedicated hammers.
Technique basics (the part that saves thumbs)
- Grip at the end of the handle — choking up reduces power and control. The hammer’s weight does the work; your arm guides it.
- Eye on the nail, not the hammer — look where you want to hit. Your hand follows your eye.
- Start taps, then drive — light taps to set the nail, then full swings to drive it. Trying to drive with tap force bends nails; starting with full swings misses.
- Square strikes — the face should meet the nail squarely. Angled hits bend nails and glance off dangerously.
- Let the weight work — a relaxed arm with a proper swing drives better than muscled, tense hitting. Tension causes misses.
Print This Before You Buy — The Second-Hand Hammer Inspection Checklist
Hammers are one of the best second-hand tool buys — a good head barely wears out and a bad one is easy to spot. Run this check before you pay:
- Head tightness first: hold the handle and try to wiggle the head side to side. Any movement means a loose head, and a loose head is a flying head — walk away unless you plan to re-handle it and know how.
- Face check: a lightly mushroomed edge can be filed smooth, but deep cracks, chips, or a face that looks like it was used as a chisel on concrete means the head is done.
- Handle check: run your hand along it feeling for cracks, especially just below the head where stress concentrates. Check for bends or previous repairs wrapped in tape — a cracked handle is a break waiting for your hardest swing.
- Balance check: hold it at the end of the handle. If the balance feels off, trust your hand over the price tag — heads and handles are matched for weight, and a heavy head on a light handle swings badly.
- Eye check: surface rust on a head is cosmetic, but rust inside the eye (the hole the handle fits through) swells the wood and eventually splits it.
- After you buy: re-handling takes about 20 minutes — fit the new hickory handle snugly (shave to fit, never force it), drive the wedge to lock it, trim flush, and oil the top to keep the wood from drying and shrinking.
- Storage: store hammers head-down or hanging, not rattling loose in a drawer where faces chip each other — and keep them dry.
Buying second-hand, and keeping hammers for life
Hammers are one of the best second-hand tool buys, because a good hammer head barely wears out and a bad one is easy to spot. Flea markets, estate sales, and charity shops are full of quality older hammers for a few dollars, often with better steel and balance than a new budget hammer. The trick is a two-minute inspection before you pay.
Check three things, in this order. First, head tightness: hold the handle and try to wiggle the head side to side. Any movement means the head is loose, and a loose head is a flying head — walk away unless you plan to re-handle it and know how. Second, the face: a lightly mushroomed edge (metal spreading slightly over the rim) can be filed smooth, but deep cracks, chips, or a face that looks like it was used as a chisel on concrete means the head is done. Third, the handle: run your hand along it feeling for cracks, especially just below the head where stress concentrates, and check for bends or previous repairs wrapped in tape. A cracked handle is not a bargain, it is a break waiting for your hardest swing.
Re-handling is worth learning once. A new hickory handle costs little, and the job — removing the old handle remnants, fitting the new one snugly (shave to fit, never force it), driving the wedge to lock it, and trimming flush — takes about 20 minutes and leaves you with a hammer better than most new ones. Oil the top of the handle occasionally to keep the wood from drying and shrinking, which is what loosens heads over time. Store hammers head-down or hanging, not rattling loose in a drawer where faces chip each other, and keep them dry: surface rust on a head is cosmetic, but rust inside the eye (the hole the handle fits through) swells the wood and eventually splits it.
One thing not to buy second-hand without care: a hammer with a replaced head of unknown origin. Heads and handles are matched for weight and balance, and a heavy head on a light handle (or vice versa) feels wrong and swings badly. If the balance feels off when you hold it at the end of the handle, trust your hand over the price tag. A hammer you enjoy swinging is a hammer you will use well; a bargain that fights you is no bargain.
What weight claw hammer should I buy?
16oz for general DIY — the standard for a reason. 20oz if you’re framing regularly (more power per swing). Lighter (13oz) if you have wrist issues or do mostly light work. Heavier isn’t “better” — it’s more fatiguing, and fatigue causes misses.
Can I use a claw hammer on a chisel?
Occasionally, gently — but it’s not designed for it. Claw hammer faces are softer than ball-peen faces; repeated striking on hardened chisel steel can chip the hammer face (and chips become projectiles). For regular chisel work, get a ball-peen or mallet.
Why does my hammer keep bending nails?
Usually: hitting off-center (technique — eye on the nail, square strikes), or the nail is too thin for the wood hardness (pilot hole or a heavier nail). Also: cheap, soft nails bend more — quality fasteners matter.
How do I pull a nail without damaging the wood?
Place a scrap wood block under the hammer head as a fulcrum — it increases leverage and distributes the pressure, preventing the hammer from denting the workpiece. For finish work, this is non-negotiable.
What’s the difference between a mallet and a dead-blow hammer?
A rubber mallet bounces (elastic head); a dead-blow doesn’t (shot-filled head absorbs rebound). For seating tile: mallet is fine. For knocking assemblies together where bounce would misalign parts: dead-blow. Different physics, different jobs.
How do I replace a hammer handle?
Remove the old handle remnants, fit the new hickory handle (it should be snug — shave to fit, don’t force), drive the wedge (wood + metal wedges) to expand and lock it, trim flush, and oil the top. It’s a 20-minute job and a satisfying traditional skill.
The verdict: the minimal hammer collection
| Hammer | For | Approx. cost |
|---|---|---|
| 16oz claw hammer (curved claw) | Nails, general DIY — the essential | $20–$35 |
| Rubber mallet | Assembly, tile, non-marring persuasion | $10–$15 |
| Ball-peen (16oz) | Metalwork, chisels, automotive | $15–$25 |
| 8lb sledge | Demolition, stakes (buy when needed) | $30–$45 |
| Total core set | ~$45–$75 |
The claw hammer drives nails, the mallet persuades without damage, the ball-peen handles metal and chisels. Three hammers, under $75, and you’ve covered essentially every striking task in DIY life. The sledge waits patiently for demolition day.
Tool Worth Lab provides research-based buying guidance. Prices are approximate US street prices and vary by retailer. Always wear eye protection — hardened steel faces can chip, and chips fly fast.
Bookmark This Checklist — Hammer Care for Life
Hammers are simple, not immortal. Eight habits keep them safe for decades:
- Check the head is tight before every session — a loose head is a flying head.
- Replace a cracked or chipped handle; never tape over it and hope.
- Keep faces clean — mushroomed steel faces chip and throw fragments, so grind or replace them.
- Store dry and hanging — damp handles swell, loosen, and rust the eye.
- Oil wooden handles occasionally so they do not dry out and splinter.
- Never strike hardened steel with hardened steel — chisels get a mallet, not a claw hammer.
- A dead-blow head that rattles has lost its shot — replace it.
- Buying second-hand? Check the eye, the handle grain, and the face before paying — the three places a bad hammer hides.