
Name another power tool that can cut a perfect heart out of the middle of a solid board — no entry slot, no starting edge, just a drilled hole and a blade you could thread through a bead. That’s the scroll saw’s party trick, and it’s why woodworkers who own every saw in the shop still keep one in the corner.
It’s also the friendliest powered saw you’ll ever meet: quiet, patient, and almost impossible to hurt yourself with if you respect the blade. The learning curve is really just two things — picking the right blade and tensioning it properly — and once those click, you’ll wonder why every beginner doesn’t start here.
Get those two things right, though, and the scroll saw becomes pure joy — quiet, forgiving, and weirdly addictive. This guide gets you there: the right blade, the right tension, and the techniques that turn wobbly first cuts into curves you’ll actually frame.
Quick Answer: A scroll saw is the safest powered saw to learn on, and the whole game is blade selection plus tension. Start with a #5 skip-tooth blade, tension it until it pings like a high guitar string, and feed slowly — let the blade cut and never force it.
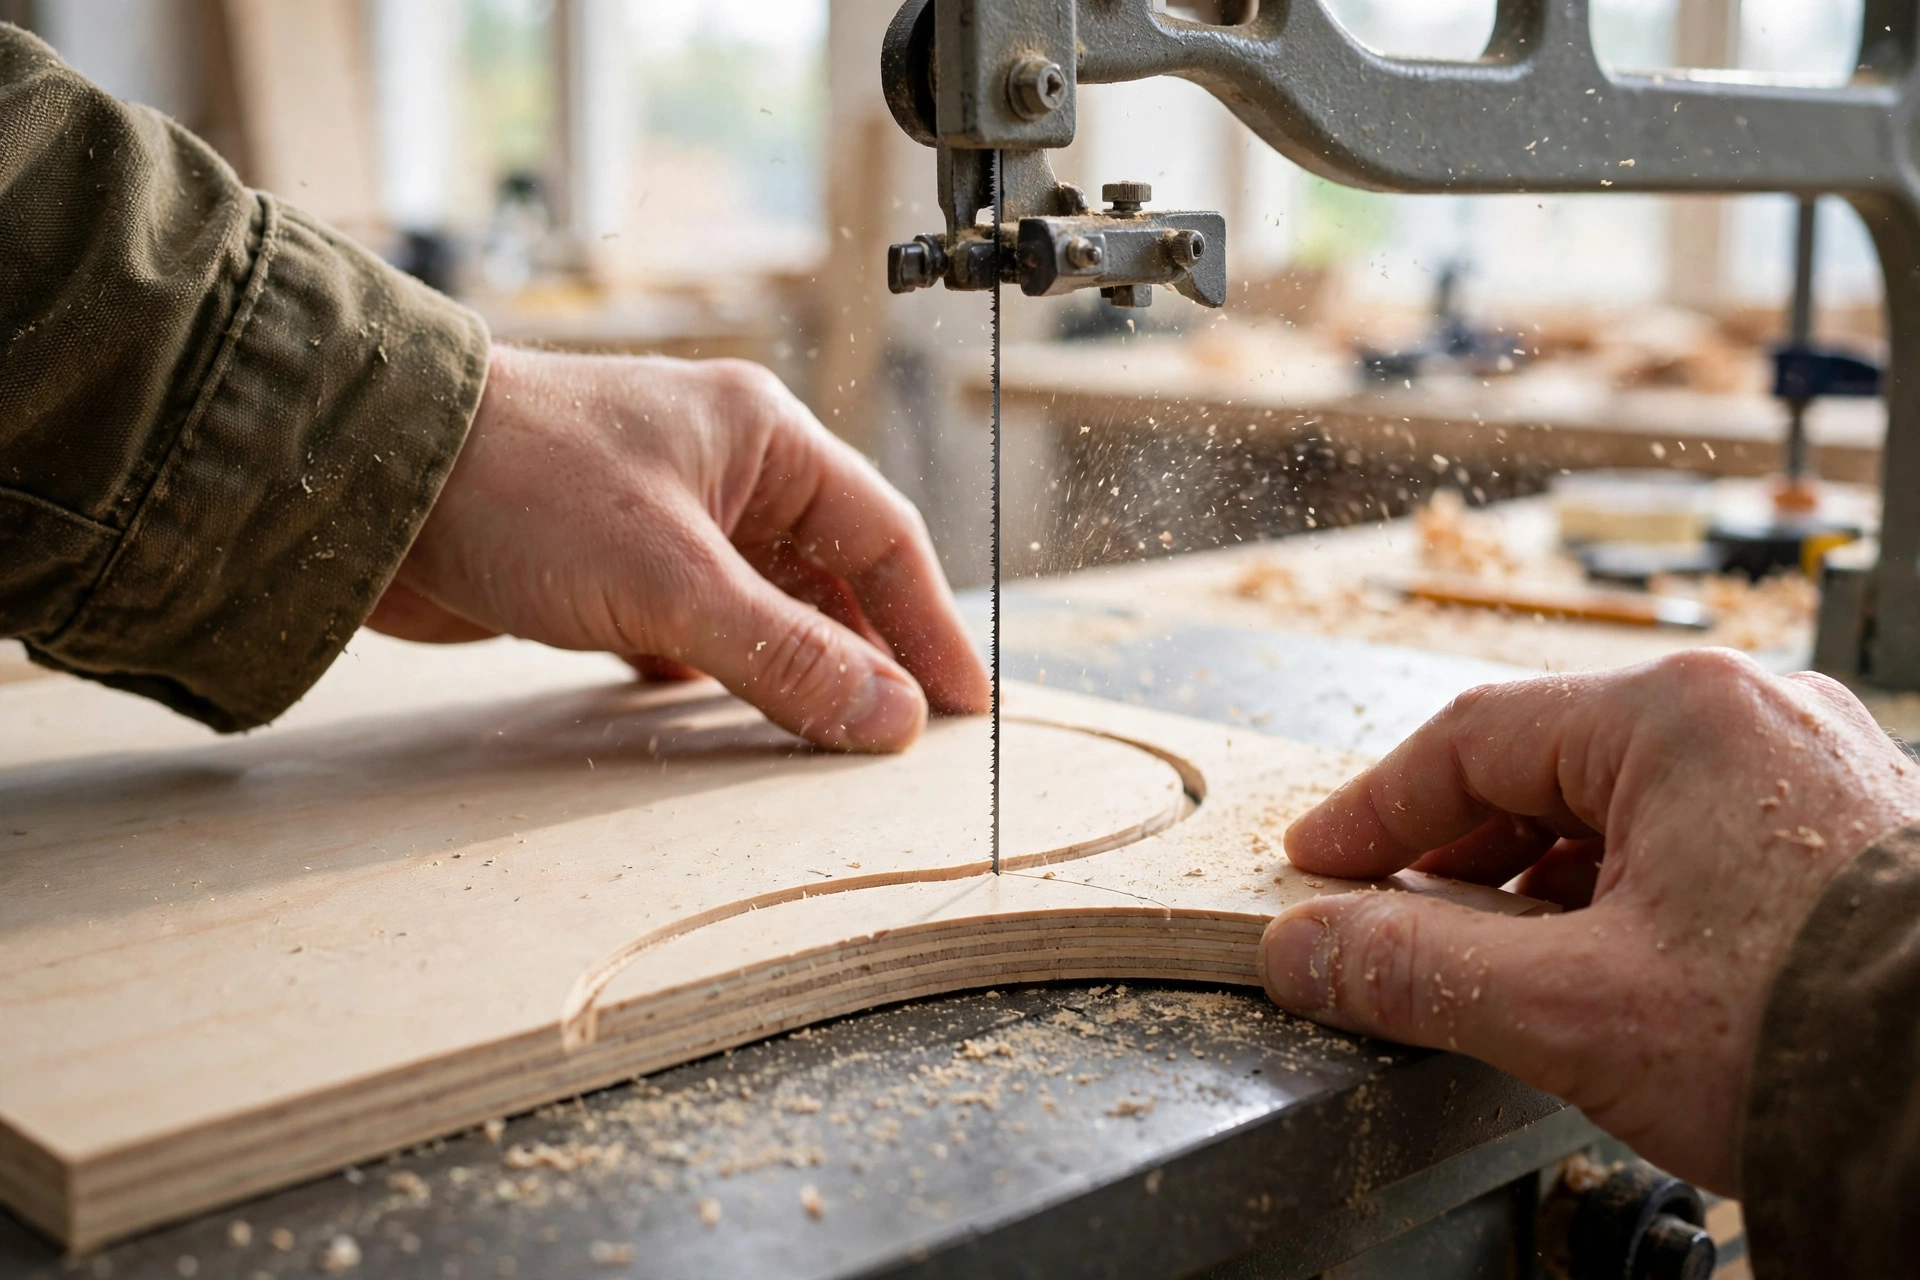
Safety first: Eye protection always (tiny blades can break and flick), dust mask (fine sawdust from intricate cutting), keep fingers clear of the blade (use hold-downs, not fingertips, for tiny pieces), and unplug when changing blades. The blade moves fast in a short stroke — respect the reciprocation.
How it works (the 30-second version)
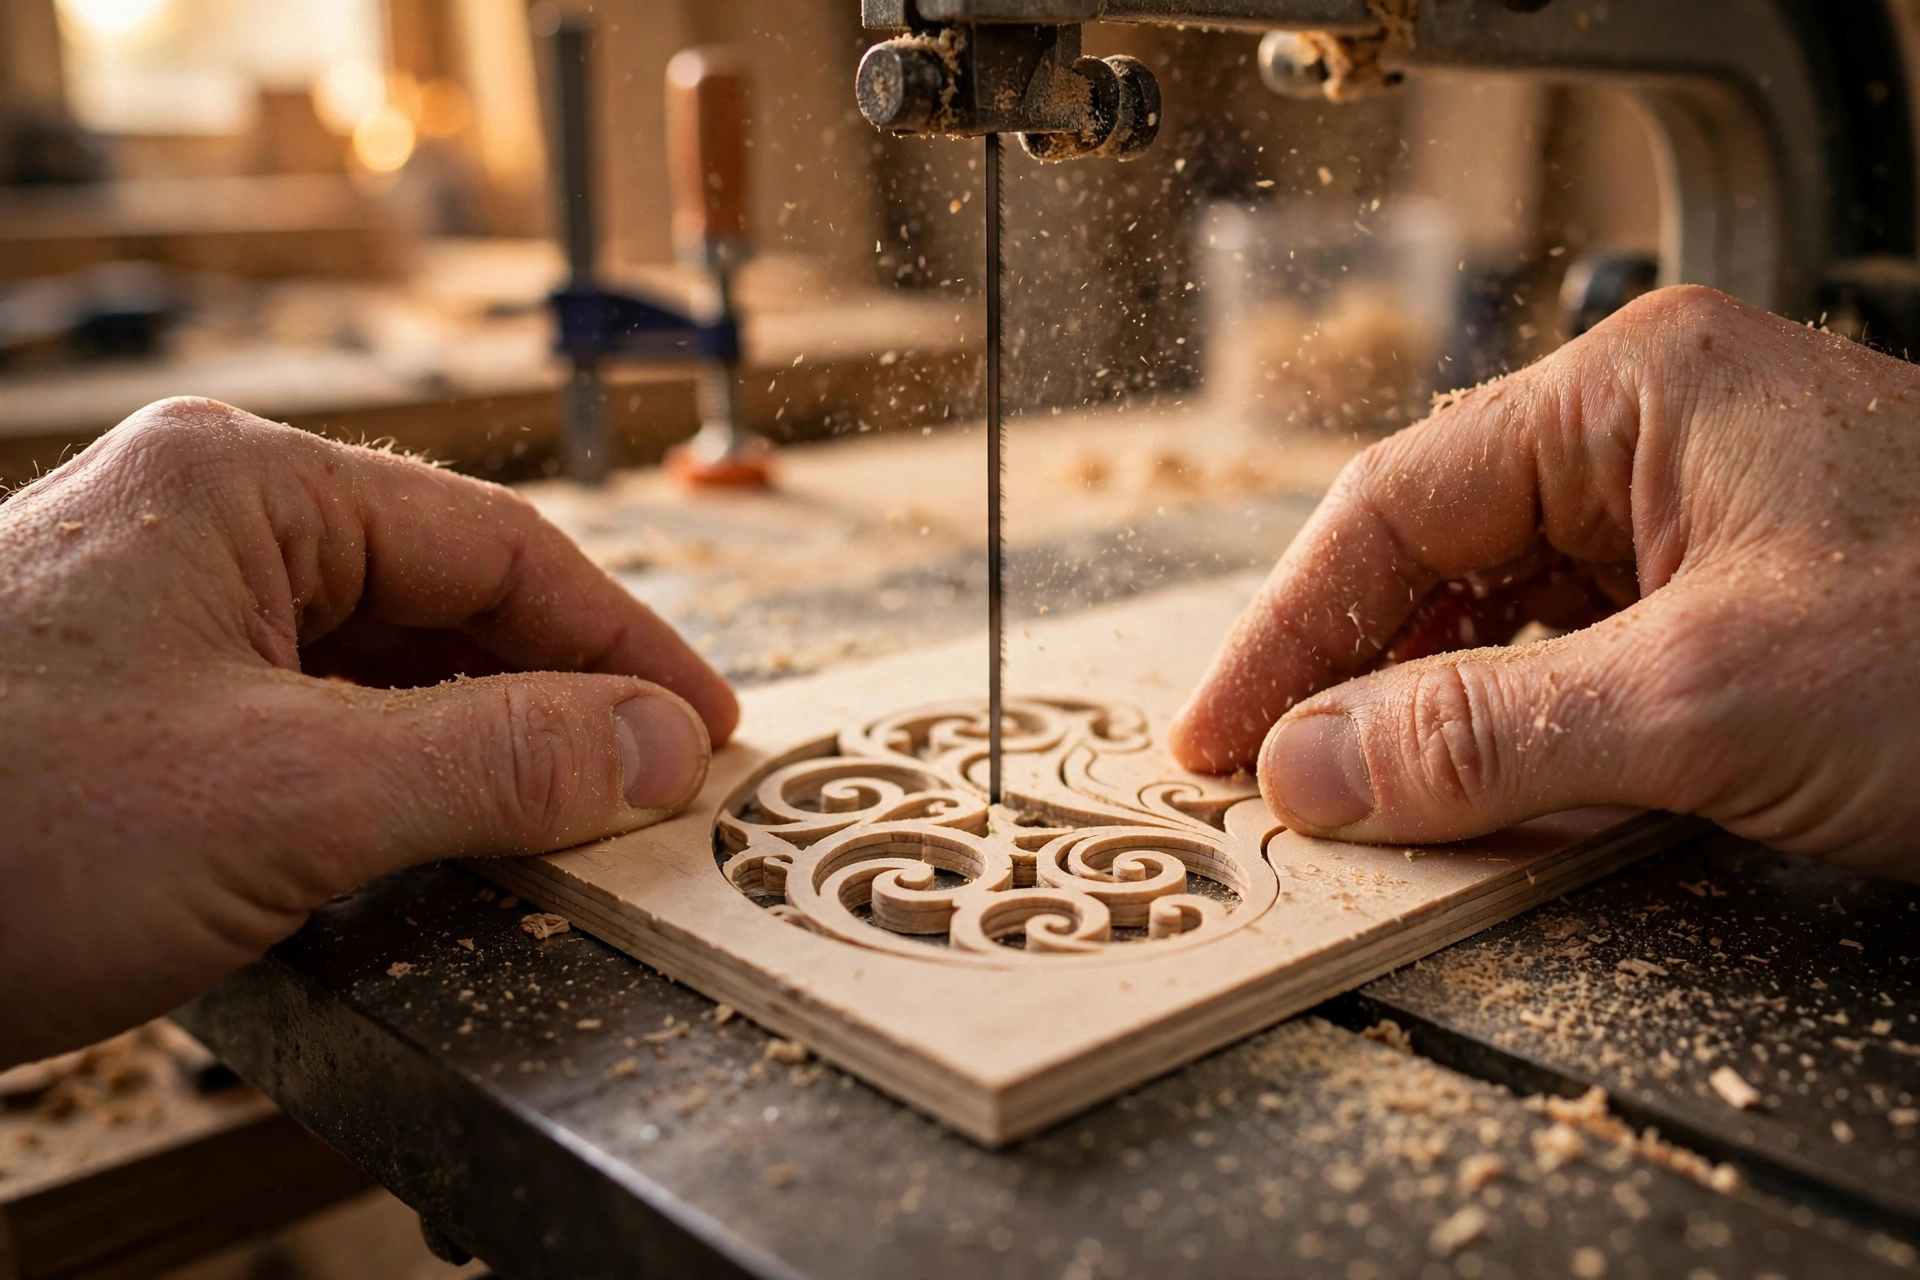
A thin blade reciprocates (moves up and down rapidly) through a table — you guide the workpiece into the blade, steering intricate curves and turns. The table tilts for beveled cuts. Unlike the bandsaw’s continuous loop, the scroll saw’s reciprocating blade can start cuts from a drilled hole — enabling interior cutouts without an entry slot.
Blade selection (tiny blades, critical differences)
Scroll saw blades are small, fragile, and highly specialized. The right blade transforms the experience.
Blade types
- Skip-tooth: the general-purpose beginner blade — efficient chip clearance, smooth cutting. Start here.
- Double-tooth: finer cuts, slower — for detail work.
- Reverse-tooth: teeth point both directions — reduces tearout on the bottom face. Great for plywood.
- Spiral blades: teeth all around — cut in any direction (no turning the workpiece). Convenient but rougher cuts; controversial among purists.
- Crown-tooth / precision: for the finest work — thin stock, intricate fretwork.
Sizing (TPI and thickness)
- Thick stock: fewer TPI, thicker blade (beam strength).
- Thin stock / intricate: more TPI, thinner blade (tighter turns).
- The rule: match blade to stock thickness and curve tightness — too coarse for thin stock tears it; too fine for thick stock clogs and burns.
Pin vs plain end
- Pin-end: quick changes, but thicker (can’t thread through small drilled holes for interior cuts).
- Plain-end: clamps in the holders — threads through tiny holes for interior fretwork. The versatile choice for serious scrolling.
Starter assortment: skip-tooth variety pack ($10–$15) — try them all, learn what you use.
Bookmark This Checklist — Scroll Saw Blade Cheat Sheet
Screenshot this before you buy blades. Every pick below comes from this guide’s blade-selection section.
| Blade | Best for | Remember |
|---|---|---|
| Skip-tooth (#5 to start) | General-purpose beginner cutting | Start here — efficient chip clearance, smooth cutting |
| Double-tooth | Finer detail work | Finer cuts, slower pace |
| Reverse-tooth | Plywood | Teeth point both ways — less tearout on the bottom face |
| Spiral | Cutting in any direction without turning the work | Convenient but rougher cuts |
| Crown-tooth / precision | Finest work — thin stock, intricate fretwork | For the most delicate cuts |
- Pin-end vs plain-end: pin-end changes fast but can’t thread through small drilled holes; plain-end threads through tiny holes for interior fretwork — the versatile choice.
- Starter buy: a skip-tooth variety pack ($10–$15) — try them all and learn what you use.
- Thickness rule: practical intricate work is usually 3/4″ (19 mm) and under; the typical max is 2″ (50 mm).
- Tension check: pluck the blade — it should “ping” like a high guitar string, not thud. When cuts wander, check tension first.
Setup: tension and table
Blade tension
Critical and fiddly. Too loose: the blade wanders, cuts inaccurately, and breaks from flexing. Too tight: breaks from stress.
- Tension until the blade “pings” when plucked (a clear musical note, not a dull thud).
- Check tension frequently — blades stretch slightly with use.
- The #1 beginner issue is under-tensioned blades. When cuts wander: check tension first.
Table flat and square
- Table flat (90°) to the blade for standard cuts.
- Tilts for beveled edges (intarsia, angled fretwork) — set with a square or angle gauge, lock firmly.
Speed
- Thick/hard wood: slower (prevents burning, blade stress).
- Thin/soft wood: faster.
- The feel: the blade should cut without forcing — if you’re pushing hard, something’s wrong (dull blade, wrong TPI, too fast feed).
Print This Before You Cut — Scroll Saw Go/No-Go Checklist
Run down this list before the saw switches on. If any box fails, fix it first — every item comes from this guide.
- Blade tension: pluck it — a clear “ping” like a high guitar string, not a dull thud. Re-check often; blades stretch slightly with use.
- Right blade for the job: start with a #5 skip-tooth; reverse-tooth for plywood (less tearout on the bottom face); plain-end if you need interior cutouts through tiny drilled holes.
- Stock size in range: practical intricate work is 3/4″ (19 mm) and under; typical max is 2″ (50 mm). Thicker stock needs a coarser blade and a slower feed.
- Table square: table flat at 90° to the blade for standard cuts; if tilted for bevels, set it with a square or angle gauge and lock it firmly.
- Speed matched: slower for thick or hard wood, faster for thin or soft wood. If you’re pushing hard, something’s wrong — dull blade, wrong TPI, or too fast a feed.
- Fingers safe: eye protection on, hold-downs (not fingertips) for tiny pieces, and unplug when changing blades.
- Starter hole ready: interior cuts always start from a drilled hole — the scroll saw doesn’t plunge-cut.
- Fresh blade: when cuts drift or burn, change it. Blades are pennies each; fighting a dull one is never worth it.
Technique: the fundamentals
Basic curve cutting
- Mark clearly — the line is your guide; scroll work is all about following it precisely.
- Blade threaded (for interior cuts: drill a starter hole, thread the blade through, re-clamp).
- Start the saw, let it reach speed.
- Feed gently — guide the workpiece, don’t push it. The blade cuts; you steer.
- Steer from behind the cut — watch where the blade will go, not where it is.
- Turn the workpiece, not the blade — rotate the wood to navigate curves; the blade stays fixed.
Tight turns (the signature skill)
- Slow down before the turn — speed + tight turn = broken blade or wandering cut.
- Back out slightly if needed — reverse the workpiece a hair to reposition (don’t force the turn).
- Relief cuts for very tight spots — cut away waste to give the blade turning room.
- Pivot in place for sharp corners — stop the feed, rotate the workpiece around the blade, resume. (The blade drills in place briefly — keep it short to avoid burning.)
Interior cutouts (fretwork)
- Drill a starter hole inside the waste area (sized for the blade).
- Thread the plain-end blade through, clamp both ends.
- Cut the interior shape.
- Unclamp one end, remove the workpiece, re-thread for the next cutout.
This is the scroll saw’s magic — interior shapes with no entry cut. No other saw does this as cleanly.
Stack cutting
Cut multiple identical pieces simultaneously — stack 2–4 layers (taped or pinned together), cut once.
- For: puzzles, ornaments, production runs of identical shapes.
- Blade: sized for the total stack thickness.
- Secure the stack — tape the edges or pin through waste areas. Shifting layers ruin every piece.
The mistakes that break blades (and ruin cuts)
- Under-tensioned blade — the #1 cause of wandering cuts and premature breakage.
- Forcing the feed — pushing twists the thin blade → wandering, breaking. Guide, don’t push.
- Wrong blade for the stock — too fine for thick (clogs, burns), too coarse for thin (tears, grabs).
- Side pressure in turns — twisting the workpiece sideways stresses the blade. Rotate smoothly, don’t lever.
- Dull blade — scroll blades dull fast (tiny teeth, hard work). When cutting gets difficult: new blade. They’re pennies each.
- No starter hole technique — trying to plunge-cut (the scroll saw doesn’t plunge — always start from an edge or a drilled hole).
Keep This Chart Handy — Your First-Week Practice Plan at a Glance
Twenty to thirty minutes a day on scraps, and you’ll be cutting clean curves within a week. Here’s the guide’s first-week plan in one glance — no masterpiece attempts until Day 3.
| Day | Cut this | Material and blade | The skill it builds | Done when… |
|---|---|---|---|---|
| Day 1 | Straight lines and gentle S-curves | 1/2-in (13 mm) pine, #5 skip-tooth blade | A steady feed rate | The blade doesn’t bow and the motor doesn’t labor — if either happens, you’re pushing |
| Day 2 | Circles and tight turns | Same pine, same blade | Stopping mid-cut, backing out a hair, and re-entering on the line | You can re-enter a cut exactly on the line — the move that saves real projects |
| Day 3 | A simple ornament or puzzle piece from a printed pattern glued to the wood | 1/4-in (6 mm) plywood | Following a pattern and threading the blade | You’ve cut your first keepable piece — a broken blade or two is tuition, not failure |
| Every day | Change the blade the moment cuts start drifting or burning | — | Knowing when a blade is done | You stop fighting a dull blade for another hour |
| Every day | Keep a tiny blade log on the wall: blade size, wood type, thickness, and how it cut | — | Blade instinct | Within a month you reach for the right blade without thinking |
Why do my blades keep breaking?
In order: under-tensioned (flexing fatigue), forcing turns (side stress), too much feed pressure, wrong blade for the curve tightness, or just worn out (they’re consumables — frequent changes are normal, not failure).
Can a scroll saw cut metal?
Thin soft metals (aluminum, brass, copper) with appropriate blades — slowly. Not steel of any significant thickness. It’s a wood/plastic craft tool primarily.
What’s the thickest wood a scroll saw cuts?
Typically 2″ max (varies by saw) — but practical intricate work is usually 3/4″ and under. Thick stock needs coarse blades and slow feeds; the scroll saw’s strength is detail, not depth.
Scroll saw vs bandsaw for curves?
Bandsaw: bold curves, thick stock, faster. Scroll saw: intricate detail, interior cutouts, thin stock, tighter turns. Different tools for different scales — the scroll saw is the detail instrument.
How do I reduce tearout on plywood?
Reverse-tooth blades (cut on both strokes), tape the cut line, zero-clearance table insert (a sacrificial overlay with a blade slot), and appropriate speed. Plywood’s thin veneer tears easily — these four measures combine effectively.
Is a scroll saw good for beginners?
It’s the most beginner-friendly powered saw — small, controllable, relatively safe, and immediately rewarding (you’ll cut recognizable shapes in the first session). The learning curve is gentle; mastery (intricate fretwork) takes practice but the basics click fast.
The verdict: the patient artist’s saw
Correct tension + right blade (TPI matched to stock) + gentle feed (guide, don’t push) + smooth turns (rotate the work) + fresh blades often = scroll saw success.
The scroll saw rewards patience more than any other power tool — it’s meditation with sawdust. Don’t rush, don’t force, keep blades fresh and tensioned. The intricate work that looks impossible becomes merely careful, one gentle curve at a time.
Your first-week practice plan
Do not start with a masterpiece. Start with scraps and a plan, twenty to thirty minutes a day, and you will be cutting clean curves within a week.
Day 1: straight lines and gentle S-curves on 1/2-inch pine with a #5 skip-tooth blade. Your only job is a steady feed rate — if the blade bows or the motor labors, you are pushing. Day 2: circles and tight turns on the same pine. Practice stopping mid-cut, backing out a hair, and re-entering on the line; this is the move that saves real projects. Day 3: cut a simple ornament or puzzle piece from a printed pattern glued to 1/4-inch plywood. Expect to break a blade or two — that is tuition, not failure.
Two habits separate fast learners from frustrated ones. First, change the blade the moment cuts start drifting or burning instead of fighting a dull one for another hour. Second, keep a tiny blade log on the wall: blade size, wood type, thickness, and how it cut. Within a month you will reach for the right blade without thinking, and that instinct is worth more than any upgrade to the saw itself.
Keep Reading
- Jigsaw Blade Keeps Breaking? The Real Causes
- How to Sand Wood: The Complete Guide
- Circular Saw Kickback: How to NOT Get Hurt
One last beginner truth: your first ten cuts will look rough, and that is completely normal. Every scroll saw artist you admire started with wobbly lines and broken blades. The saw rewards patience more than talent — slow hands, sharp blades, and a willingness to practice on scraps before touching the good wood. A month from now, the curves that feel impossible today will feel easy, and you will wonder why you waited so long to start.
Tool Worth Lab provides research-based technique guidance. Always wear eye protection, keep fingers clear of the blade (hold-downs for tiny pieces), unplug when changing blades, and check tension frequently — under-tensioned blades wander and break.