
Walk into any hardware store and the glue aisle will lie to you — quietly, with a smile. Forty bottles, all promising the strongest bond ever, and not one of them mentions the real truth: the glue is the least important part of a strong joint. The joint itself — how it fits, how it’s clamped, how long you leave it alone — does almost all the work.
That sounds backwards until you’ve watched a chair leg snap and found the glue line holding perfectly while the wood gave way around it. This guide skips the marketing and tells you which bottle to grab for which job, what “tight enough” actually feels like on a clamp, and why the hardest part of gluing is simply waiting a full day. Get those three right and your glue-ups stop being a gamble.
Safety first: Wood glues aren’t highly toxic, but polyurethane glue (Gorilla Glue type) expands and bonds skin instantly — wear gloves. Epoxy: wear gloves and ventilate (sensitization develops with repeated exposure). Keep all glues away from eyes; flush immediately if contact occurs.
The glue types, honestly compared
PVA (yellow/white glue) — the default
The classic wood glue (Titebond-style yellow aliphatic resin, or white craft PVA).
- Strength: stronger than the wood in long-grain joints — the gold standard for indoor woodworking.
- Open time: 5–10 minutes (the working window before it starts setting). Type III extends this slightly.
- Water resistance: Type I (not water resistant), Type II (water resistant — damp areas), Type III (waterproof — outdoor, cutting boards).
- Cleanup: water while wet — the huge practical advantage.
- Best for: 90% of indoor woodworking — furniture, boxes, general joinery.
The default choice. If you’re not sure which glue, it’s PVA Type II or III.
Polyurethane (Gorilla Glue type) — the foaming glue
Moisture-cured glue that expands as it sets.
- Strength: excellent — bonds wood, metal, stone, ceramics (the multi-material advantage).
- The expansion: foams 3–4x, filling gaps — useful for imperfect joints, messy everywhere else. The foam is weak and must be trimmed; it also stains.
- Waterproof: genuinely waterproof when cured — good for outdoor projects.
- Open time: 15–20 minutes.
- Best for: outdoor projects, bonding dissimilar materials, gap-filling situations.
The honest take: versatile but messy. The foaming that fills gaps also squeezes out everywhere and stains finishes. Use it where its strengths matter (outdoor, mixed materials); prefer PVA for clean indoor joinery.
Epoxy — the structural specialist
Two-part resin + hardener, mixed before use.
- Strength: the strongest option — structural, gap-filling, waterproof.
- Open time: varies by formula — 5 minutes to hours. Choose based on your assembly complexity.
- Gap-filling: the only glue that maintains full strength across gaps — critical for imperfect joints and repairs.
- Best for: structural repairs, boat building, laminations, bonding where ultimate strength matters, filling voids.
The catch: expensive, precise mixing required (wrong ratio = weak cure), limited open time on fast formulas, and overkill for standard joinery. Use it where its strengths are needed, not as a default.
Hide glue — the traditionalist’s choice
Animal-protein glue, used for centuries — available as hot (traditional) or liquid (bottled) versions.
- Strength: excellent for woodworking — comparable to PVA in proper joints.
- The superpower: reversible — heat and moisture release the joint. Invaluable for restoration, musical instruments, and any joint you might need to disassemble.
- Best for: antique restoration, instruments, fine furniture where reversibility matters.
Niche but irreplaceable for its specific uses. Most DIYers will never need it; restorers swear by it.
CA glue (super glue) — the quick fix
Cyanoacrylate — instant bonding for small parts.
- Best for: small repairs, tacking parts in position, filling small cracks (with sawdust), quick fixes.
- Not for: structural joints — it’s brittle and has poor shear strength on wood. The “instant” temptation leads to weak joints.
- The accelerator trick: CA + accelerator spray bonds in seconds — useful for tacking parts before the real glue-up.
Keep This Chart Handy — Which Glue for Your Project? The 30-Second Picker
Screenshot this before you reach for a bottle: match your project to the glue in one glance — every row comes from the glue types compared above.
| Your project | Grab this glue | Why it wins |
|---|---|---|
| 90% of indoor woodworking — furniture, boxes, general joinery | PVA (Type II or III) | Stronger than the wood in long-grain joints; water cleanup; 5–10 minute open time |
| Outdoor projects, or bonding wood to metal, stone, or ceramics | Polyurethane (Gorilla Glue type) | Genuinely waterproof when cured; foams 3–4x to fill gaps; 15–20 minute open time |
| Structural repairs, boat building, laminations, filling voids | Epoxy | The strongest option; the only glue that holds full strength across gaps; open time 5 minutes to hours by formula |
| Antique restoration, instruments, joints you may need to take apart | Hide glue | Reversible — heat and moisture release the joint |
| Small repairs, tacking parts in place, filling small cracks | CA glue (super glue) | Bonds in seconds (faster with accelerator spray) — but not for structural joints: brittle, poor shear strength |
What actually makes joints strong (it’s not the glue brand)
The glue matters less than the joint preparation. In order of importance:
- Wood-to-wood contact. Glue is strongest in thin films — the wood fibers interlocking across a tight joint. Gaps weaken every glue except epoxy. Fit your joints well; the glue just locks the fit.
- Long grain to long grain. Wood glue bonds long-grain surfaces with incredible strength (stronger than the wood). End grain to anything is weak — the open fibers absorb glue like a straw, starving the joint. For end-grain joints: size the end grain first (thin glue coat, let dry, then glue normally), or use mechanical reinforcement.
- Fresh surfaces. Glue bonds best to freshly cut/planed wood — within hours, ideally. Oxidized, dusty, or burnished surfaces bond poorly. If the joint’s been sitting, freshen it with a light sanding or plane pass.
- Correct clamping pressure. Enough to close the joint fully with slight squeeze-out — not a flood. (More below.)
- Full cure time. PVA reaches handling strength in 30–60 minutes but full strength in 24 hours. Don’t stress joints early.
Clamping: the technique that makes or breaks it
How much pressure?
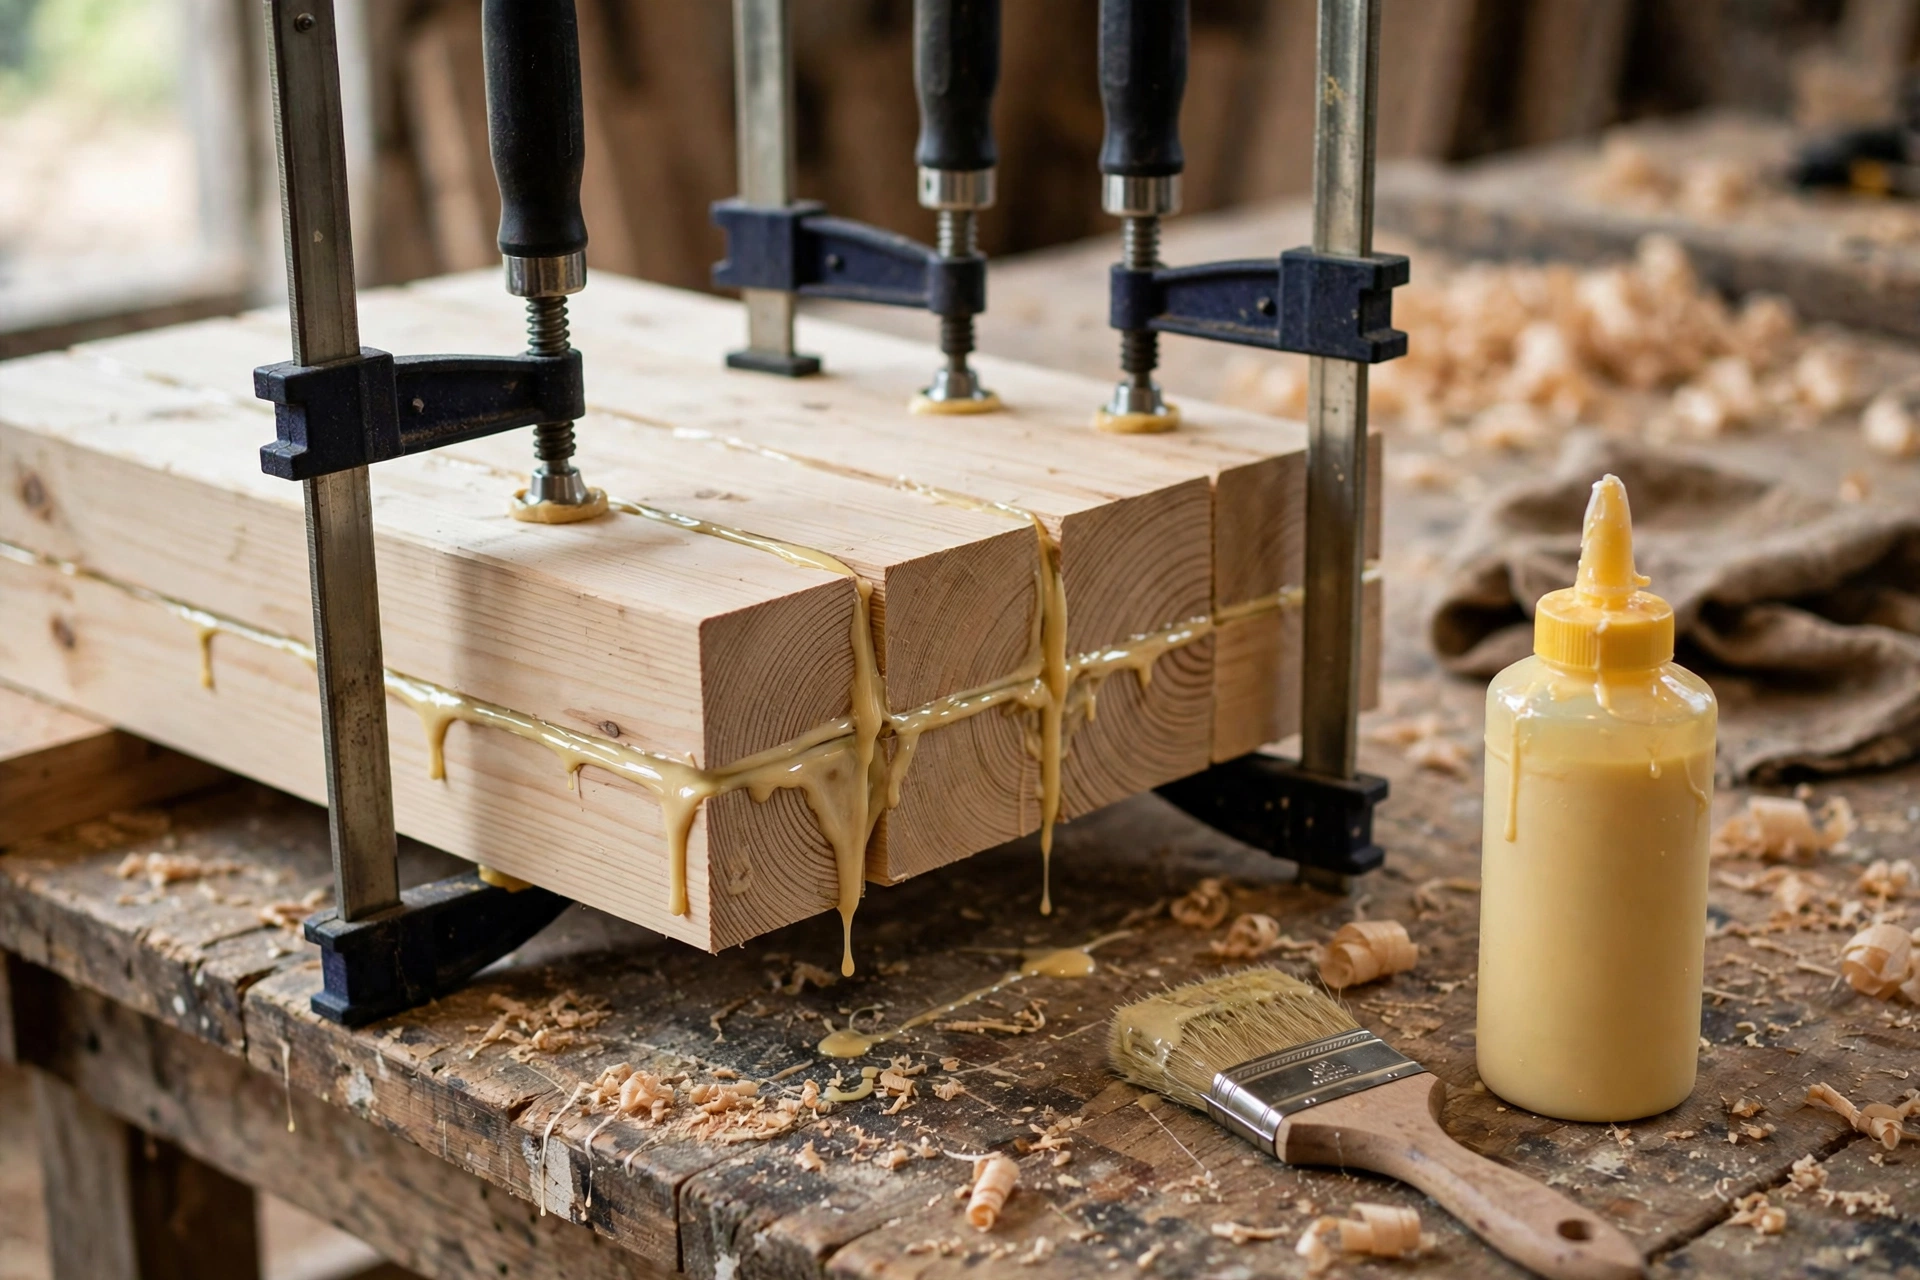
Snug plus slight squeeze-out. You want a thin, continuous bead of glue squeezing out along the joint — that tells you the joint is fully closed with adequate (not excessive) glue.
- Too little: gaps remain, joint is weak.
- Too much: all the glue squeezes out (starved joint — the #1 over-clamping failure), panels bow, wood crushes.
The feel: tighten until the joint closes and you see the bead, then a quarter-turn more. If glue is pouring out like a river, back off.
Clamp placement
- Every 8–12 inches along the joint — even pressure prevents bowing.
- Alternate top and bottom on panel glue-ups — balances the clamping force and keeps panels flat.
- Cauls (flat sticks) between clamp jaws and workpiece — distribute pressure, prevent dents, keep panels flat. Clamp guide here.
The dry run
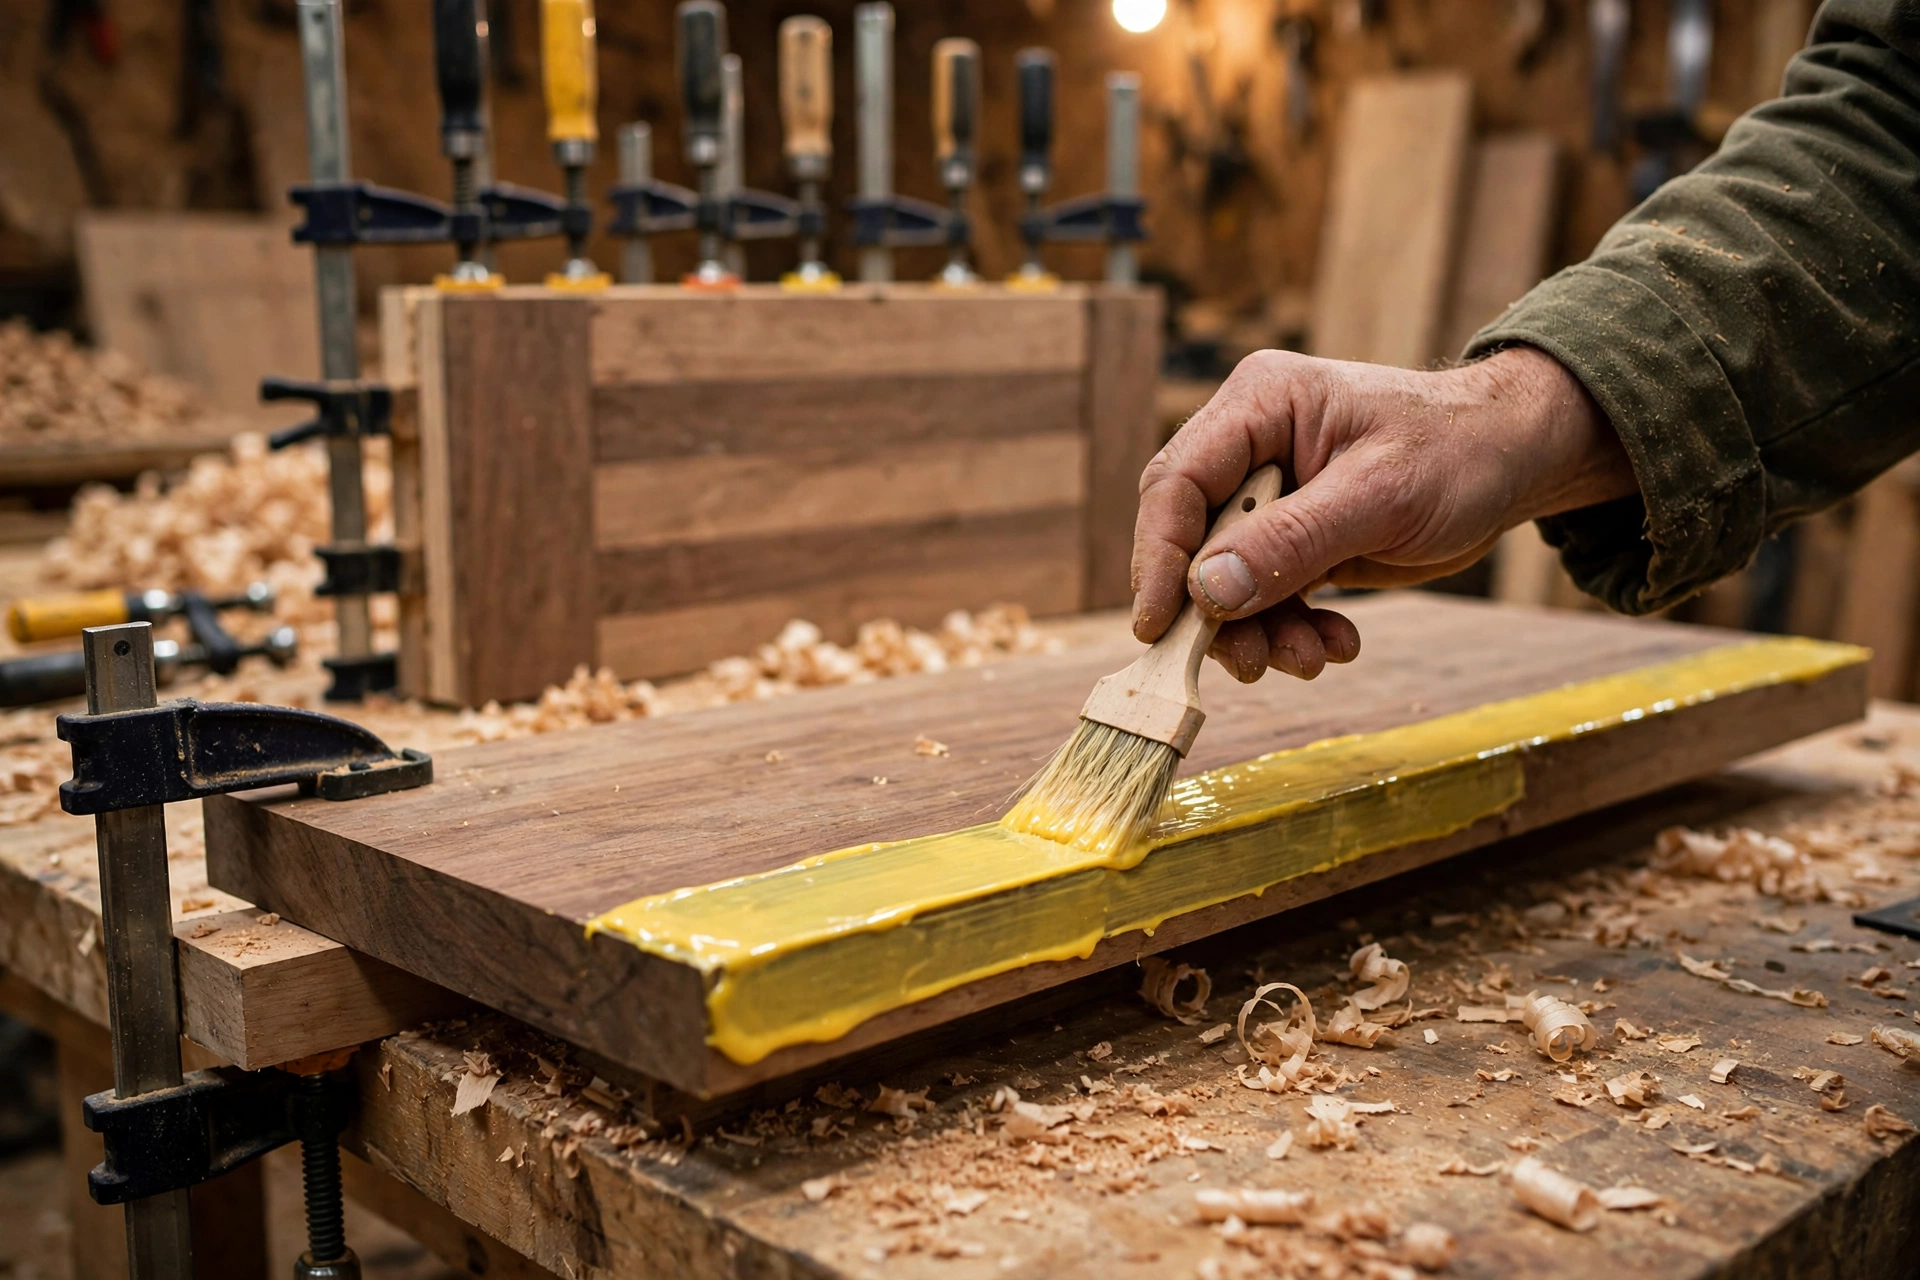
Always rehearse the glue-up dry first. Assemble everything with clamps, check fit, verify you have enough clamps, stage them in order. Then disassemble, apply glue, and execute. Fumbling with clamps while glue skins over is how joints fail — the rehearsal eliminates it.
Open time, clamp time, cure time (know the difference)
| Term | Meaning | Typical (PVA) |
|---|---|---|
| Open time | How long you have to assemble after applying glue | 5–10 min |
| Clamp time | Minimum time under clamp pressure | 30–60 min |
| Cure time | Time to full strength | 24 hours |
The impatience trap: unclamping at 30 minutes and immediately stressing the joint. It’ll hold — until it doesn’t. Give it the full 24 hours before real loads.
Temperature matters: cold slows curing dramatically (below 50°F/10°C, PVA barely cures). Warm the shop or wait for warmer weather for critical glue-ups.
Glue-ups in cold weather and humidity
Wood glue is chemistry, and chemistry cares about temperature and humidity far more than most woodworkers admit. A joint glued up on a cold garage morning in January can look perfect and fail by spring, because the glue never actually cured — it just dried on the surface while the bond line stayed weak.
Most yellow wood glues want the wood and the air above 55°F (13°C) during gluing and for the full cure, and the bottle means it: below that threshold the adhesive does not crosslink properly, and no amount of extra clamp time fixes it. In winter, bring the pieces and the glue bottle indoors overnight, glue up in a heated space, and leave the assembly there for 24 hours. A space heater pointed at the bench helps, but blowing hot air directly on one side of a panel invites warping — warm the room, not the joint.
Humidity matters the other way: very dry shop air pulls moisture from the joint too fast, weakening the bond, while soaking-wet wood dilutes the glue at the surface. Aim for wood at roughly 6–10% moisture content and shop humidity in the 35–55% range. When in doubt, check the bottle — every reputable glue prints its temperature and moisture limits, and the manufacturers who test this stuff for a living are worth listening to more than any forum shortcut.
Keep Reading
If this guide helped, these related guides are worth your time:
- How to Change a Circular Saw Blade Safely (Step-by-Step)
- Circular Saw KICKBACK: How to NOT Get Hurt!
- How to Build a Privacy Screen (Balcony & Patio Guide)
Is wood glue stronger than screws?
In long-grain joints: yes — properly glued joints exceed the wood’s own strength, while screws create stress concentrations. The strongest construction uses both: glue for the bond, screws for clamping pressure and insurance. They’re complementary, not competing.
Why did my glue joint fail?
In order of likelihood: starved joint (over-clamped, all glue squeezed out), end-grain without sizing, old/oxidized surfaces, insufficient clamp time, or wrong glue for conditions (non-waterproof glue outdoors). Diagnose honestly — it’s usually preparation, not the glue brand.
Can I glue end grain?
Yes, with technique: size the end grain first (thin coat, let it soak in and dry ~30 minutes), then apply a second coat and assemble normally. The sizing seals the fibers so the second coat stays in the joint instead of wicking away. Even then, end-grain joints are weaker — reinforce mechanically (dowels, splines, screws) for structural loads.
How long does wood glue last in the bottle?
Unopened: 1–2 years. Opened: 6–12 months (less if contaminated or frozen). The test: if it’s stringy, lumpy, or smells off, it’s done. Old glue is the silent killer of joints — when in doubt, buy fresh. It’s $8.
Should I wipe off squeeze-out with a damp rag?
The great debate. Wet-wiping thins the glue and can seal the wood surface, interfering with finish absorption (causing blotchy stain around joints). The alternative: let it gel (30–45 minutes), then peel/scrape it off cleanly. For stain-grade work, the gel-scrape method is safer.
Is Gorilla Glue (polyurethane) better than wood glue?
Different, not better. Polyurethane wins for outdoor use, gap-filling, and bonding mixed materials. PVA wins for clean indoor joinery (stronger in tight joints, water cleanup, no foaming mess). Match the glue to the job.
Bookmark This Checklist: The Pre-Glue-Up Checklist
Run through this list before any glue leaves the bottle — every item below prevents one of the classic joint failures.
- Pick the glue by the job, not the brand: PVA Type II or III for general indoor woodworking; PVA Type III or polyurethane for outdoor projects; epoxy for structural repairs and gap-filling; hide glue only when reversibility matters (restoration, instruments); CA glue only for small tacks and quick fixes, never structural joints.
- Check the bottle before you trust it: unopened glue lasts 1–2 years; opened glue lasts 6–12 months. If it is stringy, lumpy, or smells off, throw it out and buy fresh.
- Fit the joint dry first: assemble everything with clamps before gluing, check the fit, confirm you have enough clamps, and stage them in order. Never fumble with clamps while glue is skinning over.
- Freshen the surfaces: glue bonds best to freshly cut or planed wood. If a joint has been sitting, give it a light sanding or plane pass first — oxidized, dusty surfaces bond poorly.
- Size end grain before gluing it: apply a thin glue coat, let it soak in and dry for about 30 minutes, then apply a second coat and assemble. Even then, reinforce end-grain joints mechanically (dowels, splines, screws) for structural loads.
- Space clamps every 8–12 inches (20–30 cm) along the joint and alternate top and bottom on panel glue-ups so pressure stays even and panels stay flat. Use cauls (flat sticks) between clamp jaws and workpiece to prevent dents.
- Clamp to a thin, continuous bead of squeeze-out — not a flood: tighten until the joint closes and the bead appears, then a quarter-turn more. If glue is pouring out, back off — you are starving the joint.
- Respect the clock: PVA open time 5–10 minutes, minimum clamp time 30–60 minutes, full cure 24 hours. Do not stress the joint before the full 24 hours.
- Keep it warm: glue above 55°F (13°C) for the wood, the air, and the full cure. Below 50°F (10°C), PVA barely cures — bring pieces and the bottle indoors overnight and glue up in a heated space.
- Handle squeeze-out the safe way: do not wet-wipe it (thinned glue seals the wood and causes blotchy stain). Let it gel for 30–45 minutes, then peel or scrape it off cleanly.
Keep This Chart Handy: Why Did My Joint Fail? Diagnose It in 60 Seconds
Match the symptom to the cause before you re-glue — gluing it the same way again just fails the same way.
| Symptom | Likely cause | Fix |
|---|---|---|
| Joint opened cleanly, with little or no squeeze-out visible | Starved joint from over-clamping — all the glue squeezed out | Re-glue with snug pressure only: tighten until the joint closes and a thin, continuous bead appears, then a quarter-turn more |
| End-grain joint pulled apart | End grain absorbed the glue instead of holding it in the joint | Size the end grain first (thin coat, let it dry about 30 minutes), then apply a second coat and assemble; reinforce structural end-grain joints with dowels, splines, or screws |
| Joint failed on an old or dusty surface | Oxidised, dusty, or burnished surfaces bond poorly | Freshen the joint with a light sanding or plane pass before gluing |
| Joint held at first, then failed after being loaded the same day | Stressed before full cure | For PVA: minimum clamp time 30–60 minutes, full cure 24 hours — do not stress the joint before the full 24 hours |
| Outdoor joint failed | Wrong glue for the conditions (non-waterproof glue outdoors) | Use PVA Type III or polyurethane for outdoor projects |
| Winter glue-up looked fine, then failed by spring | Glued too cold — below 50°F (10°C), PVA barely cures | Glue above 55°F (13°C) for the wood, the air, and the full cure: bring pieces and the bottle indoors overnight and glue up in a heated space |
| Blotchy stain around the joint | Squeeze-out wet-wiped, sealing the wood surface | Let squeeze-out gel for 30–45 minutes, then peel or scrape it off cleanly |
The verdict
| Your situation | Use this |
|---|---|
| General indoor woodworking | PVA Type II/III — the default |
| Outdoor projects | PVA Type III or polyurethane |
| Mixed materials / gap filling | Polyurethane or epoxy |
| Structural / ultimate strength | Epoxy |
| Restoration / reversibility needed | Hide glue |
| Quick tacks and small fixes | CA glue |
But remember the hierarchy: joint fit > surface prep > clamping technique > cure time > glue brand. The most expensive epoxy can’t save a gappy, dirty, under-clamped joint — and basic PVA makes a perfect joint stronger than the wood itself. Master the preparation, and the glue almost doesn’t matter.
Tool Worth Lab provides research-based woodworking guidance. Wear gloves with polyurethane and epoxy. Give every joint the full 24-hour cure before stressing it — patience is structural.