
Somewhere in every DIYer’s life there’s a wall that won. You pressed the drill in, leaned on it, watched the bit smoke — and the hole stayed exactly where it wasn’t. Here’s the secret that wall already knows: concrete doesn’t care how strong you are. It only cares whether you brought the right tool, the right bit, and the right technique.
Get those three right and the whole job flips — a hole that took five miserable minutes becomes a twenty-second job, and the bit comes out looking brand new. This guide covers all three, in the order that matters, so the next time you drill concrete it feels less like a fight and more like a magic trick.
Get those three right and concrete genuinely drills like wood — a rotary hammer turns a five-minute suffer-fest into a twenty-second hole. This guide covers all three, so your next hole goes in clean on the first try.
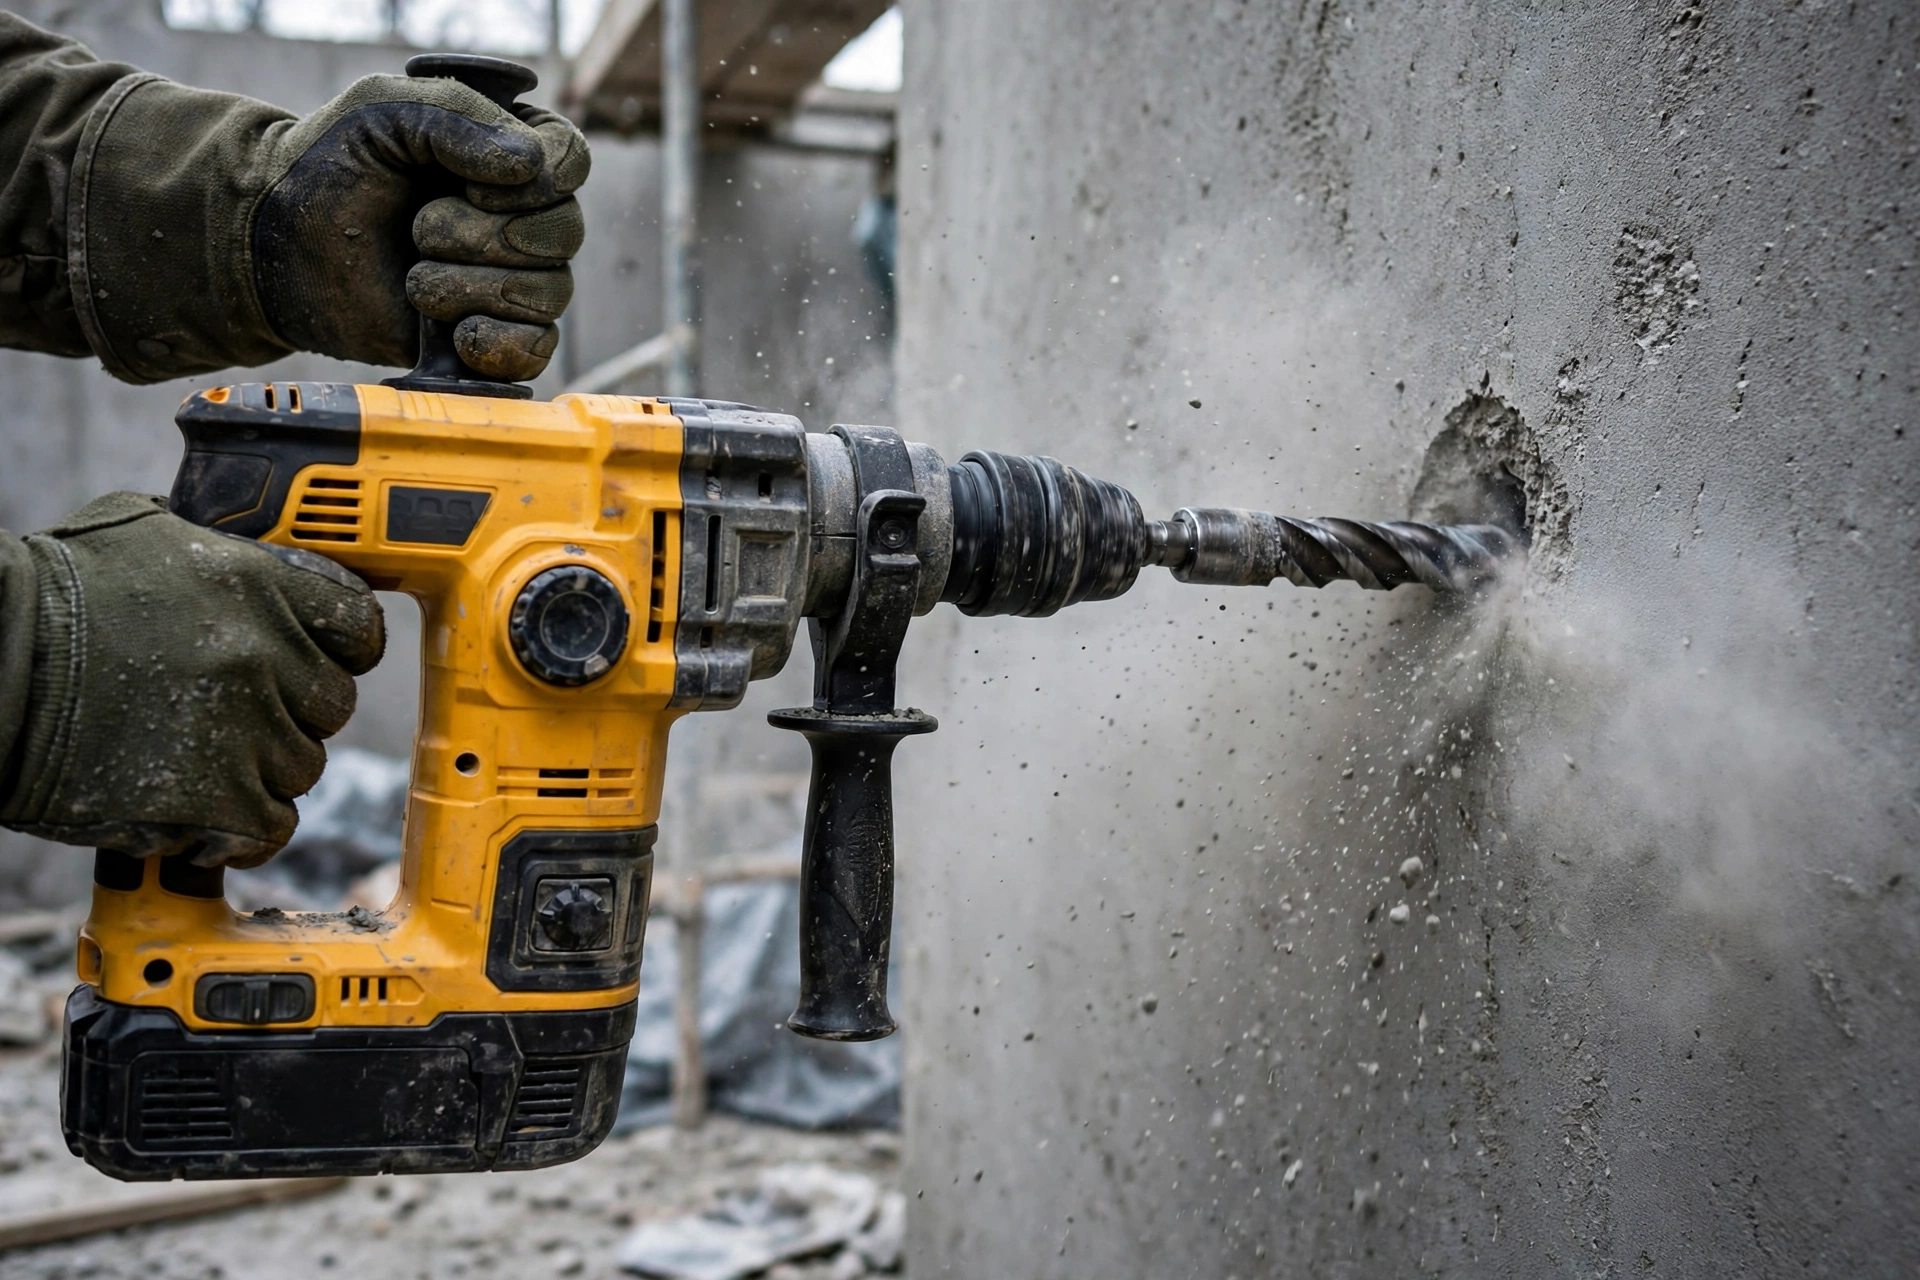
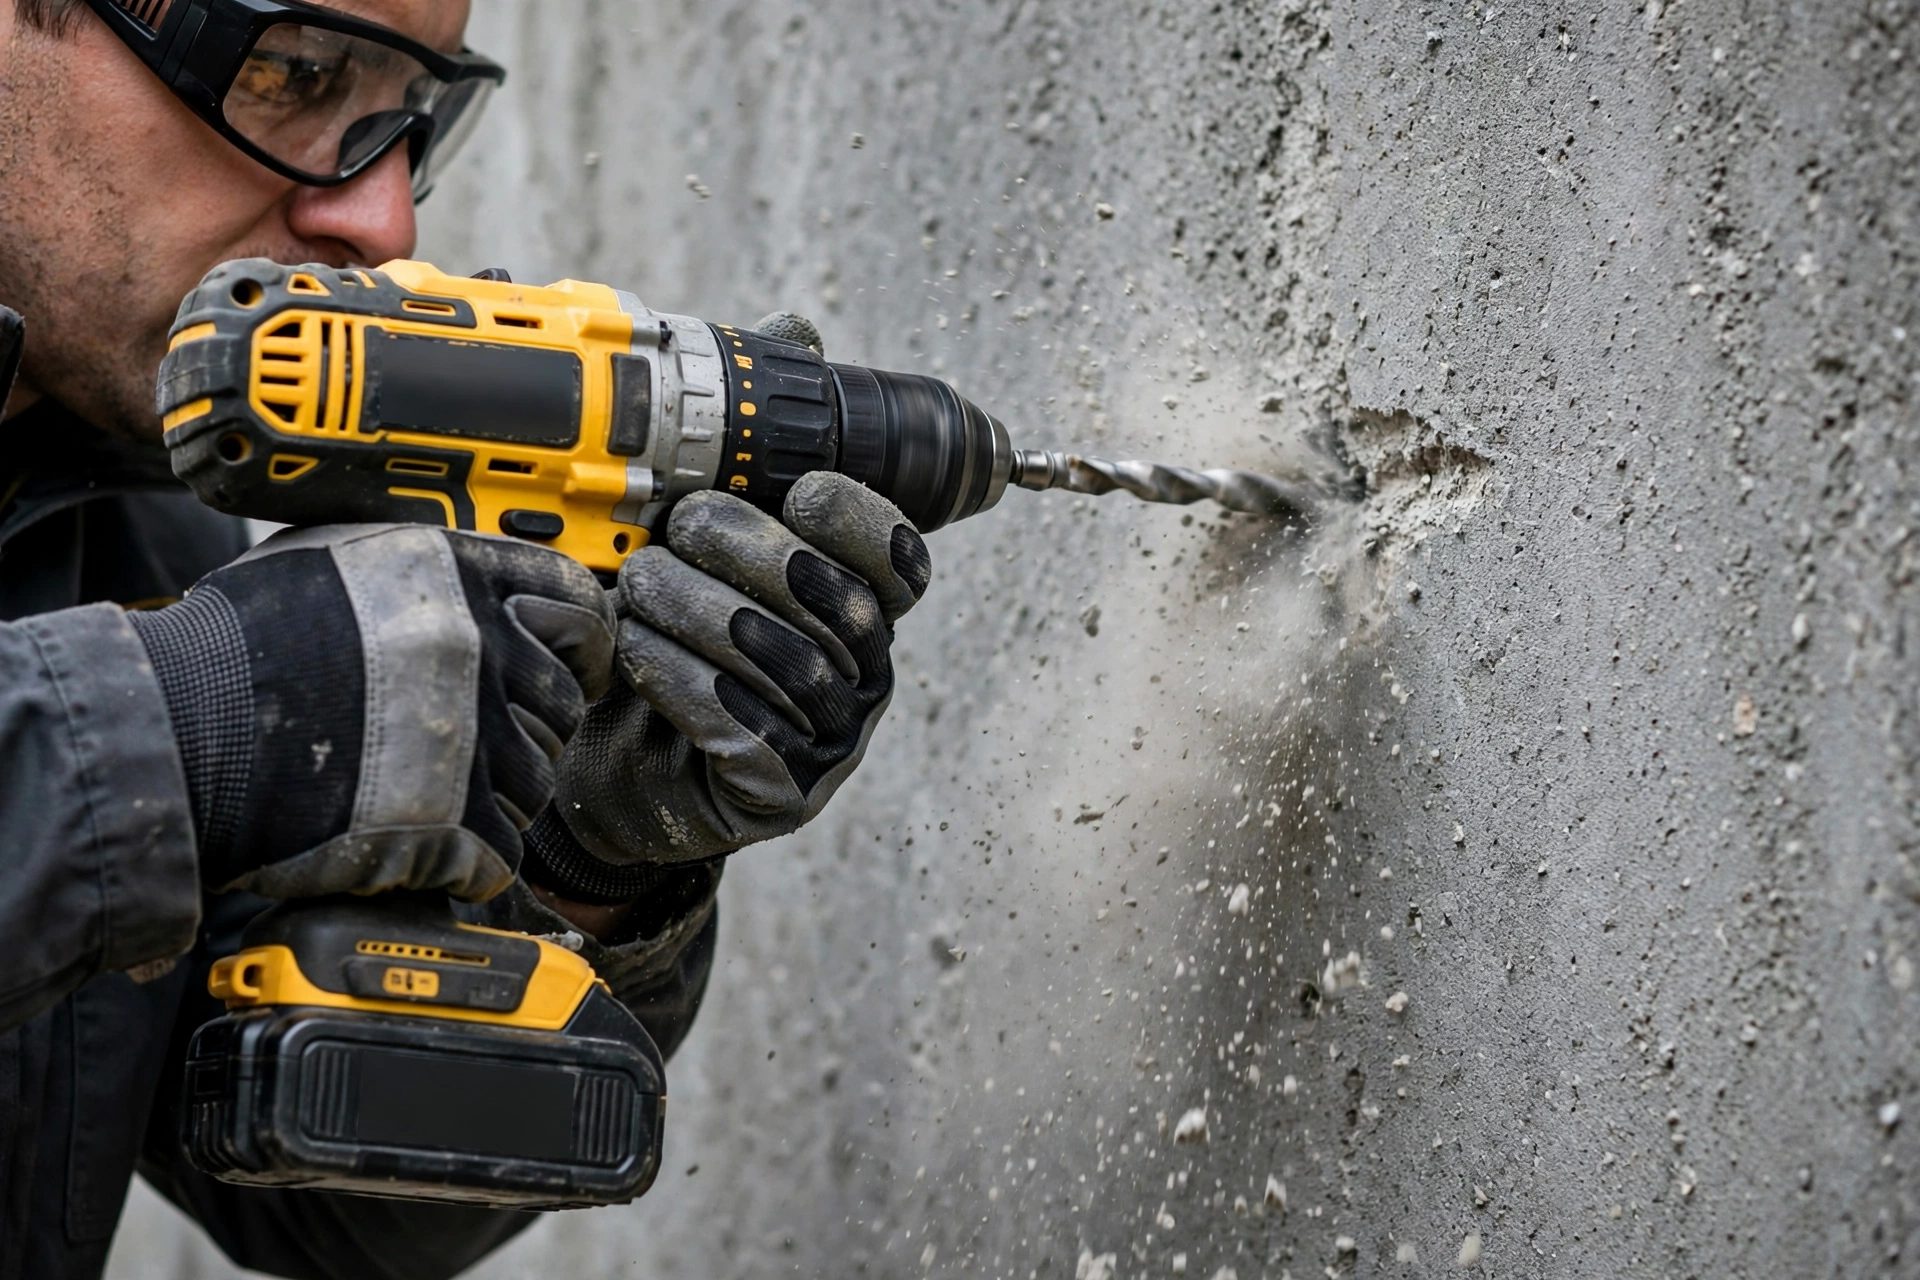
Safety first: Concrete dust contains silica — genuinely hazardous to breathe. Wear a P100 respirator (not just a dust mask) for more than a hole or two, plus eye protection. And before drilling into any wall or floor, check for hidden electrical, plumbing, and rebar — know what’s behind the surface.
The tool: you need hammer action
This is the non-negotiable part. Concrete is too hard for rotation alone — the bit needs to hammer while it rotates, pulverizing the concrete ahead of the cutting edges.
The three drill types, ranked for concrete
| Tool | How it works | Good for |
|---|---|---|
| Rotary hammer (SDS) | Piston-driven hammering — massive impact energy | The right tool: fast, effortless holes in concrete |
| Hammer drill | Clutch-plate hammering — light impacts | Small holes (up to ~1/2″) in concrete, brick, block |
| Standard drill | Rotation only | Useless in concrete — don’t try |
Rotary hammer vs hammer drill — the names confuse everyone. A hammer drill is a standard drill with a light hammering action added (fine for occasional small holes). A rotary hammer (SDS drill) is a purpose-built concrete machine with piston-driven impacts measured in joules, not vibes. For real concrete work, the rotary hammer isn’t just better — it’s a different league. Holes that take 5 minutes of suffering with a hammer drill take 20 seconds with a rotary hammer.
The buying advice: if you’ll drill concrete more than a few times a year, a basic SDS rotary hammer ($100–$180) is one of the best tool investments you’ll make. If it’s literally 2–3 small holes ever, a hammer drill (or borrowing a rotary hammer) suffices.
SDS chuck: what it means
Rotary hammers use SDS chucks (not standard 3-jaw chucks): – SDS-Plus: the common size — bits up to ~1″ diameter. What 95% of buyers need. – SDS-Max: larger shank for big rotary hammers and demolition work.
SDS bits slide in and lock with a click — no chuck key, no tightening. The bit is supposed to move slightly in the chuck (that play is part of the hammering action — don’t “fix” it).
Keep This Chart Handy — Rent, Buy, or Borrow? The Rotary Hammer Decision Table
Screenshot this before you spend a cent on concrete tools: the right call depends entirely on how often you’ll drill — and the cheapest option is usually the one you already have access to.
| Your situation | The smart move | Why |
|---|---|---|
| You’ll drill concrete more than a few times a year | Buy a basic SDS rotary hammer ($100–$180) | One of the best tool investments you’ll make — it lasts decades of occasional use |
| A one-time project with lots of holes | Rent one ($40–$60/day) | Cheaper than buying for a single big job |
| Literally 2–3 small holes, ever | A hammer drill will do — or borrow a rotary hammer | A hammer drill suffices for occasional small holes |
| Your neighbor has one | Borrow it | Borrow if your neighbor has one and you have beer |
| Buying? Get SDS-Plus | Bits up to ~1″ (25 mm) diameter | What 95% of buyers need — SDS-Max is for big rotary hammers and demolition work |
The bits: carbide masonry bits
- SDS-Plus masonry bits for rotary hammers — carbide-tipped, designed for the hammering action. The workhorse.
- Standard masonry bits (straight shank) for hammer drills — carbide-tipped, fits a normal chuck.
- Never use wood/metal bits in concrete — they’ll overheat and die in seconds. Carbide is mandatory.
Bit quality matters enormously in concrete. Cheap masonry bits have poorly brazed carbide tips that chip or fall off. Mid-range bits from reputable brands last dramatically longer — the cost-per-hole is actually lower with decent bits.
The technique (step by step)
1. Mark and start
Mark your spot. For precise placement, start with the hammer action OFF — drill a small dimple with rotation only to establish the location. Then engage hammer mode. (Starting with full hammering on a smooth surface lets the bit walk.)
2. Drill in stages for deep holes
Don’t try to drill a 4″ deep hole in one push. Drill 1″, pull the bit out to clear dust, drill another inch, clear again. Clearing dust is critical — packed dust in the hole insulates the bit (overheating it) and increases friction enormously. The pros pulse: drill, withdraw, drill, withdraw. It feels slower; it’s actually faster because the bit cuts efficiently instead of fighting packed dust.
3. Let the hammer do the work
This is the #1 technique error: don’t push hard. The hammering action pulverizes the concrete — your job is to guide the drill and apply light, steady pressure. Pushing hard doesn’t drill faster; it overheats the bit, wears the carbide, and exhausts you. If the drill isn’t advancing with light pressure, the bit is dull or the dust needs clearing — not more force.
4. Keep it perpendicular
Start straight, stay straight. A bit that’s angled binds in the hole, and a bound bit in hammer mode is a recipe for a snapped bit or a wrist injury. If the hole starts crooked, stop and restart — don’t try to “steer” it straight mid-hole.
5. Cool the bit
For deep holes or hard concrete, the bit gets hot. Pull it out periodically and let it cool — or dip it in water (not while running). Overheated carbide loses its temper and dulls rapidly. If you smell hot metal or see the bit discoloring, you’re pushing too hard or not clearing dust.
What you’re drilling into matters
| Material | Difficulty | Notes |
|---|---|---|
| Concrete block (CMU) | Easy | Hollow cores drill fast; solid parts are normal concrete |
| Poured concrete | Medium | The standard challenge — rotary hammer territory |
| Brick | Easy–medium | Softer than concrete, but brittle — light pressure to avoid cracking |
| Mortar joints | Easy | The soft path — drill into mortar instead of brick when possible |
| Rebar | Hard | If you hit steel, stop — switch to a rebar-cutting bit or relocate the hole |
| Stone | Medium–hard | Varies wildly by stone type; treat like hard concrete |
Hitting rebar: you’ll know — the drilling suddenly stops advancing and the sound changes. Don’t force it (you’ll destroy the masonry bit). Either relocate the hole 1″ over, or switch to an SDS rebar cutter bit designed to drill through steel.
Keep This Chart Handy — Why Your Hole Isn’t Happening: Diagnosis Chart
Stuck mid-hole? Stop, find your symptom below, and fix the cause — not the symptom. Every fix comes from this guide.
| Symptom | Cause | Fix |
|---|---|---|
| Bit spins, smokes, goes nowhere | Rotation only — no hammer action | You need hammer action; a standard drill is useless in concrete |
| Bit walks across a smooth surface | Started with full hammering | Start with hammer OFF — drill a small dimple with rotation only, then engage hammer mode |
| Hole binds, or the bit snaps | Drilling at an angle | Start straight, stay straight; if it starts crooked, stop and restart — never steer it mid-hole |
| Drilling slows and the bit gets hot | Dust packed in the hole, or pushing too hard | Drill in stages — about 1″ (25 mm), pull out to clear dust, repeat — with light, steady pressure only |
| Bit suddenly stops, throwing orange-red dust | You’ve hit rebar | Stop immediately; relocate the hole about 1″ (25 mm) over, or switch to a rebar-cutting bit with hammer OFF |
| Carbide tip chips or falls off | Cheap bit, or forced through steel or aggregate | Use a decent-brand carbide masonry bit and never force it — if it isn’t advancing, the bit is dull or the dust needs clearing |
Anchoring: what goes in the hole
Drilling the hole is half the job — the anchor is the other half:
- Tapcon screws: for light-medium loads in concrete/block. Drill the exact size specified (usually 3/16″ or 1/4″), drive the screw directly. Simple and effective.
- Wedge anchors: for heavy loads in solid concrete. The gold standard for structural attachment.
- Sleeve anchors: for medium loads, works in concrete, block, and brick.
- Drop-in anchors: for threaded rod/bolts in solid concrete (ceiling mounts, etc.).
Match the anchor to the load and the material — wedge anchors need solid concrete (not hollow block); sleeve anchors are more forgiving across materials.
Bookmark This Checklist — Before You Pull the Trigger
Run through this before every hole. Every item comes from this guide — screenshot it and keep it with the drill.
- Checked what’s behind the surface? Hidden electrical, plumbing, and rebar — know what’s behind the wall or floor before drilling.
- Respirator on? Concrete dust contains silica — a P100 respirator (not just a dust mask) for more than a hole or two, plus eye protection.
- Hammer action engaged? Rotation alone cannot cut concrete — the bit needs to hammer while it rotates. A standard drill is useless here.
- Right bit? Carbide masonry bit — SDS-Plus for a rotary hammer, straight-shank masonry bit for a hammer drill. Never wood or metal bits; they overheat and die in seconds.
- Start with a dimple? For precise placement, start with hammer action OFF and drill a small dimple with rotation only, then engage hammer mode (full hammering on a smooth surface lets the bit walk).
- Light, steady pressure? Let the hammer do the work — pushing hard overheats the bit, wears the carbide, and exhausts you. If it isn’t advancing, the bit is dull or the dust needs clearing, not more force.
- Clearing dust? For deep holes, drill in stages — drill about 1″ (25 mm), pull out to clear dust, repeat. Packed dust insulates the bit and increases friction enormously.
- Bit staying cool? Pull it out periodically and let it cool (or dip in water, not while running). Hot metal smell or discoloration means you’re pushing too hard.
- Dust turned orange-red? Stop immediately — that’s rebar, not concrete. Relocate the hole about 1″ over, or switch to a rebar-cutting bit with hammer OFF. Never force a masonry bit through steel.
When the bit stops: rebar, and what to do about it
Every concrete driller meets it eventually: the bit is chewing along nicely, then suddenly it stops dead, squeals, and starts throwing orange dust instead of gray. You have hit rebar. What you do in the next thirty seconds decides whether you get a clean hole or a ruined bit and a chipped wall.
First, stop immediately. Continuing to hammer against steel with a masonry bit destroys the carbide tip in seconds and can crack the surrounding concrete. Pull the bit out and look at the dust: gray means concrete, orange-red means steel. If the hole is shallow and the anchor can move, the smart move is usually to abandon that spot — patch it and drill two inches to either side, where you will likely miss the bar. Rebar is typically spaced several inches apart, so a small shift usually solves it.
If the hole absolutely must stay exactly there, switch to a steel-cutting bit and drill through the rebar with the hammer function OFF, using cutting oil and slow speed. Never cut rebar in a structural element without knowing what it carries — in a foundation wall or beam, cutting steel can weaken the structure, and that is a call for a structural engineer, not a bigger drill. Most of the time, moving the hole is faster, safer, and structurally smarter than fighting the steel.
Can I drill into concrete with a regular drill?
Technically you can make a tiny hole in soft mortar or brick with a masonry bit and enormous patience — but in real concrete, no. The bit just spins, overheats, and dies. It’s not about effort; rotation alone cannot cut concrete efficiently. Borrow or rent the right tool.
Why does my masonry bit keep getting dull?
Usually: too much pressure (overheating the carbide), not clearing dust, or hitting rebar/aggregate. Also: cheap bits dull faster — the carbide quality varies enormously. And drilling without hammer action (if your hammer drill’s hammer mode wasn’t engaged) destroys bits fast.
How deep can I drill?
SDS-Plus bits commonly go to 6–12″ deep. Beyond that, you’re in SDS-Max and rotary-hammer-plus territory. For most household needs (anchors, mounting), 2–4″ is plenty — and deeper holes need the dust-clearing technique even more.
Is the dust really that dangerous?
Yes — concrete dust contains crystalline silica, which causes silicosis (permanent lung damage) with chronic exposure. A single hole outdoors: minimal risk. Regular concrete drilling without respiratory protection: genuinely hazardous. P100 respirator for anything beyond a couple of holes. This isn’t safety theater — it’s one of the most evidence-backed hazards in construction.
Can I drill through concrete with rebar in it?
Yes, with rebar-cutting SDS bits (they have special carbide geometry for steel). Standard masonry bits will be destroyed by rebar. If you hit rebar unexpectedly, stop, assess, and either relocate or switch bits — don’t force through.
Should I buy or rent a rotary hammer?
Buy if you’ll use it more than 2–3 times — a basic SDS rotary hammer is $100–$180 and lasts decades of occasional use. Rent ($40–$60/day) if it’s a one-time project with many holes. Borrow if your neighbor has one and you have beer.
The verdict: the concrete drilling formula
| Element | The answer |
|---|---|
| Tool | SDS rotary hammer (or hammer drill for tiny/occasional holes) |
| Bit | Carbide SDS-Plus masonry bit, decent brand |
| Technique | Light pressure, clear dust often, keep it straight |
| Dust | P100 respirator — non-negotiable for real work |
| Anchors | Matched to load: Tapcon → sleeve → wedge |
Concrete drilling isn’t hard — it’s specific. Right tool (hammer action), right bit (carbide), right technique (light pressure, clear dust). Get those three right and concrete drills like wood. Get any one wrong and it’s misery. Now you know which is which.
Keep Reading
- How to Drill Into Tile Without Cracking It (Pro Method)
- Drill Bit Types Explained: Twist, Brad-Point, Forstner & More
- What Size Drill Bit? (Concrete Anchor Chart Inside)!
Tool Worth Lab provides research-based DIY guidance. Concrete dust contains silica — wear a P100 respirator for more than incidental drilling. Always check for hidden utilities before drilling into existing structures.