
Run your finger along the edge of the last board you cut. Feel that rough, scorched, splintered mess? Now check the blade still sitting in your saw — because there is a very good chance the saw is innocent and the blade is guilty. The wrong blade does not just cut badly: it burns, it tears, and it makes your motor sound like it is begging for mercy.
Here is the plot twist: you do not need a shelf full of blades. Three blades — a 24-tooth ripper, a 60-tooth finisher, and an 80-tooth sheet-goods blade — cover pretty much every cut a woodworker makes, for around a hundred dollars total. This guide teaches you to read the code on the packet, so you grab the right one before the saw even spins up.

Stick around and you will know exactly which blade to grab before the saw even spins up — and which three blades cover pretty much all woodworking.
Safety first: Always unplug (or remove the battery) before changing blades. Match the blade diameter to your saw (never larger — the guard won’t cover it), check the rotation arrow, and remember that dull or wrong blades increase kickback risk. Blade changing guide here.
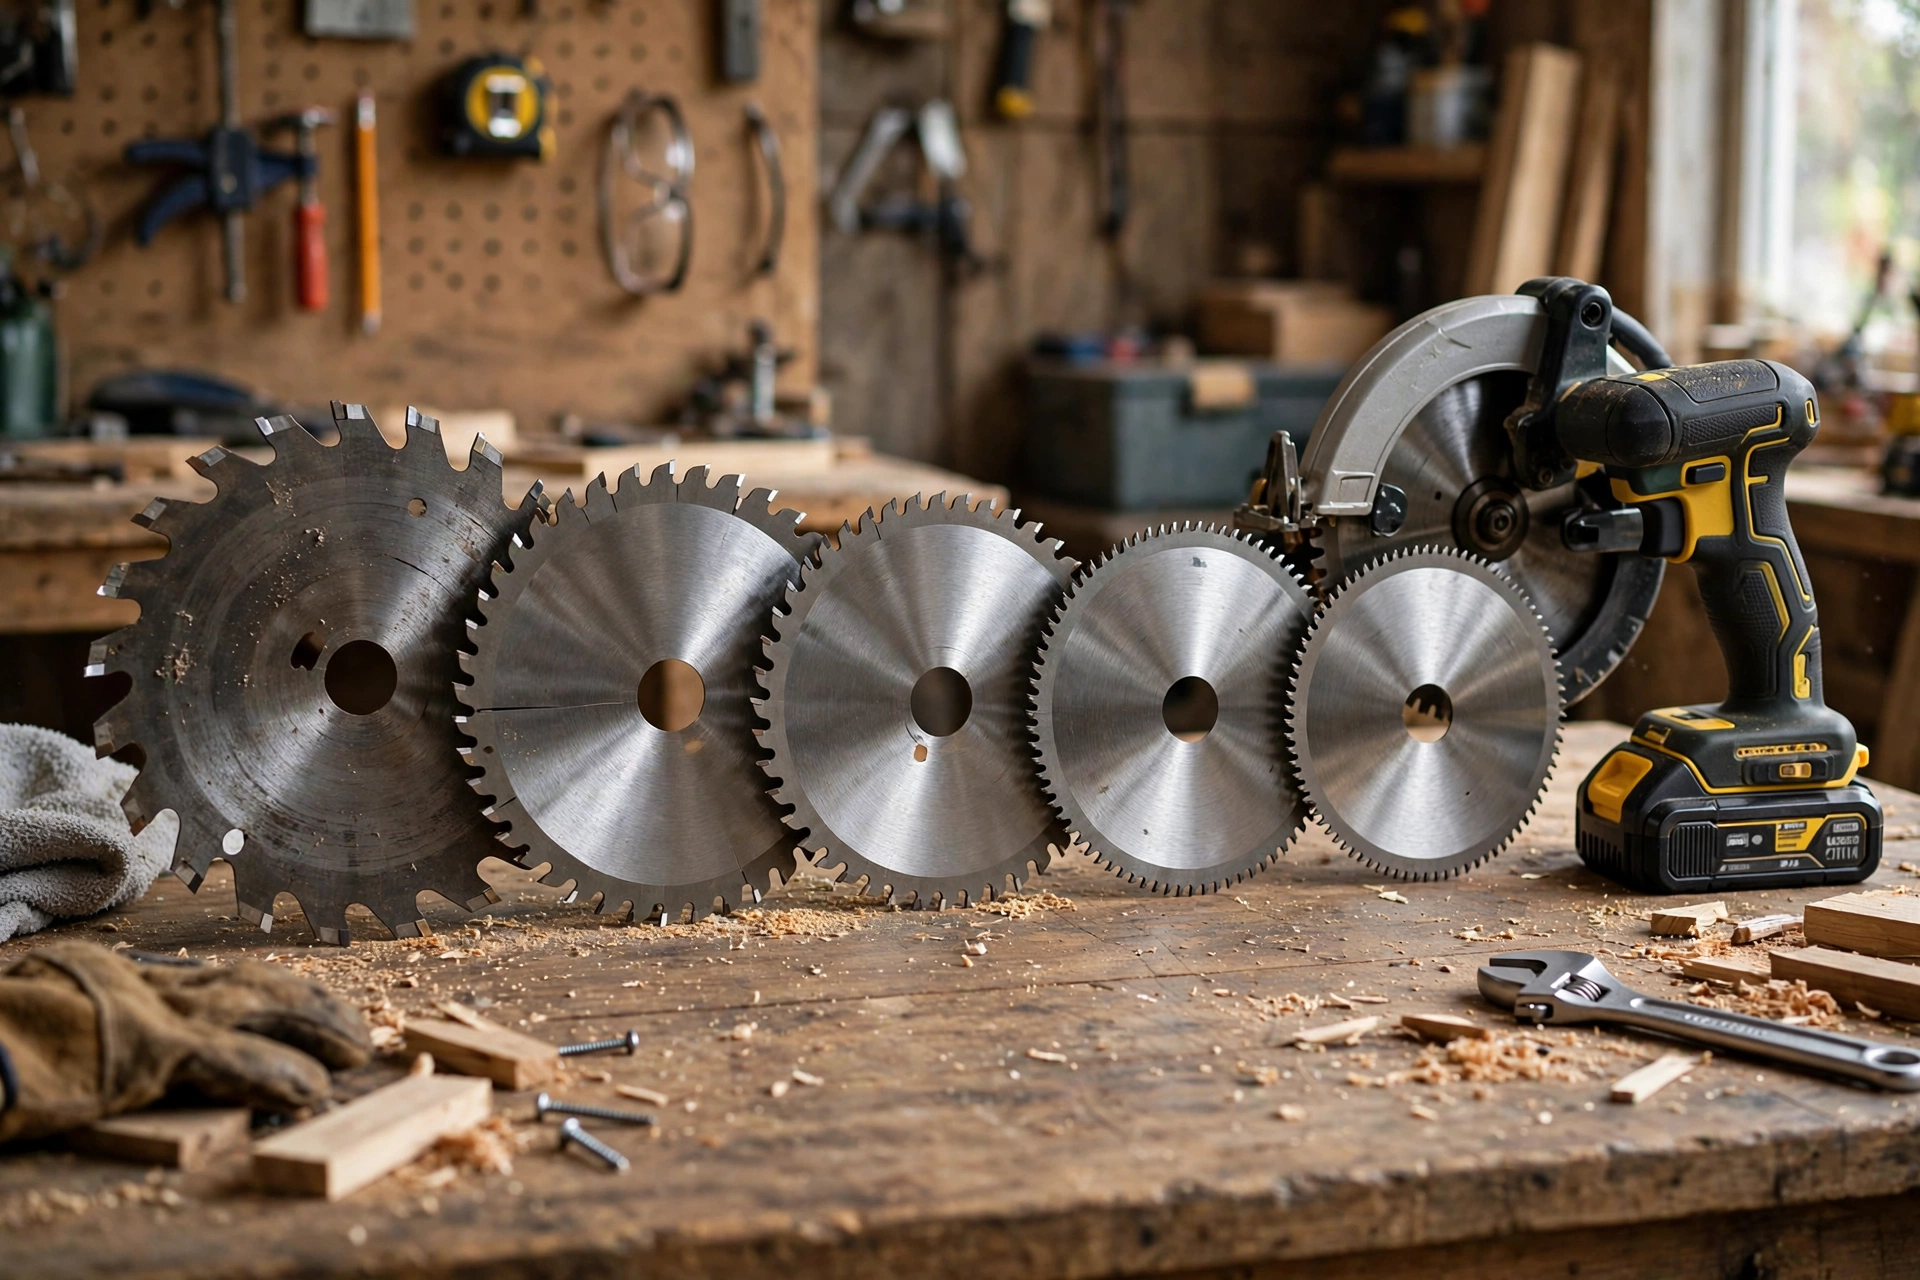
Tooth count: the master variable
Tooth count is the single most important blade specification. The rule:
- Fewer teeth = faster, rougher cuts. Big gullets (the valleys between teeth) clear sawdust quickly. Ideal for ripping — cutting along the wood grain where speed matters and the edge is often hidden.
- More teeth = slower, cleaner cuts. Each tooth takes a smaller bite, leaving a smoother surface. Ideal for crosscutting and sheet goods where the edge is visible.
| Tooth count (7-1/4″ blade) | Type | Best for |
|---|---|---|
| 24T | Rip blade | Ripping solid lumber fast |
| 40T | General purpose / combination | The compromise — decent at everything, perfect at nothing |
| 60T | Fine crosscut / finish | Crosscutting, trim, clean edges |
| 80T+ | Ultra-fine / plywood | Plywood, melamine, veneer — minimal splintering |
The burning connection: using a 60T blade to rip a 2×4 is a classic cause of burning — the small gullets clog with sawdust, friction builds, and the wood scorches. Match the tooth count to the cut.
Tooth grind: ATB, FTG, TCG — what they mean
The shape of each tooth’s cutting edge (the “grind”) determines how it severs wood fibers:
- FTG (Flat Top Grind): teeth with flat tops, like tiny chisels. Aggressive, fast — the rip blade grind. Tears fibers rather than slicing them (fine for ripping where the edge is hidden).
- ATB (Alternate Top Bevel): teeth beveled alternately left and right — they slice fibers cleanly like knives. The crosscut and finish blade grind. Cleaner edges, slightly slower.
- TCG (Triple Chip Grind): a raker tooth followed by chamfered teeth — designed for hard, abrasive materials (melamine, laminate, non-ferrous metals). The most durable grind for tough materials.
- Combination (ATB+R): groups of ATB teeth separated by flat raker teeth — the general-purpose compromise. Does everything adequately.
You don’t need to memorize these — just know that the grind follows the tooth count’s logic: low tooth count = FTG-ish aggression, high tooth count = ATB-ish finesse.
Kerf: thin vs full
Kerf is the width of the cut (the slot the blade leaves):
- Thin kerf (~0.091″): removes less wood — less waste, less strain on the motor (great for underpowered or cordless saws), faster cutting. Slightly more prone to wobble/deflection in heavy cuts.
- Full kerf (~0.125″): stiffer, more stable — straighter cuts in thick/hard material, but demands more power.
For most circular saws (especially cordless): thin kerf is the smart default — your saw works less hard and cuts faster. Full kerf matters most on table saws doing heavy ripping, less on a handheld circular saw.
Diameter and arbor: the fit numbers
- Diameter: must match your saw — 7-1/4″ is the full-size standard. Never mount a larger blade (the guard won’t cover it). Smaller diameters fit but reduce cut depth.
- Arbor: the center hole — 5/8″ is standard for 7-1/4″ saws. Some blades come with a diamond knockout (removable center piece) to fit different arbors. Match your saw’s arbor exactly.
Coatings and features: what matters
- Non-stick coatings: reduce pitch buildup and friction — genuinely useful, especially in resinous woods. Not marketing fluff.
- Expansion slots: the wavy cuts in the blade body absorb heat expansion and reduce vibration — standard on decent blades, worth having.
- Laser-cut bodies: thinner, more precise steel — less vibration, quieter. Found on mid-range and up.
- Carbide quality: the unspoken variable. Premium blades use better carbide that stays sharp 3–5x longer. This is the real difference between a $12 blade and a $35 blade — not the coating or the packaging.
Specialty blades (beyond wood)
- Diamond blades: for tile, concrete, masonry — no teeth, just a diamond-grit rim. Completely different tool; never use a wood blade on masonry.
- Metal-cutting (ferrous): for steel — specialized tooth geometry and (usually) slower RPM requirements. Check your saw’s compatibility.
- Fiber cement blades: for Hardie board and siding — polycrystalline diamond teeth that survive the abrasive material. Standard blades die in minutes on fiber cement.
Keep This Chart Handy — Which Blade for Which Cut
| Your cut | Blade to grab (7-1/4 in / 184 mm blade) | Why it works |
|---|---|---|
| Ripping solid lumber along the grain | 24T rip blade, flat-top grind (FTG) | Fewer teeth and big gullets clear sawdust fast, so the cut stays fast and cool |
| Mixed everyday cuts, no blade swap | 40T general-purpose / combination blade (ATB+R) | A compromise blade that handles ripping and crosscutting adequately |
| Crosscutting and trim with a visible edge | 60T fine crosscut / finish blade, alternate-top-bevel grind (ATB) | More teeth take smaller bites, and bevelled teeth slice fibres cleanly for a smoother edge |
| Plywood, melamine, and veneer with minimal splintering | 80T+ ultra-fine blade | The highest tooth count leaves the smoothest edge on sheet goods and veneer |
| Tile, concrete, or masonry | Diamond blade (no teeth, diamond-grit rim) | A wood blade must never be used on masonry; a diamond-grit rim is the correct cutting edge |
| Steel | Metal-cutting blade for ferrous metal | Specialised tooth geometry for steel, with slower RPM requirements to check on the saw |
| Fibre cement board and siding | Fibre cement blade with polycrystalline diamond teeth | Standard blades fail in minutes on abrasive fibre cement; diamond teeth survive the material |
Fit check for every blade on the chart: blade diameter must match the saw, the arbor (centre hole) must match exactly at 5/8 in / 16 mm for a standard 7-1/4 in / 184 mm saw, thin kerf measures about 0.091 in / 2.3 mm, and full kerf measures about 0.125 in / 3.2 mm.
The minimal blade collection
| Blade | Use | Approx. cost |
|---|---|---|
| 24T thin-kerf rip | Ripping solid lumber | $15–$30 |
| 60T thin-kerf finish | Crosscutting, trim, clean work | $20–$40 |
| 80T plywood/melamine | Sheet goods, veneer (buy when needed) | $25–$45 |
| Total | ~$60–$115 |
Three blades cover essentially all woodworking. The stock blade that came with your saw? Demote it to “rough work / might hit a nail” duty — that’s its true calling.
What I learned the expensive way: my blade box
I used to own exactly one circular saw blade, the one that came in the box with the saw, and I used it for everything. Plywood, framing lumber, a sheet of melamine for a closet shelf, a few cuts in pressure-treated deck boards. The results were exactly what you would expect, and I blamed the saw for a year before I blamed the blade. The saw was fine. The blade was wrong for almost every cut I asked it to make, and the evidence was right there in the sawdust: scorched edges on rip cuts, splintered faces on plywood, and a motor that sounded like it was working far too hard for a straight line through pine.
The cut that finally taught me was a bookshelf carcass out of birch plywood. I ran the stock 24-tooth blade through it, the top face splintered along every crosscut, and I spent a whole evening filling and sanding tear-out that a 60-tooth blade would have prevented in the first place. The 60-tooth blade cost me 38 dollars at the time. The filler, the sandpaper, and the lost evening cost me more than that, and the shelf still shows a faint line where the worst tear-out was. That was the day I stopped treating blades as consumables to be bought cheapest and started treating them as the actual cutting tool, with the saw just providing the spin.
My second expensive lesson was kerf. I bought a thin-kerf blade because it was cheaper and the saw felt lighter cutting with it, then I used it to rip a long run of hardwood for a workbench top and watched the blade wander. Thin kerf is wonderful in a low-power saw, and it is a liability when you push it hard through dense stock with a fence that is not perfectly square, because there is simply less steel to resist deflection. I now keep a full-kerf 24-tooth blade for ripping hardwood, and I accept that it costs a few dollars more and asks more of the motor. The cuts are straighter, the burning stopped, and I no longer have to joint away a sixteenth of an inch of wander on every board.
The third lesson was about cleaning, which sounds too boring to matter until you do the maths. A blade caked in pitch cuts like a dull blade, and I replaced two blades that were not actually dull before a woodworker at a lumber yard showed me the oven-cleaner-and-brass-brush routine. Ten minutes of cleaning brought back a blade I had written off, and I have since cleaned every blade twice a season instead of buying a new one at the first sign of resistance. My current box holds five blades, and that is the whole collection: a 24-tooth ripper, a 40-tooth general purpose, a 60-tooth fine crosscut for plywood, a 60-tooth triple-chip for laminate and melamine, and a diamond blade for the occasional masonry cut. Everything else is a duplicate waiting to be bought twice. If you buy one blade this month, make it the fine crosscut blade, because plywood and sheet goods are where a cheap blade embarrasses you in front of everyone who will ever see the finished piece.
Bookmark This Checklist — Is Your Blade Dull? The 60-Second Diagnosis
| Symptom | What it means | What to do |
|---|---|---|
| Wood burning or scorching on cuts | Dull blade, or the wrong blade for the cut | Swap to a sharp blade matched to the cut — a 60T blade ripping a 2×4 clogs with sawdust and scorches |
| Splintering that wasn’t happening before | Blade gone dull, or too few teeth for the material | Switch to a finer blade (60T or higher for plywood) and put the good face down |
| Saw laboring, needing heavy feed pressure | Dull blade, or pitch buildup on the teeth | Clean the blade first — ten minutes with oven cleaner and a brass brush can revive a blade written off as dull |
| Visible rounded or chipped carbide tips | Carbide worn past its useful life | Premium blades ($40+) are worth professional sharpening at $10–$20; $15 construction blades are cheaper to replace |
| Cut quality dropped on a blade you barely used | Pitch and resin caked on the teeth | Clean it before you replace it — a blade caked in pitch cuts like a dull blade |
How do I know when my blade is dull?
Burning, splintering that wasn’t happening before, the saw laboring, needing excessive feed pressure, and visible rounded/chipped carbide tips. Full guide: how long blades last.
Can I sharpen circular saw blades?
Carbide blades can be professionally sharpened ($10–$20) — worth it for premium blades ($40+), not worth it for $15 construction blades. DIY sharpening of carbide requires diamond wheels and skill; most people shouldn’t attempt it.
Why does my plywood splinter?
Wrong blade (too few teeth), dull blade, or cutting with the good face up (circular saws cut on the upstroke — the good face goes DOWN). Fix: 60T+ blade, sharp, good face down, plus painter’s tape on the cut line and a scored line for critical cuts.
What’s the difference between a $15 blade and a $50 blade?
Carbide quality and quantity (bigger carbide tips = more resharpenings), body flatness and tensioning (less vibration), and grind precision. The $50 blade cuts cleaner and stays sharp 3–5x longer — the cost per clean cut is actually lower.
Can I cut metal with my wood blade in a pinch?
No — don’t. Wood blades on steel is dangerous (wrong tooth geometry, wrong RPM, teeth can shatter). Use the correct metal-cutting blade or a different tool entirely (angle grinder with a cutoff disc).
Does blade direction really matter?
Absolutely — teeth must point up at the front of the saw (matching the rotation arrow). A backwards blade cuts terribly and dangerously. Full blade-changing guide.
The verdict
Tooth count is the master variable: 24T for ripping, 60T for crosscutting, 80T for plywood. Thin kerf for handheld saws. Match the diameter and arbor to your saw. Buy decent carbide — it’s the cheapest performance upgrade in power tools.
Three blades, ~$100, and every cut you make gets cleaner, faster, and safer. The blade matters more than the saw — a $60 saw with a $35 blade outcuts a $200 saw with a dull stock blade every single time.
Tool Worth Lab provides research-based buying guidance. Prices are approximate US street prices and vary by retailer. Always unplug the saw for blade changes and verify rotation direction before cutting.
Keep Reading: saw blades, decoded further
Picked your blade? These go deeper on the saw side of the cut:
- Circular Saw Blades: Pick WRONG = Ruined Wood! — tooth count by material, so you never grab the wrong TPI again.
- How to Change a Circular Saw Blade Safely (Step-by-Step) — the safe swap, including the backwards-blade mistake every beginner makes once.
- Circular Saw KICKBACK: How to NOT Get Hurt! — why a dull or wrong blade is the number-one kickback trigger, and how to stop it.