
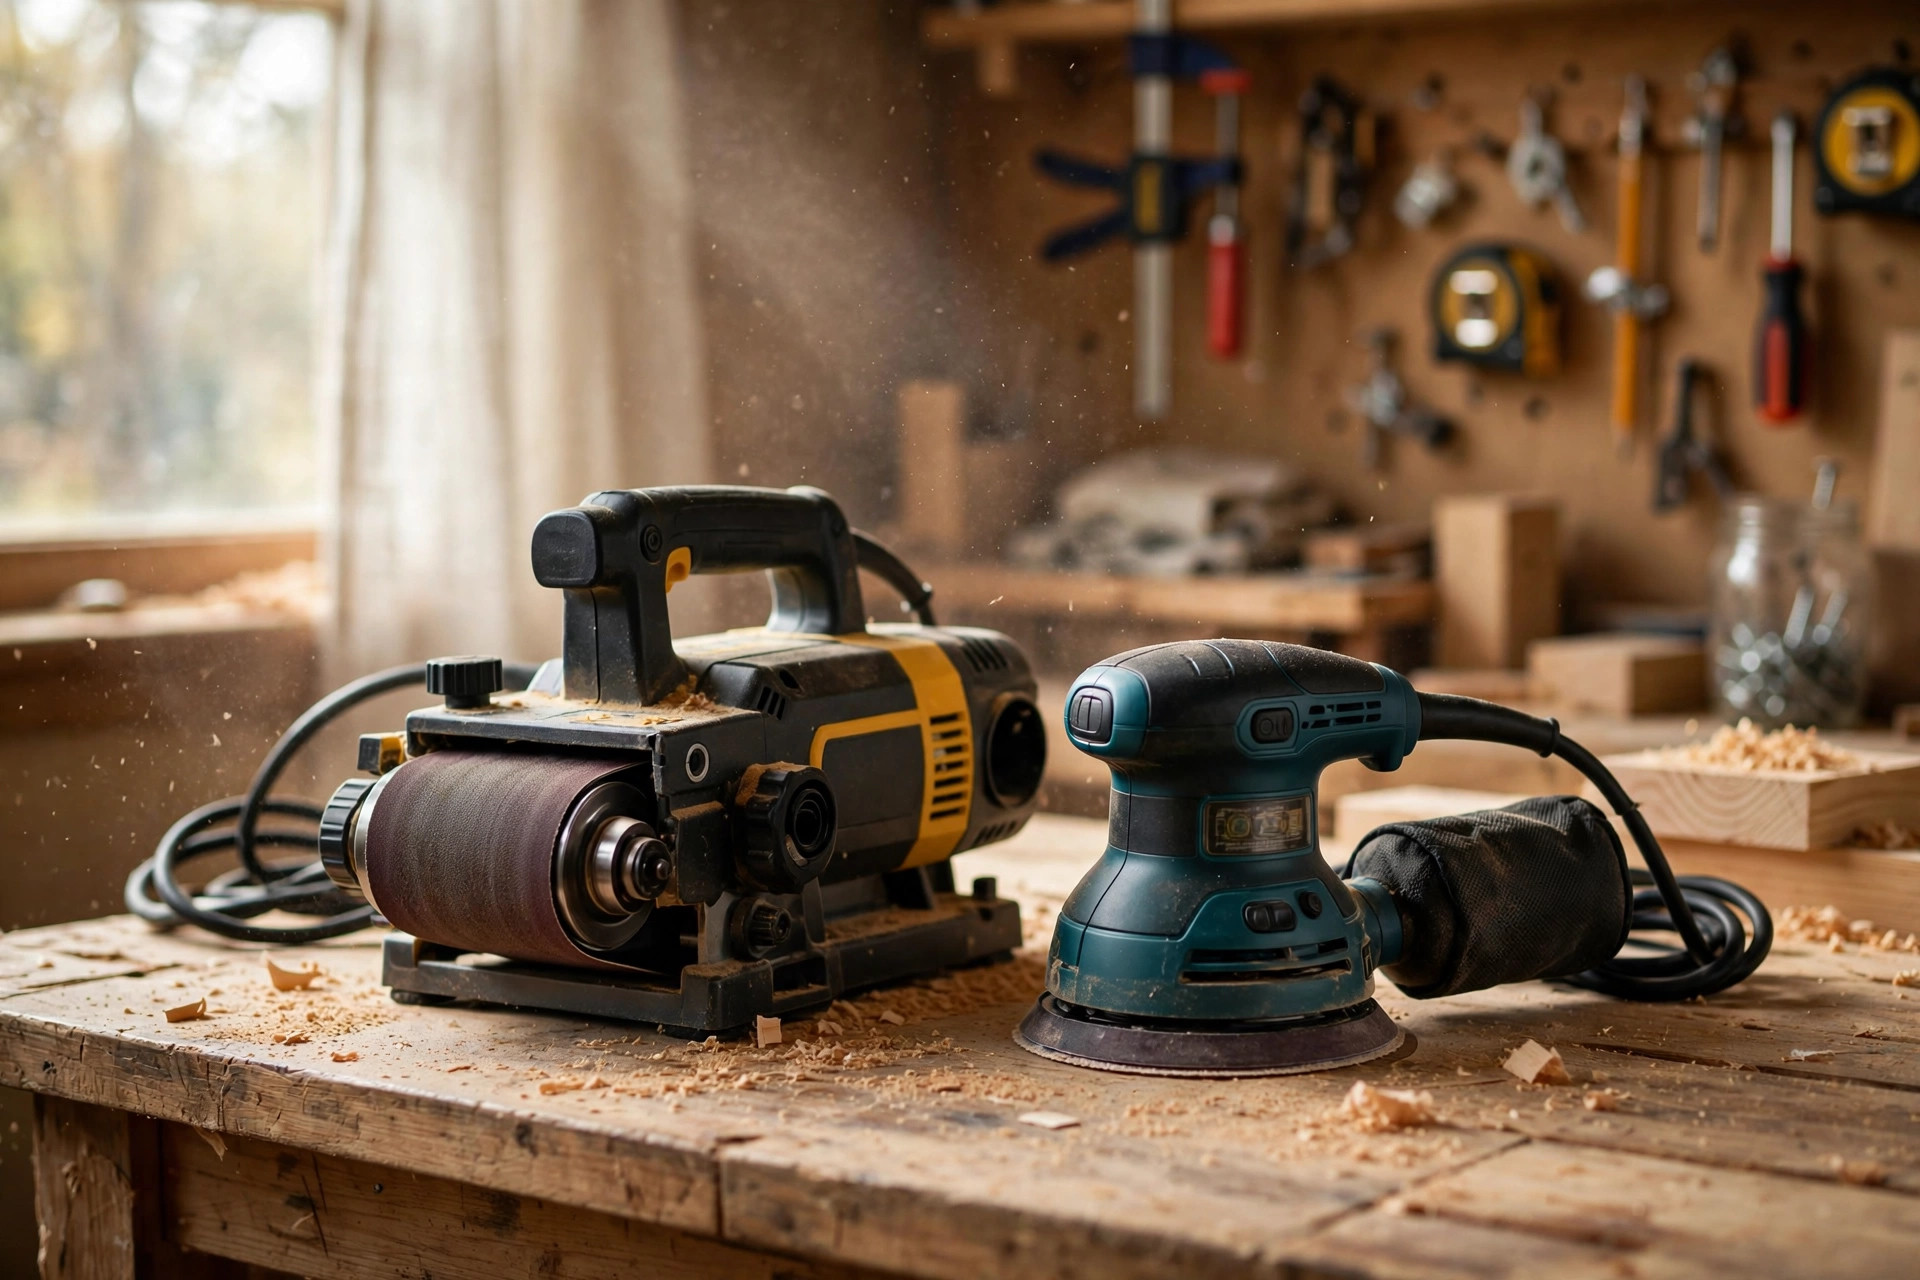
A belt sander can erase an hour of careful work in about two seconds — just ask anyone who has ever paused mid-pass and watched a divot appear out of nowhere. Meanwhile the orbital sander sitting beside it is the patient one, the finisher that turns rough into silky, and the tool you will reach for on literally every project.
Here is the part most beginners get wrong: these two are not rivals fighting over the same job. One is the demolition crew, the other is the finishing crew — and the whole trick is knowing which one to pick up first, and exactly when to hand the job from one to the other. Get that handoff right, and every project comes out looking like you knew what you were doing all along. Get it wrong, and your tabletop ends up with gouges deep enough to swallow a coin.
A belt sander can erase an hour of careful work in about two seconds — just ask anyone who has ever paused mid-pass and watched a divot appear out of nowhere. Meanwhile the orbital sander sitting beside it is the patient one, the finisher that turns rough into silky, and the tool you will reach for on literally every project.
Here is the part most beginners get wrong: these two are not rivals fighting over the same job. One is the demolition crew, the other is the finishing crew — and the whole trick is knowing which one to pick up first, and exactly when to hand the job from one to the other. Get that handoff right, and every project comes out looking like you knew what you were doing all along. Get it wrong, and your tabletop ends up with gouges deep enough to swallow a coin.

Safety first: Belt sanders are aggressive — keep both hands on the tool, never set a running sander down, and wear a dust mask (both produce copious fine dust). Orbital sanders are gentler but the dust is just as harmful to breathe.
The fundamental difference: removal vs refinement
Belt sander: a continuous loop of sandpaper driven at high speed in one direction. It’s the most aggressive handheld sander made — designed to remove material fast: flattening, leveling, stripping.
Orbital sander: a pad moving in tiny random orbits. It’s designed to refine — smoothing and finishing surfaces with minimal visible scratching.
The analogy: the belt sander is a chainsaw, the orbital sander is a plane. Both shape wood. You wouldn’t use one for the other’s job.
Head-to-head comparison
| Belt sander | Random orbital sander | |
|---|---|---|
| Aggression | Very high — removes material fast | Low–moderate — refines surfaces |
| Finish quality | Rough — leaves linear scratches | Excellent — least visible scratches |
| Speed of removal | 5–10x faster than orbital | Slow, controlled |
| Risk of damage | High — gouges in seconds | Low — very forgiving |
| Typical belt/disc | 3″×21″ or 4″×24″ belts | 5″ hook-and-loop discs |
| Dust collection | Basic bag, often poor | Good — holes + vacuum port |
| Learning curve | Steep — easy to ruin work | Gentle — hard to mess up |
| Typical price | $80–$200 | $50–$120 |
| Weight | Heavy (6–10 lbs) | Light (2–4 lbs) |
What they share (more than you’d expect)
For all their differences, these two sanders have real common ground — worth knowing before you buy accessories:
- Both make hazardous fine dust. The safety warning at the top applies equally to both — a dust mask is non-negotiable with either sander.
- Both demand grit progression. Skipping grits ruins results with either tool — each grit removes the previous grit’s scratches, on the belt and on the orbital alike.
- Neither is the whole job alone. The belt sander is always step one of a two-step process (it can’t finish); the orbital sander can’t do heavy removal (it’s far slower at it). They’re a natural pair, not rivals.
- Both are handheld and portable. Either one goes to the workpiece — no floor space, no installation, no special setup needed to get started.
What the belt sander actually does
The belt sander’s jobs — the ones it’s genuinely the right tool for:
- Flattening rough or uneven surfaces — tabletops, workbench tops, reclaimed lumber
- Leveling — taking down high spots, leveling glued-up panels
- Stripping — removing old finish, paint, or varnish fast (with coarse belts)
- Scribing — fitting countertops or trim to uneven walls (aggressive, controlled removal)
- Sharpening-adjacent work — some people use them for tool sharpening jigs (with fine belts)
What it can’t do: produce a finish-ready surface. The linear scratch pattern is deep and visible — you must follow with an orbital sander (or hand sanding) through the grits. The belt sander is always step one of a two-step process, never the whole job.
The danger: gouging
A belt sander removes wood terrifyingly fast. Tip it slightly, pause for two seconds, or let it run off an edge — and you’ve gouged a divot that takes serious work to fix. This is why beginners ruin projects with belt sanders: the tool’s aggression exceeds their control. Keep it moving, keep it flat, and never stop mid-surface. If you’re new to belt sanders, practice on scrap until the motion is automatic.
What the orbital sander actually does
The orbital sander’s jobs:
- Finish sanding — the final smoothing before finish (its home turf)
- Between-coat sanding — light scuffing between finish coats
- General smoothing — taking machined surfaces from “good” to “silky”
- Light stock removal — with coarse discs, it can remove material, just slowly
What it can’t do: heavy removal. Trying to flatten a twisted board with an orbital sander is an exercise in futility — you’ll be there for an hour achieving what a belt sander does in five minutes. Full orbital vs sheet sander breakdown here.
Which should you buy first?
For most people: the random orbital sander, and it’s not close. Here’s why:
- Every project needs finish sanding. Every single one. The orbital sander is used on 100% of woodworking projects.
- It’s forgiving. Beginners get good results immediately — the random pattern hides technique flaws.
- Belt sander jobs are rarer. Most beginners aren’t flattening rough lumber or stripping floors — they’re building from dimensional lumber and plywood that’s already flat.
- You can rent or borrow a belt sander for the occasional heavy job. You can’t rent your way out of needing finish sanding on every project.
Buy the belt sander first only if: you’re specifically doing heavy removal work — refinishing floors (though a floor sander rental is usually better), flattening reclaimed lumber, stripping large surfaces, or leveling workbench/table tops.
Do you eventually need both?
If you get serious about woodworking: yes. They’re a natural pair — the belt sander does the rough work, the orbital sander does the finishing. The workflow is: belt sander (flatten, 80 grit) → orbital sander (120 → 150 → 180/220 grits). Each does what the other can’t.
But “eventually” is the key word. Start with the orbital, add the belt sander when you have a specific job that demands it — not before. An unused belt sander gathering dust is a $150 paperweight; an orbital sander gets used on literally everything.
If neither fits: consider a detail sander
Here’s the gap neither sander covers well: contours, corners, and tight spots. The belt sander is too aggressive and too flat; the orbital’s round pad can’t get into square corners. If your projects involve spindles, curved chair parts, louvers, or inside corners, a detail sander (the triangular-pad kind) fills that gap — usually the cheapest of the three sander types. It won’t flatten a tabletop or finish one, but for fiddly detail work, it’s the tool neither of these can be.
🔍 Bookmark This Chart — What Your Surface Is Telling You
Your last sanding job already diagnosed the problem — you just have to read the surface. Match what you see to the cause, then fix it with the tool the article already recommends:
| What you see | What went wrong | What to do next |
|---|---|---|
| Deep gouges or a sudden divot | The belt sander tipped, paused, or ran off an edge | Keep the sander moving and flat, never stop mid-surface, and practise on scrap until the motion is automatic |
| Visible straight scratches after sanding | The belt sander was the last step — its linear scratch pattern is deep by design | Follow with the orbital sander through the grits (120 → 150 → 180/220); the belt sander is step one, never the whole job |
| Hours of sanding, barely any progress | An orbital sander doing heavy removal work it was never built for | Switch to the belt sander for flattening and stripping, then finish with the orbital |
| Uneven spots where grits were skipped | Jumping grits — each grit must remove the previous grit’s scratches | Work the full sequence and never skip more than one grit step |
| Dust everywhere, poor collection | Belt sanders are dust fountains; the basic bag is often poor | Use a dust bag, and a vacuum port where available — and wear a dust mask with either sander |
Rule of thumb from this guide: if the surface looks attacked, a belt sander did the finishing. If the job feels endless, an orbital sander did the removing. Match the tool to the stage, and the surface stops arguing with you.
Keep This Chart Handy — The Grit Ladder That Saves Every Sanding Job
Skipping grits ruins results with either sander — each grit removes the previous grit’s scratches. Work the ladder in order and never skip more than one grit step:
| Grit | Tool | Job | What it erases |
|---|---|---|---|
| 80 grit | Belt sander | Flattening, stripping, levelling | Rough surfaces, old finish, and high spots |
| 60–80 grit (coarse discs) | Orbital sander | Light stock removal only | Small amounts of material — slowly, with patience |
| 100/120 grit | Orbital sander | First finish pass after the belt | The belt’s deep linear scratch pattern |
| 150 grit | Orbital sander | Smoothing step | The 120-grit scratches |
| 180/220 grit | Orbital sander | Final pass before finish coats | The 150-grit scratches — leaves a silky surface |
Rule of thumb: the belt sander is always step one of a two-step process. It can never finish a surface — the orbital sander through the grits is what makes it silky.
Print This Before You Buy — Sander Shopping Checklist
Take this to the store (or keep it open on the product page). Every line below comes from this guide — no new specs, just the buying advice in one place:
- Belt sander size: 3 in × 21 in (76 × 533 mm) is the sweet spot for most users — capable but manageable. 4 in × 24 in (102 × 610 mm) is more aggressive and harder to control.
- Orbital sander discs: 5 in (127 mm) hook-and-loop discs — the standard size.
- Variable speed on the belt sander: essential. Full speed for aggressive removal, slower for control and finer work.
- Dust collection: belt sanders are dust fountains — a dust bag helps, a vacuum port helps more. Orbital sanders collect well through their holes and vacuum port.
- Belt tracking: the belt should stay centred without constant adjustment. Test this before committing.
- Weight check: belt sanders run heavy at 6–10 lbs (2.7–4.5 kg); orbital sanders are light at 2–4 lbs (0.9–1.8 kg). Hold both before you buy.
- Price reality: belt sanders typically $80–$200; orbital sanders $50–$120. A budget belt sander ($60–$80) works, but tracking and dust collection suffer.
- Buy the finisher first: unless you have a specific heavy-removal job waiting, buy the orbital sander first — finish sanding is needed on every project, and belt-sander jobs are rare for beginners.
If you remember one line from this checklist, make it this one: the orbital sander is the one you will reach for every single time — the belt sander is the beast you unleash only when heavy work demands it.
Belt sander buying tips (when you’re ready)
- Size: 3″×21″ is the sweet spot for most users — capable but manageable. 4″×24″ is more aggressive (and harder to control). Smaller detail belt sanders exist for tight spots.
- Variable speed — essential. Full speed for aggressive removal, slower for control and finer work.
- Dust collection — belt sanders are dust fountains; a dust bag helps, a vacuum port helps more.
- Belt tracking — the belt should stay centered without constant adjustment. Test this before committing.
Bookmark This Checklist — The Belt-to-Orbital Handoff
The two sanders are a relay team, not rivals. Hand off at the right moment and the finish takes care of itself:
- Flatten and strip with the belt sander at 80 grit — keep it moving, keep it flat, never stop mid-surface.
- Check flatness with a straightedge before switching — the orbital cannot fix what the belt left wavy.
- Switch to the orbital at 100/120 grit to erase the belt scratches.
- Step up through 150, then 180/220 — never skip more than one grit step, or the old scratches survive.
- Feel, do not just look — run a hand over the surface; your fingers catch what your eyes miss.
- Between-coat scuffs belong to the orbital only — the belt never touches a finished coat.
- Stop rule: if the orbital has been removing material for more than a few minutes, the job belonged to the belt. Go back — do not grind on.
Keep Reading
- Orbital vs Sheet Sander: Don’t Buy the WRONG One!
- Sander Leaving Swirl Marks? 30-Second Fix!
- How to Sand Wood Like a Pro: Grit Guide + Techniques That Work
Can I get a finish-ready surface with just a belt sander?
No — the linear scratches are too deep and visible. You must follow with an orbital sander (or hand sanding) through progressively finer grits. The belt sander is step one, never the whole job.
Why does my belt sander leave gouges?
Usually: tipping the sander (not keeping it flat), pausing in one spot, or starting/stopping on the workpiece instead of off it. Keep it moving, keep it flat, and lift it off before stopping. Practice on scrap first.
Can an orbital sander replace a belt sander?
For light work, partially — with coarse discs (60–80 grit) and patience. For real material removal (flattening, stripping), no — it’s 5–10x slower, and life’s too short.
What grit sequence should I use?
Belt sander: 80 grit (flatten/remove). Then orbital: 100/120 → 150 → 180/220. Never skip more than one grit step — each grit removes the previous grit’s scratches. More on why sanders leave marks here.
Are cheap belt sanders worth it?
A budget belt sander ($60–$80) works, but tracking and dust collection suffer. The mid-range ($120–$180) buys meaningfully better tracking, variable speed, and build quality — worth it for a tool this aggressive, where control is everything.
Belt sander vs hand planer for flattening?
Different approaches: the belt sander is simpler and more forgiving for beginners (just keep it flat and moving); the hand planer is faster and cleaner in skilled hands but has its own learning curve. For most DIYers, the belt sander is the easier path to flat.
The verdict
📋 Keep This Chart Handy — Which One for YOUR Job?
| Your situation | Buy this | Why it wins |
|---|---|---|
| First/only sander | Orbital sander | Finish sanding is needed on every project; belt-sander jobs are rare for beginners |
| Finish work, smoothing, between coats | Orbital sander | Its home turf — least visible scratches |
| Flattening rough lumber, stripping finish | Belt sander | Nothing else removes material like it |
| Leveling tabletops, workbench tops | Belt sander | Aggressive leveling — then finish with the orbital |
| Serious woodworking, both rough and fine work | Both | The natural pair — belt for rough work, orbital for finishing |
| Beginner, general DIY | Orbital sander first | Forgiving and used on everything; add the belt sander when a job demands it |
Aggression vs finesse. Removal vs refinement. The belt sander is the beast you unleash for heavy work; the orbital sander is the finisher you use on everything. Buy the finisher first — it’s the one you’ll reach for every single time.
Tool Worth Lab provides research-based buying guidance. Prices are approximate US street prices and vary by retailer. Always wear a dust mask when sanding — fine wood dust is a serious respiratory hazard.