
Your tape measure is lying to you — just a little, just often enough to matter. A wobbling hook and a curved blade can drift 1/16 of an inch over a tape’s length, which is the difference between a drawer that glides and a drawer that sticks forever. And here is the twist: the fix is not a fancier tape measure. It is six humble measuring and marking tools — and the order you buy them in matters more than the money you spend.
Below, the six tools are ranked in the order worth buying — starting with the square that transforms your accuracy overnight and ending with the wall tool that keeps your drill out of pipes and wires. No fluff, no tools you do not need yet, and one simple in-store test for every tool so you never bring home a liar again.
Safety first: Measuring tools aren’t dangerous, but inaccurate measuring causes dangerous situations — mismeasured electrical boxes, unstable structures, blades set to wrong depths. Precision is safety’s quiet partner.
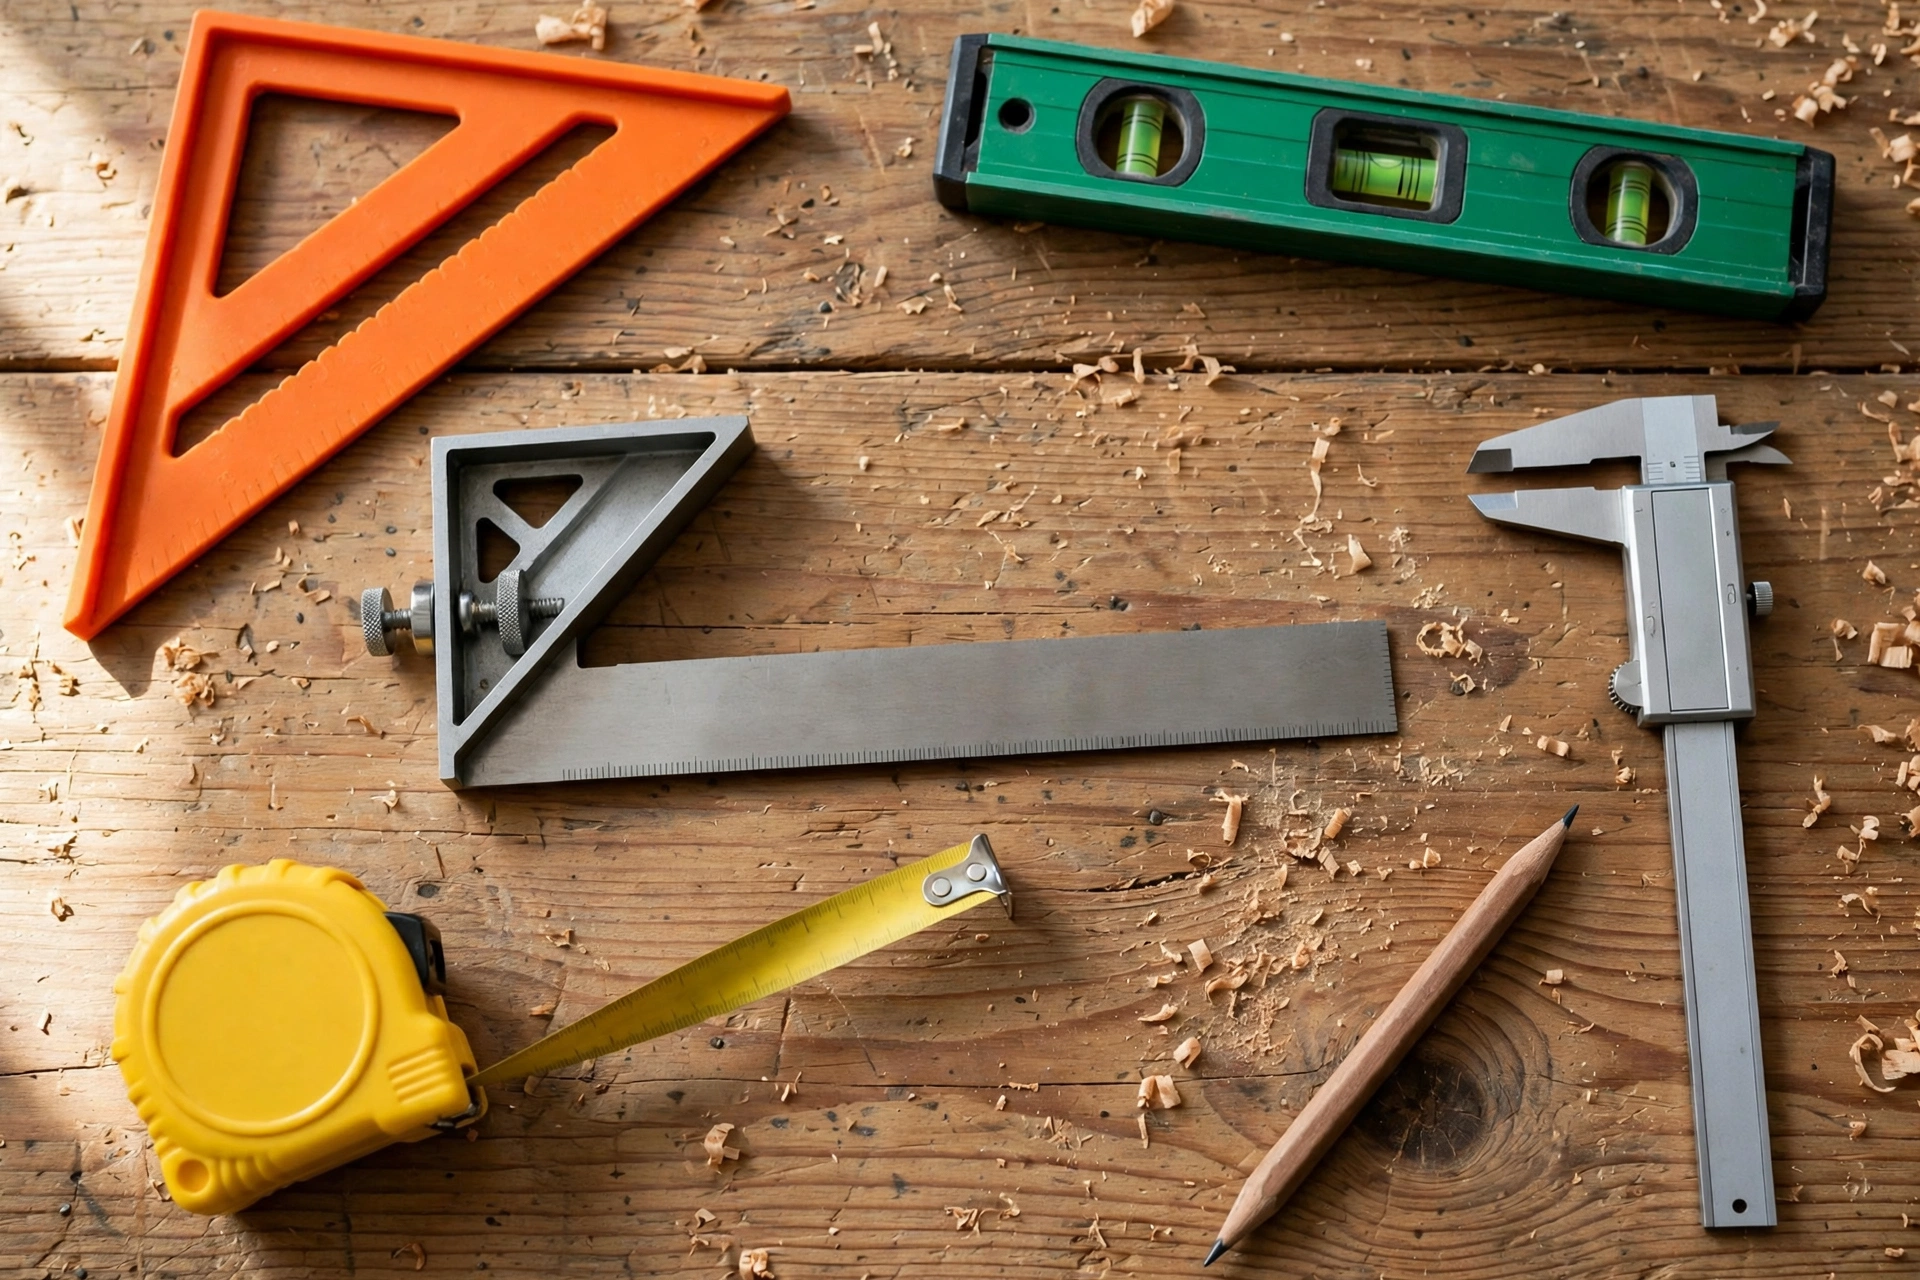
The truth about tape measures
Start here because everyone owns one and almost everyone uses it wrong:
- The hook moves on purpose. That little sliding hook compensates for its own thickness — pushed in for inside measurements, pulled out for outside. It’s not broken; it’s engineered. Don’t “fix” it.
- Don’t let it snap back. Letting the blade slam back into the case damages the hook’s calibration and eventually the spring. Guide it back with your finger.
- Standout matters. A 25-foot tape with 11+ feet of standout lets you measure alone; a cheap 12-footer collapses at 4 feet and needs a second person.
- Accuracy varies. Cheap tapes can be off by 1/16″ over their length. For rough carpentry, fine. For fine woodworking, verify against a known standard.
The tape measure is for rough dimensions — room sizes, lumber lengths, “about how big.” For anything requiring precision, you need the tools below.
Priority 1: Combination square (the #1 measuring upgrade)
If you buy one measuring tool beyond the tape, make it a 12″ combination square. It’s a ruler with a sliding 90°/45° head — and it’s the most-used precision tool in most shops.
What it does: – Marks perfect 90° and 45° lines (the foundation of all joinery layout) – Measures depth (slide the rule through the head) – Checks squareness of assemblies and tools – Scribes parallel lines (lock the head at a distance, run a pencil along it)
What to buy: a decent one ($20–$40). The cheapest combination squares have sloppy heads that don’t hold 90° — which defeats the entire purpose. Test before buying: draw a line, flip the square, draw again — the lines should coincide.
Priority 2: Speed square (carpentry’s best friend)
The triangular speed square is the carpenter’s constant companion — it lives in the tool belt, not the drawer.
What it does: – Marks 90° and 45° cuts on lumber instantly (hook it over the board edge) – Serves as a saw guide for 90° crosscuts (run your circular saw’s shoe against it) – Marks angles (the degree scale handles rafter angles and bevels) – Scribes lines quickly
What to buy: the classic 7″ aluminum speed square ($10–$15). It’s nearly indestructible and the standard for a reason. Plastic versions work but wear faster.
Priority 3: Level (torpedo + 2-foot)
Nothing exposes DIY work like things that aren’t level — shelves that slope, pictures that tilt, cabinets with visible lean.
- Torpedo level (9″): fits in a tool belt, levels small things — shelves, picture frames, outlet boxes. Magnetic base versions stick to metal studs and pipes.
- 2-foot level: the general-purpose size — checks countertops, short walls, furniture. Long enough to be meaningful, short enough to carry.
- 4-foot level: for serious carpentry (walls, long runs). Buy when you’re doing room-scale work.
What to buy: torpedo + 2-foot to start ($20–$40 total). Check accuracy in the store: place on a flat surface, note the bubble, rotate 180° — the bubble should read identically. If it doesn’t, the level is lying to you.
Priority 4: Marking tools (pencil, knife, gauge)
Measurement without marking is just thinking. The marking tool determines your precision as much as the measuring tool:
- Carpenter’s pencil: flat so it doesn’t roll, thick line for rough work. Fine for framing.
- Mechanical pencil (0.5mm): the fine-woodworking standard — thin, consistent lines for precise layout.
- Marking knife: severs wood fibers for the most precise line possible — essential for hand-cut joinery. A knife line also gives your chisel or saw a physical track to follow.
- Marking gauge: scribes a line parallel to an edge at an exact distance — for joinery layout (tenons, mortises, rabbets).
The rule: your line should be no thicker than your required precision. Framing: pencil’s fine. Joinery: knife or sharp mechanical pencil.
Priority 5: Calipers (when millimeters matter)
A digital caliper ($20–$35) measures inside, outside, and depth dimensions to 0.01″ / 0.1mm. Overkill for framing; essential for:
- Matching drill bits to dowels and screws (is that actually a 1/4″ dowel?)
- Checking board thickness (is this “3/4 inch” plywood actually 0.71″? — it usually is)
- Machine setup and fine fitting
Every woodworker eventually owns one. Buy it when “close enough” stops being good enough.
Priority 6: Stud finder (for walls, not wood)
Not a precision instrument — a wall-navigation tool. Before drilling or nailing into walls: find the studs. The alternative is anchors in bare drywall (weak) or hitting pipes/wires (dangerous).
What to buy: a decent electronic stud finder ($25–$50). The cheap magnetic ones find nails (which implies studs) — workable but slower. For the price difference, electronic is worth it. And always verify: knock on the wall, check with a finish nail, or measure 16″ from a known stud.
Keep This Chart Handy — Which Measuring Tool for Which Job?
Stop reaching for the tape measure for everything. Find your job, grab the right tool, and watch your cuts get honest.
| Your job | Reach for | Why this one |
|---|---|---|
| Rough dimensions — room sizes, lumber lengths, “about how big” | Tape measure | That is what it is actually for. For anything requiring precision, put it down and pick a tool below. |
| Marking perfect 90° and 45° lines, checking squareness, measuring depth | 12 in (30 cm) combination square ($20–$40) | A ruler with a sliding 90°/45° head — the single biggest measuring upgrade, and the most-used precision tool in the shop. |
| Marking 90° and 45° cuts on lumber fast, or guiding a circular saw for 90° crosscuts | 7 in (18 cm) aluminum speed square ($10–$15) | Hooks over the board edge and lives in the tool belt — nearly indestructible and the standard for a reason. |
| Checking shelves, pictures, and cabinets for slope or lean | Torpedo level + 2 ft (61 cm) level ($20–$40 total) | Nothing exposes DIY work like things that aren’t level — start with this pair before buying longer levels. |
| Marking the line itself | Pencil for framing; knife or sharp mechanical pencil for joinery | Your line should be no thicker than your required precision — framing tolerates pencil, joinery does not. |
| Measuring inside, outside, and depth to 0.01 in / 0.1 mm | Digital caliper ($20–$35) | Overkill for framing, essential when “close enough” stops being good enough. |
| Drilling or nailing into a wall | Electronic stud finder ($25–$50) | Find the studs first — the alternative is anchors in bare drywall. |
Print This Before You Shop — Your Measuring Kit, in Buying Order
Take this list to the store and buy strictly in order. Stop whenever the budget runs out — whatever you own at that point is already a working precision kit.
| Buy order | Tool | Size | What it does for you |
|---|---|---|---|
| You already own it | Tape measure | 25 ft (7.6 m), 11+ ft (3.4 m) standout | Rough dimensions only — room sizes, lumber lengths, “about how big” |
| Buy 1st | Combination square ($20–$40) | 12 in (30 cm) | The #1 upgrade — perfect 90° and 45° lines, depth, and squareness checks |
| Buy 2nd | Aluminum speed square ($10–$15) | 7 in (18 cm) | Marks 90° and 45° cuts fast; doubles as a saw guide for 90° crosscuts |
| Buy 3rd | Torpedo level + 2 ft level ($20–$40 total) | 9 in (23 cm) torpedo + 2 ft (61 cm) | Shelves, pictures, cabinets, countertops — nothing exposes DIY work like a slope |
| Buy 4th | Marking tools — mechanical pencil + marking knife | 0.5 mm pencil line | Your line should be no thicker than your required precision — framing tolerates pencil, joinery does not |
| Buy 5th | Digital caliper ($20–$35) | Measures to 0.01 in (0.1 mm) | Matching bits to dowels, checking real board thickness, machine setup |
| Buy 6th | Electronic stud finder ($25–$50) | Wall tool | Find studs before drilling — the alternative is weak anchors or hitting pipes and wires |
What you DON’T need yet
- Laser measure: convenient for room dimensions, unnecessary for most DIY. A tape measure works.
- Laser level: fantastic for tile, drop ceilings, and long runs — overkill until you’re doing those projects.
- Dial indicators: machinist territory. Your table saw fence alignment doesn’t need 0.001″ (a careful ruler does fine).
- Feeler gauges: automotive and machine setup. Buy when you have the machine that needs them.
- Protractor/bevel gauge: useful for replicating odd angles — buy when you encounter one, not before.
Bookmark This Checklist — What to Look for in ANY Measuring Tool
Run any measuring tool through these seven checks before your money leaves your wallet.
- It passes the in-store accuracy test. Squares: the flip test — draw a line, flip the square, draw again; the lines must coincide. Levels: the 180° test — rotate it and the bubble must read identically. Tapes: verify against a known standard. A tool that lies in the store will lie in your shop.
- The head locks solid with zero slop. Cheap combination squares have loose heads that won’t hold 90° — which defeats the entire purpose of the tool.
- Standout you can actually work with. A 25 ft (7.6 m) tape with 11+ ft (3.4 m) of standout lets you measure alone; a cheap 12-footer collapses at 4 ft and needs a second person.
- The hook slides freely. That little sliding hook on a tape measure compensates for its own thickness — pushed in for inside measurements, pulled out for outside. It should move, not stick. Don’t “fix” it.
- Markings match your project unit. Inches or millimeters — pick one per project and commit, because switching mid-project causes errors. Metric is easier for fine work; consistency beats the system you choose.
- Size fits the job. Torpedo level for the tool belt and small things, 2-foot for general work, 4-foot for room-scale carpentry. The wrong size is the wrong tool.
- The line matches the precision. Framing: a carpenter’s pencil is fine. Fine joinery: a 0.5 mm mechanical pencil or a marking knife. Your line should be no thicker than your required precision.
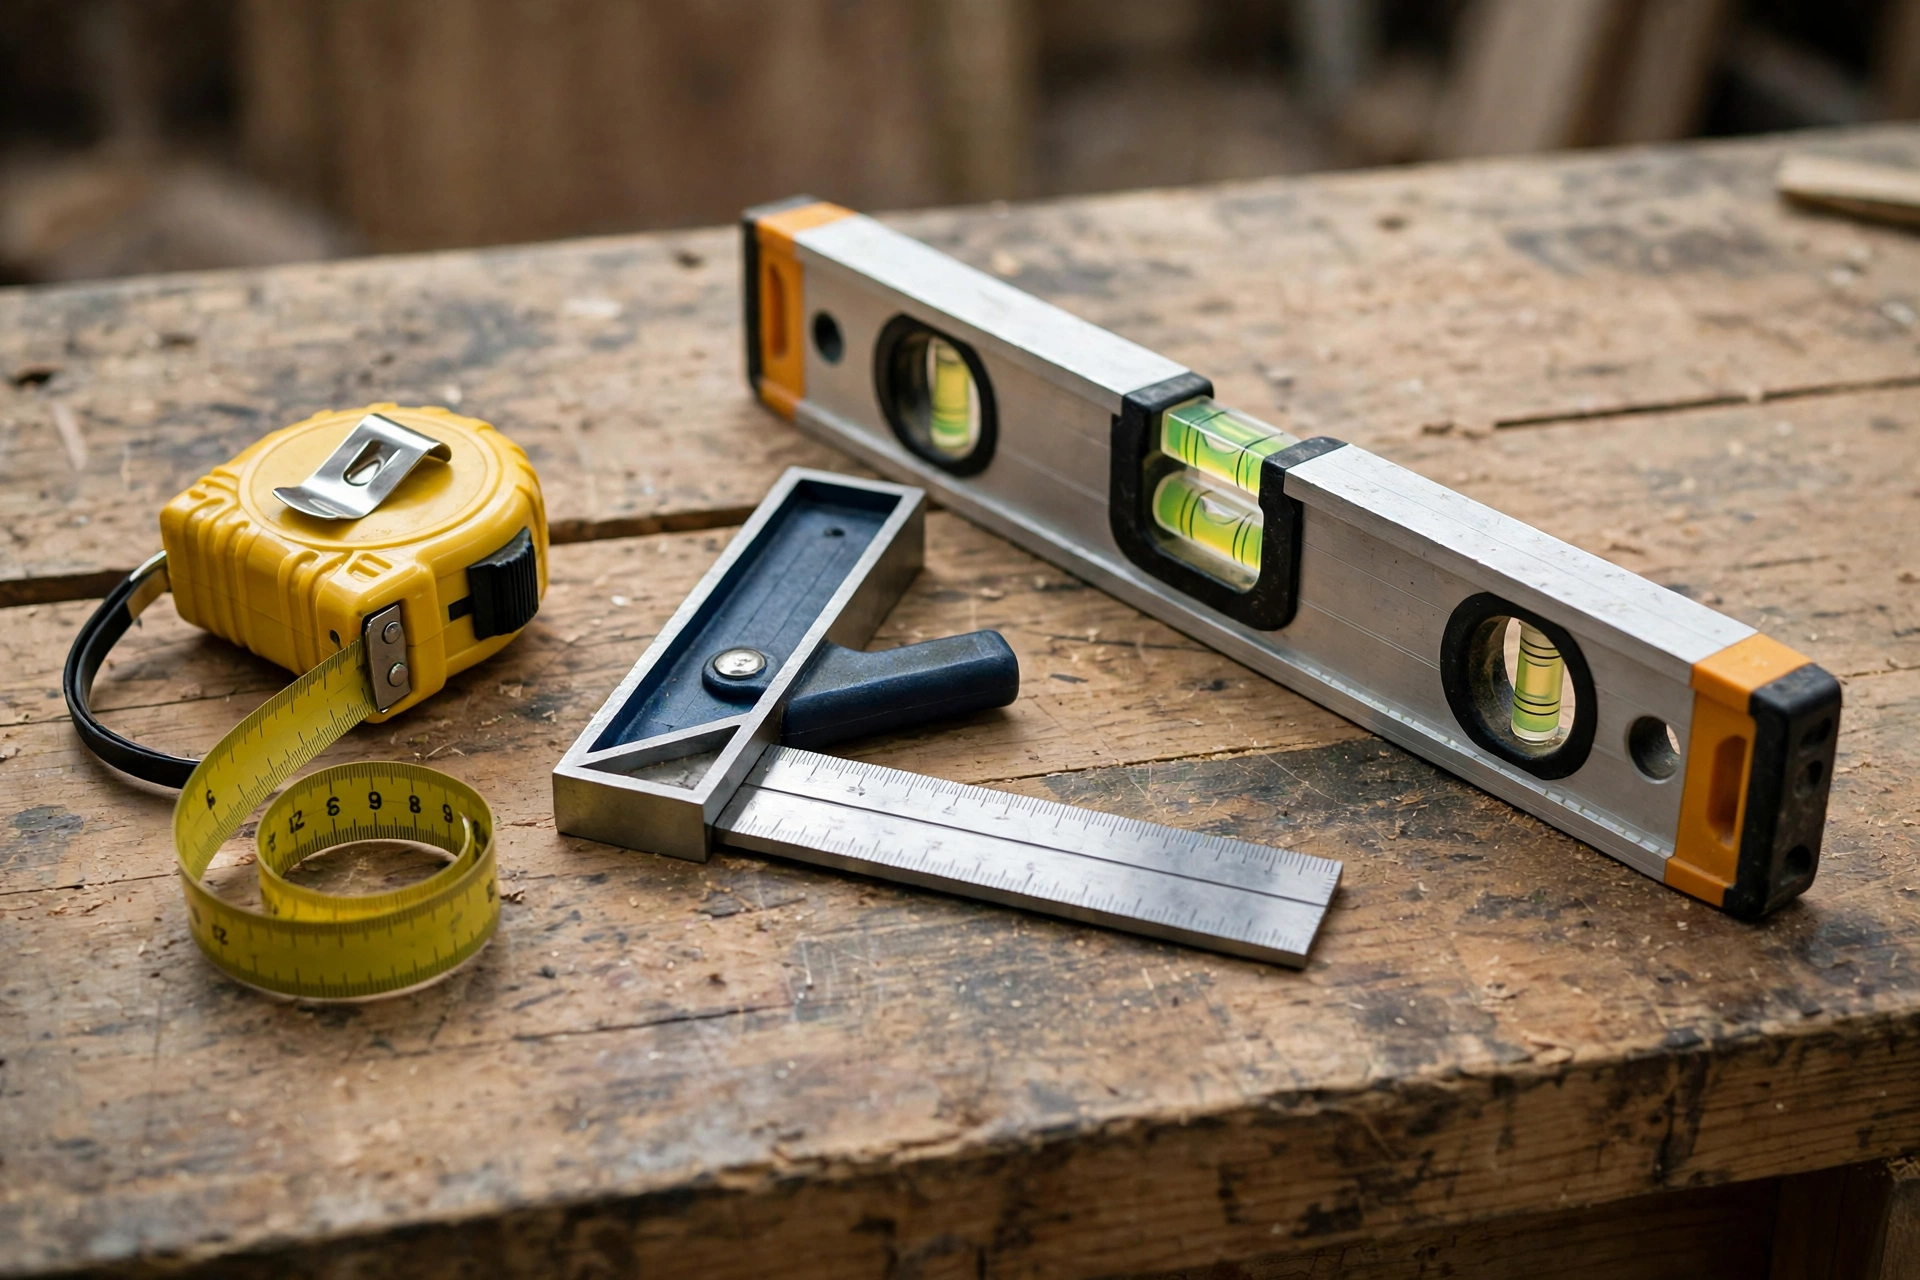
Bookmark This Checklist — 6 Measuring Mistakes That Ruin Perfectly Good Lumber
Run through this list before every cut. These six errors ruin more projects than any tool deficiency.
- Measuring from the wrong end of the tape. Measuring from the 1-inch (2.5 cm) mark instead of the hook, then forgetting to subtract, puts every cut out by an inch.
- Cutting on the wrong side of the line. Always cut to the same side of your mark — pick waste side vs. keep side and be consistent. Reading the wrong edge of the line is one of the top reasons cuts come out slightly off.
- Forgetting the blade kerf. The saw blade removes about 1/8 in (3.2 mm) of material. Your “cut on the line” needs to be on the waste side, or the finished piece comes up short.
- Switching units mid-project. Inches or millimeters — pick one per project and commit. Metric is easier for fine work, but switching halfway causes errors. Consistency beats the system you choose.
- Letting the tape blade snap back. Letting the blade slam back into the case damages the hook’s calibration and eventually the spring. Guide it back with your finger.
- Trusting a square or level you never tested. Draw a line, flip the square, draw again — the lines should coincide. For a level, place it on a flat surface, note the bubble, rotate 180°, and check that the bubble reads identically. A tool that lies in the store will lie in your shop.
Keep Reading
Why are my cuts always slightly off even though I measured carefully?
Usually one of three: the tape hook is damaged (check the slide), you’re reading the wrong edge of the line (always cut to the same side of your mark — pick waste side vs keep side and be consistent), or your square isn’t actually square (test it). Consistent method beats careful eyeballing.
Should I measure in inches or millimeters?
Whichever you’ll be consistent with. Metric is objectively easier for fine work (no fractions), and most of the world uses it. But if you think in inches, switching mid-project causes errors. Pick one per project and commit.
How do I check if my square is actually square?
The flip test: draw a line along the square’s edge, flip the square over (mirror it), draw again from the same starting point. If the lines diverge, the square is off. Do this for every square you own, including new ones — manufacturing defects happen.
Are expensive measuring tools worth it?
For squares and levels: yes, up to the mid-range — accuracy is the entire product, and cheap ones lie. Beyond ~$40 for a combination square, you’re paying for durability and feel, not accuracy. For tapes and pencils: buy decent, don’t overthink.
What’s the most common measuring mistake?
Measuring from the wrong end (the 1″ mark instead of the hook, then forgetting to subtract), and not accounting for blade kerf (the saw blade removes 1/8″ — your “cut on the line” needs to be on the waste side). Both ruin more projects than any tool deficiency.
Do I need a chalk line?
For long straight lines on construction (walls, floors, roofing): yes, it’s the right tool and costs $10. For workshop woodworking: a straightedge works better. Buy it when you’re doing room-scale layout.
The verdict: buy in this order
| Priority | Tool | Cost | Why |
|---|---|---|---|
| 1 | 12″ combination square | $20–$40 | 90°/45° layout, depth, squareness — the precision foundation |
| 2 | Speed square | $10–$15 | Instant angles on lumber, saw guide |
| 3 | Torpedo + 2′ level | $20–$40 | Nothing looks DIY like unlevel work |
| 4 | Marking upgrades (mech pencil, marking knife) | $10–$20 | Precision lives in the line, not just the measure |
| 5 | Digital caliper | $20–$35 | When fractions stop being fine enough |
| 6 | Stud finder | $25–$50 | Before you drill into any wall, ever |
Total for the full kit: roughly $105–$200 — less than a single mid-range power tool, and it’ll improve every project you ever build more than any power tool will. Measure twice, cut once isn’t about being careful — it’s about being equipped.
Tool Worth Lab provides research-based buying guidance. Prices are approximate US street prices and vary by retailer. Test every square and level for accuracy before trusting it — even new ones.