
There is a special kind of rage reserved for a screw that just spins and spins and goes absolutely nowhere. You have felt it — every DIYer on earth has felt it — and the worst part is that every spin makes the screw harder to save, because the drive shape in the head gets smoother with every turn.
So here is the good news: the fix is almost never a bigger drill. It is a ladder — six rungs, easiest first — and the bottom rungs are so simple they feel like cheating: a rubber band, a bigger bit, a pair of pliers. Work them in order and the screw usually gives up before you reach the scary tools. Jump the order, and you will meet the extractor — or the drill.
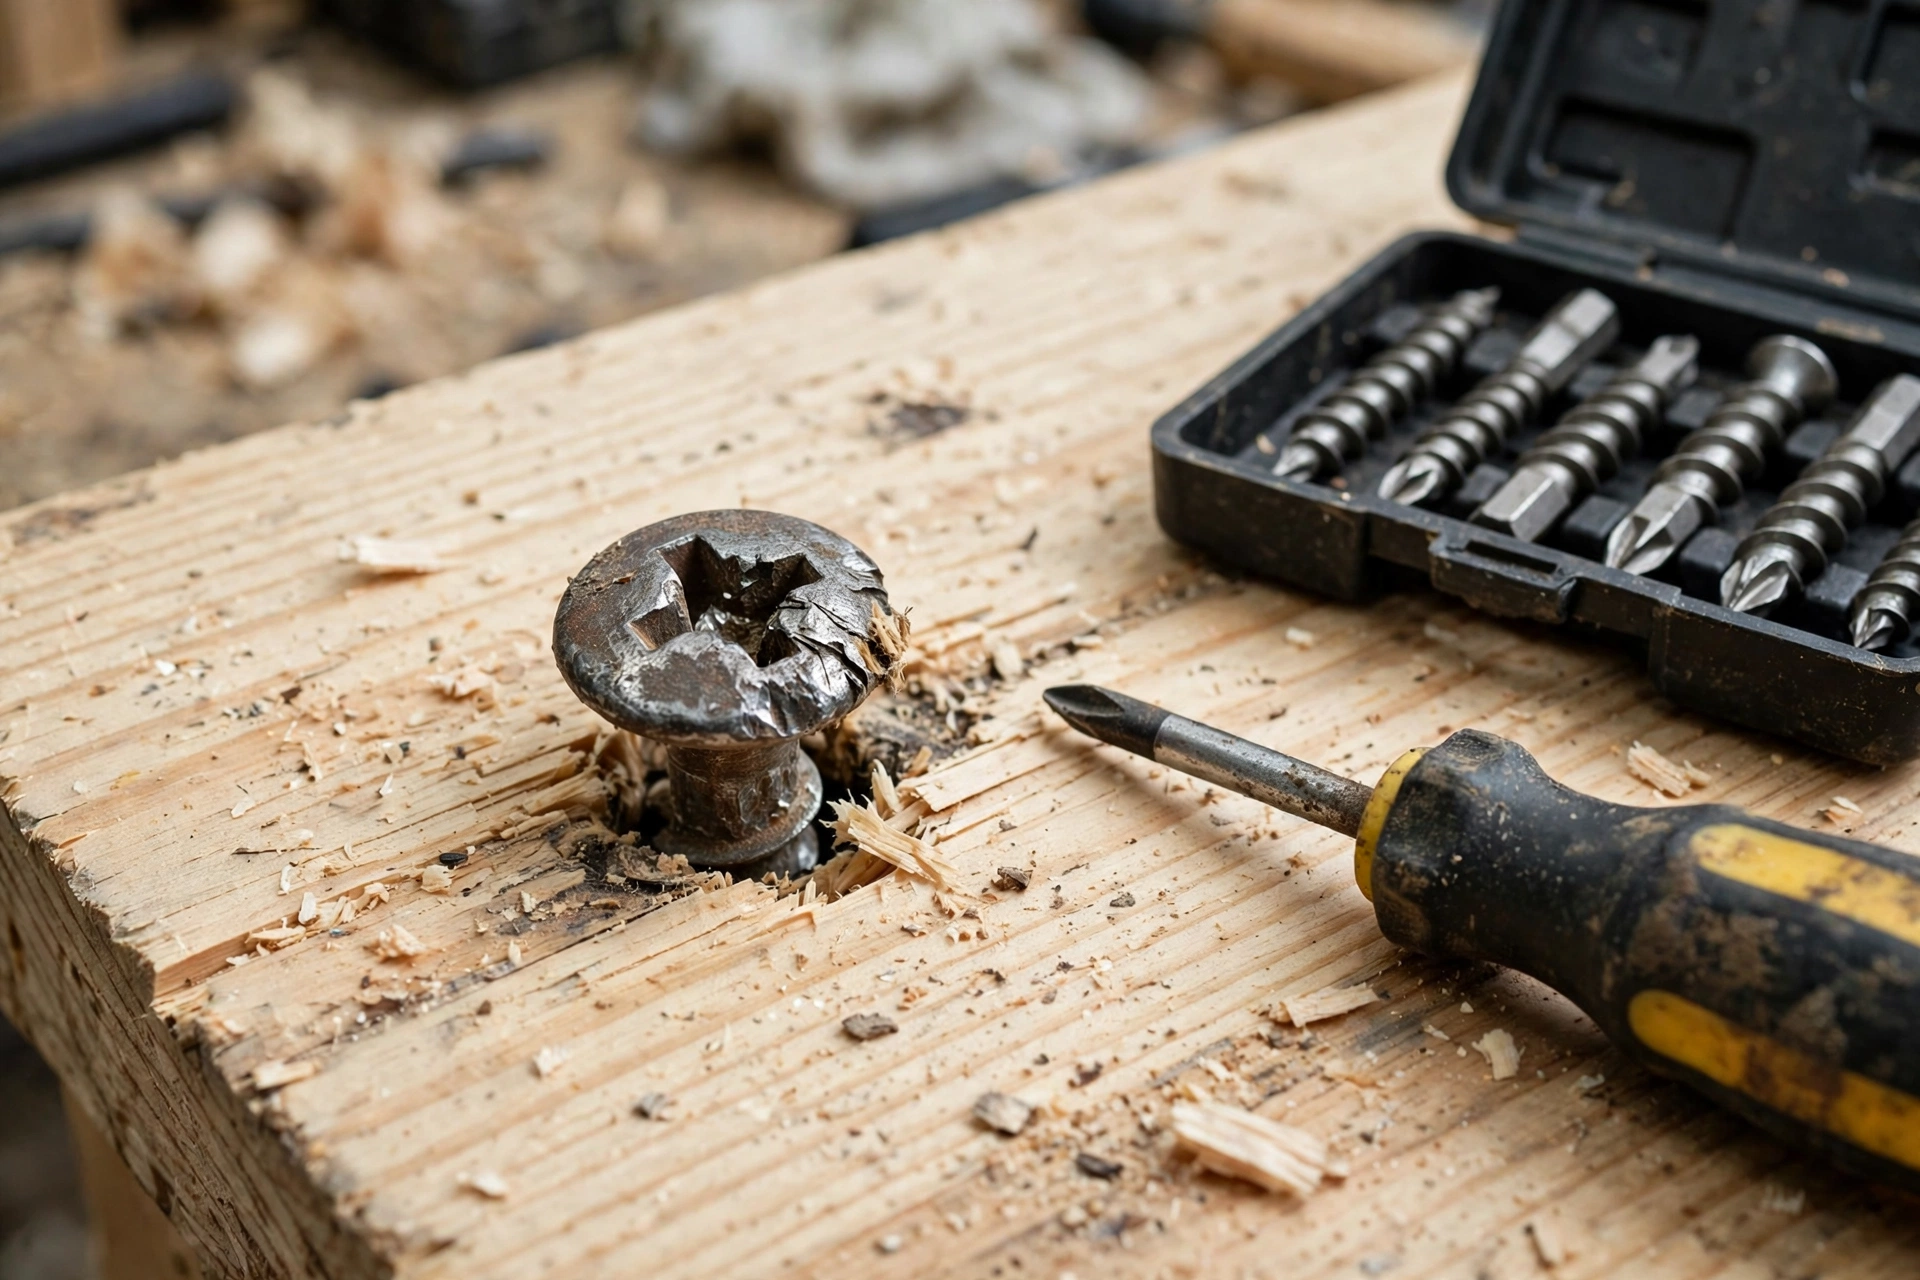
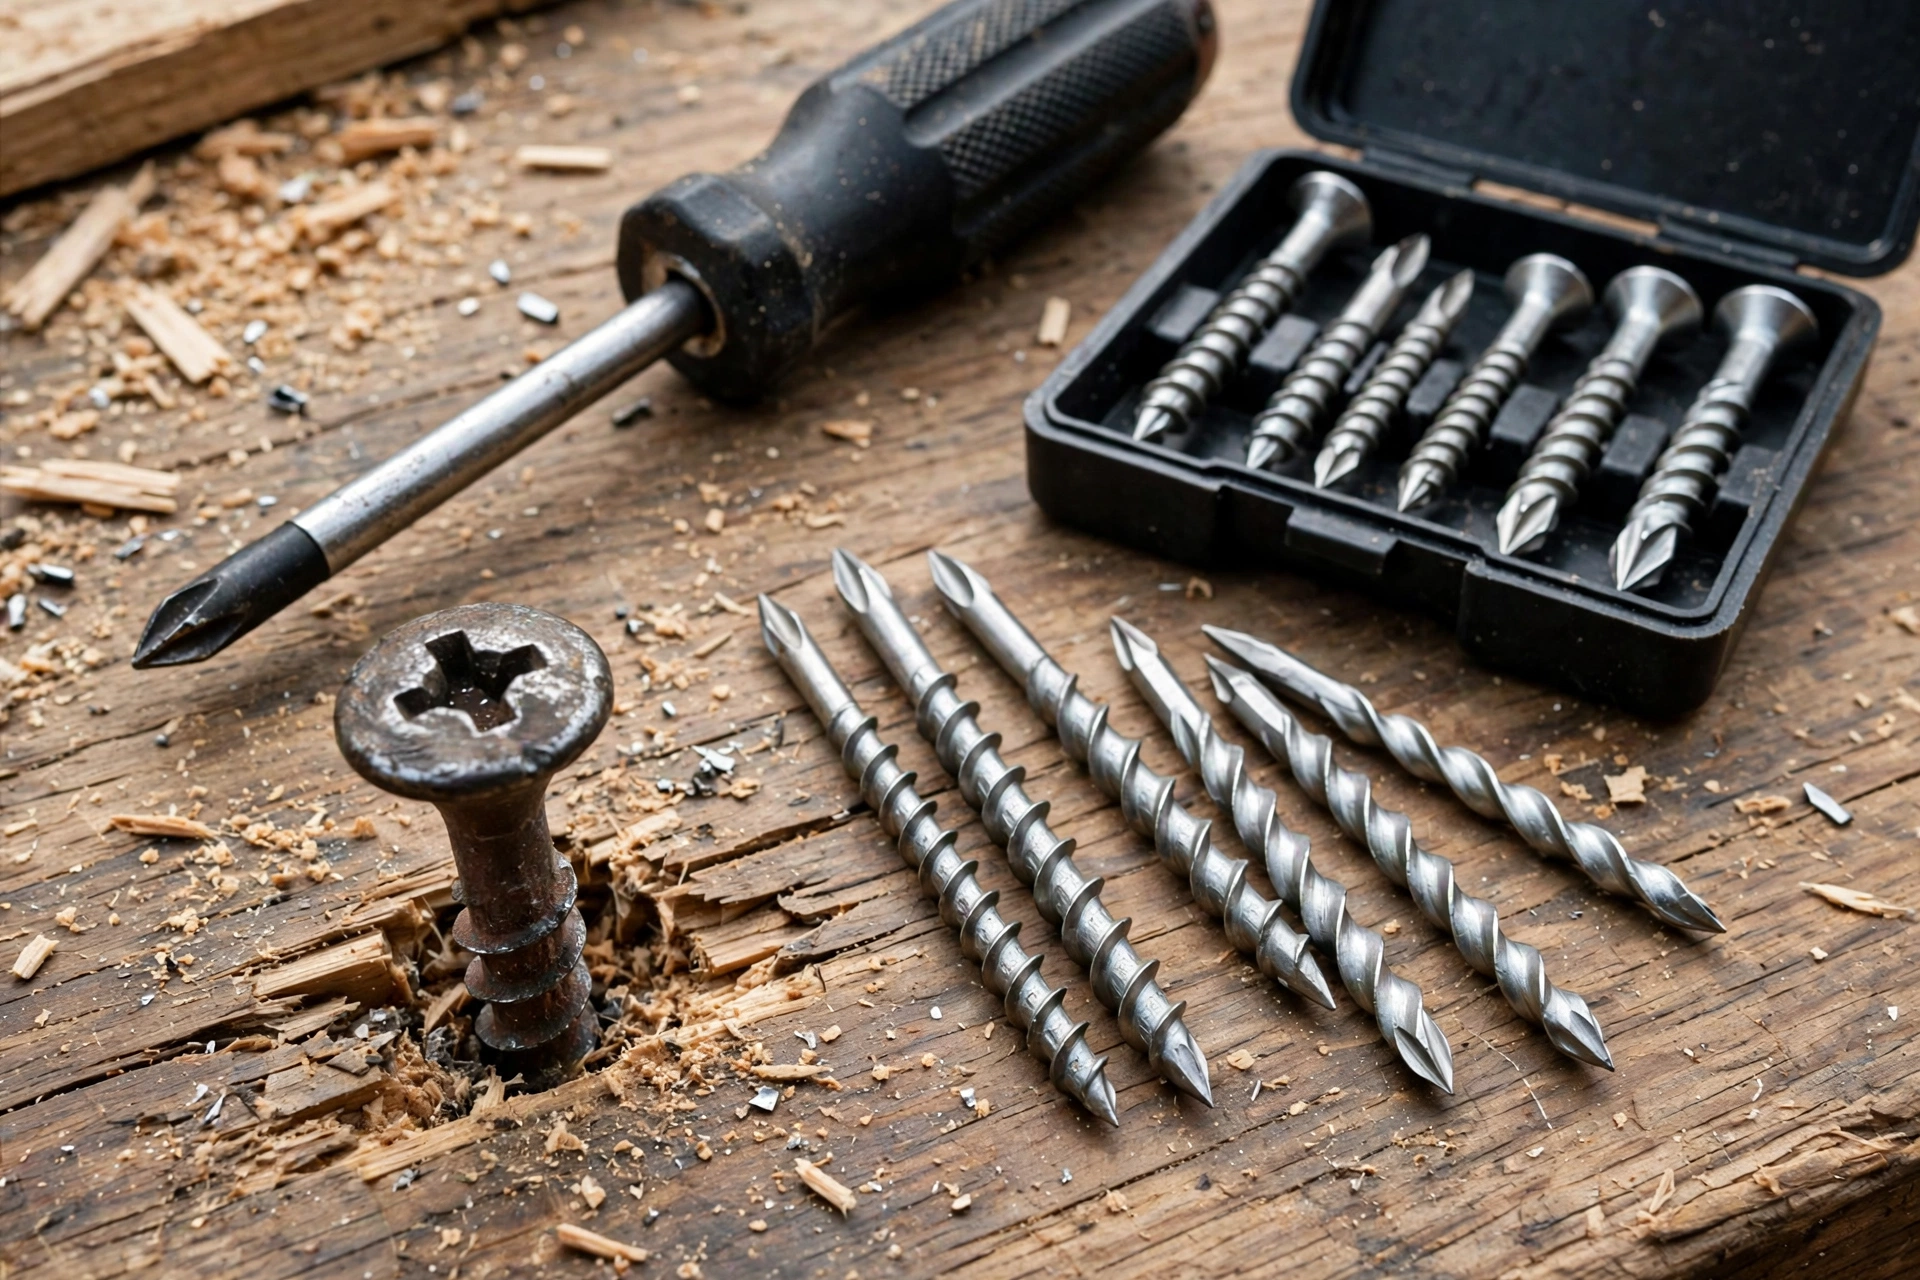
Safety first: Eye protection always (broken bits and flying metal are real). When drilling, secure the workpiece. Screw extractors are hardened and brittle — they snap if forced, and a broken extractor is worse than the original problem. Patience beats force at every step.
Method 1: The rubber band trick
The famous one — and it genuinely works on mildly stripped heads.
How: place a wide rubber band flat over the stripped head, press your driver firmly through the rubber into the head, and turn slowly. The rubber fills the stripped voids and grips what the driver can’t.
Works when: the stripping is mild — the drive shape is worn but still partially there. It’s a grip-enhancer, not a miracle.
Tip: a bit of valve-grinding compound (or even powdered cleanser) on the driver tip works the same way — added friction in the stripped recess.
Method 2: Bigger driver / different drive
Sometimes the “stripped” screw just needs the correct engagement:
- Try the next size up — a #3 Phillips in a wallowed #2 sometimes bites where the #2 spins.
- Try a different drive — a Torx bit hammered gently into a stripped Phillips often grips the remaining metal (the star points bite where the cross slipped). A square (Robertson) bit works similarly.
- Impact driver, manual type — the kind you hit with a hammer: the downward strike seats the bit while the twisting action turns. Purpose-built for exactly this situation ($15–$25, and invaluable for stuck fasteners generally).
The key: firm downward pressure + slow turning. Most “stripped” screws are actually “insufficiently engaged” screws.
Method 3: Locking pliers on the head
If the screw head protrudes at all — even slightly — locking pliers are often the answer.
How: clamp the locking pliers firmly onto the screw head (or the shank if the head’s gone), lock them tight, and turn. The hardened jaws bite into metal that drivers can’t grip.
Works when: any part of the head or shank is accessible above the surface. Even a millimeter of grip is enough.
For flush/below-surface heads: carefully cut a slot with a Dremel cutoff wheel, then use a flathead screwdriver in the new slot. The Dremel slot method is remarkably effective — you’re essentially manufacturing a new drive.
Method 4: Screw extractor (the purpose-built tool)
The spiral-fluted extractor — drill a pilot hole in the screw, thread the extractor in (it bites in the reverse direction), and turn the screw out.
How: 1. Center-punch the screw head (prevents the drill wandering). 2. Drill a pilot hole with the recommended bit size (the extractor kit specifies — follow it exactly). 3. Tap the extractor into the hole with a hammer. 4. Turn counter-clockwise with a tap wrench or adjustable wrench — slow, steady pressure.
The critical warnings: – Extractors are extremely hard and therefore brittle — if it binds, don’t force it. Back off, add penetrating oil, try again. A snapped extractor (harder than most drill bits) turns a bad problem into a nightmare. – This works best on larger screws (#8 and up). Tiny screws (#4, #6) often don’t have enough meat for the extractor — try methods 1–3 first.
Cost: $10–$20 for a quality set. Worth owning — stripped screws are a when-not-if event.
Method 5: Drill the head off
When the head is destroyed beyond all gripping: remove the head entirely, then deal with the shank.
How: select a drill bit slightly larger than the screw shank (not the head), drill straight down through the head until it separates. Remove the workpiece, then grip the exposed shank with locking pliers and turn it out.
Works when: the screw holds two pieces together and you can separate them once the head’s gone. The shank usually turns out easily once the clamping pressure is released.
Caution: drill straight and don’t oversize the bit — you’re removing the head, not enlarging the hole. Center-punch first.
Method 6: The nuclear options
For screws that defeat everything above:
- Left-hand drill bits: drill bits that cut in reverse — often the drilling action itself backs the screw out. The elegant solution: you’re drilling anyway (method 5), but the reverse flutes might save you the second step.
- Weld a nut on (metal work): weld a nut to the destroyed head, then wrench the nut. The heat also breaks corrosion bonds. Obviously requires welding equipment.
- Destructive removal: drill the entire screw out and repair the hole (stripped hole fix guide). Sometimes the fastest path is accepting the screw is a loss.
Bookmark This Chart — Which Method for Your Screw — Keep This Handy
Do not guess which method to try. Match your screw to a row, start there, and only climb to the next row when the one above fails.
| Your screw looks like this | Start with | Why this one first |
|---|---|---|
| Drive shape worn but still partly there (mild stripping) | Method 1: rubber band trick | The rubber fills the stripped voids and grips what the driver cannot — the gentlest fix that works. |
| Driver spins, but the head is not badly chewed | Method 2: next size up or a different drive | A #3 Phillips in a wallowed #2, or a Torx bit tapped into a stripped Phillips, often bites where the original driver slipped. |
| Head or shank sticks up above the surface, even slightly | Method 3: locking pliers | Hardened jaws bite metal that drivers cannot grip — even a millimetre (about 1/25 in) of grip is enough. |
| Head is flush with or below the surface | Method 3 variation: Dremel slot + flathead screwdriver | Cutting a new slot manufactures a brand-new drive in a head that has none left. |
| Head destroyed, but the screw is #8 or larger | Method 4: screw extractor set | The reverse-thread extractor bites into a drilled pilot hole and turns the screw out. Tiny #4 and #6 screws lack enough metal for this — try Methods 1-3 first. |
| Head destroyed beyond all gripping, and the screw holds two pieces together | Method 5: drill the head off | Once the head separates, the pieces come apart and the exposed shank usually turns out easily with locking pliers. |
| Everything above has failed | Method 6: the nuclear options | Left-hand drill bits, welding a nut onto the head for metal work, or drilling the screw out entirely and repairing the hole. |
Prevention: never strip another screw
The best stripped-screw removal is never needing it:
- Match the driver exactly — right size, right type. A #1 in a #2 screw is a stripping machine.
- Firm downward pressure — especially with Phillips. Push hard, turn slow.
- Impact driver for driving — the hammering action prevents cam-out. Fewer stripped heads than any drill.
- Replace worn bits — a rounded #2 bit strips every screw it touches. Bits are consumables; $0.50 each in bulk.
- Pilot holes — right-sized, always. Forcing screws into unprepared wood strips heads before they seat.
The Stripped-Screw Rescue Kit — Keep This Handy
- Wide rubber band: laid flat over a mildly stripped head so the driver can grip what is left of the drive shape.
- Valve-grinding compound or powdered cleanser: a dab on the driver tip adds friction in a stripped recess, the same way the rubber band does.
- Correct drivers and bits: the exact size and type for the screw, plus the next size up (a #3 Phillips in a wallowed #2) and Torx and square (Robertson) bits for a different drive shape.
- Manual impact driver: the hammer-hit type, about $15–$25, which seats the bit while it twists — built for stuck fasteners.
- Locking pliers: for any screw head or shank that protrudes even slightly above the surface.
- Screw extractor set, about $10–$20, with a center punch and a tap wrench or adjustable wrench: for larger screws, #8 and up — tiny #4 and #6 screws usually lack enough metal for an extractor.
- Penetrating oil and a utility knife: oil and patience for rust or corrosion, and the knife to score paint around a painted-over head so the screw can turn without tearing the finish.
- Eye protection: worn for every step — broken bits and flying metal are real, and extractors snap if forced.
When the screw is stuck as well as stripped
The methods above assume the screw itself is free to turn. Often it is not. Rust, threadlocker, paint, or years of corrosion can glue a screw in place, and a stuck screw strips far more easily because every turn fights both the damaged head and the seized threads. If a screw will not budge with firm, steady pressure, stop forcing the driver and deal with the stuck part first — more force on a stripped head only makes the head worse.
Work out why it is stuck before you reach for a bigger tool:
| What is holding it | First move |
|---|---|
| Rust or corrosion | Penetrating oil, then patience — see below |
| Threadlocker (usually blue or red residue on the threads) | Gentle heat from a heat gun on the surrounding metal, not the screw head alone |
| Paint over the head and threads | Score the paint around the head with a utility knife so the screw can turn without tearing the finish |
| A screw driven into a knot or cross-threaded | Back it out a quarter-turn, then forward again, repeating — rocking breaks the bind without snapping the shaft |
Penetrating oil is a waiting game, not a spray-and-turn product. Apply it at the base of the head where the threads enter the material, tap the head lightly a few times to help it wick in, and wait at least 15 minutes — overnight for a badly rusted outdoor screw. Reapply once, then try again with your best-fitting driver and strong downward pressure. The common mistake is spraying, waiting 30 seconds, and stripping the head in frustration. Oil that has not reached the threads has done nothing.
Heat helps, but use it with judgment. A heat gun on the metal around the screw expands the surrounding material and softens threadlocker. Keep the heat modest and away from plastic, wiring, finishes you care about, and anything flammable. Never use an open flame indoors or near fuel, and let the part cool enough to handle before you grip it with pliers. If heat and oil both fail, that is useful information: the screw has earned one of the aggressive methods, and you should go straight to the extractor or drill-the-head-off step rather than grinding the head further with a slipping driver.
Know when the head is done. If the drive shape is completely round, if two methods have already slipped, or if the screw head is cracking, further driver attempts are just damage. Switch to locking pliers on a raised head, or drill the head off and deal with the exposed shaft with pliers once the joined piece is free. A screw you remove cleanly in 20 minutes beats a screw you fight for an hour and then have to drill out anyway.
Mistakes That Make a Stripped Screw Worse — Bookmark This Checklist
- Reaching for the drill first: drilling turns a five-minute annoyance into a weekend project — work the easy methods before any drilling.
- Forcing a slipping driver: every spin smooths the head further, so stop turning and switch to a bigger bit, a different drive shape, or locking pliers.
- Using the wrong size or a worn bit: a #1 driver in a #2 screw is a stripping machine, and a rounded bit strips every screw it touches — match the driver exactly and replace worn bits.
- Forcing a bound extractor: extractors are hardened and brittle, so if one binds, back off and add penetrating oil — a snapped extractor is harder than most drill bits and turns a bad problem into a nightmare.
- Spraying penetrating oil and turning after 30 seconds: oil needs at least 15 minutes to reach the threads — overnight for a badly rusted outdoor screw — and oil that has not reached the threads has done nothing.
- Grinding on a head that is already done: if the drive shape is completely round, or two methods have already slipped, further driver attempts are just damage — switch to locking pliers on a raised head or drill the head off.
- Skipping the center-punch before drilling: center-punch the screw head first, or the drill bit wanders.
- Trying an extractor on a tiny screw: #4 and #6 screws usually lack enough metal for an extractor — try the rubber band, bigger driver, and pliers methods first.
What’s the best screw extractor brand?
The spiral-flute type (Alden/Grabit style) outperform the straight-flute cheap sets — they bite more aggressively and break less. Expect $15–$25 for a quality set. The $8 bargain sets are the ones that snap off in your screw.
Can I remove a stripped screw with a Dremel?
Yes — cutting a new slot for a flathead screwdriver (method 3’s variation) is one of the most reliable approaches for flush heads. Use a thin cutoff wheel, cut straight and deep enough for good engagement, then turn slowly with firm pressure.
Why do Phillips screws strip so easily?
The Phillips drive was designed to cam out at high torque (a 1930s assembly-line feature). Combined with wrong-size drivers and worn bits, it’s a stripping-prone system. Torx and Robertson strip far less — choose better fasteners when you have the option.
My extractor broke off inside the screw — now what?
The nightmare scenario. Options: carbide burr in a Dremel to grind it out (slow), or drill around it and accept a larger hole repair. Prevention was the move — never force an extractor; if it binds, stop, oil, and reconsider. This is why patience is listed as a safety rule.
How do I remove a stripped tiny electronics screw?
Rubber band rarely works at that scale. Try: the next-size Torx pressed in firmly, a tiny drop of super glue bonding a sacrificial driver to the head (let cure fully, turn gently, then dissolve with acetone), or precision extractor sets. Work under magnification — precision matters more than force.
Should I just buy better screws?
Genuinely yes, as prevention — quality screws with Torx or Robertson drives, proper depth, and consistent manufacturing strip far less than bargain-bin Phillips. The fastener is the cheapest part of the project; it’s a strange place to economize.
The verdict: the rescue ladder
| Step | Method | When it works |
|---|---|---|
| 1 | Rubber band / friction | Mild stripping |
| 2 | Bigger/different driver, impact driver | Wrong engagement |
| 3 | Locking pliers / Dremel slot | Head accessible or flush |
| 4 | Screw extractor | Larger screws, patient hands |
| 5 | Drill the head off | Head destroyed, pieces separable |
| 6 | Left-hand bits / weld / destructive | Everything else failed |
Start at the top, work down, stay patient. And once it’s out — replace it with a better screw (Torx, quality brand) driven with the right bit and firm pressure. The best revenge on a stripped screw is never meeting its kind again.
Tool Worth Lab provides research-based repair guidance. Wear eye protection, never force extractors, and secure workpieces before drilling.