
I once spent $220 on a tail vise, a whole weekend installing it, and then used it twice in a year — while fourteen dollars’ worth of bench dogs, bought later, changed my woodworking in a single afternoon. Workbench accessories are the cruellest corner of the tool world: the impressive-looking ones are often the useless ones, and the cheap ones do the real work.
This guide is the order I wish someone had handed me before I opened my wallet: which accessories actually hold your work still, which ones are worth real money, and which ones should wait until a specific project demands them — so your bench stops fighting you and starts doing its job.
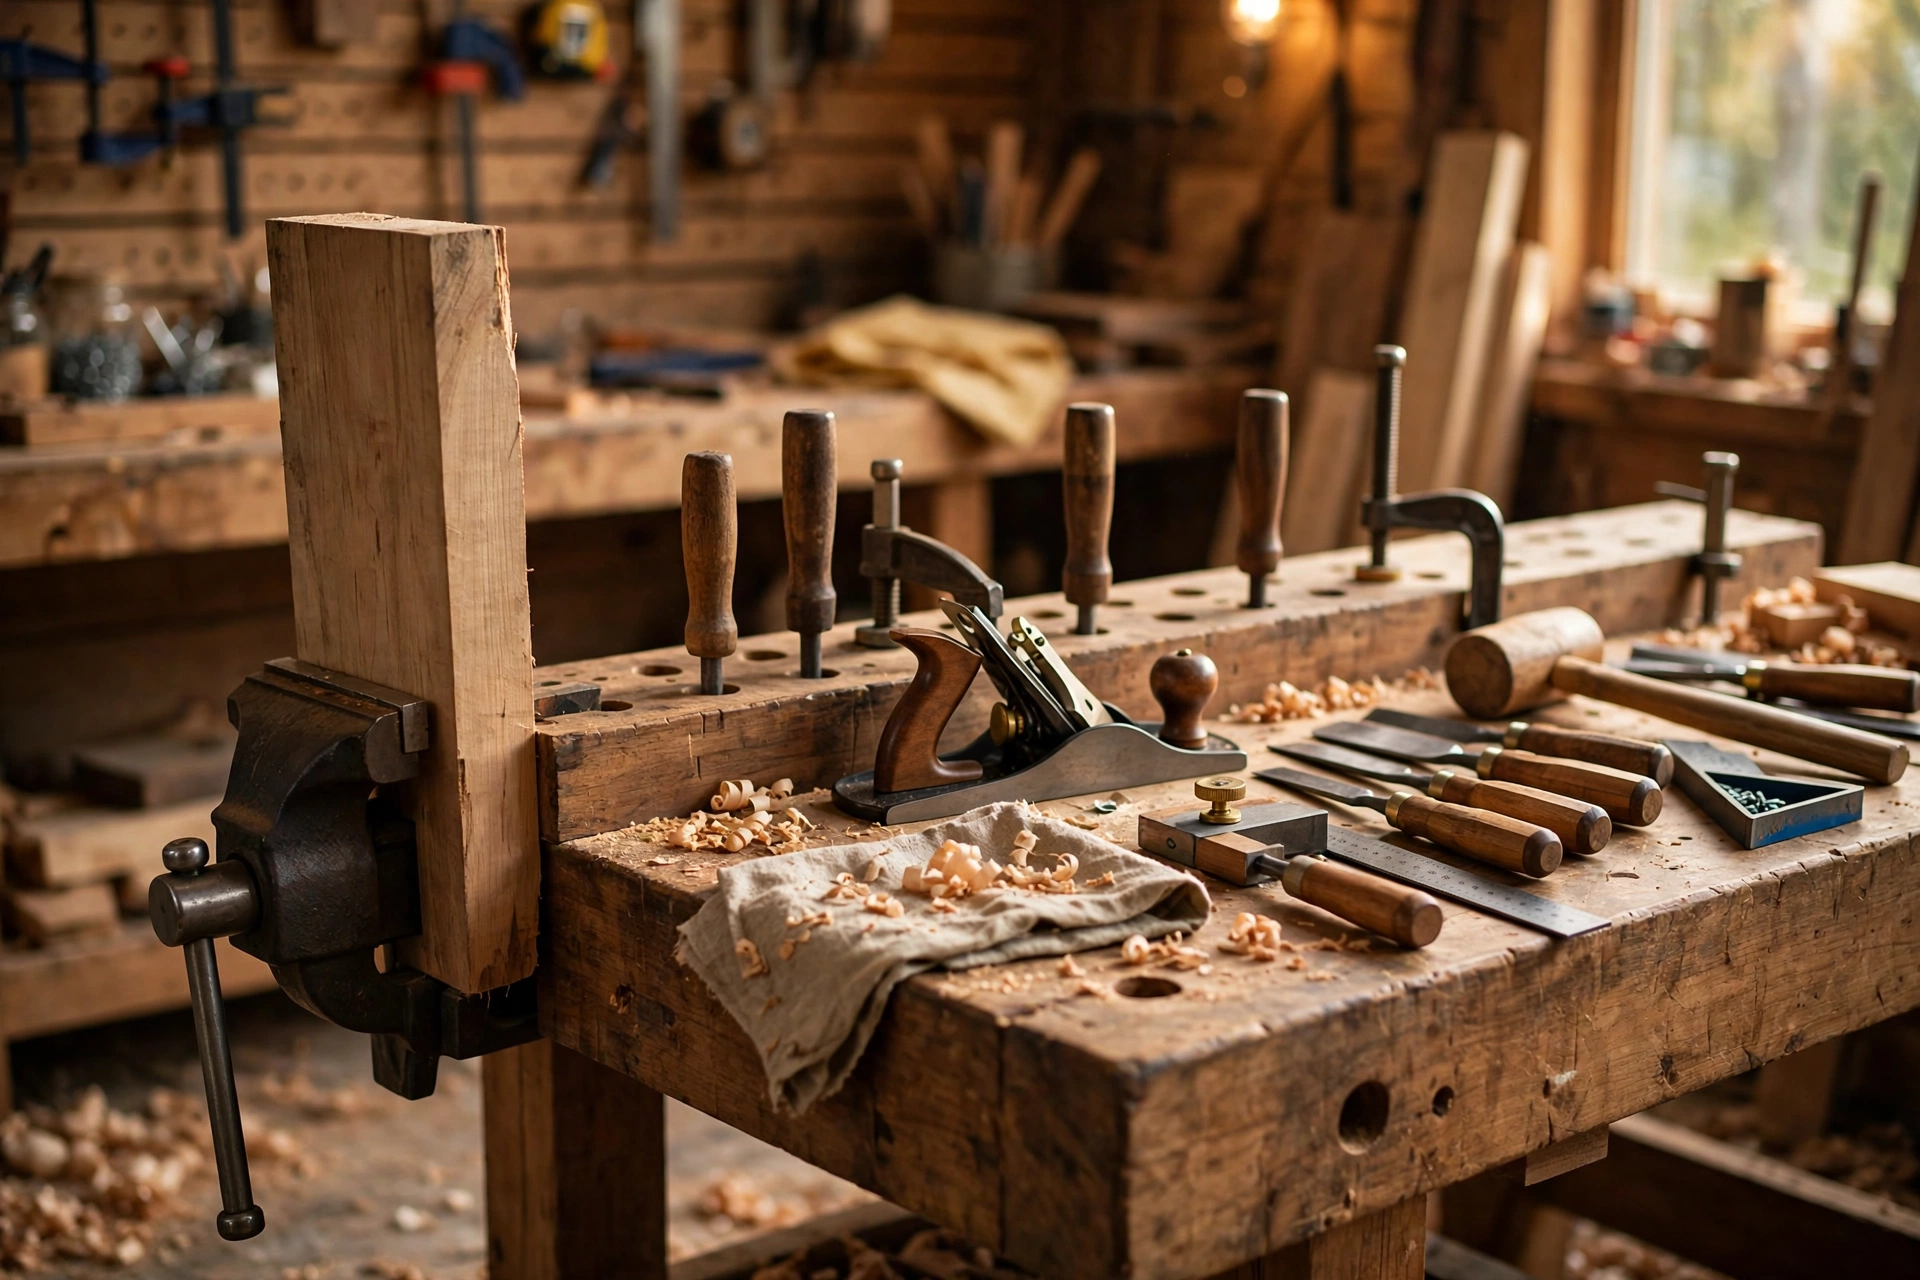
Safety first: Work-holding is safety — a workpiece that shifts mid-cut is how injuries happen. Whatever system you use, the work must be immobile before the tool touches it. Test the hold by pushing hard before cutting.
The core accessories
Bench dogs — the simplest system
Round or square pegs that fit into holes in the benchtop — used in pairs with a vise (or with a planing stop) to trap workpieces.
- How they work: one dog in the vise jaw, one in a benchtop hole — the workpiece gets pinched between them. Simple, fast, no clamps needed.
- Round vs square: round dogs (3/4″ holes — the standard) are easier (just drill holes); square dogs grip slightly better and don’t rotate. Either works.
- Cost: $10–$20 for a set of 4. The cheapest transformative accessory.
The upgrade: drill a row of 3/4″ dog holes in your benchtop (if it doesn’t have them) — 20 minutes with a drill, and suddenly you have a work-holding system. Workbench building guide covers the layout.
Face vise — the essential vise
The vise on the front of the bench — for holding boards on edge, dovetailing, and general gripping.
- What to look for: sturdy construction (cast iron), smooth action, wooden jaws (or add wooden jaw liners — they protect workpieces and are replaceable).
- Quick-release is the feature worth paying for — the vise opens instantly to position, then tightens normally. Without it, you’re cranking endlessly.
- Cost: $80–$200 for a quality quick-release face vise.
If your bench has no vise: this is the #1 upgrade. A bench without a vise is a table; a bench with a vise is a workbench.
Tail/end vise — the precision vise
The vise at the bench end, working with bench dogs for holding wide panels flat.
- For: hand-planing panels, precise work requiring the workpiece held flat and immobile across its width.
- Cost: $150–$300+. A significant investment.
- The honest take: wonderful for hand-tool woodworking; unnecessary for most power-tool users (who hold work differently). Buy it when your work demands it, not as a starter accessory.
Holdfasts — the ancient speed clamp
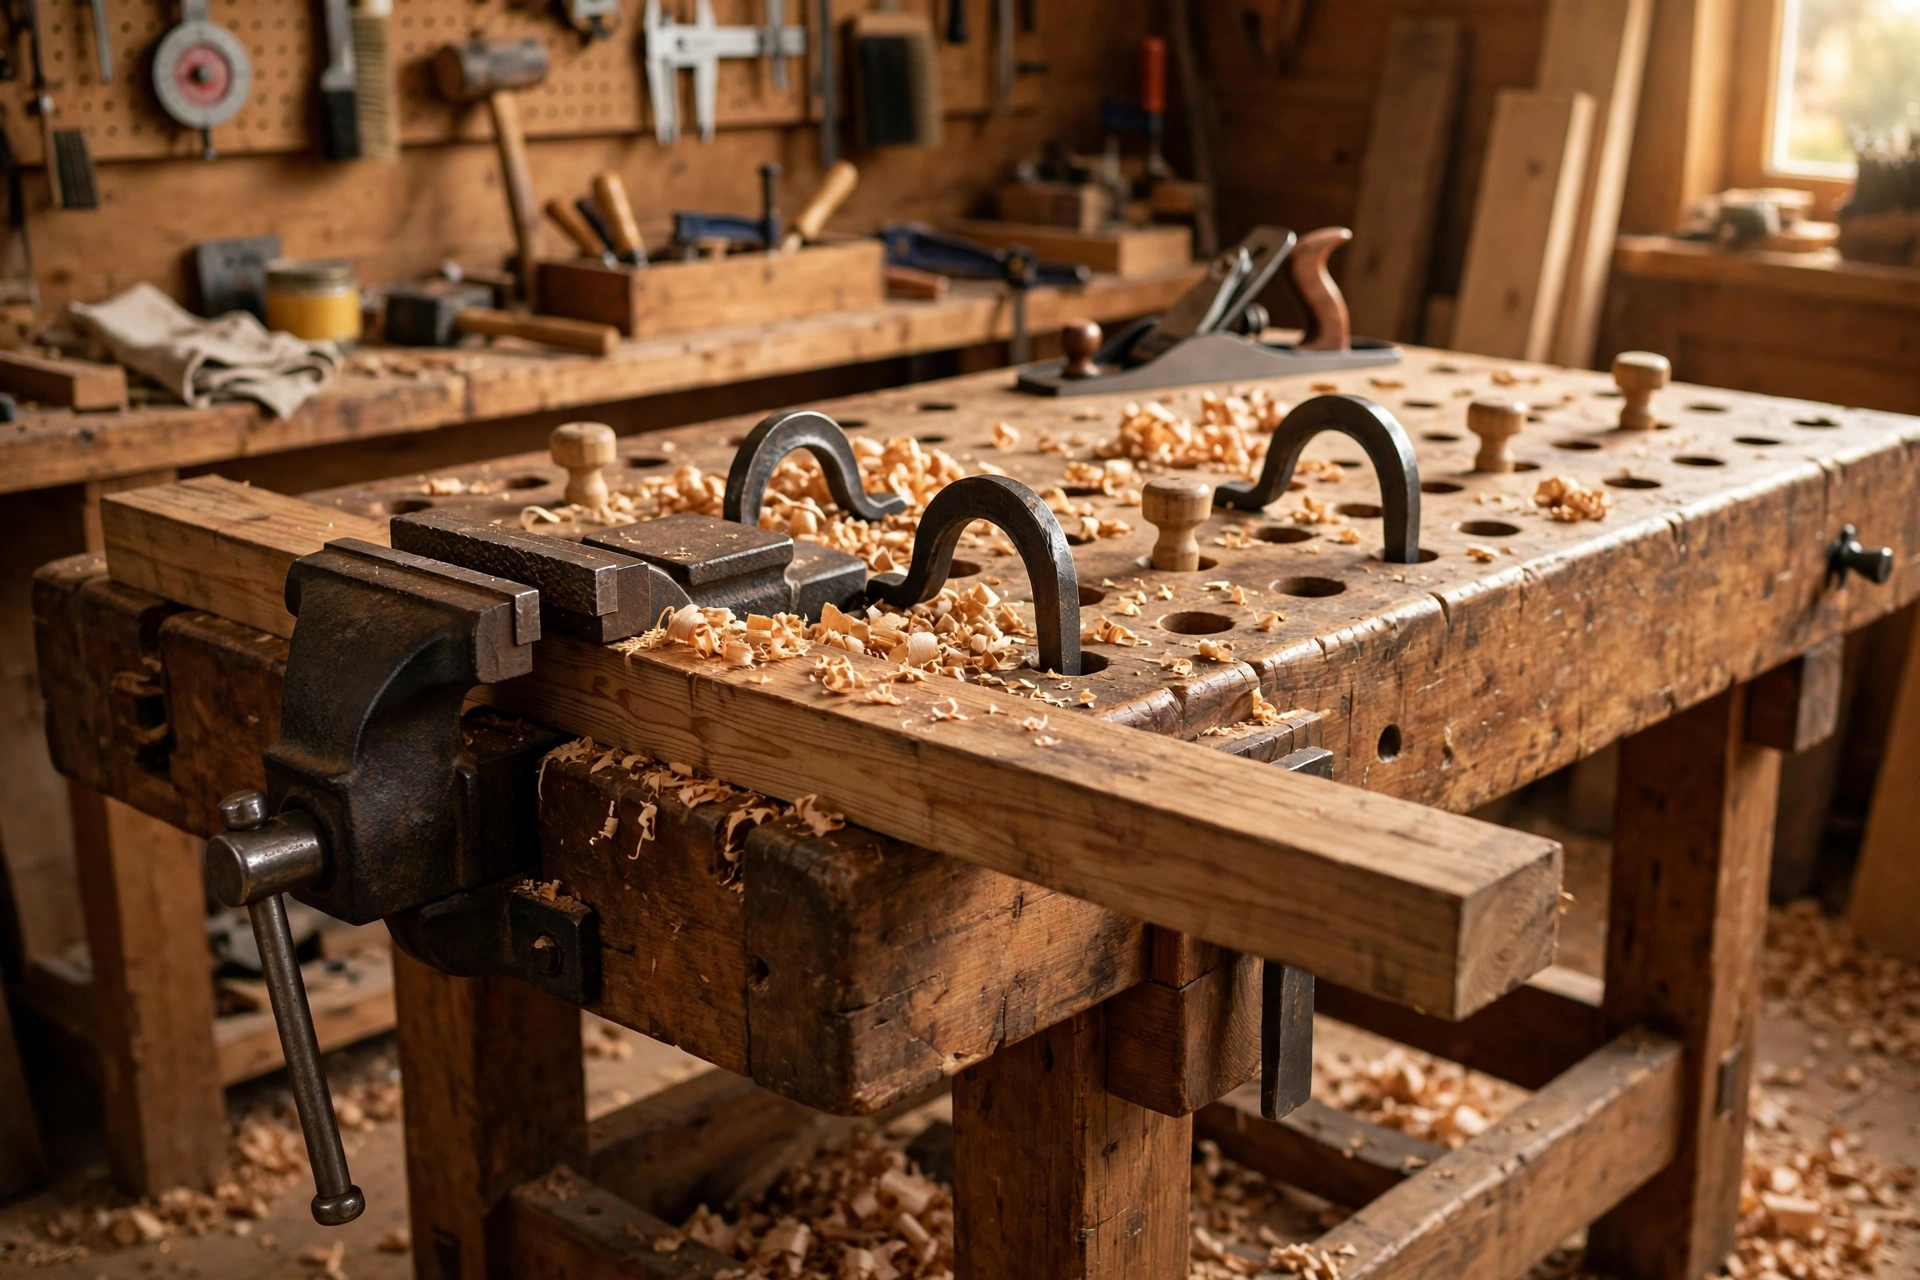
Forged steel (or cast iron) hooks that wedge into round dog holes with a mallet tap — instant, powerful hold-downs anywhere on the bench.
- How: drop into a 3/4″ hole, tap the top with a mallet — the angled shaft wedges tight. Tap the back to release. Seconds to set, seconds to release.
- Holding power: enormous — the wedging action generates serious force.
- Cost: $25–$40 each; 2–4 covers most needs.
The magic: no threads, no cranking, no fumbling — tap-tap-hold, tap-release. For hold-down tasks, nothing is faster. Blacksmith-forged holdfasts are the premium; cast iron versions work but are more brittle.
Bench hooks — the sawing platform
A simple board with stops that hooks over the bench edge — for hand-sawing and shooting with a plane.
- What it does: holds the workpiece against a stop while you saw — the hook prevents the platform sliding off the bench.
- Cost: build it in 15 minutes from scrap. The simplest useful bench accessory.
- For: hand-tool users primarily — power-tool users need it less.
The nice-to-haves
Bench puppies / surface clamps
Small clamps that fit in dog holes — for holding thin stock flat. Useful, not essential — $15–$25 each.
Moxon vise (twin-screw)
A portable twin-screw vise that clamps to the benchtop — for dovetailing and joinery at comfortable height. Beloved by hand-tool woodworkers; buildable as a project ($30–$50 in hardware) or bought ($150–$250).
Deadman / sliding support
A vertical support that slides along the bench front — holds long boards level for planing. Traditional, buildable from scrap, genuinely useful for long stock.
Tool tray / till
Keeps active tools at hand without cluttering the work surface. Build into the bench or add aftermarket. The organizational upgrade that prevents the “where did I put the chisel” dance.
Keep This Chart Handy — Buy It or Skip It: The Specialty Accessories
The core three (bench dogs, face vise, holdfasts) come first — under $300 all in. These are the specialists that come after. Screenshot this before you spend on any of them.
| Specialty accessory | Buy it if… | Skip it if… | What it costs |
|---|---|---|---|
| Bench puppies / surface clamps | You work thin stock that needs holding flat without bowing | You only work thick boards — the dogs and vise already cover you | $15–$25 each |
| Moxon vise (twin-screw) | You do dovetailing and joinery and want it at a comfortable height | Your work is mostly power tools — and build it for $30–$50 in hardware instead of buying | $150–$250 bought, $30–$50 to build |
| Deadman / sliding support | You plane long boards that need levelling along the bench front | Your boards are short — it will sit unused | Buildable from scrap |
| Tool tray / till | Your tools keep vanishing mid-job and you want them at hand without cluttering the work surface | Your bench already has a system that works | Build it into the bench or add aftermarket |
| Tail / end vise | Hand-planing wide panels flat is your actual, regular work | Your work is mostly power tools — the author bought one for $220 and used it twice in a year | $150+ (the author’s cost $220) |
The rule behind the chart: buy for the work you actually do, not the workshop photo you admire. Specialists wait until a specific project demands them.
The upgrade order (what to buy first)
| Priority | Accessory | Cost | Impact |
|---|---|---|---|
| 1 | Drill dog holes + bench dogs | $10–$20 | Transforms any bench immediately |
| 2 | Face vise (quick-release) | $80–$200 | The defining workbench upgrade |
| 3 | Holdfasts (pair) | $50–$80 | Fastest hold-downs ever |
| 4 | Bench hook | Scrap wood | Essential for hand sawing |
| 5 | Wooden jaw liners | Scrap wood | Protects work, free to make |
| 6+ | Tail vise, Moxon, specialty | $150+ | When your work demands it |
Total for the transformative three (dogs + face vise + holdfasts): ~$140–$300 — and your bench goes from “table” to “work-holding system.”
The order I wish I had bought them in
I bought my workbench accessories in exactly the wrong order, and it cost me about two hundred dollars and a year of working on a bench that fought me. If you take one thing from this guide, take the order — it matters more than any single accessory.
The tail vise I barely used. My first big purchase was a tail vise, because it looked like the mark of a serious bench. It cost me $220, took a weekend to install, and I used it twice in the following year. My work at the time was mostly power-tool work — breaking down boards, cutting joinery with a router, sanding — and a tail vise is built for hand-planing wide panels flat. That was not my work. It sat there looking impressive while I clamped boards to the benchtop with spring clamps like everyone else. I eventually sold it at a loss. The lesson was blunt: buy for the work you actually do, not the workshop photo you admire.
The fourteen dollars that changed everything. After the tail vise disappointment, I drilled a row of 3/4-inch dog holes and bought four bench dogs for $14. That single afternoon changed the bench more than the vise ever did. Suddenly boards stayed put while I sawed. Panels stopped skating while I sanded. The bench finally did the thing a bench is supposed to do — hold the work still. I still remember the first cut after drilling those holes, because for the first time I was thinking about the cut instead of wrestling the board.
Then the vise mistake, twice. My first face vise was a $45 bargain vise, and it was a false economy. The jaw racked under load, the screw bound when it was cold, and I spent more time adjusting it than using it. I replaced it with a $150 quick-release cast-iron vise, and the difference was immediate: smooth action, no racking, and the quick-release meant I stopped dreading every reposition. The cheap vise cost me $45 plus the $150 replacement — the expensive vise bought first would have cost $150 total. Buy the mid-range vise once, not the bargain vise twice.
Holdfasts humbled me for a week. My first holdfast taps were far too hard — I whacked them like nails and dented the benchtop around two holes. A holdfast needs a firm tap, not a hammer blow, and the release tap goes on the back of the shaft, not the top. Once I learned the touch, they became the fastest clamps I own: tap, hold, tap, release, in seconds. Two holdfasts at $30 each now handle most of my hold-down work, and I reach for them before any clamp.
My firm opinion on the order: drill the dog holes and buy the dogs first, then a mid-range quick-release face vise, then two holdfasts. That trio costs under $300 and transforms any bench. Everything after that — tail vise, Moxon, specialty clamps — waits until a specific project demands it. I bought the specialist tool first and the essentials last, and I paid for that mistake in money, time, and a year of fighting my own bench.
Keep This Chart Handy — Which Accessory for Which Job
Stop buying accessories and start matching them to the job in front of you.
| The job | Reach for | Why it wins |
|---|---|---|
| Holding a board on edge for dovetailing | Face vise (quick-release) | Grips on edge, frees both hands, opens instantly to reposition |
| Holding a panel flat for planing | Tail/end vise + bench dogs | Traps the panel across its full width so it cannot rock |
| Quick hold-down anywhere on the bench | Holdfasts (a pair) | Tap-tap hold in seconds in any 3/4 in (19 mm) dog hole, tap to release |
| Sawing by hand | Bench hook | Hooks over the bench edge so the platform cannot slide off |
| Thin stock held flat | Bench puppies / surface clamps | Clamp in dog holes without bowing the piece |
| Dovetailing at a comfortable height | Moxon vise | Twin screws hold the work at joinery height instead of bench height |
Bookmark This Checklist — Before You Buy Any Workbench Accessory
Seven checks that stop the expensive mistakes — read this in the store, not after the receipt.
- Check your benchtop first. Dog holes need a top at least 2 in (5 cm) thick; thinner tops do not hold dogs well.
- Drill 3/4 in (19 mm) holes, spaced 4–6 in (10–15 cm) apart, perpendicular to the face vise — use a drill guide so the holes are not angled.
- Buy the dogs before the vises. Four bench dogs cost $10–$20 and transform any bench immediately; they are priority #1.
- Pay for quick-release on the face vise. A quality quick-release vise runs $80–$200; a $45 bargain vise racks and binds, and you will buy the good one anyway.
- Buy two holdfasts, not one. $25–$40 each; a pair covers most hold-down work, and the release tap goes on the back of the shaft.
- Match the accessory to your actual work. A tail vise ($150–$300+) is wonderful for hand-planing panels and mostly unnecessary for power-tool workflows.
- Build the cheap ones. A bench hook takes 15 minutes from scrap wood; a Moxon vise is a $30–$50 hardware project, or $150–$250 bought.
Keep Reading
- Building Your First Workbench: What Actually Matters
- Socket Set Buying Guide: What the Numbers Actually Mean
- Measuring Tools Every DIYer Needs (Beyond the Tape Measure)
Can I add dog holes to an existing bench?
Yes — if the top is 2″+ thick (thinner tops don’t hold dogs well). Drill 3/4″ holes in a grid or row pattern, spaced 4–6″ apart, perpendicular to the face vise. Use a drill guide for perpendicular holes (angled holes make dogs sit crooked).
What’s the difference between a face vise and an end vise?
Face vise (front of bench): holds work on edge, general gripping — the essential one. End/tail vise (bench end): works with dogs to hold wide work flat — the specialist. Face first, tail when needed.
Are expensive vises worth it?
Up to a point — a $150 quick-release cast-iron vise is dramatically better than a $40 bargain vise (smoother, stronger, lasts decades). Beyond $250, you’re paying for refinement and capacity most won’t use. The mid-range is the sweet spot.
How do holdfasts actually grip?
The shaft is slightly angled — when you tap the top, the shaft cams against the hole walls and wedges. The harder the upward force on the workpiece, the tighter the wedge grips (up to the hole’s limit). It’s the same principle as a door wedge, applied vertically.
Can I build a Moxon vise myself?
Absolutely — it’s a classic beginner project: two jaws, two screws (wooden screw kits or metal vise screws, $25–$40), and basic joinery. The DIY version works as well as commercial for most uses, at a fraction of the cost.
Do I need a tail vise for power-tool woodworking?
Generally no — power-tool workflows hold work differently (clamps, featherboards, sleds). The tail vise shines in hand-tool workflows (planing panels flat). Match the accessory to your actual methods, not to the aspirational workshop photo.
The verdict
Drill the dog holes, buy the dogs, install a face vise, get two holdfasts. Four moves, under $300, and your workbench becomes what it’s supposed to be — not a surface you work on, but a system that holds your work while you work on it.
Everything after that is specialization. But those four? They’re the difference between fighting your workpiece and focusing on the cut.
Tool Worth Lab provides research-based workshop guidance. Always verify work is immobile before cutting — test every hold by pushing hard. Prices are approximate US street prices.