
My first barrel filled in the first decent rain — and then its overflow ran straight back against the house foundation, which is exactly the water problem a barrel is supposed to solve. The $30 diverter kit fixed it: fill automatically, overflow routed 4-6 feet away from the house. A barrel without a planned overflow isn’t a water system, it’s a leak waiting for a storm.
And the project itself is almost suspiciously simple: a barrel, a diverter, a spigot, and gravity doing all the pumping. The only part that can genuinely go wrong is the overflow — handle that right and you’ve got soft, chlorine-free water for the garden all season. Here’s the full guide: sizing, installation, the overflow system, and how to scale up.
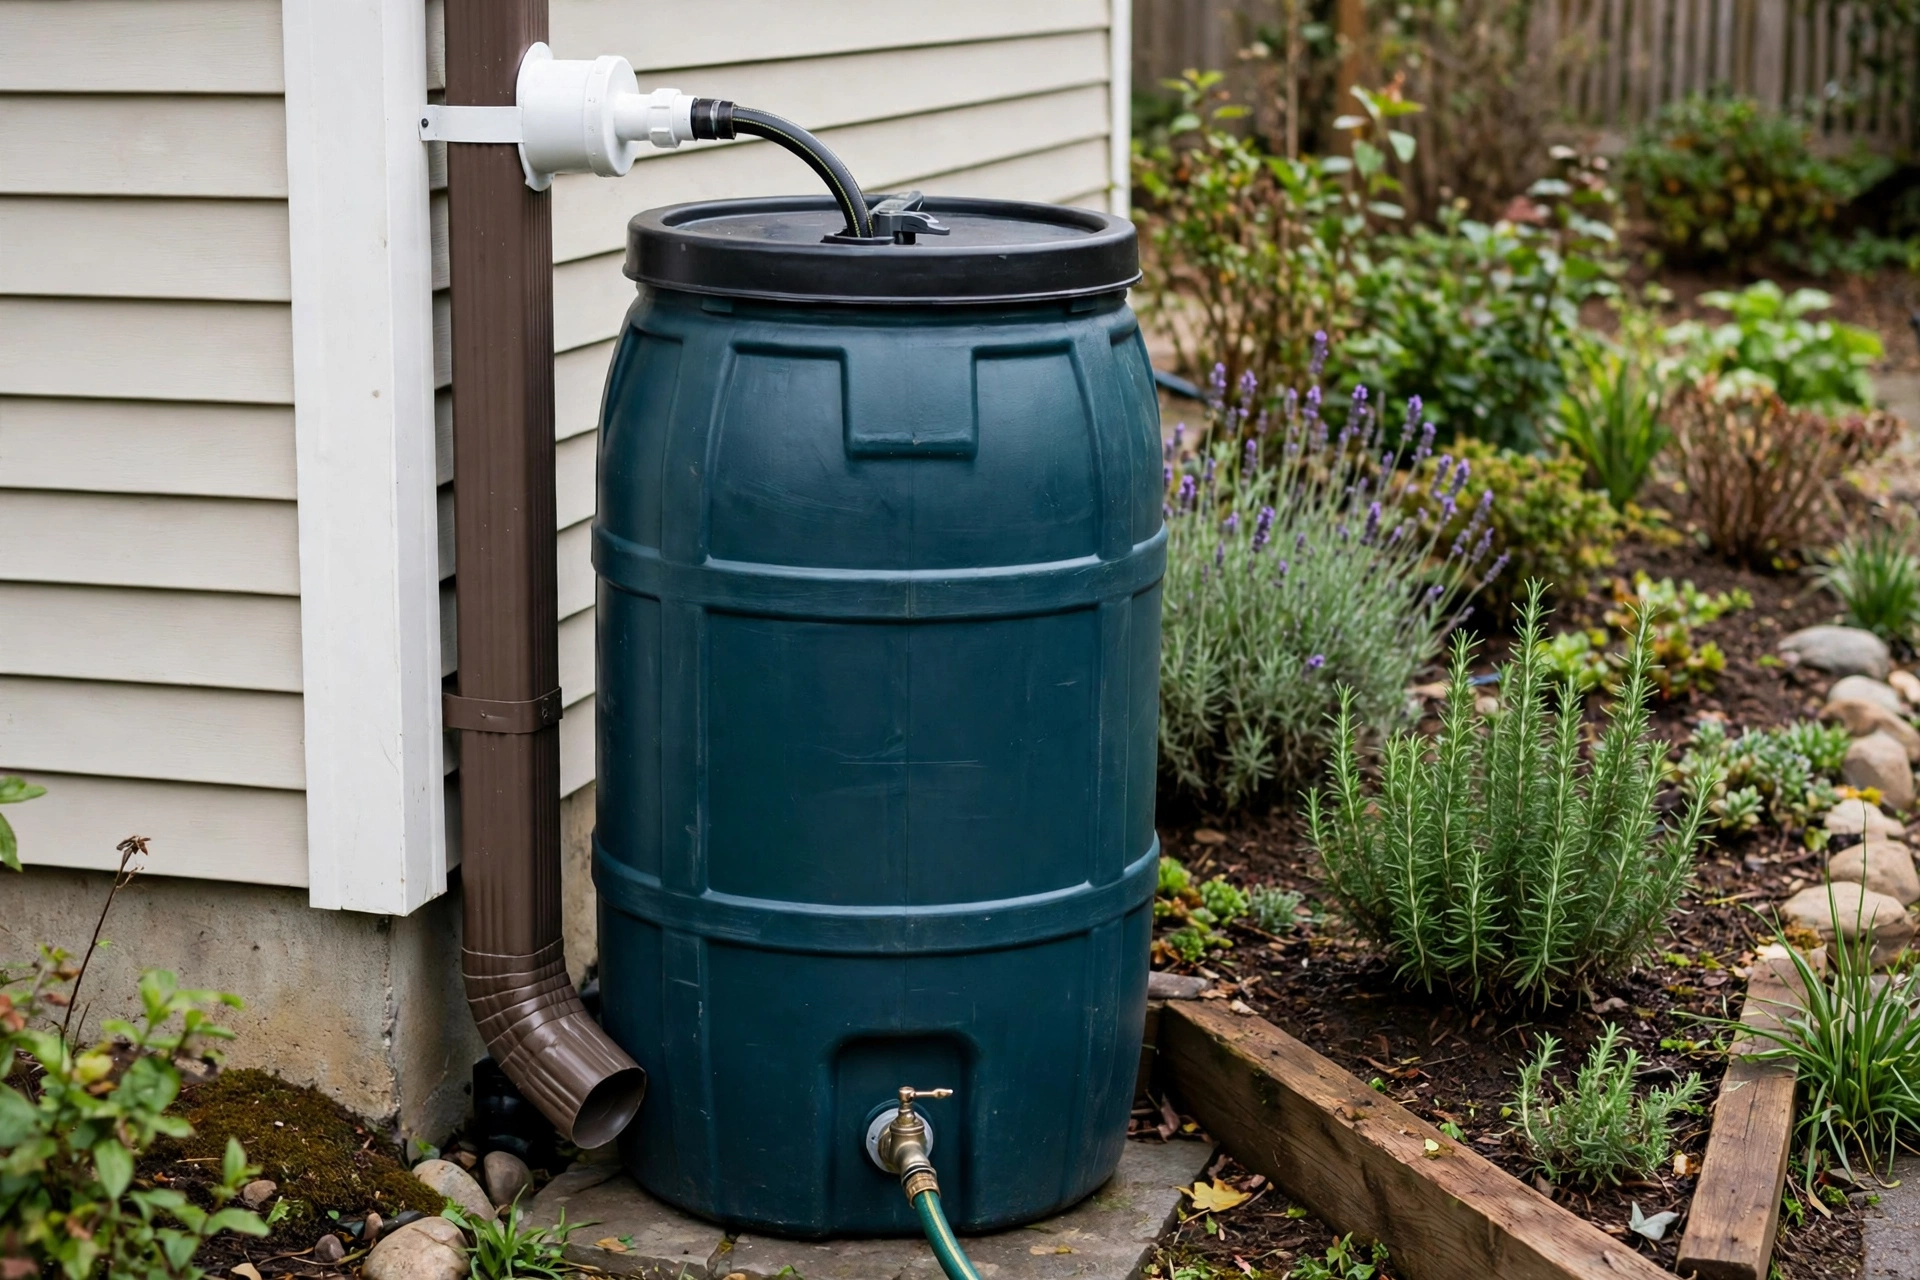
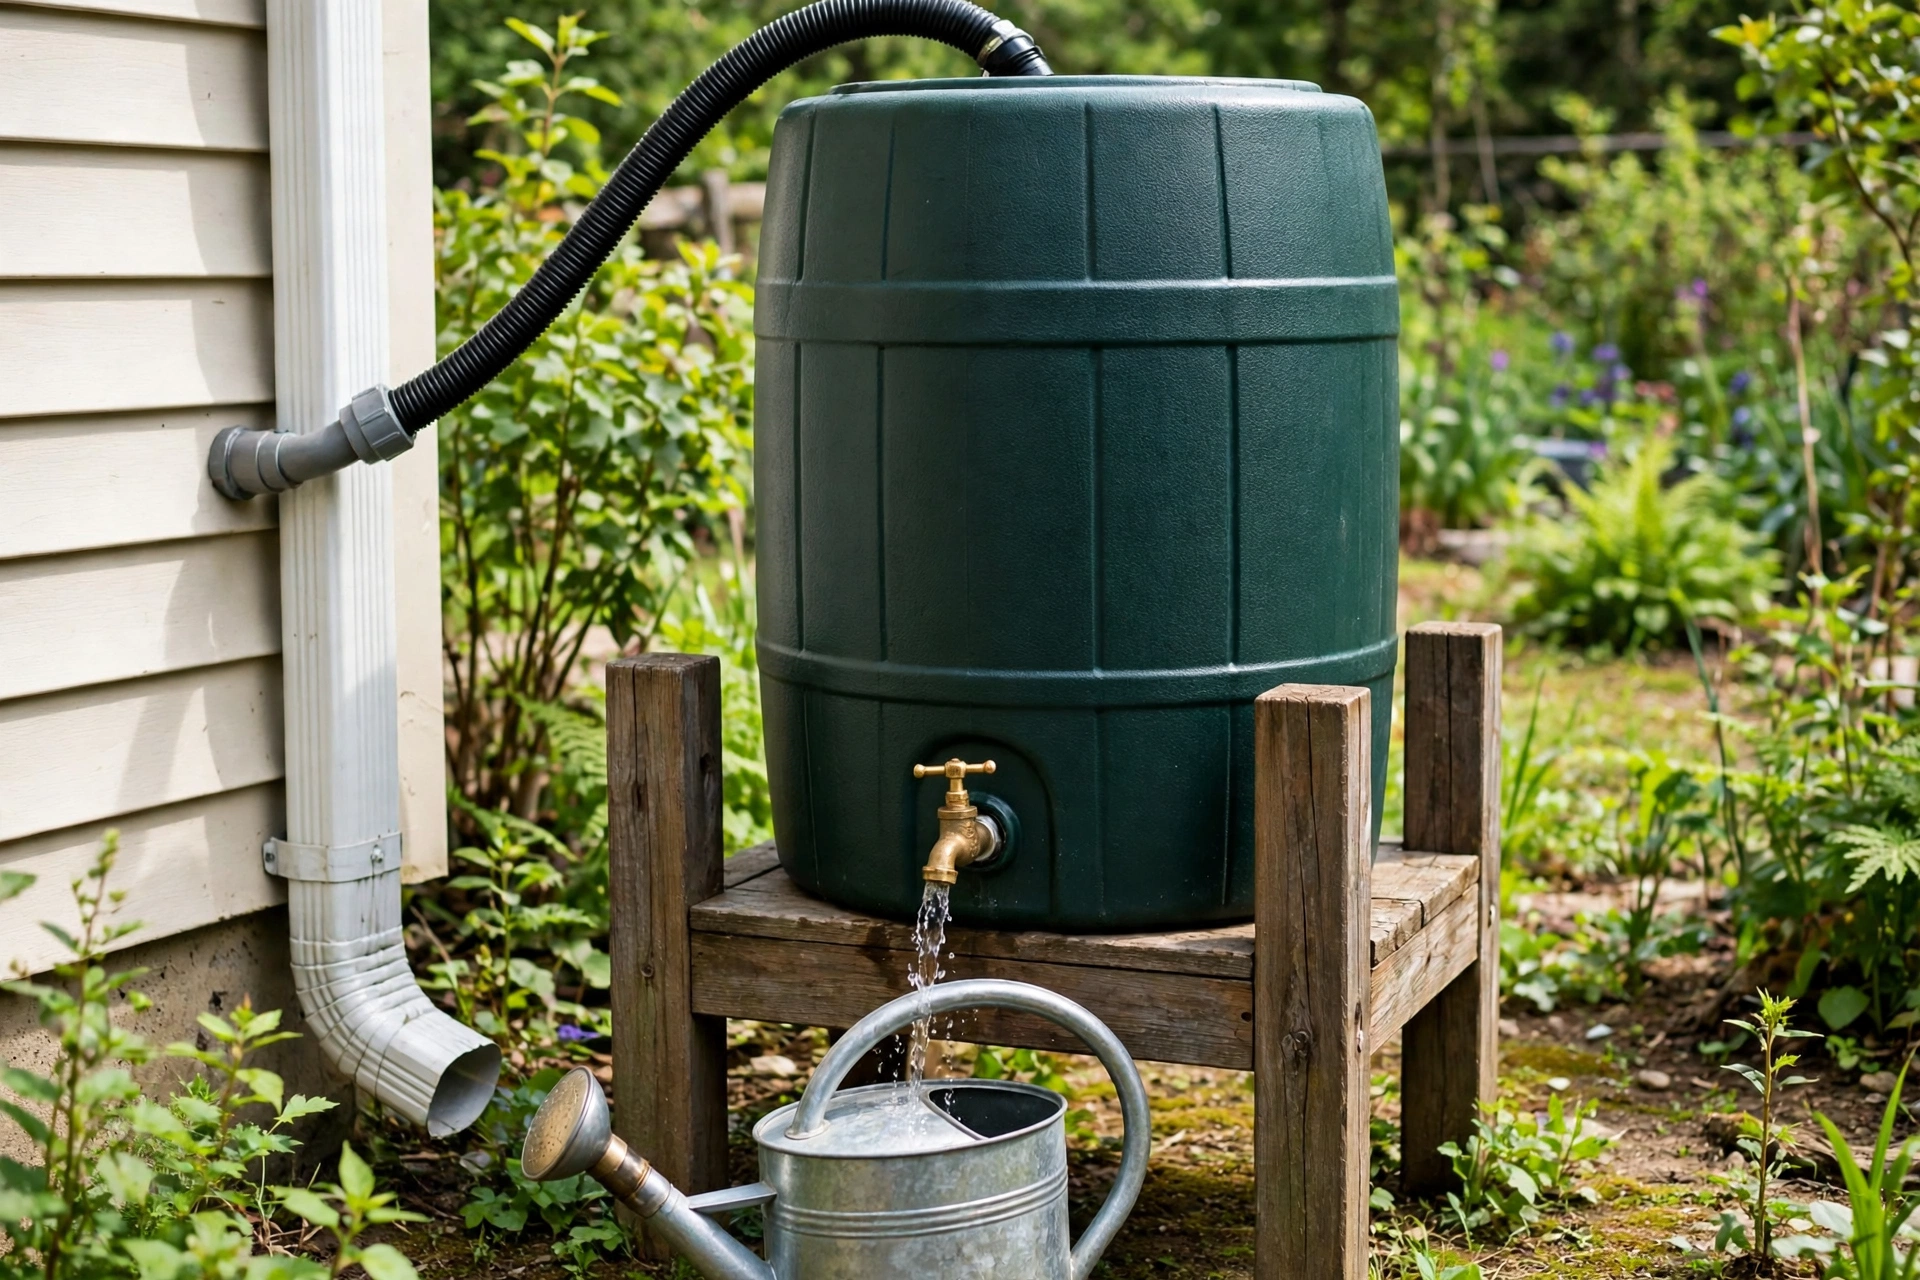
The principle: rain barrels are gravity systems — elevation creates pressure. Every design decision (stand height, overflow routing, spigot placement) serves the gravity flow. No pumps needed for basic garden use.
Sizing
The math
- 1 inch of rain on 1,000 sq ft of roof = ~600 gallons.
- A standard 55-gallon barrel fills from ~1/10″ of rain on that roof (it fills FAST).
- One barrel is a starter — serious gardeners link 2–4 barrels (or upgrade to 250+ gallon totes).
How much do you need?
- Small garden: 1–2 barrels (110 gallons — handles weekly watering for a modest garden).
- Large garden: 3–4+ barrels or a tote system (the garden’s thirst exceeds single-barrel supply quickly).
- Reality check: barrels empty fast in dry spells (they’re a supplement, not a replacement, for municipal/well water — they shine in shoulder seasons and for reducing the water bill, not replacing it entirely).
The components
| Part | Purpose | Notes |
|---|---|---|
| Barrel | Storage | Food-grade 55-gal (dark — prevents algae; never clear) |
| Stand | Elevation | 12–24″ — creates gravity pressure for the hose |
| Diverter | Fills from downspout | Diverts roof water in, overflows back to downspout when full |
| Spigot | Water access | Brass (plastic cracks) — near the bottom |
| Overflow | Handles excess | Routed away from the foundation — critical |
| Screen | Debris/mosquito barrier | Fine mesh on all openings |
Tools needed
| Tool | For |
|---|---|
| Drill + hole saw | Spigot and overflow holes |
| Jigsaw | Top opening (if cutting) |
| Wrenches | Fittings |
| Level | Level stand (a tilted full barrel is 440 lbs of problem) |
| Caulk/sealant | Sealing fittings |
Installation (step by step)
1. Location
- Near a downspout (the water source — minimize the diverter run).
- Near the garden (short hose runs — gravity pressure is limited).
- Level ground (a full 55-gal barrel weighs 440+ lbs — it must sit level and stable).
- Against the house is fine — but manage the overflow (away from the foundation).
2. Build the stand
- Sturdy: cinder blocks, pressure-treated lumber frame, or purpose-built stand.
- Height: 12–24″ (elevation = pressure — higher stand = better hose flow, but stability matters more than height).
- Level: verify (a leaning full barrel can tip — 440 lbs falling is dangerous).
3. Prepare the barrel
- Clean thoroughly (food-grade barrels may have residue — rinse well).
- Dark/opaque — if it’s translucent: paint it dark (light grows algae).
- Drill spigot hole (near the bottom — 2–3″ up, leaving sediment space below).
- Install the spigot (threaded + sealant — watertight).
- Drill overflow hole (near the top — 3–4″ below the rim).
- Install overflow fitting + hose.
4. Install the diverter
- Cut the downspout (at barrel-top height).
- Install the diverter per instructions (it channels water to the barrel, and when full, lets excess continue down the downspout).
- Connect the fill hose to the barrel top (screened opening).
The diverter is the elegant solution — no manual switching, automatic overflow handling, and it keeps debris out. The $30 diverter kit is worth every penny vs DIY downspout hacks.
5. Overflow routing (critical)
- Route away from the foundation (4–6 ft minimum — the overflow handles hundreds of gallons in a storm).
- Options: hose to a garden bed (free irrigation!), to a dry well, or back to the original downspout drainage.
- Never let it pool against the house — the barrel solves a water problem; don’t create one.
6. Mosquito prevention
- Screen all openings (fill port, overflow, any vents — fine mesh).
- Sealed lid (no gaps — mosquitoes need only a tiny opening).
- BTI dunks (the biological larvicide — safe for plants/pets, kills mosquito larvae — the backup for any breach).
- Use the water regularly (stagnant water breeds mosquitoes — circulation prevents it).
Multi-barrel systems (scaling up)
Linking barrels
- Connect at the bottom (water seeks its level — linked barrels fill and drain equally).
- Use 3/4″+ hose or PVC between barrels (adequate flow for equalization).
- First barrel gets the diverter fill; overflow from the last barrel.
- Elevate all equally (same stand height — level system).
The tote upgrade
- 275-gallon IBC totes (food-grade, used — $50–$100) — 5x the capacity of a barrel.
- Same principles (stand, spigot, overflow, screening) — bigger scale.
- Check local regulations — some areas restrict large rainwater storage or require permits.
Using the water
- Gravity flow: the elevated barrel feeds a hose or soaker hose (gentle pressure — perfect for drip irrigation).
- Watering can: fill directly from the spigot (the simplest).
- Soaker hoses: connect directly (low pressure is ideal for soakers — no blowouts).
- Not for drinking (roof runoff contains bird droppings, shingle chemicals, atmospheric deposition — garden use only, unless properly filtered and treated).
Winterization
- Drain before first freeze (expanding ice splits barrels — the #1 barrel killer).
- Disconnect the diverter (reconnect the downspout for winter).
- Store upside down or covered (prevents ice accumulation).
- This is non-negotiable in freeze climates — a $100 barrel destroyed by a $0 oversight.
A season-by-season routine (so the barrel keeps working)
A rain barrel is easy to install and easy to forget, and forgetting is how a good system turns into a mosquito habitat, a clogged spigot, or a split barrel in the first freeze. The fix is not more equipment; it is a short routine tied to the seasons, done when the garden is already getting attention. Each season has one job, and together they keep the water clean, the flow strong, and the barrel intact for years.
Spring is the reset. Before the heavy rains arrive, flush the barrel completely and look inside with a light: sediment from the roof settles near the bottom, and the first warm weeks are when that sediment starts to smell and feed algae. Rinse the interior, clear the screen on the fill port, and check the diverter for winter damage or debris left in the downspout. This is also the moment to check the stand after winter — frost heave shifts even a heavy stand, and a barrel that starts the season slightly tilted will finish it leaning further. Re-level now, while the barrel is empty and light.
Summer is about use and flow. A barrel that sits full and untouched in warm weather is a still pond, and still water is where algae and mosquitoes thrive, even with screens in place. Draw water regularly, even if the garden does not strictly need it that week, and let the next rain refill the barrel with fresh water. Check the spigot flow each time: a flow that has slowed since spring usually means sediment at the spigot inlet or a screen starting to clog, both fixed by a quick flush rather than a replacement part. If the water starts to smell, drain and rinse the barrel rather than masking the smell — the smell is the system saying the water has sat too long.
Autumn is the leaf season, and leaves are the barrel’s quiet enemy. Roof debris increases as trees shed, and a screen that handled summer dust will clog under a mat of wet leaves, sending water past the diverter and down the downspout instead of into the barrel. Clear the screen and the diverter inlet after the first heavy leaf fall, and again before the last big rains. This is also the time to decide whether the system stays in service through winter or gets drained: in a freeze climate, the decision is already made for you by the winterization step, but the autumn check makes that step a ten-minute job instead of a rescue.
Winter, in freeze climates, is simply the drained and stored barrel. The mistake to avoid is the half-drained barrel left upright with the diverter still connected — a small amount of water left at the bottom freezes, expands, and cracks the barrel from the inside, and the diverter keeps feeding it through the next thaw. Drain fully, disconnect the diverter, and store the barrel upside down or covered, as the winterization section describes. In climates without freezes, winter is the opposite routine: keep using the barrel through the rainy season, and use the quieter garden months to replace a worn screen, a stiff spigot washer, or a cracked overflow hose before spring demand returns.
Across all seasons, keep one simple record: when the barrel was last flushed, when the screens were last cleared, and whether the overflow still routes away from the foundation. That record turns a vague feeling that the system is fine into a checkable fact, and it is what lets a second barrel or a tote upgrade slot into the same routine without new habits. The barrel rewards attention in small, seasonal doses; it punishes neglect in one expensive, frozen, or mosquito-filled event.
Keep Reading
If this guide helped, these related guides are worth your time:
- How to Build a Bat House (Mosquito Control & Conservation Guide)
- How to Build a Privacy Screen (Balcony & Patio Guide)
- How to Build a DIY Air Conditioner (Evaporative Cooler Guide)
Is rainwater harvesting legal?
In most places: yes (it’s broadly legal in the US now, though some western states historically restricted it — check your state). Some HOAs restrict barrel appearance (screen them with lattice or plants). Always verify local rules before investing in a large system.
How do I keep algae out?
Dark/opaque barrel (no light = no algae), sealed lid, and regular use (stagnant warm water grows everything). If algae appears: drain, scrub with bleach solution, rinse, refill.
Can I use it for my vegetable garden?
Yes — with caveats (roof material matters: avoid wood shake treated with chemicals, and be cautious with very old asphalt shingles). For most modern roofs: fine for vegetables (the soil filters further). Don’t drink it without treatment.
Why is my spigot flow so weak?
Elevation (raise the stand — more height = more pressure), or a clogged spigot/screen (sediment accumulates — the spigot’s 2–3″ clearance helps, but periodic flushing is needed). Gravity systems are gentle — that’s normal, not broken.
How do I link more than two barrels?
Same principle — bottom-connected in series (water levels equalize). Keep the run short and the pipe/hose adequately sized. The last barrel handles the overflow. Three to four barrels is the practical DIY maximum before a tote makes more sense.
What about the first-flush?
First-flush diverters (discard the first gallons of each rain — the dirtiest, with roof debris and bird droppings) are the premium addition ($30–$60). Worth it for cleaner water, especially for vegetable gardens. Not essential for basic ornamental watering.
Keep This Chart Handy: Rain Barrel Numbers at a Glance
| Number | Spec | Why it matters |
|---|---|---|
| Roof yield | 1 inch of rain on 1,000 sq ft (93 m²) of roof = ~600 gallons (2,270 litres) | One barrel fills from only ~1/10 inch of rain on that roof — it fills fast |
| Standard barrel | 55 gallons (208 litres), food-grade, dark/opaque | Dark blocks light, which blocks algae; never use a clear barrel or a chemical container |
| Full barrel weight | 440+ lbs (200+ kg) | The stand must be sturdy and level — a leaning full barrel can tip |
| Stand height | 12–24 inches (30–61 cm) | Elevation creates gravity pressure — higher stand means better hose flow, but stability matters more than height |
| Spigot placement | Near the bottom, 2–3 inches (5–8 cm) up from the base | Leaves sediment space below the spigot; use brass, since plastic cracks |
| Overflow placement | Near the top, 3–4 inches (8–10 cm) below the rim | Handles excess before the barrel overflows at the lid |
| Overflow routing | At least 4–6 ft (1.2–1.8 m) away from the foundation | The overflow handles hundreds of gallons in a storm — never let it pool against the house |
| Small garden capacity | 1–2 barrels (55–110 gallons / 208–416 litres) | Handles weekly watering for a modest garden |
| Large garden capacity | 3–4+ barrels, or a 275-gallon (1,040-litre) IBC tote | Three to four barrels is the practical DIY maximum before a tote makes more sense |
| Linking pipe size | 3/4-inch (19 mm) or larger hose or PVC, connected at the bottom | Water seeks its level — linked barrels fill and drain equally; the last barrel handles the overflow |
| First-flush diverter (optional upgrade) | $30–$60 | Discards the first, dirtiest gallons of each rain — worth it for cleaner water, especially for vegetable gardens |
| Winter rule | Drain fully before the first freeze | Expanding ice splits barrels — the number-one barrel killer in freeze climates |
Keep This Chart Handy: Barrel Not Working? Diagnose It in Minutes
Most barrel problems have one small cause — check these before replacing any part.
| Symptom | Likely cause | Fix |
|---|---|---|
| Spigot flow is weak | Stand too low, or sediment clogging the spigot or screen | Raise the stand within the 12–24 inch (30–61 cm) range for better gravity pressure, and flush the barrel; the spigot sits 2–3 inches (5–8 cm) up from the base to leave sediment space below it |
| Water smells, or algae appears | Light plus warm, stagnant water | Use a dark, opaque barrel with a sealed lid and draw water regularly; if algae appears, drain, scrub with bleach solution, rinse, and refill |
| Mosquitoes around the barrel | An unscreened gap, or water sitting untouched | Screen all openings with fine mesh, keep the lid sealed, use BTI dunks as backup, and use the water regularly |
| Overflow pools against the house | Overflow not routed away from the foundation | Route the overflow at least 4–6 ft (1.2–1.8 m) away from the foundation — to a garden bed, a dry well, or back to the original downspout drainage |
| Barrel stops filling in autumn | Leaf mat clogging the screen or diverter inlet | Clear the screen and the diverter inlet after the first heavy leaf fall, and again before the last big rains |
| Barrel cracked or split after winter | Left full, or half-drained and upright with the diverter still connected in a freeze | Drain fully before the first freeze, disconnect the diverter and reconnect the downspout for winter, and store the barrel upside down or covered |
| Linked barrels fill or drain unevenly | Linked at the top, on stands of different heights, or with too-small pipe | Connect at the bottom with 3/4-inch (19 mm) or larger hose or PVC, elevate all barrels equally, and take the overflow from the last barrel |
The verdict: the rain barrel essentials
- Diverter kit — the $30 automatic fill/overflow solution.
- Sturdy, level stand — 440 lbs when full (stability is safety).
- Overflow routed away — from the foundation (don’t create a water problem).
- Screened openings — mosquito prevention (all of them).
- Dark barrel — no light, no algae.
- Winter drain — before first freeze (ice splits barrels).
- Link for capacity — bottom-connected series (or upgrade to a tote).
The roof is already collecting the water — the barrel just intercepts it before the storm drain does. Free irrigation, lower water bills, and the garden gets the soft, chlorine-free water it prefers. Gravity does the pumping; the diverter does the thinking. You just open the spigot.
Tool Worth Lab provides research-based project guidance. Use food-grade barrels (never chemical containers), screen all openings (mosquito prevention), route overflow away from the foundation, drain before the first freeze (ice destroys barrels), and check local regulations for large systems.