
My first sauna plan was a party room — 8×10, benches for six, the biggest heater I could afford. It would have cost more in cedar and heater, and still never felt properly hot. I cut it to a 4×6 room for two, and that smaller room is the one that actually works: it heats in 20-30 minutes and the heat sits where you sit. Build for daily use, not for the party.
The real sauna is actually a small, well-sealed cedar box with the right heater, air that actually moves, and a vapor barrier doing invisible hero work behind the walls. Get those details right and you’ve got a daily ritual that beats any gym membership. Here’s the complete build — sizing, systems, construction, and the ritual itself.
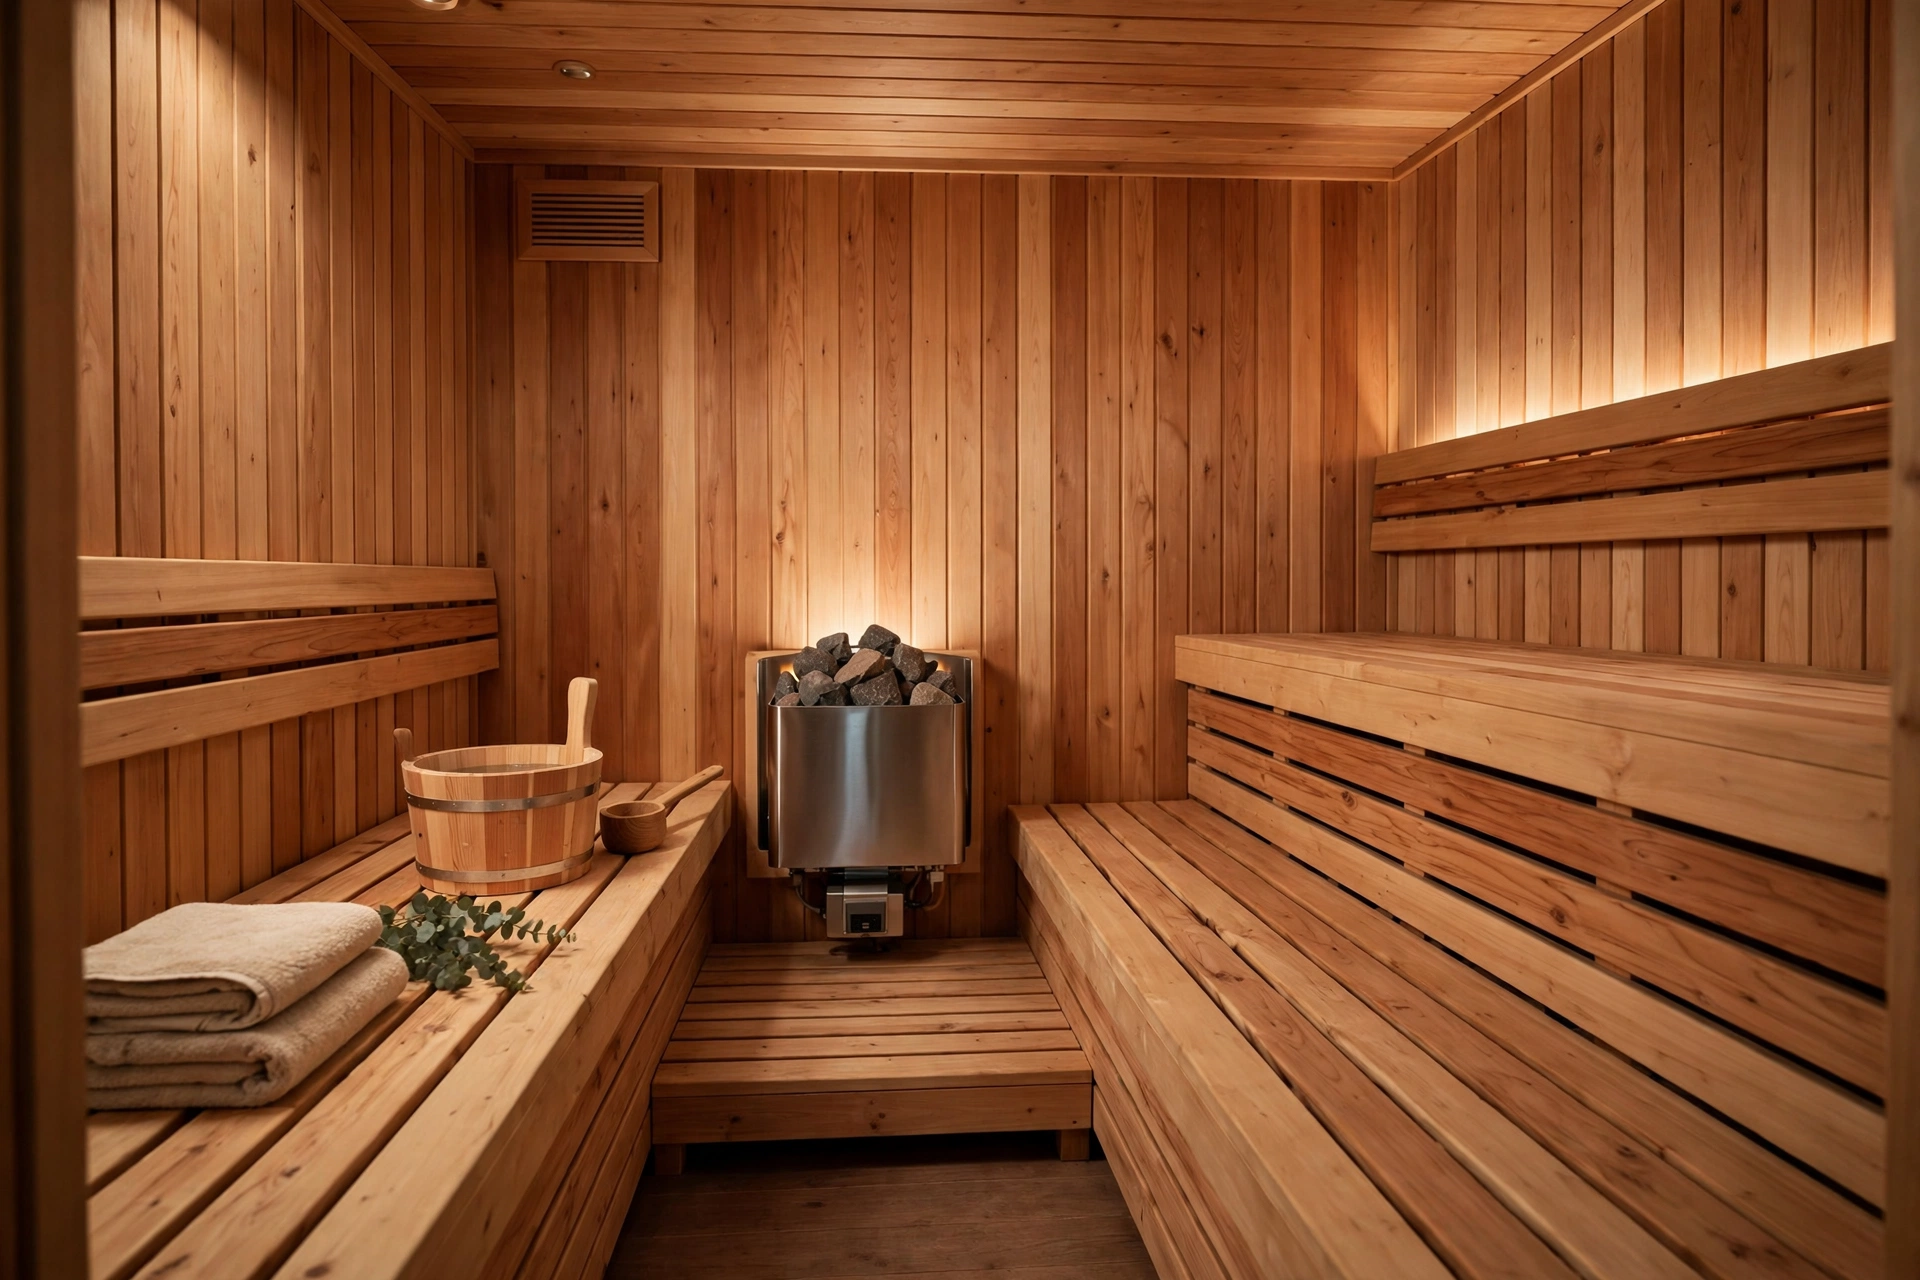
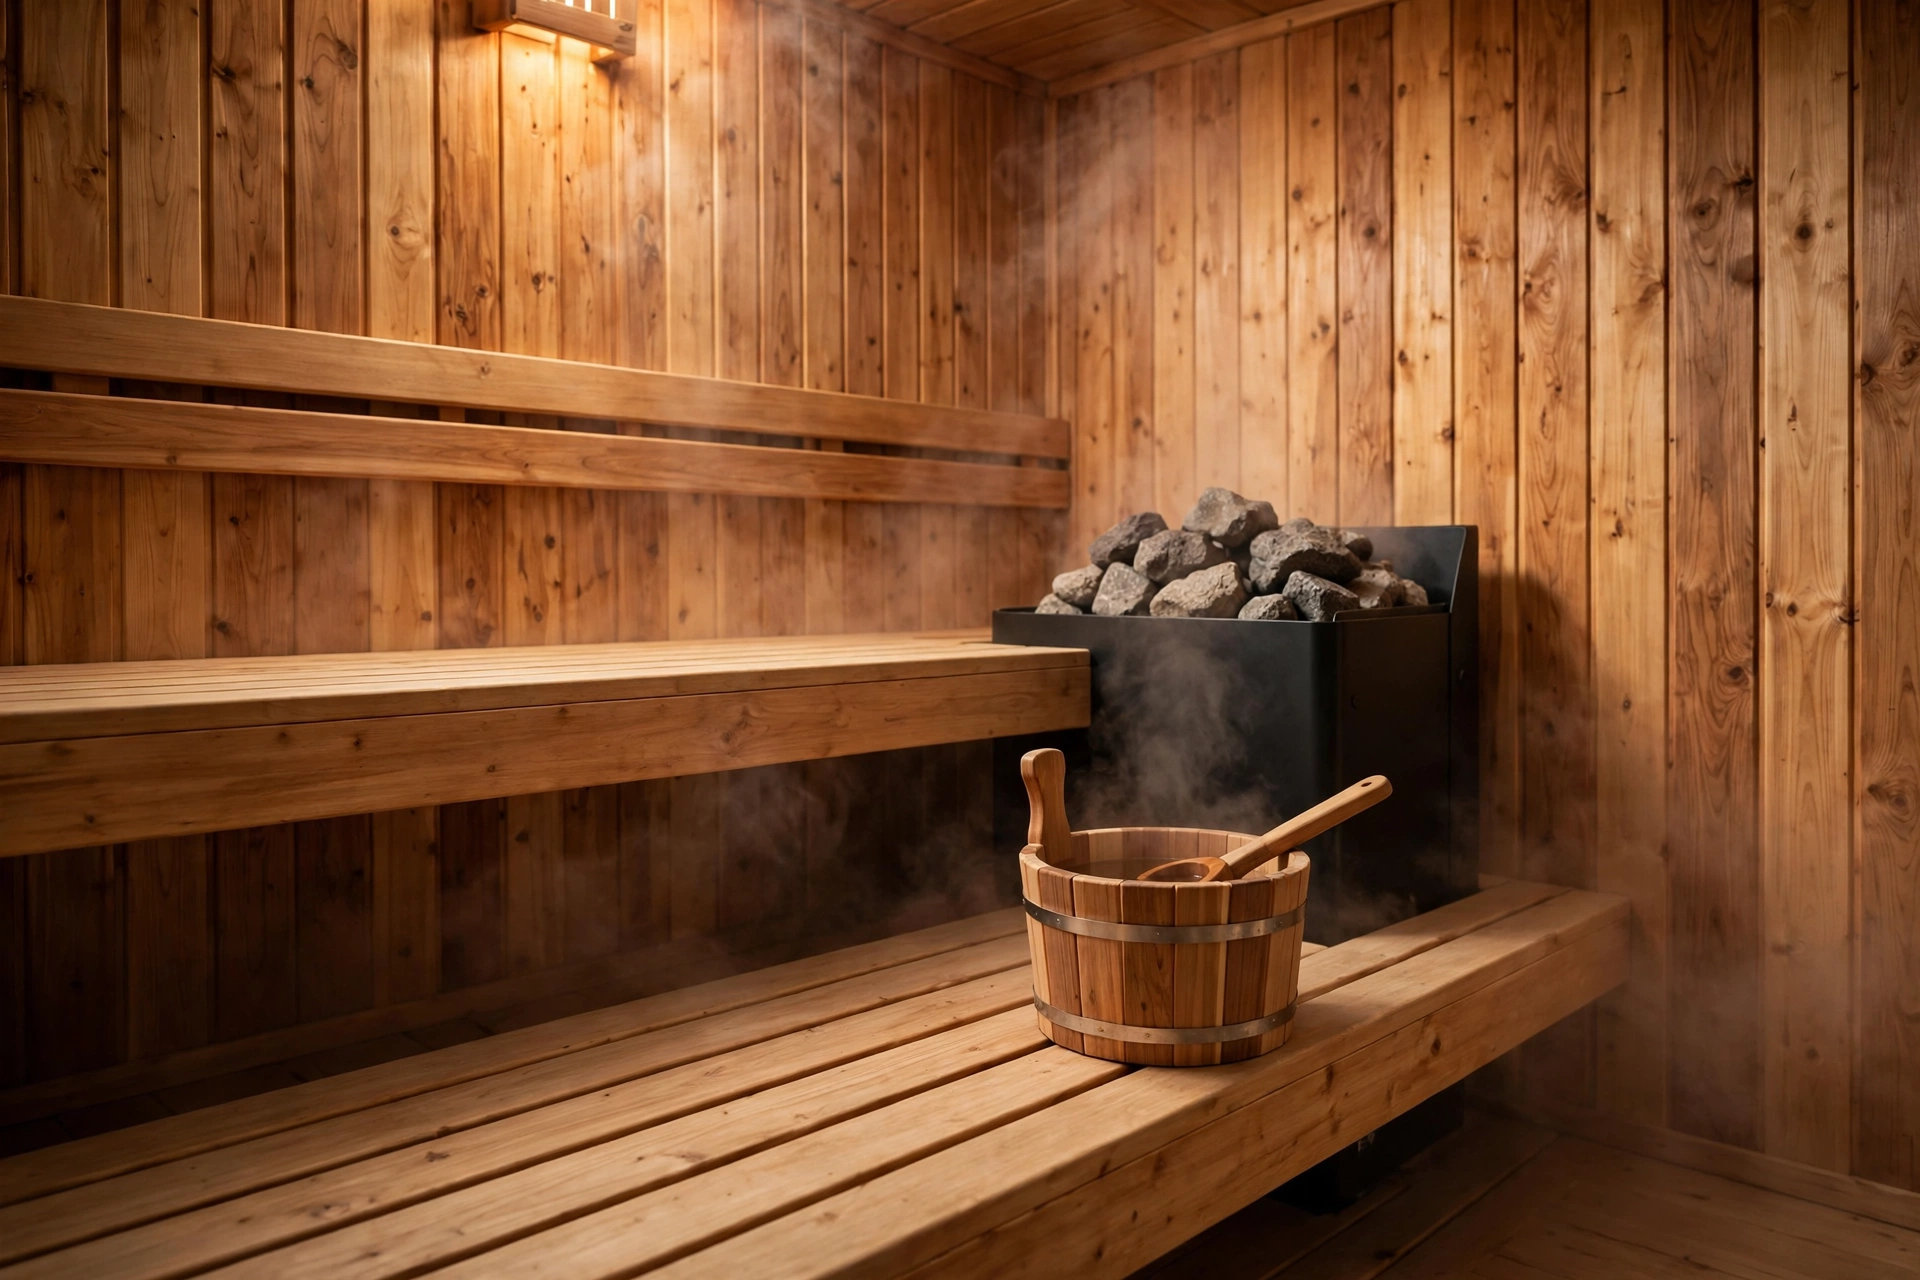
Safety first: Electrical (the heater needs a dedicated 240V circuit — electrician for the wiring). Heat + wood + electricity demands respect. Hydration (sauna safely — know the health considerations). Building code (electrical and ventilation requirements vary — check local code).
Types (choose your heat)
| Type | Heat source | Temp | Best for |
|---|---|---|---|
| Traditional Finnish | Electric or wood stove | 170–200°F | The authentic experience — dry heat + löyly (steam) |
| Infrared | Infrared panels | 120–150°F | Lower temp, easier install, less traditional |
| Wood-fired | Wood stove | 170–200°F+ | Off-grid, the ritual (fire-tending as meditation) |
| Steam room | Steam generator | 110–120°F, 100% humidity | Different experience (wet heat — separate build) |
Traditional Finnish (electric heater) is the standard home build — authentic temperatures, controllable, no chimney needed. Wood-fired is the purist’s choice (and the off-grid solution). Infrared is a different category (lower heat, different physiology — fine, but not a sauna in the Finnish sense).
Sizing
| Occupants | Size | Heater |
|---|---|---|
| 1–2 | 4×4 ft | 4.5 kW |
| 2–3 | 4×6 ft | 6 kW |
| 3–4 | 6×8 ft | 8–9 kW |
Smaller is better (the common mistake is building too big — a smaller room heats faster, uses less energy, and the intimate heat is the authentic experience). Don’t build for the party; build for daily use.
Ceiling height: 7 ft (the standard — higher ceilings waste heat above head height; the heat should envelop, not stratify uselessly).
The critical systems
Heater sizing
- 1 kW per ~50 cubic feet (the rule of thumb — then round up for glass doors/windows, which lose heat).
- Undersized heater = never reaches temperature (the #1 disappointment).
- Dedicated 240V circuit (electrician — the heater’s electrical demands are serious).
Ventilation (the breathing sauna)
- Intake: low, near the heater (fresh air feeds the stove + circulates).
- Exhaust: high, opposite side (or under the benches — the Finnish debate; either works if the principle holds: low in, high out).
- Adjustable (close for heat-up, open for bathing — the control).
- Why it matters: fresh oxygen (safety + comfort), even heat distribution, and moisture management (the room must dry between sessions — mold prevention).
Insulation + vapor barrier
- Insulate all walls and ceiling (fiberglass or mineral wool — the heat stays in).
- Foil vapor barrier (on the warm side — prevents moisture migrating into the wall cavity — the mold prevention that’s invisible but critical).
- The wall sandwich: exterior → insulation → foil vapor barrier → air gap → cedar lining (each layer has a job).
The cedar lining
- Western red cedar or aspen (the traditional — stays cool to touch, resists moisture, smells wonderful).
- Tongue-and-groove (the standard lining — allows movement).
- Never treat the interior wood (no stain, no sealant — the heat + chemicals = fumes; the wood is meant to be bare).
- Benches: wider slats with gaps (airflow + drainage — the buttocks-level comfort engineering).
Layout
Bench levels
| Level | Height | Experience |
|---|---|---|
| Upper | 36–42″ | The hot zone — where you actually sit |
| Lower | 18–24″ | The cooler zone — feet, beginners, cool-down |
Two levels minimum — the temperature stratifies (hotter higher), and the choice of level IS the temperature control. The upper bench should put your head in the hottest zone.
The door
- Glass door (the modern standard — light, spacious feel, see who’s inside).
- Wooden handle (not metal — the burn prevention).
- Opens outward (safety — if someone faints, the door can’t be blocked by their body).
Tools needed
| Tool | For |
|---|---|
| Circular saw | Cutting framing and cedar |
| Drill/driver | Assembly |
| Level | Level construction (benches must be level — comfort) |
| Staple gun | Vapor barrier, insulation |
| Tape measure | Layout |
Construction
1. Frame
- Standard 2×4 framing (the room within a room — can be a converted closet, bathroom corner, or new construction).
- 7 ft ceiling (frame to this height — the heat efficiency).
2. Electrical rough-in
- Electrician runs the dedicated 240V circuit (before the walls close — the sequencing).
- Heater location planned (the wall position determines the wiring).
3. Insulate + vapor barrier
- Insulation in all cavities (walls + ceiling).
- Foil vapor barrier (sealed seams — the continuous envelope; any gap is a moisture path).
- Furring strips (the air gap between vapor barrier and cedar — allows the wood to breathe).
4. Cedar lining
- Tongue-and-groove cedar (horizontal or vertical — horizontal is traditional).
- Leave expansion gaps (the wood moves with heat/humidity cycles).
- No finish (bare wood — the rule).
5. Benches
- Frame the supports (sturdy — they bear weight in heat).
- Slatted tops (2×2 or 2×4 with 1/2″ gaps — airflow + comfort).
- Two levels (the temperature choice).
- Removable (for cleaning — the practical detail).
6. Heater + stones
- Mount per manufacturer specs (clearances are safety-critical — follow exactly).
- Fill with sauna stones (olivine diabase — the proper stones; not river rocks, which can explode).
- Guard rail (the burn prevention — around the heater).
7. Ventilation
- Cut intake (low, near heater) and exhaust (high, opposite).
- Adjustable covers (the control).
8. Door + finishing
- Glass door (outward opening, wooden handle).
- Thermometer + hygrometer (the instruments — mounted at head height on the upper bench level).
- Bucket + ladle (the löyly ritual — water on stones).
- Lighting (low-voltage, heat-rated — the ambiance).
The sauna ritual (using it right)
- Shower first (clean skin sweats better).
- Heat to 170–200°F (20–30 min heat-up).
- Sit/lie on the upper bench (10–15 min — the heat session).
- Löyly: water on the stones (the steam burst — the soul of the sauna).
- Cool down (cold shower, outdoor air, or plunge — the contrast is the therapy).
- Repeat 2–3 rounds.
- Hydrate (before, during, after — non-negotiable).
The first month: breaking in a new sauna
A new sauna needs breaking in, and the first month is when most small mistakes get made. Treat the first few heats as tests of the room, not as full sessions, and you will catch ventilation, heater, and stone problems while they are still easy to fix.
Heat the room empty three times before inviting anyone in. The first heat should be gentle — around 60°C for 30 minutes — with the door closed and the vents set as designed. You are checking three things: that the thermometer at head height on the far wall reads sensibly, that warm air is actually moving from the low intake near the heater to the high exhaust, and that no smell of glue, finish, or scorched dust lingers after the room cools. A smell that persists after the third heat usually means something inside the room should not be there — a finished board, a plastic fitting, or insulation exposed to the heat.
Wash the stones before the first heat and place them loosely, with gaps for air, rather than packing them tight around the elements. Packed stones trap heat against the heater and shorten its life; loose stones let air move and give even steam. After each of the first sessions, leave the door open and the vents open until the room is fully dry — a sauna that stays damp between sessions is a sauna growing mould behind the benches.
In the first month, keep sessions shorter than you plan to later, drink water before and after, and cool down properly between rounds. If a bench develops a dark stain, a light sanding with fine paper restores bare cedar without any finish — never paint or varnish the interior to hide a mark, because heat turns finishes into fumes. A room that heats evenly, dries fully, and smells only of cedar has passed its break-in.
Keep Reading
If this guide helped, these related guides are worth your time:
- How to Build a Privacy Screen (Balcony & Patio Guide)
- How to Build a DIY Air Conditioner (Evaporative Cooler Guide)
- How to Build a Bat House (Mosquito Control & Conservation Guide)
How much does it cost?
$3,000–$8,000 DIY (heater $800–$2,000, cedar $1,500–$3,000, electrical $500–$1,500, the rest is framing/insulation). Kits: $4,000–$10,000 (pre-cut — faster). Pro-built: $10,000–$25,000+. The DIY build saves enormously.
Can I convert a closet?
Yes — the ideal starter sauna (small = efficient; the closet’s dimensions often match perfectly). Ventilation and electrical are the challenges (plan both before closing walls). Many of the best home saunas are closet conversions.
Electric vs wood-fired heater?
Electric: convenient, controllable, no chimney (the practical choice for most). Wood-fired: the ritual, off-grid capable, arguably superior heat (the soft, enveloping warmth wood produces). If you have the chimney option and love tending fire: wood. Otherwise: electric.
How do I prevent mold?
Ventilation (the room must dry between sessions — leave the door open after use, vents open), vapor barrier (prevents wall-cavity moisture), and cedar (naturally resistant). A properly built sauna dries itself — mold indicates a ventilation or vapor barrier failure.
Is it safe?
For healthy adults: yes (with hydration and time limits — 15–20 min sessions, cool-downs between). Consult a doctor with cardiovascular conditions, pregnancy, or other health concerns (the standard medical disclaimer — heat stress is real for vulnerable populations). Never sauna alone if you have health risks; never bring alcohol into the heat.
What about the floor?
Tile or concrete (waterproof — the löyly and washing create moisture). Wood duckboard over the tile (the comfortable, removable walking surface). Sloped to a drain (the premium — proper wet-room drainage).
Keep This Chart Handy: Sauna Numbers at a Glance
| Number | Spec | Why it matters |
|---|---|---|
| Heater sizing rule | 1 kW per ~50 cubic feet (1.4 m³), then round up for glass doors or windows | An undersized heater never reaches temperature — the number-one disappointment |
| Traditional Finnish temperature | 170–200°F (77–93°C) | The authentic experience — dry heat plus löyly steam |
| Infrared temperature | 120–150°F (49–65°C) | Lower heat, easier install — a different category, not a Finnish sauna |
| Ceiling height | 7 ft (2.1 m) | Higher ceilings waste heat above head height; the heat should envelop, not stratify uselessly |
| Upper bench height | 36–42 inches (91–107 cm) | The hot zone — where you actually sit; the upper bench should put your head in the hottest zone |
| Lower bench height | 18–24 inches (46–61 cm) | The cooler zone — feet, beginners, cool-down; two levels minimum, because the level choice IS the temperature control |
| Small room (1–2 people) | 4×4 ft (1.2×1.2 m) with a 4.5 kW heater | Smaller heats faster, uses less energy, and feels more authentic |
| Medium room (2–3 people) | 4×6 ft (1.2×1.8 m) with a 6 kW heater | Balanced for couples and small families |
| Large room (3–4 people) | 6×8 ft (1.8×2.4 m) with an 8–9 kW heater | Do not build bigger for a party — build for daily use |
| Electrical supply | Dedicated 240V circuit, installed by an electrician before the walls close | The heater’s electrical demands are serious — not a DIY wiring job |
| Bench slat gaps | 1/2 inch (13 mm) between slats | Airflow plus drainage, and the comfort engineering at sitting level |
| Heat-up time | 20–30 minutes to 170–200°F (77–93°C) | Plan the session around the heat-up, not the other way around |
| Session length | 10–15 minutes per round, 2–3 rounds, with cool-downs between | Hydrate before, during, and after — non-negotiable |
| Door rule | Glass door, wooden handle, opens outward | Outward opening is safety — a fainting person cannot block the door; metal handles burn |
| Interior wood rule | Western red cedar or aspen, tongue-and-groove, never stained or sealed | Heat turns finishes into fumes — the wood is meant to stay bare |
Bookmark This Checklist: Sauna Not Heating Right? Diagnose It Before You Spend More
Check the room, the heater, and the air path before buying a bigger heater — the fix is usually a detail, not more power.
| Symptom | Likely cause | Fix |
|---|---|---|
| Room never reaches 170–200°F (77–93°C) | Undersized heater, room too big, or heat lost through glass | Size by the rule of 1 kW per ~50 cubic feet (1.4 m³), then round up for glass doors or windows; a smaller room heats faster and uses less energy |
| Heat sits at the ceiling, cold at bench level | Ceiling too high, or only one bench level | Keep the ceiling at 7 ft (2.1 m) and build two levels: the upper bench at 36–42 inches (91–107 cm) is the hot zone, the lower bench at 18–24 inches (46–61 cm) is the cooler zone |
| Stuffy, uneven heat, or a room that stays damp after sessions | Ventilation wrong, or the room never dries between sessions | Intake low near the heater, exhaust high on the opposite side, adjustable covers — and leave the door open with vents open until the room is fully dry |
| Smell lingers after three heats | Something inside the room should not be there — a finished board, a plastic fitting, or insulation exposed to the heat | Remove the offending item; interior wood stays bare — never stained or sealed, because heat turns finishes into fumes |
| Weak steam, or the heater struggling | Stones packed tight around the elements, trapping heat | Wash the stones and place them loosely with gaps for air; use proper sauna stones (olivine diabase), never river rocks |
| First heats feel off, or the room feels unready | Break-in skipped | Heat the room empty three times first, starting gentle at around 60°C (140°F) for 30 minutes, and check the thermometer at head height, the airflow from low intake to high exhaust, and any lingering smell |
| Bench stain or mark | Normal use | A light sanding with fine paper restores bare cedar — never paint or varnish the interior to hide a mark |
The verdict: the sauna essentials
- Right size — small (heats fast, authentic intimacy).
- Proper heater — 1 kW per 50 cu ft, dedicated 240V (undersized = disappointment).
- Ventilation — low intake near heater, high exhaust (the breathing room).
- Vapor barrier — foil, sealed (the invisible mold prevention).
- Bare cedar — no finish, ever (the traditional lining).
- Two bench levels — the temperature choice.
- Outward-opening glass door — safety + light.
The sauna is the simplest complex build — a hot, insulated, ventilated cedar box. But the details (heater sizing, vapor barrier, ventilation design) are what separate the authentic löyly from a warm closet. Build it right and the daily ritual becomes the best part of the day: heat, steam, cold, repeat. The Finns have known for a thousand years — now your backyard knows too.
Tool Worth Lab provides research-based project guidance. Hire an electrician for the 240V heater circuit, follow manufacturer clearances exactly (fire safety), install a sealed foil vapor barrier (mold prevention), never finish interior wood (heat + chemicals = fumes), use proper sauna stones (not river rocks), ensure the door opens outward (safety), and consult a doctor about heat exposure with health conditions.