
Every layer of paint on that old door is a decision somebody else made — and now it is your job to undo all of them without wrecking the wood underneath. Grab the wrong method and you will find out fast: the paint stays put, the wood gets scarred, and your whole Saturday disappears into dust and regret.
Here is the secret nobody tells beginners: there is no single best way to strip paint, only a best way for the surface right in front of you. Chemicals devour detailed moulding, a heat gun clears a flat door faster than anything else in the shed — pick right the first time and the paint comes off clean.
Safety first: Old paint (pre-1978) may contain lead — test before disturbing it. Lead paint requires specific safety procedures (respirator, containment, no dry sanding/heat above vaporization temp). If lead is present and the area is large, hire a certified professional. For all methods: eye protection, ventilation, and gloves.
The 5 methods, ranked by general usefulness
1. Chemical strippers — the versatile workhorse
Paste or liquid that softens paint for scraping. Modern citrus/soy-based strippers are far less toxic than the old methylene-chloride formulas (now restricted).
How: brush on thick, wait (15 minutes to 24 hours depending on product and paint layers), scrape off the softened paint with a putty knife or scraper. Multiple applications for multiple paint layers.
Best for: detailed woodwork, moldings, spindles, furniture — anywhere scraping or sanding can’t reach into profiles. The go-to for restoration work.
Pros: reaches into details, no dust, works on multiple layers, relatively gentle on wood. Cons: slow (waiting time), messy, costs add up on large areas, some woods discolor.
Tip: cover the applied stripper with plastic wrap — it prevents evaporation and dramatically improves effectiveness, especially on stubborn paint.
2. Heat gun — the fast flat-surface method
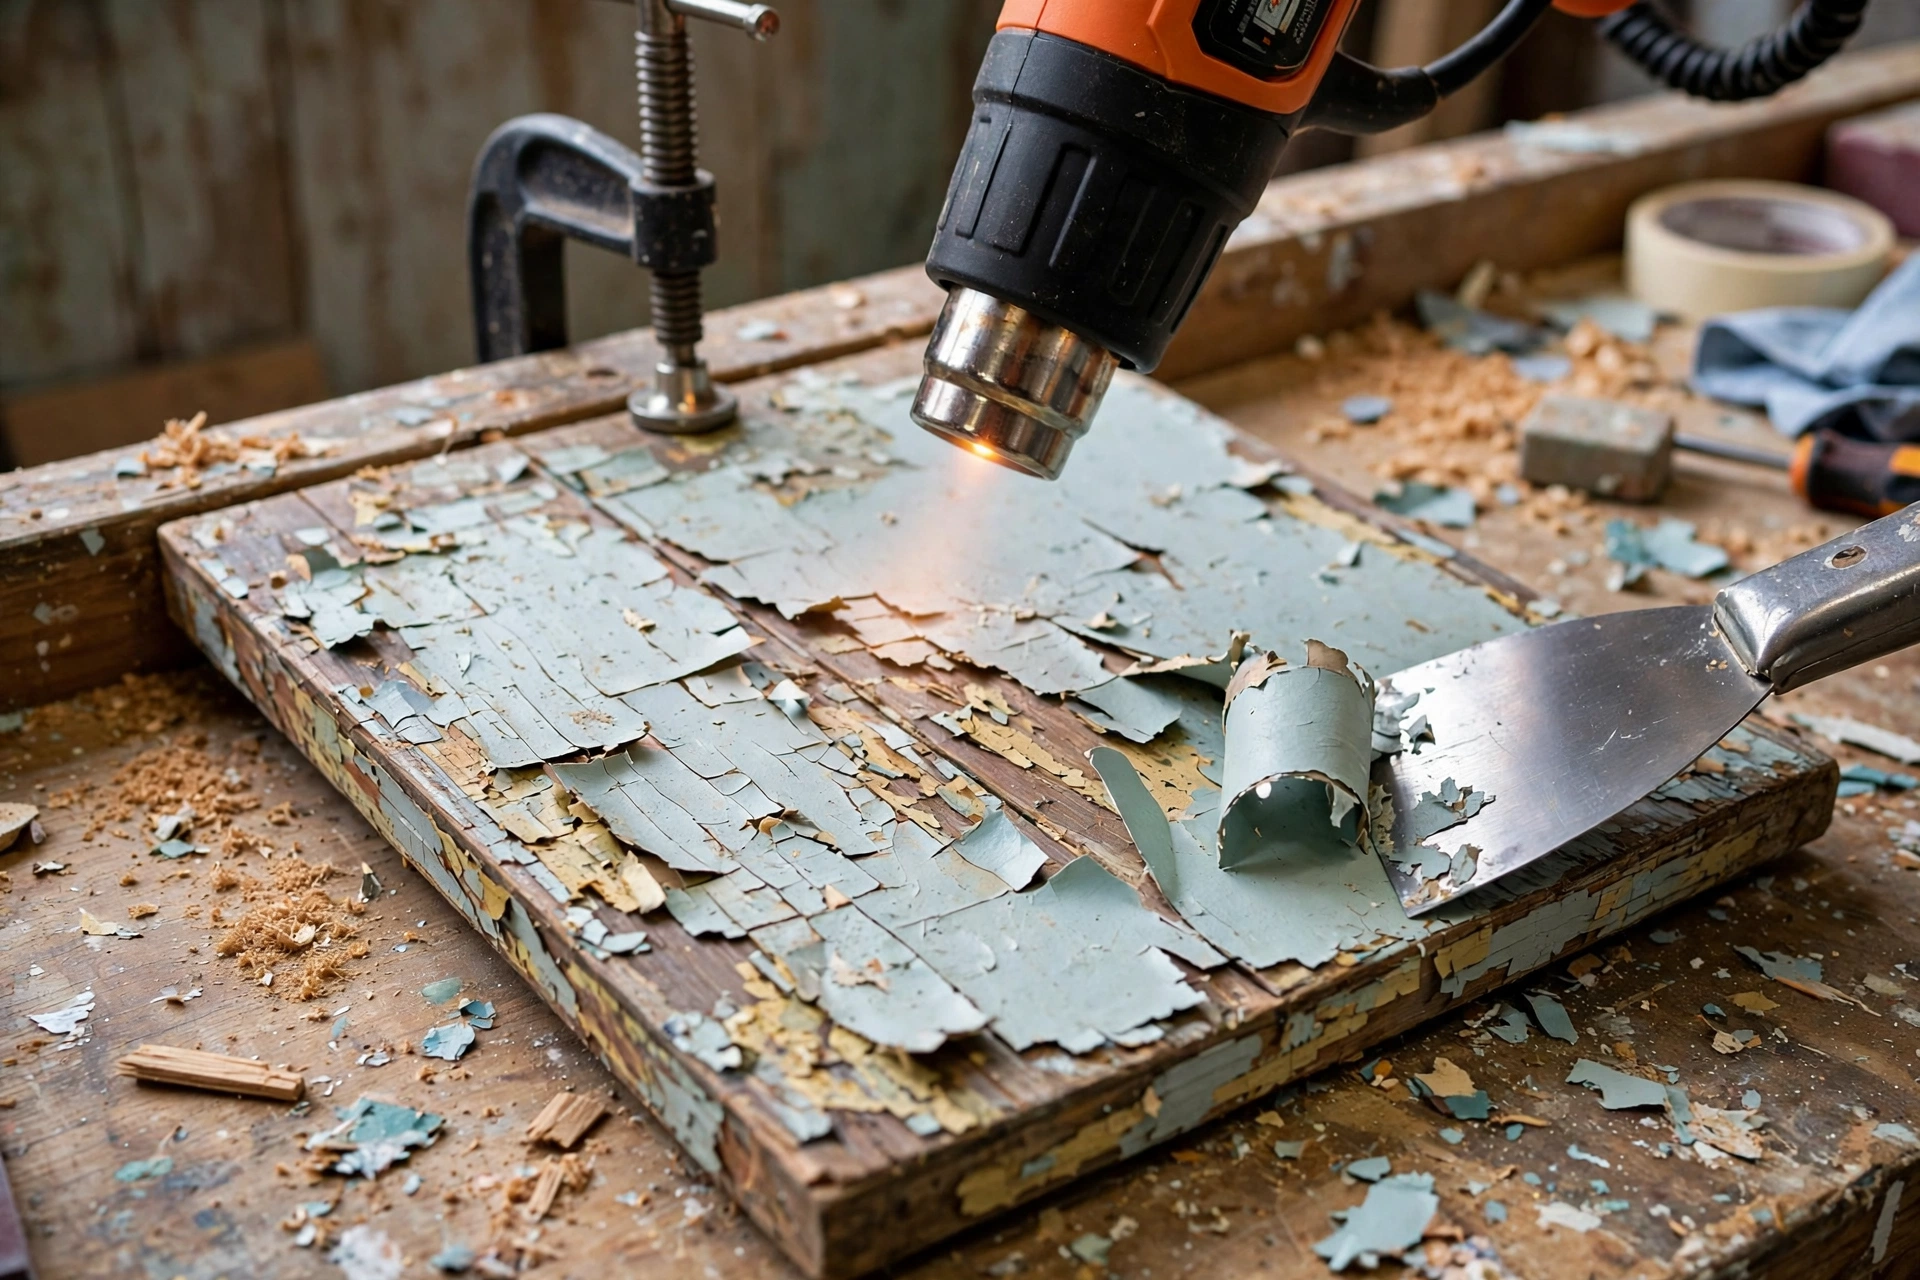
Softens paint with heat for easy scraping. Full heat gun guide here.
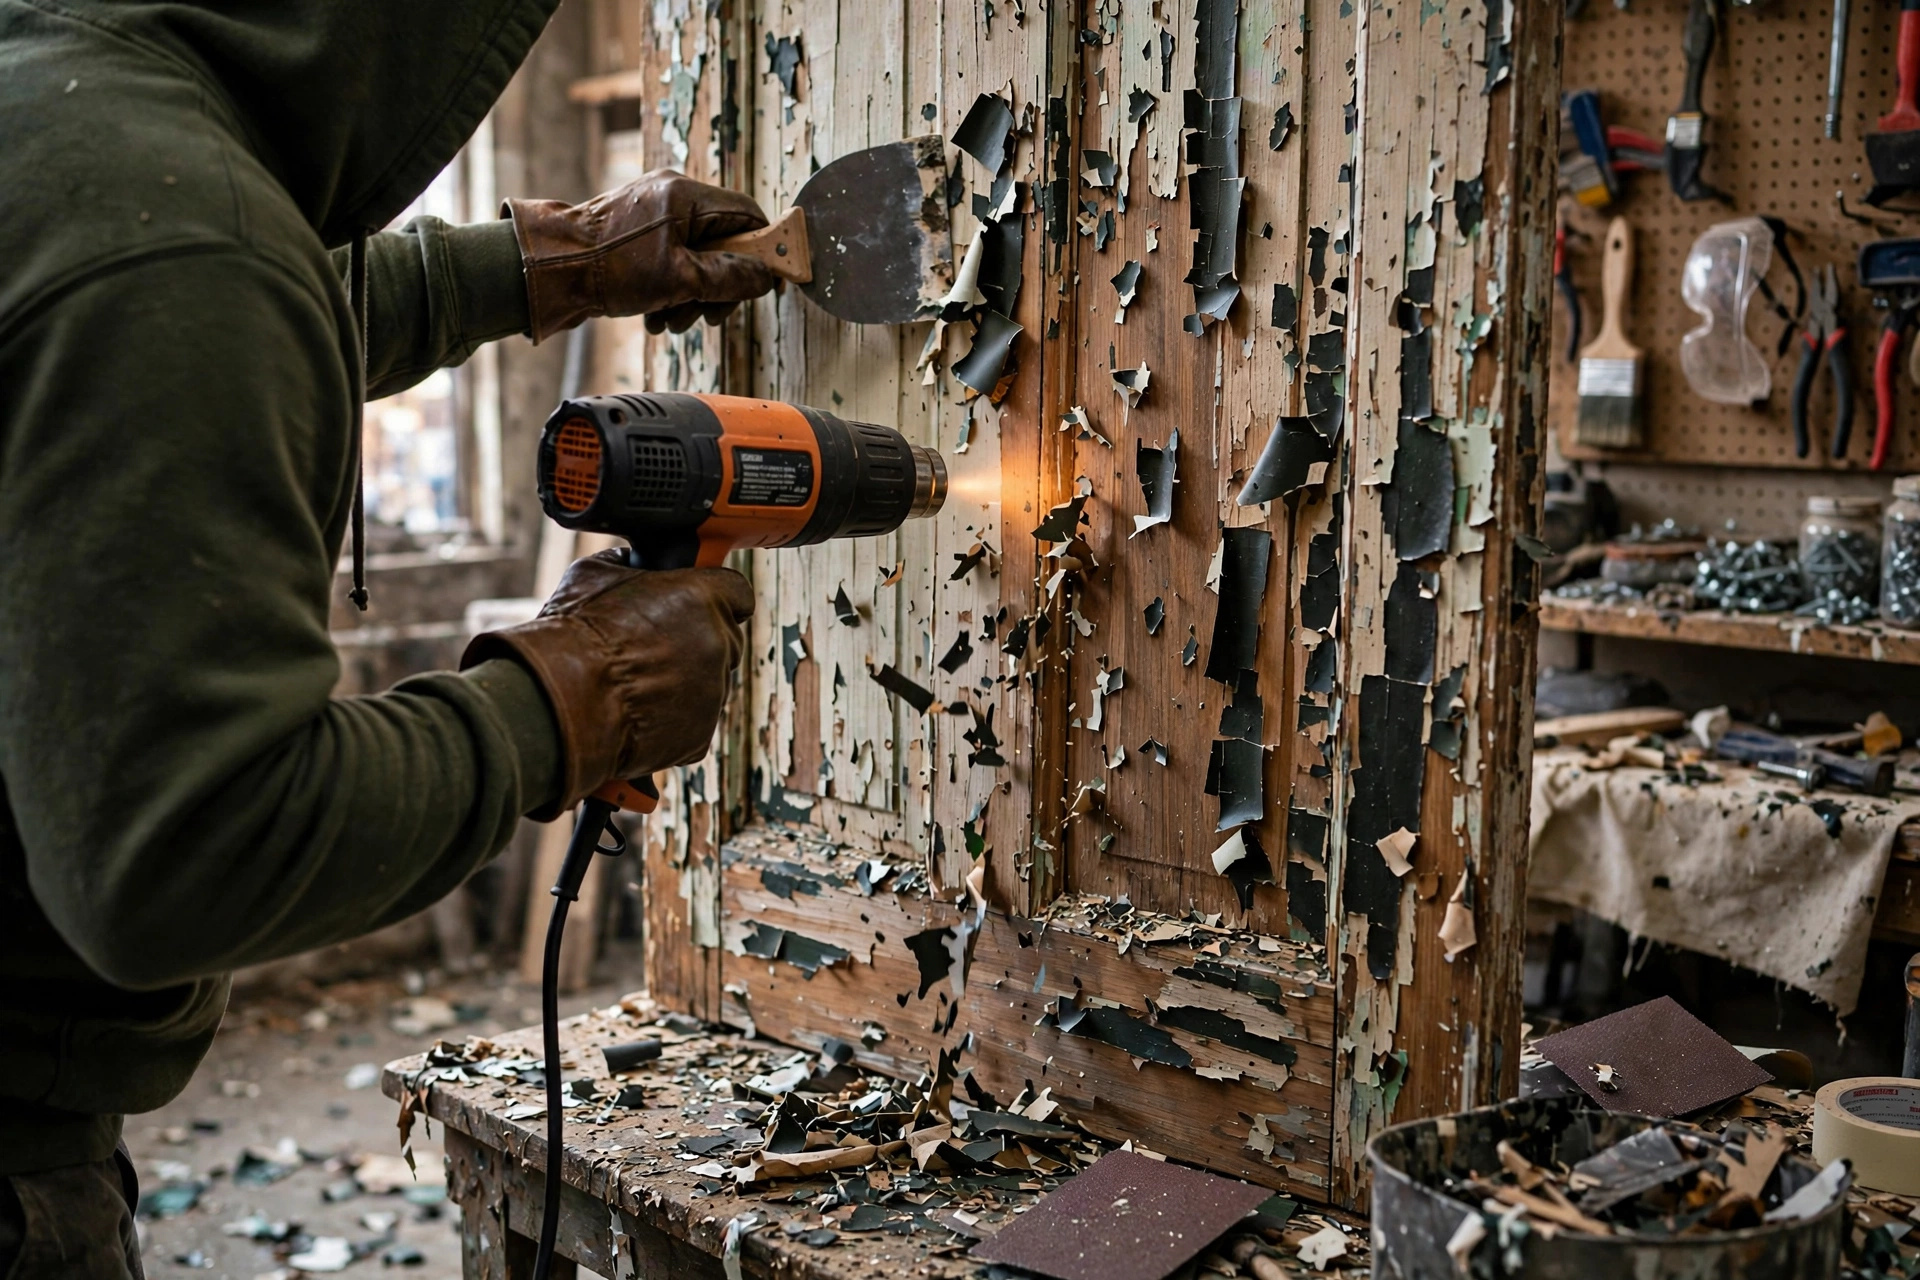
How: heat a section until the paint bubbles/softens (keep the gun moving), scrape immediately with a putty knife or paint scraper. Work in small sections — heated paint re-hardens quickly.
Best for: flat surfaces — doors, siding, window frames, large trim runs. Fast on broad areas.
Pros: fast, no chemicals, immediate results, inexpensive tool. Cons: fire risk (keep a spray bottle/extinguisher handy), can’t reach into detailed profiles well, lead paint vaporization risk above ~700°F, easy to scorch wood if you linger.
The technique: constant motion, moderate heat, scrape while soft. If the paint isn’t bubbling, you’re too far or too cool; if the wood is scorching, you’re too close or too slow.
3. Infrared paint remover — the premium heat method
Specialized tool (like the Speedheater) that uses infrared radiation to heat paint from within — lower surface temperatures than a heat gun, deeper penetration.
How: hold over the paint for 20–60 seconds until it bubbles, scrape. The lower temperature (400–600°F vs 1000°F+ for heat guns) means far less scorching and lead vaporization risk.
Best for: serious restoration work, especially with lead paint concerns — the lower temperature is meaningfully safer.
Pros: safest heat method, excellent on thick paint buildup, less scorching. Cons: expensive tool ($400–$600), slower than a heat gun per square foot, overkill for small jobs.
Worth it if: you’re stripping a whole house exterior or doing professional restoration. For one door: rent one or use a heat gun carefully.
4. Sanding — the finishing method (not the stripping method)
Power sanding can remove paint, but it’s the worst primary stripping method — and the best finishing method.
Why it’s bad for stripping: paint clogs sandpaper instantly (you’ll burn through absurd quantities), it generates massive amounts of dust (lead risk!), and it’s slow on thick buildup.
Why it’s essential for finishing: after chemical or heat stripping, sanding (80 → 120 → 150 grit) removes residue, smooths the wood, and prepares for refinishing. It’s step two, not step one.
Best for: final surface prep after another method has done the heavy lifting. And for small touch-ups where setting up chemicals or heat isn’t worth it.
5. Scraping (manual) — the detail method
Sharp scrapers (carbide scrapers are the pro choice) used by hand — sometimes with chemical assistance, sometimes on paint that’s already failing.
Best for: paint that’s already loose/peeling (it comes off easily), detail work after heat/chemical treatment, and small areas.
Carbide scrapers ($15–$25) are dramatically better than steel putty knives — they stay sharp far longer and the replaceable blades make them economical. Every restoration worker owns several.
Choosing the method: the decision matrix
| Your situation | Best method |
|---|---|
| Detailed moldings, spindles, furniture | Chemical stripper |
| Flat surfaces (doors, siding, trim runs) | Heat gun |
| Whole-house exterior, lead paint concerns | Infrared remover |
| Paint already peeling/flaking | Scraping (manual) |
| Small touch-ups | Sanding |
| Final prep after any method | Sanding (always) |
The pro workflow for most projects: chemical stripper OR heat gun for bulk removal → carbide scraper for details → sanding for final prep. Rarely is one method the entire job.
Print This Before You Strip — Safety Limits for Each Stripping Method
| Method | Safety limit to respect |
|---|---|
| Chemical strippers | Modern citrus- and soy-based strippers are far less toxic than the old methylene-chloride formulas, which are now restricted; after stripping, neutralize chemical residue exactly as the product instructions direct and let the wood dry completely. |
| Heat gun | Keep the gun moving, start about 4–6 in (about 10–15 cm) away, and scrape the moment the paint bubbles — heated paint re-hardens fast; keep a spray bottle or extinguisher handy for fire risk, and keep heat below about 700°F (about 371°C) on lead paint, above which lead vaporizes. |
| Infrared paint remover | Infrared tools work at about 400–600°F (about 204–316°C), lower than heat guns at 1000°F+ (about 538°C+), so scorching and lead vaporization risk are far lower — the safest heat method for serious restoration work. |
| Sanding | Sanding is a finishing method, not a primary stripping method: paint clogs sandpaper instantly and generates massive amounts of dust, so never dry-sand lead paint; after another method has done the heavy lifting, finish by sanding progressively 80 grit, then 120 grit, then 150 grit. |
| Scraping (manual) | Never dry-scrape lead paint, since dry scraping creates lead dust; carbide scrapers (about $15–$25) stay sharp far longer than steel putty knives and are the pro choice for detail work and paint that is already loose or peeling. |
| Lead paint (any method) | If the house predates 1978, test every paint layer before disturbing anything — lead test kits cost about $10–$25 — and for lead paint use a P100 respirator, plastic-sheeting containment, and HEPA cleanup; hire EPA RRP-certified professionals for large areas. |
Lead paint: the critical safety section
If your house was built before 1978, assume lead paint until tested:
- Test first: $10–$25 lead test kits from hardware stores. Test every layer (the lead may be in an undercoat).
- If positive: no dry sanding, no dry scraping (creates lead dust), heat methods only below 700°F (vaporization risk), full P100 respirator, contain the area with plastic sheeting, and HEPA cleanup.
- Large areas: hire EPA RRP-certified professionals. This isn’t DIY territory at scale — the health risks (especially to children) are severe and the regulations are real.
- Disposal: lead paint waste has specific disposal requirements — check local regulations. Don’t put it in regular trash.
Before You Strip a Single Flake — Bookmark This Checklist
- Test for lead first: if the house predates 1978, test every paint layer before disturbing anything. Lead test kits cost about $10–$25.
- Gear up for the method: eye protection, ventilation, and gloves for every method; a P100 respirator, plastic-sheeting containment, and HEPA cleanup if lead is present.
- Chemical stripper: brush it on thick, cover it with plastic wrap so it cannot evaporate, and wait 15 minutes to 24 hours depending on the product and the paint layers.
- Heat gun: keep the gun moving, start about 4–6 in (about 10–15 cm) away, and scrape the moment the paint bubbles — heated paint re-hardens fast.
- Lead paint and heat: never dry-sand or dry-scrape lead paint, and keep heat methods below about 700°F (about 371°C), above which lead vaporizes.
- After stripping: neutralize chemical residue as the product instructions direct, then let the wood dry completely.
- Finish the surface: sand progressively 80-grit, then 120-grit, then 150-grit, and finish promptly — bare wood absorbs moisture and raises grain if left unfinished.
The door that taught me: one stripping job, start to finish
The project that taught me paint stripping was a single interior door in an older house — four flat panels, detailed moulding around each one, and at least three layers of paint, the bottom one a stubborn cream colour that had been there for decades. I told myself it was a Saturday job. It took two weekends, and almost every hour of the second weekend was a mistake from the first weekend being fixed.
The first mistake was skipping the lead test. The house predated 1978, and I started dry-scraping a corner before I stopped myself, went to the hardware store, and bought a $18 test kit. It came back negative on that door, which was a relief, but the lesson stuck: test first, always, before a single flake comes off. That kit now lives in my toolbox next to the respirator, and it is the first thing I reach for on any pre-1978 paint, not an afterthought.
The second mistake was method choice. I started with sanding, because I already owned a random-orbit sander and a stack of discs. The paint clogged the first disc in about two minutes, the second not much later, and after twelve ruined discs I had barely cleared one panel and a cloud of dust I did not want to breathe. That is when the article’s own advice finally made sense to me in practice: sanding is the finishing step, not the stripping step. I switched to a citrus-based chemical stripper on the detailed moulding, brushed it on thick, covered it with plastic wrap, and left it overnight. The next morning the paint on the moulding lifted in satisfying sheets with a carbide scraper, and the plastic wrap was the difference — the same stripper, uncovered, had barely softened the paint on my first attempt.
For the flat panels I used a heat gun, and that is where the third mistake happened. I lingered too long on one corner, watching the paint bubble, and scorched a patch of wood about the size of my thumb. It was not ruined — 80-grit sanding took the scorch out, then 120, then 150 — but it cost me an extra hour and a lot of care to blend. The rule I use now is strict: keep the gun moving, scrape the moment the paint bubbles, and never, ever stop to admire the bubbling. If you are watching the paint instead of scraping it, you are already too slow.
Here is the honest budget for that one door, because nobody tells you this part: chemical stripper $28, carbide scraper $18, lead test kit $18, a proper P100 respirator $25, and sandpaper $12. About $101 in materials, plus a heat gun I already owned. And here is the honest time: roughly three hours of bulk removal on Saturday, four hours of detail scraping and sanding on Sunday, and another Sunday morning for the final sand and first coat of finish. Anyone who tells you a detailed door is a four-hour job has either never done one or is selling you something.
What I would do differently next time, in order: test for lead before touching anything, buy the carbide scraper first instead of third, use chemical stripper on all the detail work from the start, use the heat gun only on the flat panels, and budget two weekends in my head even if I hope for one. The door looks good now — bare wood, clean moulding, a finish that actually stuck — but it looks good because the second weekend fixed the first, not because the first weekend went well. That is the real stripping lesson: the method matters less than matching it to the surface, and the surface always tells you which method it wants if you stop and look at it before you start.
Mistakes to Avoid — Keep This Handy
- Skipping the lead test on pre-1978 paint: test every paint layer before a single flake comes off — dry-scraping untested old paint is the mistake that turns a weekend job into a health hazard.
- Starting with power sanding: paint clogs a sanding disc in about two minutes, so sanding is the finishing step, not the stripping step — save it for after another method has done the heavy lifting.
- Leaving chemical stripper uncovered: cover the applied stripper with plastic wrap so it cannot evaporate — uncovered, the same stripper barely softens the paint.
- Lingering with the heat gun: keep the gun moving and scrape the moment the paint bubbles — stop to admire the bubbling and you will scorch the wood.
- Dry-sanding or dry-scraping lead paint: both create lead dust; keep heat methods below about 700°F (about 371°C), above which lead vaporizes.
- Expecting one method to do the whole job: bulk removal first, then a carbide scraper for details, then sanding 80-grit, then 120-grit, then 150-grit for the finish — rarely is one method the entire job.
- Budgeting one weekend for a detailed door: the detailed door in this article took two weekends — plan for two and hope for one, instead of losing the second weekend to fixing the first.
Keep This Chart Handy — Stripping Numbers at a Glance
Every stripping method has numbers worth memorizing before the first flake comes off. These are the ones from this guide — save the chart, then match the method to the surface.
| Method | The numbers to remember |
|---|---|
| Chemical stripper | Wait 15 minutes to 24 hours, depending on the product and the paint layers; brush it on thick and cover it with plastic wrap so it cannot evaporate. |
| Heat gun | Start about 4–6 in (about 10–15 cm) away and keep the gun moving; keep heat below about 700°F (about 371°C) on lead paint, above which lead vaporizes. Heat guns run 1000°F+ (about 538°C+). |
| Infrared paint remover | Works at about 400–600°F (about 204–316°C); hold over the paint for 20–60 seconds until it bubbles. The tool costs about $400–$600. |
| Sanding (the finishing step) | After stripping, sand 80 grit, then 120 grit, then 150 grit. Paint clogs a sanding disc in about two minutes, so sanding is the finish, not the strip. |
| Scraping (manual) | Carbide scrapers cost about $15–$25 and stay sharp far longer than steel putty knives — the pro choice for detail work and loose paint. |
| Lead test | Lead test kits cost about $10–$25. On any house built before 1978, test every paint layer before disturbing anything. |
What’s the fastest way to strip paint from wood?
Heat gun on flat surfaces — nothing beats it for speed on doors, siding, and trim runs. For detailed work, chemical strippers are faster than any mechanical method.
Can I just paint over old paint instead?
Often yes — if the old paint is sound (not peeling, cracking, or alligatoring), clean it, scuff-sand, prime, and repaint. Stripping is for failed paint, lead abatement, or restoration where the wood must be bare. Don’t strip what doesn’t need stripping.
Why is my chemical stripper not working?
Usually: too thin an application (go thick), not enough dwell time (some need hours), evaporated before working (cover with plastic wrap), or too many paint layers (multiple applications needed — strip in passes, not all at once).
How do I avoid scorching wood with a heat gun?
Constant motion, moderate distance (4–6 inches to start), and watch the wood — the moment paint bubbles, scrape. Scorching means too close or too slow. Practice on an inconspicuous area first.
Is it safe to use a heat gun on lead paint?
Only below ~700°F and with full precautions (P100 respirator, containment). Above that temperature, lead vaporizes — extremely hazardous. When in doubt about temperature control, use chemical methods or hire professionals.
What do I do after stripping?
Neutralize chemical residue (per product instructions — usually mineral spirits wipe or water rinse), let dry completely, sand progressively (80 → 120 → 150), and finish promptly — bare wood absorbs moisture and raises grain if left unfinished.
The verdict
| Method | Speed | Detail work | Cost | Best for |
|---|---|---|---|---|
| Chemical | Medium | Excellent | $$ | Moldings, furniture, restoration |
| Heat gun | Fast | Poor | $ | Flat surfaces, doors, siding |
| Infrared | Medium | Good | $$$$ | Whole-house, lead-safe work |
| Sanding | Slow | Good (finish) | $ | Final prep, small areas |
| Scraping | Slow | Excellent | $ | Loose paint, detail cleanup |
Match the method to the surface: chemicals for details, heat for flats, sanding for finish. Test for lead before you start. And remember — the goal isn’t just bare wood, it’s bare wood ready for finishing. The method that gets you there with the least damage wins.
Tool Worth Lab provides research-based restoration guidance. Test for lead paint before disturbing pre-1978 paint. For large-scale lead abatement, hire EPA RRP-certified professionals.