
My spare room had to be an office by day and a guest room by night — and a regular bed would have eaten the entire floor. So I built a Murphy bed. But before I cut a single board, I made a $60 mistake: I bought a plush 14-inch mattress first, then discovered my kit only accepted 11 inches. It wouldn’t fold, the cabinet wouldn’t close, and the return shipping stung for a week.
That blank wall in your spare room is the most underused square footage in your house. Right now it’s holding nothing but a picture frame — but with a cabinet, a pair of pistons, and a mattress that actually fits the kit, it becomes a bedroom that folds away before breakfast and a proper office for the rest of the day. No extension, no renovation, no second room required.
The trick only works if three things line up — the mechanism, the wall it’s bolted to, and the mattress you fold inside it — and this guide takes them in exactly that order, starting with the one decision you have to make before you buy a single board.
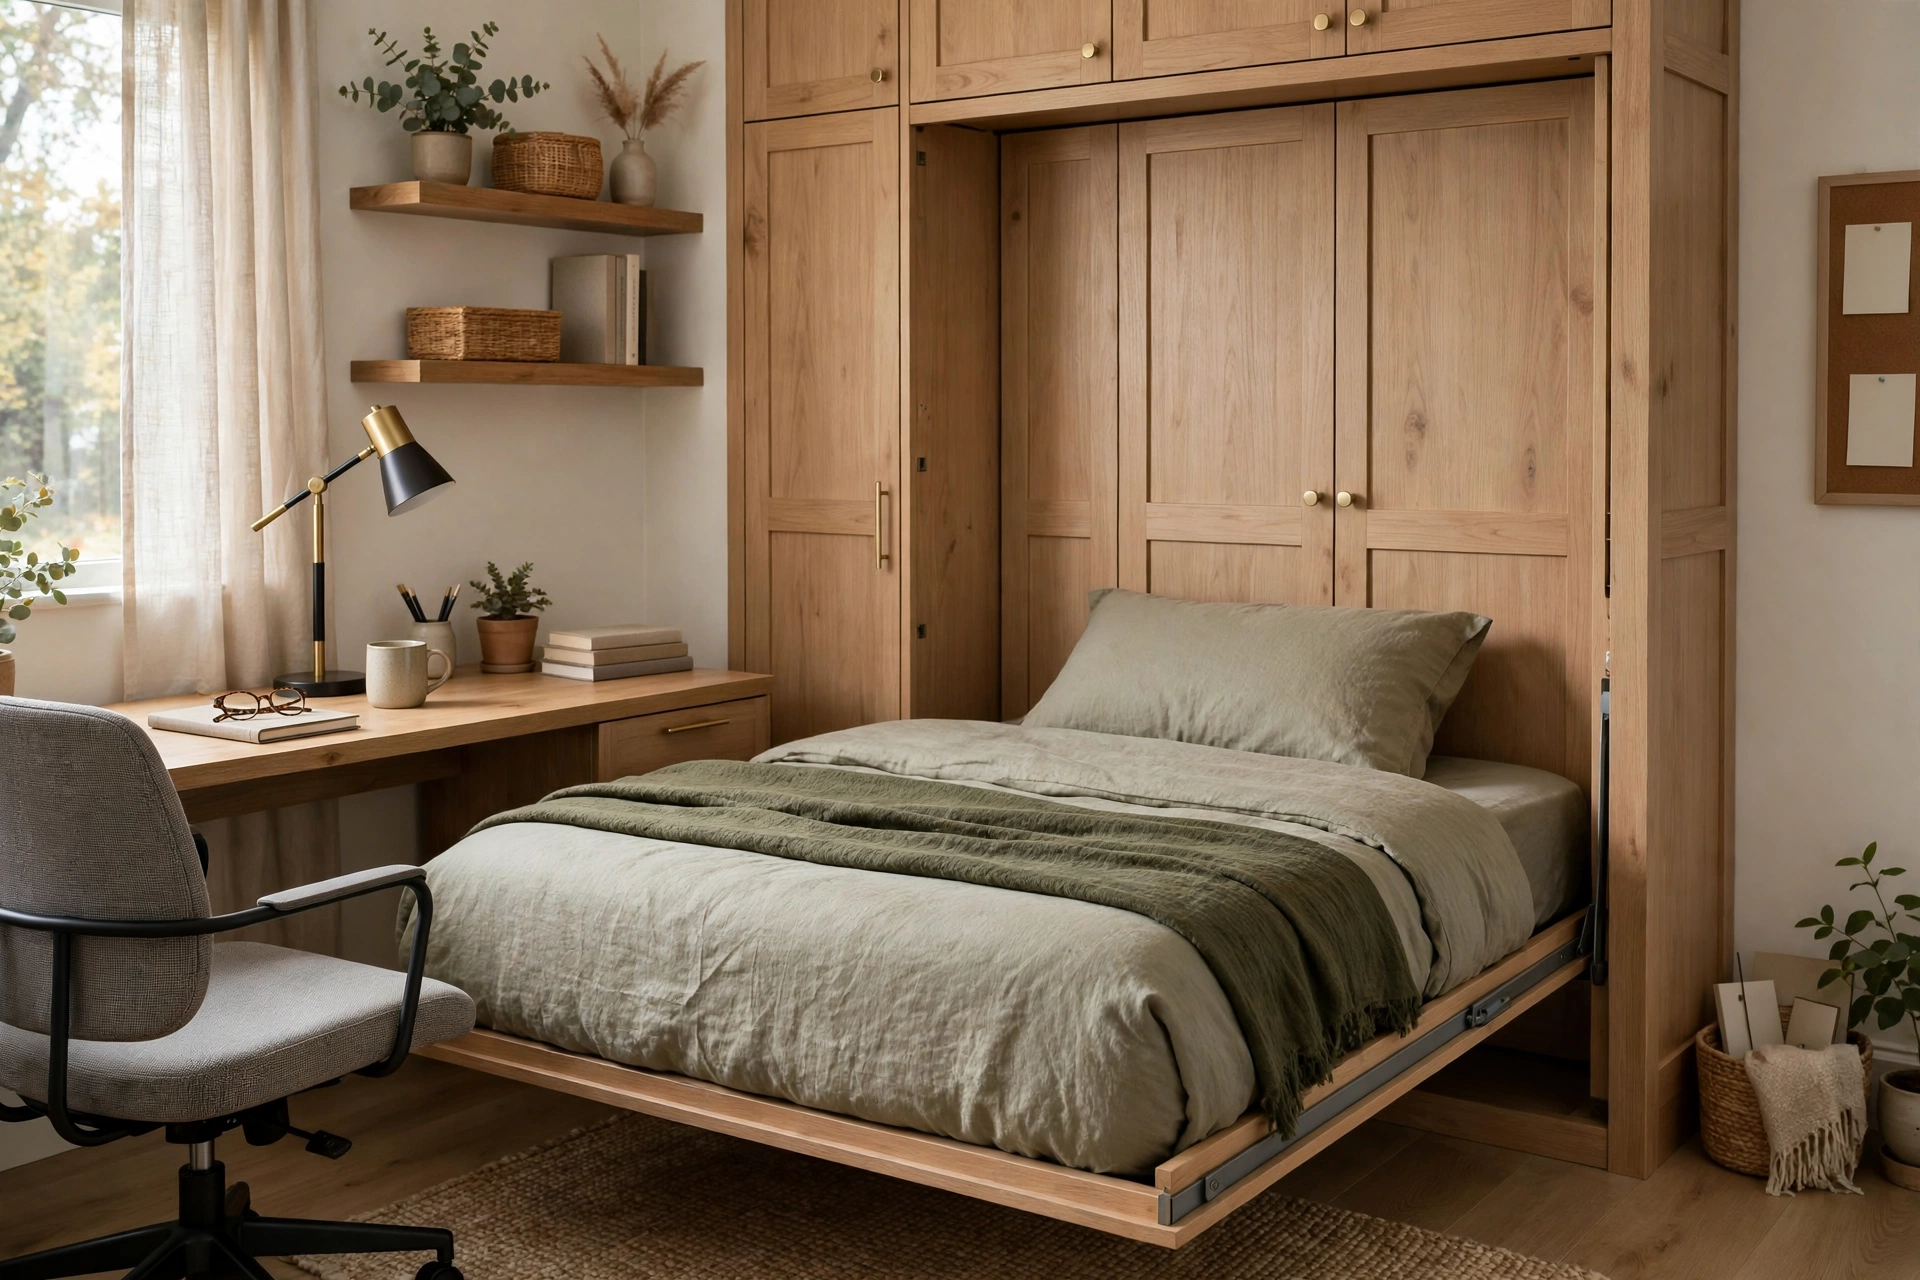
Safety first: A Murphy bed is a heavy, moving object (the bed + mattress + mechanism = 200+ lbs swinging on pivots). The cabinet MUST be anchored to wall studs (tipping kills). The mechanism must have positive locks (no accidental closing/opening). If the hardware confuses you: buy the kit (the engineered solution).
Kit vs full DIY (the decision)
| Hardware kit | Full DIY mechanism | |
|---|---|---|
| Cost | $300–$600 (kit) + lumber | $100–$200 (parts only) |
| Engineering | Done (tested pivots, springs/pistons) | You (the hard part) |
| Safety | Certified mechanisms | Your responsibility |
| Build time | Weekend (cabinet only) | Weeks (mechanism R&D) |
| Recommendation | Almost everyone | Only experienced builders |
Buy the hardware kit. The $300–$600 kit (piston or spring mechanism, pivots, legs, hardware) is the engineered, tested, safe solution. The cabinet is the DIY part (the woodworking you control); the mechanism is the purchased part (the engineering you trust). This isn’t a cost-saving opportunity — it’s the safety-critical component.
Reputable kit types: piston mechanisms (smooth, modern — the current standard), spring mechanisms (traditional — the classic counterbalance). Both work; pistons are more forgiving to install.
Keep This Chart Handy — Piston vs Spring: Which Murphy Bed Mechanism?
Both mechanisms work — the choice is about feel and forgiveness, not strength. Every fact below comes from this guide.
| Piston mechanism | Spring mechanism | |
|---|---|---|
| Feel | Smooth, modern — the current standard | Traditional — the classic counterbalance |
| Installing it | More forgiving to install | Follow the kit instructions exactly — the engineering is precise and improvisation breaks it |
| What it does | The counterbalance that makes the 200 lbs (91 kg) of bed + mattress + mechanism feel like 20 lbs (9 kg) | The same counterbalance job — the 200 lbs (91 kg) feels like 20 lbs (9 kg) |
| Kit cost | $300–$600 for the kit (mechanism, pivots, legs, hardware) + lumber | $300–$600 for the kit (mechanism, pivots, legs, hardware) + lumber |
| Pick it if | You want the smoothest, most forgiving install — the kit is the recommendation for almost everyone | You prefer the traditional mechanism and are comfortable following the kit instructions to the letter |
Whichever you pick, the safety rules don’t change: lag the cabinet into studs (minimum 4 lags into 2+ studs), check the positive locks closed and open, and buy the mattress to the kit’s spec — usually 10–12 in (25–30 cm) maximum thickness.
Keep This Chart Handy — Murphy Bed Budget Planner
Every dollar below comes from this guide. Screenshot it before you order anything — the kit is the safety-critical spend, and it is not the place to save money.
| What you are paying for | DIY cost | Notes |
|---|---|---|
| Hardware kit — piston or spring mechanism, pivots, legs | $300–$600 | The engineered, tested, safe solution. The cabinet is the DIY part; the mechanism is the purchased part. Buy the kit. |
| Plywood and lumber — the cabinet | $200–$400 | 3/4 in (19 mm) plywood for the cabinet (strong, stable, paintable — not MDF for structural parts), hardwood for the face frame. |
| Finish and hardware | $100–$200 | Paint or stain, screws, lags, and mattress straps. |
| Mattress — buy AFTER the kit | Priced separately | 10–12 in (25–30 cm) maximum thickness, under the kit’s weight limit, held with 2–3 straps. Foam or hybrid is lighter than traditional innerspring and easier on the mechanism. |
| DIY total | $600–$1,200 | One weekend of cabinet work, once the kit is in hand. |
| Pro-built, for comparison | $3,000–$8,000+ | The DIY savings are massive — and the bed you build is a real mattress, not a thin fold-out pad. |
Bookmark This Checklist — Before You Order Anything
Do every item on this list before spending a cent. Each one comes from this guide — and skipping any of them is how a weekend build turns into a return label.
- Measure the open footprint first: the bed extends the mattress length from the wall, plus walking space — the room must function with the bed DOWN. (Cabinet approx: Twin 42 × 87" / 107 × 221 cm, Full 57 × 87" / 145 × 221 cm, Queen 65 × 87" / 165 × 221 cm; the bed reaches the same distance out from the wall.)
- Check the kit’s mattress limit BEFORE buying a mattress — usually 10–12" (25–30 cm) max, and under the kit’s weight limit. Thicker won’t fold; heavy mattresses overwhelm the pistons.
- Confirm the wall: studs located with a stud finder, plan for a minimum of 4 lags into 2+ studs. No studs, no project — the 200+ lb (91+ kg) swinging bed is a tipping hazard otherwise.
- Pick the orientation: vertical = smaller wall footprint, longer extension (the traditional space-saver); horizontal = low-profile, wider wall footprint, shorter extension (suits low ceilings and console-style cabinets).
- Choose the kit: piston mechanisms (smooth, modern, more forgiving to install) or spring mechanisms (traditional counterbalance). Budget $300–$600 for the kit + lumber — the mechanism is the safety-critical part, not a cost-saving opportunity.
- Confirm the locks: the mechanism must have positive locks so the bed can’t open or close accidentally.
- Plan the face: hardwood face frame for the furniture look; paint or stain BEFORE installing the hardware — it’s easier that way.
Design
Size
| Bed size | Cabinet (approx) | Room needed open |
|---|---|---|
| Twin | 42×87″ | 42″ out from wall |
| Full | 57×87″ | 57″ out from wall |
| Queen | 65×87″ | 65″ out from wall |
Measure the open clearance — the bed extends the mattress length from the wall (plus walking space). The most common regret: not accounting for the open footprint (the room must function with the bed DOWN).
Orientation
- Vertical (head at wall): the classic (smaller wall footprint, longer extension).
- Horizontal (side at wall): the low-profile (looks like a credenza, wider wall footprint, shorter extension).
Horizontal suits low ceilings and rooms where the cabinet doubles as a console (the dual-purpose furniture). Vertical is the traditional space-saver.
Materials
- 3/4″ plywood (the cabinet — strong, stable, paintable; NOT MDF for structural parts — too heavy, screws pull out).
- Hardwood for the face frame (the visible craftsmanship).
- Kit hardware (the mechanism — purchased).
- Mattress: 10–12″ max thickness (thicker won’t fold — the kit specifies; innerspring or foam, under the weight limit).
Tools needed
| Tool | For |
|---|---|
| Circular saw | Cutting plywood panels |
| Drill/driver | Assembly, hardware installation |
| Pocket hole jig | Cabinet joinery (the clean, strong joints) |
| Level | Level installation (critical — the mechanism binds if unlevel) |
| Stud finder | Wall anchoring (into studs — non-negotiable) |
| Tape measure | Precise measuring (the kit has exact specs — follow them) |
Construction
1. Build the cabinet
- Cut per the kit’s plans (the kit includes cabinet dimensions — follow EXACTLY; the mechanism tolerances are tight).
- Assemble with pocket holes + screws (the strong, clean cabinet).
- Face frame (hardwood — the furniture look).
- Finish (paint or stain — before hardware installation is easier).
2. Anchor to the wall
- Position (level — the mechanism’s operation depends on it).
- Lag into studs (minimum 4 lags into 2+ studs — the anti-tip; the loaded cabinet is top-heavy when the bed is down).
- Verify solid (push test — no movement; the 200-lb swinging bed stresses this connection).
The anchoring is the #1 safety item. An unanchored Murphy bed with the bed down is a tipping hazard that can kill. This step is not optional, not “good enough” — it’s lagged into studs or the project stops.
3. Install the mechanism
- Follow the kit instructions EXACTLY (the engineering is precise — improvisation breaks it).
- Mount pivots (level, aligned — both sides identical).
- Install pistons/springs (the counterbalance — they make the 200 lbs feel like 20).
- Attach the bed frame (the platform that holds the mattress).
4. Legs
- Kit legs (fold down automatically or manually — the support).
- Must reach the floor firmly (the bed’s outer edge bears on the legs — wobbly legs = wobbly bed).
- Level the bed (adjust legs — the sleeping surface must be flat).
5. Safety checks
- [ ] Positive lock closed (won’t fall open).
- [ ] Positive lock open (won’t fold up with someone in it).
- [ ] Smooth operation (no binding — binding indicates misalignment).
- [ ] Anchoring solid (push test — no movement).
- [ ] Mattress retained (straps — the mattress must not slide when vertical).
6. The face (the disguise)
- Panel the front (looks like a cabinet/wardrobe when closed — the illusion).
- Handles (the pull-down).
- Optional: side cabinets/shelves (the built-in wall unit — the full installation).
The mattress (the constraints)
- Thickness: per kit spec (usually 10–12″ max — thicker hits the cabinet).
- Weight: under the kit’s limit (heavy mattresses overwhelm the pistons).
- Type: foam or hybrid (lighter than traditional innerspring — easier on the mechanism).
- Straps: retain it (2–3 straps — the mattress stays put when vertical).
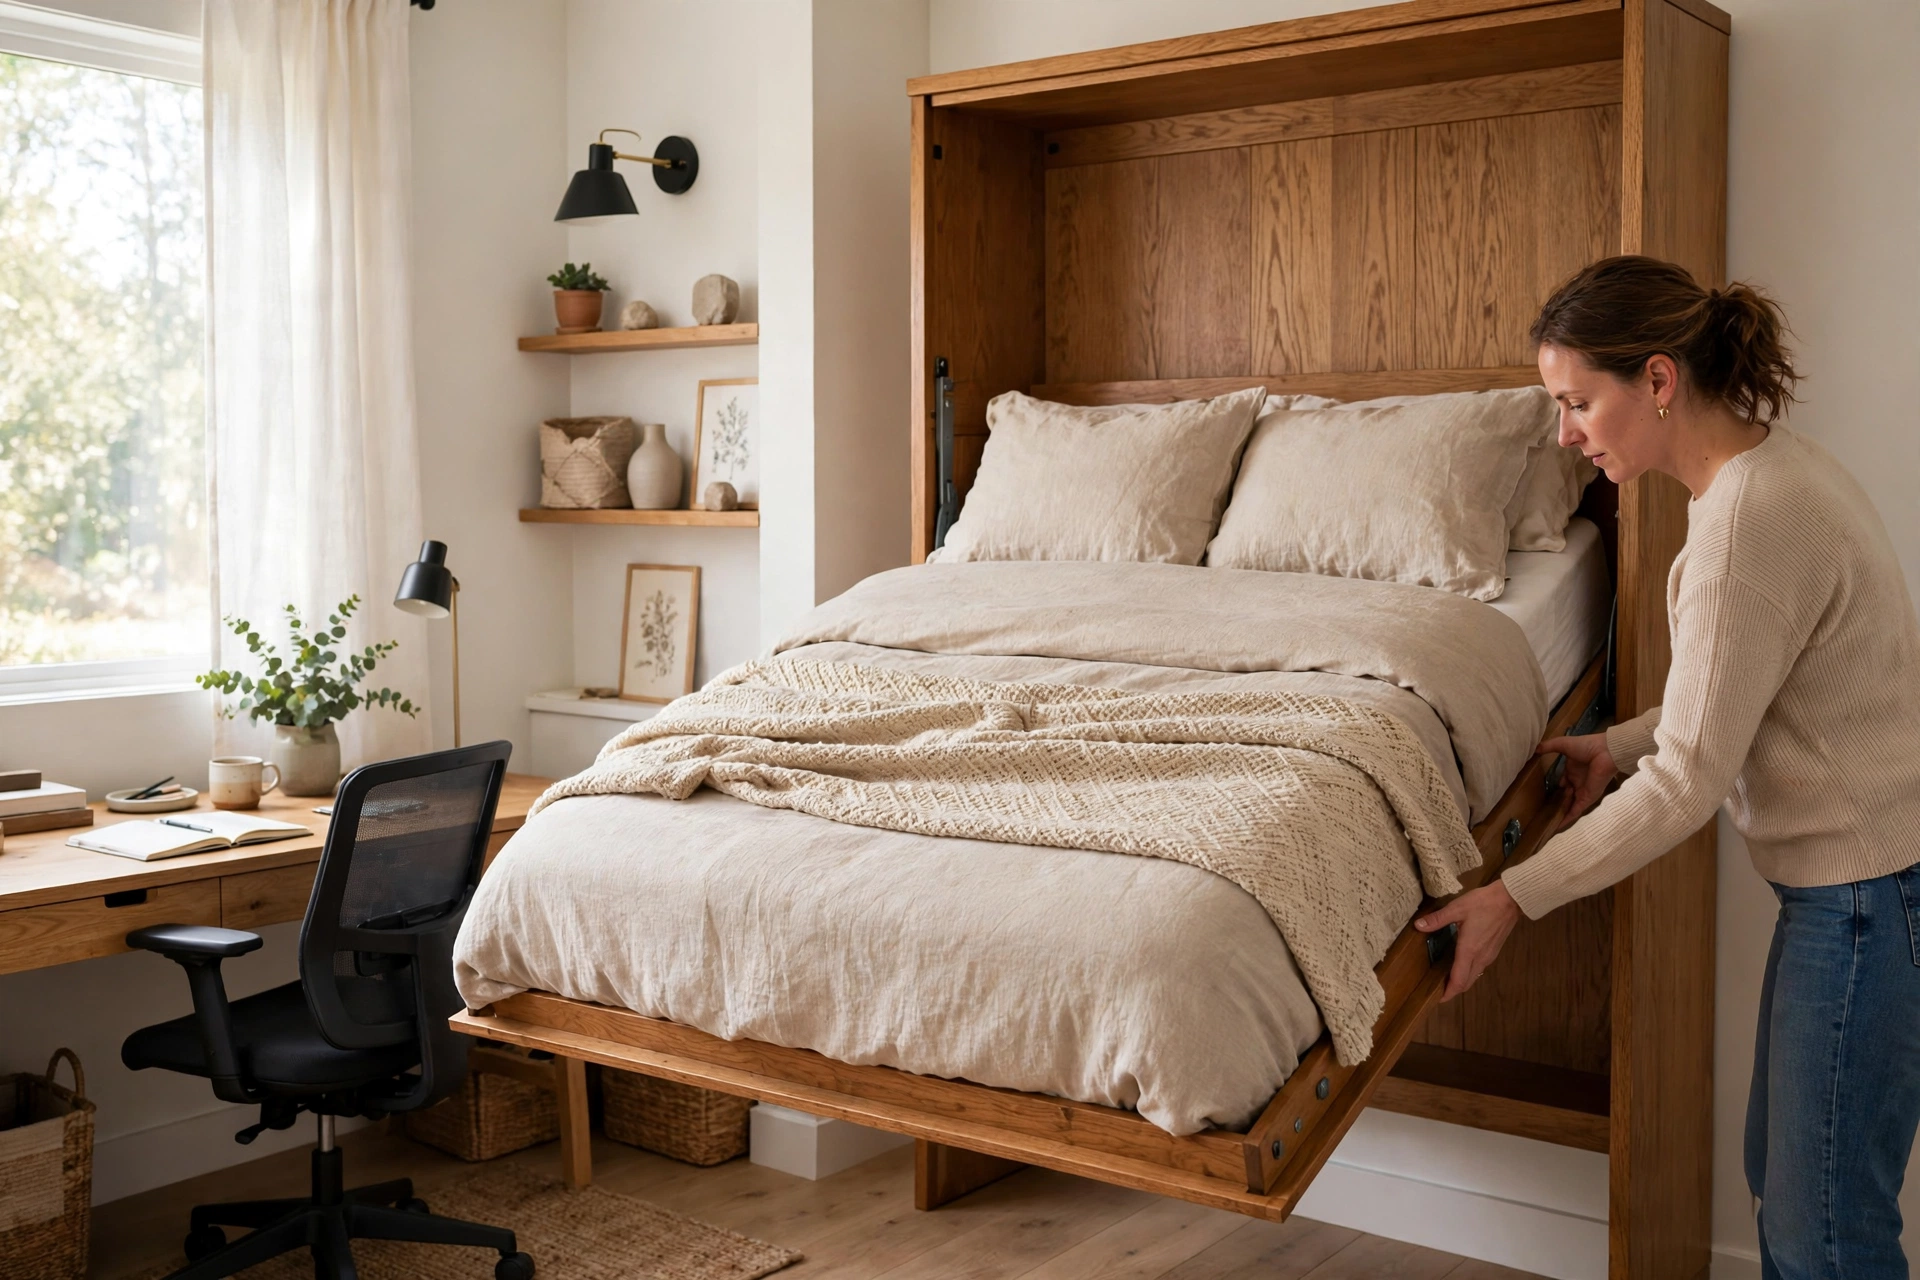
Print This Before You Build — Murphy Bed Go / No-Go Check
Run every row before building and again before first use. Any row that fails is a STOP: fix it before continuing. Each row below stands alone, with the numbers needed to judge it.
| Check | GO if | NO-GO if |
|---|---|---|
| Wall anchoring | Studs located with a stud finder, with a minimum of 4 lags into 2 or more studs, and a push test shows no movement | Only one stud found, anchoring feels loose, or the cabinet flexes away from the wall when loaded — no studs, no project |
| Mattress thickness | Within the kit specification, usually 10–12" (25–30 cm) maximum | Thicker than the kit limit — a thicker mattress will not fold and the cabinet will not close |
| Mattress weight | Under the kit weight limit, including any topper | Heavier than the limit — heavy mattresses overwhelm the pistons and the bed will not stay closed |
| Open footprint | Room still functions with the bed DOWN, with walking space beyond the mattress length from the wall. Cabinet sizes are approximately: Twin 42 × 87" (107 × 221 cm), Full 57 × 87" (145 × 221 cm), Queen 65 × 87" (165 × 221 cm) | Bed DOWN blocks a door, a walkway, or the only usable floor space in the room |
| Level installation | Cabinet and mechanism are level, with both pivot sides identical and aligned | Mechanism binds, moves unevenly from side to side, or squeaks on operation — binding indicates misalignment |
| Positive locks | Lock engages firmly in the closed position (bed cannot fall open) and in the open position (bed cannot fold up with someone in it) | Lock feels soft, gritty, or only half-engaged — stop and inspect before the next night of use |
| Legs and sleeping surface | Kit legs reach the floor firmly with no rocking, and the sleeping surface is flat and level | Legs wobble, rock, or fail to reach the floor evenly — a wobbly leg means a wobbly bed |
| Mattress retention | Mattress held by 2–3 straps, staying put when the bed is vertical | Mattress slides when vertical, or bedding left loose folds into the mechanism or prevents the lock from engaging fully |
| Cabinet material | 3/4" (19 mm) plywood for the cabinet, with a hardwood face frame | Structural parts made from MDF — too heavy, and screws pull out |
The bed plus mattress plus mechanism weighs 200+ lbs (91+ kg) swinging on pivots. Anchoring, locks, and mattress limits are safety items, not preferences — a bed that fails any of them is not ready to sleep in.
Living with a Murphy bed: the daily routine that keeps it safe
The build ends with the safety checks, but the bed is used every day, and daily use is where a well-built Murphy bed either stays safe or slowly drifts out of adjustment. The routine that keeps it safe is short, and it works because it is done the same way every time, by everyone who uses the bed. Teach the routine once, keep it visible for guests, and the mechanism will last far longer than a bed that is yanked open, slammed shut, and never inspected again.
Start with the opening ritual, and do it in the same order. Clear the floor in front of the cabinet first — the bed needs its full open footprint, and anything in that footprint becomes either a tripping hazard or a lever that twists the frame as it comes down. Release the closed lock deliberately, guide the bed down with both hands rather than letting it drop, and let the legs settle fully before putting weight on the outer edge. A bed that is lowered under control lands squarely on its legs; a bed that is dropped lands wherever momentum takes it, and repeated drops loosen the pivots and strain the anchoring over time.
Closing deserves the same care, in reverse. Remove pillows and loose bedding first, or strap them exactly as the kit specifies — bedding left loose folds into the mechanism, jams a pivot, or prevents the lock from engaging fully. Lift with the handles, not by pulling on the mattress edge or the face panel, and confirm the closed lock clicks into place before walking away. A lock that feels soft, gritty, or only half-engaged is not a quirk to live with; it is the first sign of a pivot shifting, a mattress sliding out of spec, or a leg that is no longer reaching the floor evenly. Stop, inspect, and fix that before the next night, because a bed that will not lock closed is a bed that can fall open.
Build a monthly check into the routine, lasting only a few minutes. Push-test the cabinet anchoring the way the build step described — no movement should be felt. Operate the bed once with no one on it, listening for new binding, squeaking, or uneven movement from one side to the other. Check that the mattress straps still hold the mattress firmly when vertical, that the legs still reach the floor without rocking, and that the face panel still sits flush when closed. Any change from how the bed felt when new is information, and most of it has a simple cause: a leg adjuster that has worked loose, a strap that has stretched, a pivot bolt that needs tightening to the kit’s specification.
Guests and children need the routine explained, not just the bed demonstrated. Show guests where the handles are, how the locks work, and that the bed must never be folded with someone still on it or with luggage piled on the mattress. For children, the rule is simpler and non-negotiable: the bed is operated only with an adult present, and it is never a climbing frame or a hiding place when closed. The mechanism’s pinch points and swinging weight are invisible to a child who sees only a cabinet, so the adult rule has to stand in for that understanding until they are old enough to operate it safely themselves.
Finally, respect the limits the kit set, even as the room evolves. A thicker replacement mattress, a heavier mattress topper, or bedding stored permanently inside the cabinet can all push the bed outside the weight and clearance limits the pistons were sized for. The result is not dramatic at first — the bed just feels heavier to lift, or the lock just feels a little less positive — but it is the mechanism working outside its design, and it wears faster for it. When the mattress or bedding changes, recheck the kit’s thickness and weight limits first, and re-run the full safety check afterwards. A Murphy bed that is used gently, locked deliberately, and checked monthly will feel as solid in year five as it did on the first night.
What I got wrong the first time (and what it cost)
Two mistakes from my build are worth more than any advice in this guide, because both looked fine until they didn’t.
First: I anchored into one stud and trusted it. The cabinet felt solid when I pushed it empty. Then I loaded the mattress, folded the bed down, and watched the whole cabinet flex a quarter inch away from the wall. A 200-pound swinging bed does not forgive a single-stud anchor. I took the cabinet back off the wall, found the second stud, and drove four 3/8-inch lags — two per stud — with washers. The extra hour of work and $12 in hardware is the cheapest insurance in this entire project. If your push test shows any movement at all, you are not done anchoring.
Second: I cheaped out on the pistons. My first kit’s pistons were rated for a lighter mattress than the one I eventually bought, so the bed would not stay fully closed — it crept open an inch overnight, every night. Replacing the pistons with the next strength up cost $90 and an afternoon of re-installation. Buy the kit rated for the mattress you actually own, including the topper, and check that rating before you order, not after the bed is built.
Keep Reading
Is it comfortable as a daily bed?
Yes — it’s a REAL mattress (not a fold-out mechanism with a thin pad). The sleep quality equals a standard bed. Many people use Murphy beds as their primary bed (the small-apartment lifestyle).
Can I build it without the kit?
Technically yes; practically, buy the kit (the mechanism engineering — pivot geometry, counterbalance calculation, safety locks — is the hard part; the $300–$600 buys tested engineering). DIY mechanisms exist but the risk/reward favors the kit enormously.
How much does it cost?
$600–$1,200 total DIY (kit $300–$600 + plywood/lumber $200–$400 + finish/hardware $100–$200). Pro-built: $3,000–$8,000+. The DIY savings are massive, and the cabinet is straightforward woodworking.
What about the bedding?
Pillows/blankets: removed or strapped (most designs require clearing the bed before closing — the 30-second ritual). Some deep cabinets accommodate bedding (check the kit’s clearance specs). The strap system keeps it simple.
Can kids operate it?
Supervised (the mechanism is heavy — pinch points at pivots, and the swinging weight). Teach the operation, enforce the locks, and don’t let small children play with it (it’s furniture, not a toy — the safety talk).
What if my walls aren’t suitable for anchoring?
Concrete/brick: masonry anchors (the equivalent — still positive anchoring). No accessible studs (metal studs, plaster over unknown): consult a contractor (the anchoring MUST be structural — this is the step to get right, even if it means hiring help for just this part).
The verdict: the Murphy bed checklist
- [ ] Hardware kit purchased — piston or spring (the engineered mechanism)
- [ ] Cabinet built to kit specs — exact dimensions (tolerances are tight)
- [ ] Anchored to studs — 4+ lags, push-tested (the #1 safety item)
- [ ] Level — cabinet and mechanism (binding = misalignment)
- [ ] Mechanism per instructions — no improvisation
- [ ] Positive locks — both open and closed
- [ ] Mattress within spec — thickness + weight + strapped
- [ ] Legs firm — level sleeping surface
- [ ] Open clearance verified — room functions with bed down
The Murphy bed is the ultimate space transformer — the cabinet by day, the bedroom by night. Buy the mechanism (the engineering), build the cabinet (the craft), anchor it like lives depend on it (they do).
Tool Worth Lab provides research-based project guidance. Buy a tested hardware kit (don’t DIY the mechanism — the engineering and safety are the kit’s value), anchor the cabinet to wall studs with lag bolts (tipping kills — non-negotiable), ensure positive locks in both positions, keep the mattress within the kit’s thickness/weight specs, and supervise children around the moving mechanism.