
There is a special kind of heartbreak reserved for the moment a tile you’ve just cut snaps along the wrong line — and a special kind of smugness when the next one breaks clean, exactly where you scored it. The difference between those two moments is about thirty seconds of technique, not talent, and definitely not a wet saw.
This guide is the no-wet-saw playbook: four tools, four techniques, and the honest line where you stop being stubborn and rent the big machine. Master the single firm score, the face-down grinder cut, the patient nibble — and your little backsplash will look like you hired it out. (Spoiler: you didn’t, and you get to keep the tools.)
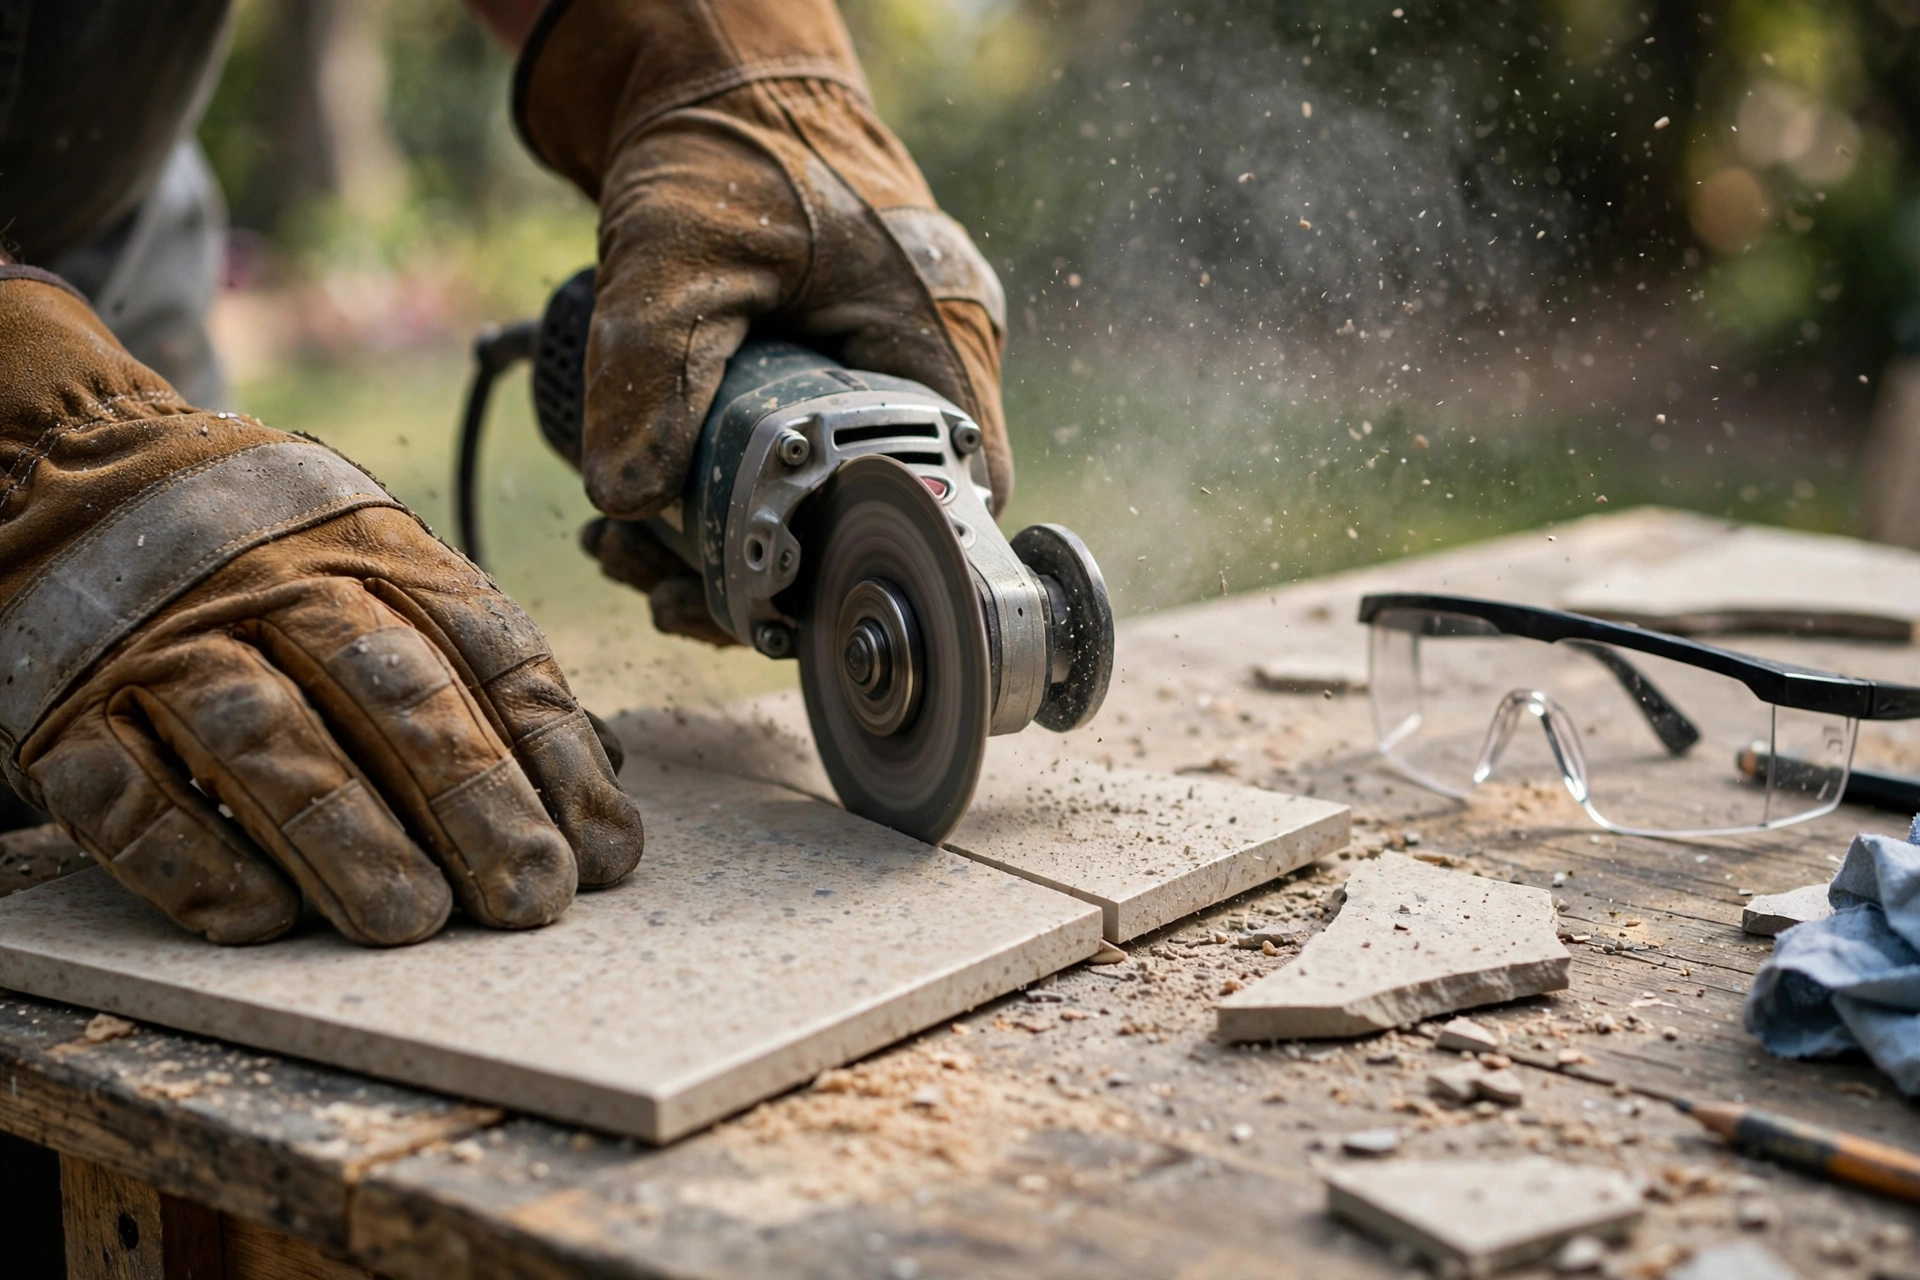
Safety first: Tile cutting creates sharp edges and silica dust — wear safety glasses (chips fly), a dust mask (especially with grinders), and gloves when handling cut tile (freshly cut edges are razor sharp). Score-and-snap is the safest method; angle grinders demand full precautions.
Method 1: Manual tile snap cutter (the best non-wet-saw option)
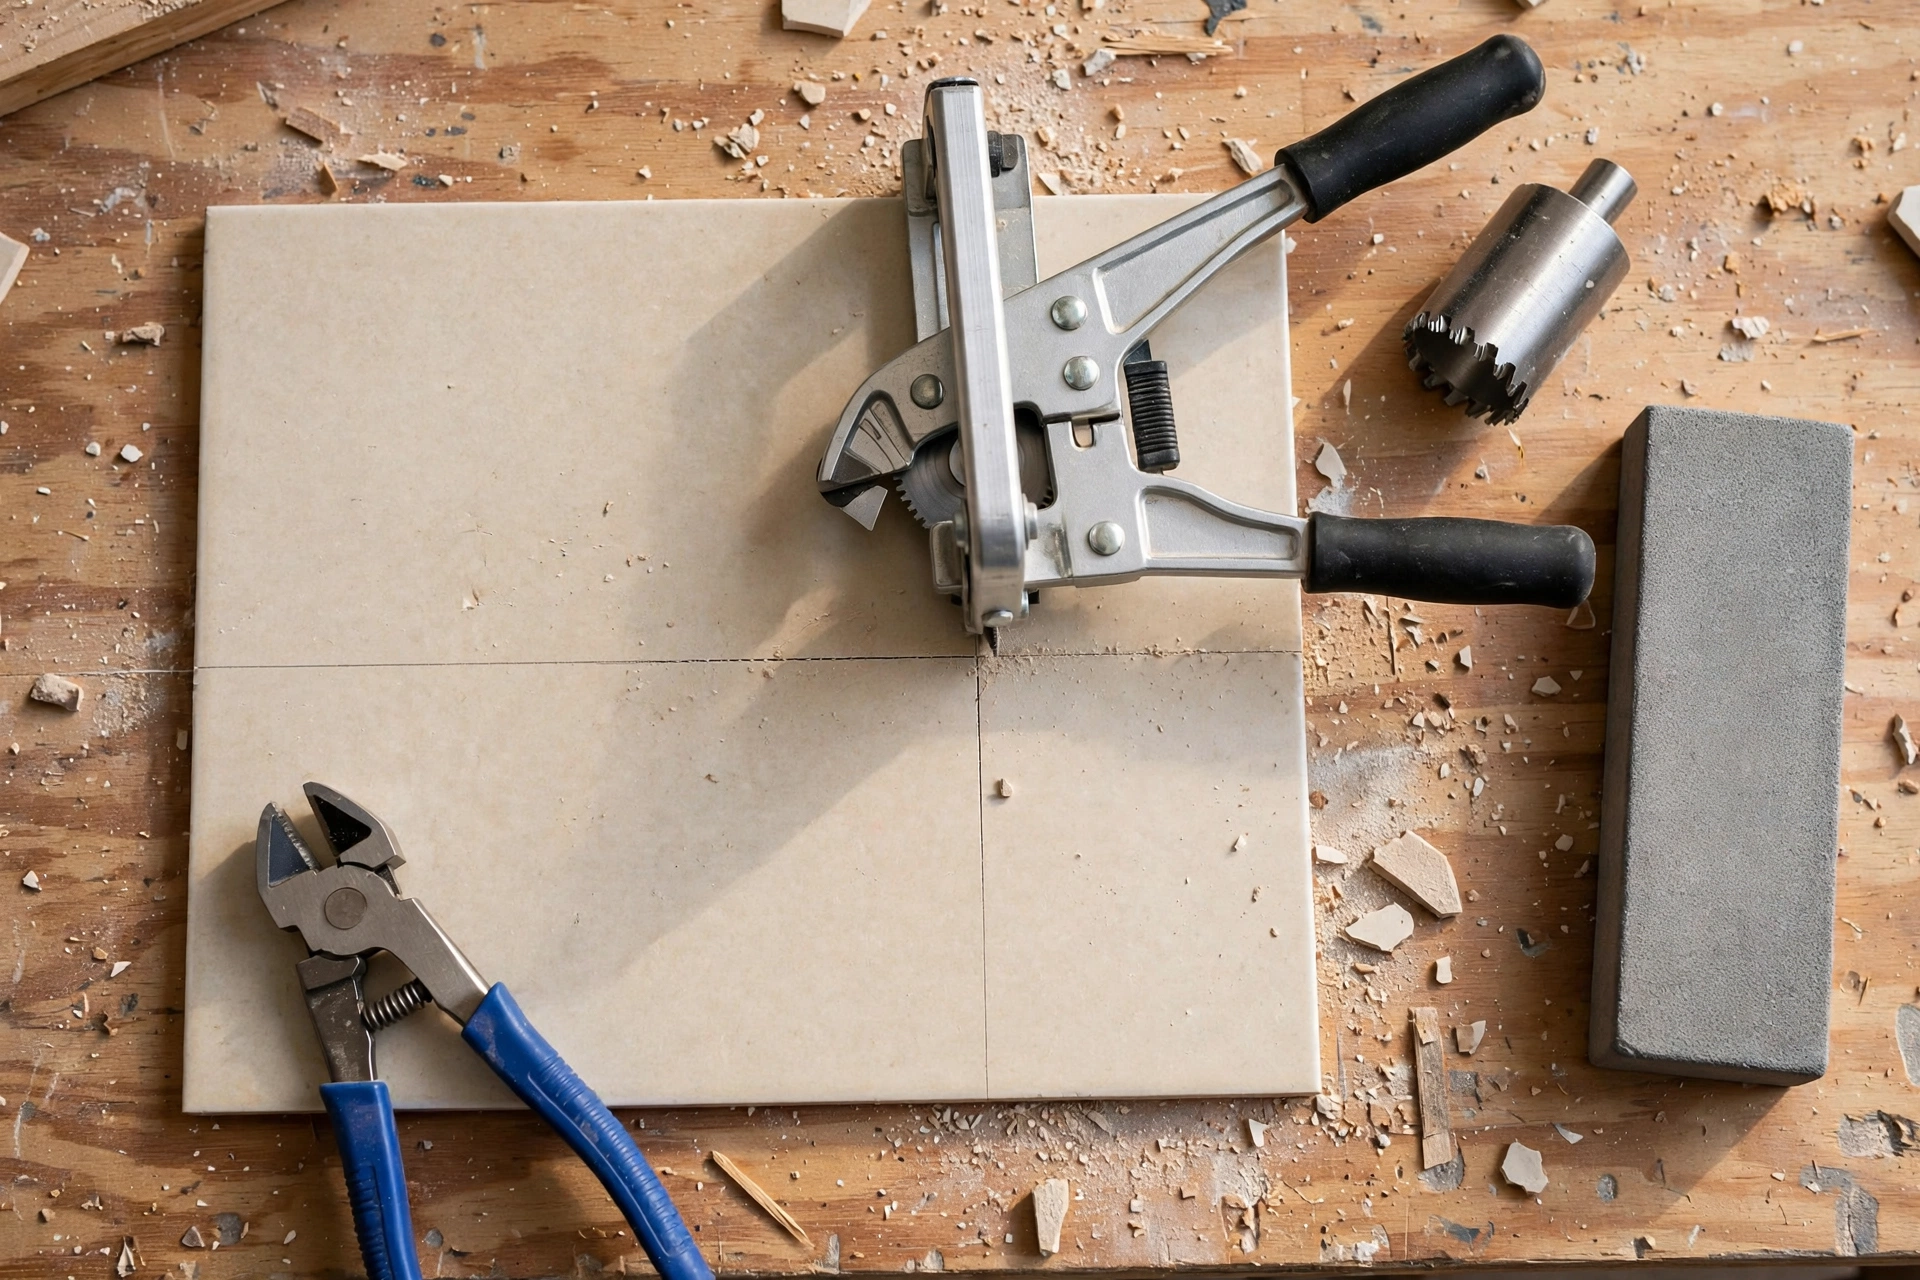
A manual cutter scores the tile’s glazed surface, then snaps it along the score — like cutting glass.
How: mark your cut line, align it with the cutter’s guide, score firmly in one smooth pass (one pass — re-scoring ruins the break), then press the breaker bar to snap.
Handles: straight cuts on ceramic and porcelain tile up to ~24″. Fast, clean, dust-free.
Costs: $30–$60 for a decent manual cutter — worth buying even for one project (it’s faster than a wet saw for straight cuts and you’ll use it for every future tile job).
Limitations: straight cuts only (no curves, no L-cuts, no holes). Very thick or hard porcelain can resist snapping — score deeper and snap decisively.
The verdict: if you’re doing any tile project without a wet saw, buy one of these first. It handles 80% of cuts on most projects.
Method 2: Angle grinder with diamond blade (the versatile powerhouse)
A 4.5″ angle grinder with a diamond tile blade cuts anything a wet saw cuts — straight, curves, L-cuts, holes — just with more dust and less precision.
How: mark the cut, secure the tile (clamp it — never hold by hand), cut slowly letting the blade do the work. For curves: make multiple straight relief cuts, then grind to the curve.
Handles: everything — straight cuts, curves, cutouts, holes (with small blades or by plunge-cutting). The universal tile cutter.
Dust control: this is the real cost of the method — dry diamond cutting generates enormous silica dust. Cut outdoors, wear a P100 respirator (not a paper dust mask), and consider a helper with a water squirt bottle (wetting the cut dramatically reduces dust).
Blade choice: continuous-rim diamond blade for tile ($15–$25) — segmented blades chip tile edges. The continuous rim gives the cleanest cut.
Method 3: Tile nippers (the curve specialist)
Pincer-like tools that bite small chunks from tile edges — for curves, notches, and fitting around pipes.
How: mark your line, then nibble — small bites, working from the edge inward. Don’t try to take big chunks (it cracks unpredictably). After nipping to the line, smooth with a rubbing stone or the grinder.
Handles: curves, circles, irregular shapes, small notches. The detail tool.
Limitations: slow, leaves a rough edge (always needs smoothing), not for straight cuts (use the snap cutter). Takes practice — your first few nips will be ugly; that’s normal.
Costs: $10–$15. Essential for any project with curves or pipe cutouts.
Method 4: Diamond hole saws (for pipes and fixtures)
For the round holes that plumbing and fixtures demand — diamond-coated hole saws in a drill.
How: mark the center, start at an angle to establish the cut (or use a guide), then go perpendicular with light pressure and water cooling (squirt bottle or helper). Let the diamonds grind — don’t force it.
Sizes: buy the specific sizes you need (common: 1/2″, 3/4″, 1-1/4″ for plumbing). Sets are $20–$30.
The water rule: diamond hole saws need water cooling — dry use overheats the diamonds and kills the saw in one hole. A constant drip or squirt bottle is non-negotiable.
The complete no-wet-saw toolkit
| Tool | Handles | Cost |
|---|---|---|
| Manual snap cutter | Straight cuts (80% of the job) | $30–$60 |
| Tile nippers | Curves, notches | $10–$15 |
| Angle grinder + diamond blade | Everything else, L-cuts, trimming | $15–$25 (blade, if you own the grinder) |
| Diamond hole saws | Pipe/fixture holes | $20–$30 |
| Rubbing stone | Smoothing rough edges | $8–$12 |
| Total | ~$83–$142 |
Versus a wet saw purchase ($100–$300) or rental ($50–$75/day plus transport hassle). For a single small project, the manual kit is cheaper; for ongoing tile work, the wet saw eventually wins on speed.
When you actually need the wet saw
Rent the Wet Saw or Buy the Manual Kit? — Keep This Chart Handy
Use your project, not your pride, to decide. Every row below comes from this guide — screenshot it before you shop or book the rental.
| Your project | Pick | Why, from this guide |
|---|---|---|
| Small ceramic or porcelain job, under about 100 sq ft (9.3 m²), mostly straight cuts | Buy the manual kit (~$83–$142 total) | The snap cutter handles 80% of cuts on most projects and is faster than a wet saw for straight cuts — no setup, no water, no rental deadline |
| Curves, notches, or pipe holes on a small job | Buy the manual kit | Nippers ($10–$15) handle curves and notches; diamond hole saws ($20–$30 a set) handle round holes — with water cooling, always |
| Large-format tile, 24 in (61 cm) or bigger | Rent the wet saw ($50–$75/day) | Manual cutters max out, and grinder cuts get wavy over long distances |
| Natural stone (marble, granite) | Rent the wet saw | The wet saw’s water cooling prevents cracking and gives the polished edge stone demands |
| Lots of cuts — 50 or more | Rent the wet saw | 50+ cuts with a grinder is slow, dusty, and exhausting; the wet saw’s speed compounds |
| Mitered edges for wrapped corners | Rent the wet saw | The precise 45° cuts need the wet saw’s accuracy |
The rental math from this guide: a wet saw costs $100–$300 to buy or $50–$75 a day to rent, plus transport hassle. One focused day of wet-saw cutting beats three days of grinder struggle — but for a single small project, the manual kit is cheaper, and the second job is where the kit beats the rental outright.
Be honest about these situations:
- Large format tile (24″+): manual cutters max out; grinder cuts get wavy over long distances.
- Natural stone (marble, granite): the wet saw’s water cooling prevents cracking and gives the polished edge stone demands.
- Lots of cuts: 50+ cuts with a grinder is slow, dusty, and exhausting. The wet saw’s speed compounds.
- Mitered edges: the precise 45° cuts for wrapped corners need the wet saw’s accuracy.
The rental math: if your project has any of the above, rent the wet saw for a day ($50–$75). One focused day of wet-saw cutting beats three days of grinder struggle.
My first backsplash: what the manual kit actually felt like
I learned these four methods on a 28-square-foot kitchen backsplash in subway ceramic, and the job taught me things no method list ever will. The snap cutter handled roughly forty straight cuts in a single afternoon, and it was genuinely faster than a wet saw would have been for those cuts — no setup, no water, no slurry to mop. But my first three tiles all broke off-line, and the reason was mine: I scored each one twice, lightly, because I was afraid of pressing too hard. A single firm score in one smooth pass is the whole technique. Light double-scoring creates two competing break lines and the tile picks neither. I burned three tiles learning that, which is exactly why you buy 10 percent extra tile — and why I now cut one practice tile before touching a single good one.
The outlet cutouts were the angle grinder’s job, done outdoors on sawhorses with the tile face-down. Two lessons there. First, dust control is not a footnote: even outdoors, dry grinding coated everything within six feet in fine white dust, and a paper dust mask was useless after ten minutes. A P100 respirator and a helper with a squirt bottle changed the job completely — the wet cut produced a fraction of the dust and I could actually see the line I was following. Second, the grinder is slow on cutouts compared to a wet saw, and I would not pretend otherwise. Each outlet box took several careful passes. Patience is the price of skipping the rental.
The nippers taught me the same lesson about impatience from the other direction. Fitting tile around a pipe stub, I tried to bite off a big chunk at once and cracked a tile straight across the glaze. Slow nibbles from the edge inward, then the rubbing stone to smooth the edge, gave a clean curve on the second attempt. Nippers reward small bites the way the snap cutter rewards one firm score — every tile tool in this kit has exactly one technique, and rushing it is what breaks tiles.
The cost tally for the whole kit was $107: snap cutter $45, nippers $12, continuous-rim diamond blade $19, diamond hole saw $22, rubbing stone $9. A wet saw rental would have been about $65 plus driving and a deadline. For that one backsplash, the rental was arguably cheaper — but I have since used the same kit on a bathroom floor repair, and that second job is where the kit beat the rental outright. My firm opinion after both jobs: under about 100 square feet of ceramic or porcelain, buy the manual kit and keep it. Over that, or for natural stone, rent the wet saw and stop being proud about it. The whole backsplash took one weekend, roughly ten hours, and the only tiles I lost were the three I scored twice on the first afternoon.
Can I cut porcelain tile without a wet saw?
Yes — a good manual snap cutter handles most porcelain straight cuts (score firmly, snap decisively). Very hard/large porcelain may need the angle grinder. The “porcelain needs a wet saw” claim is overstated for straight cuts.
Why is my tile chipping when I cut it?
Usually: dull/wrong blade (use continuous-rim diamond, not segmented), cutting too fast (let the blade grind), or cutting face-up (cut face-down with grinders — chips happen on the exit side). For snap cutters: a single firm score, not multiple light passes.
How do I cut a circle in tile?
Three options: diamond hole saw (cleanest for small holes), nippers (nibble to the marked circle, then smooth), or angle grinder (plunge-cut a series of straight cuts approximating the circle, then grind smooth). Hole saw for plumbing, nippers for irregular.
Do I really need water when cutting with a grinder?
For dust control: it’s transformative (wet cutting produces a fraction of the dust). For blade life: yes for hole saws, helpful for straight cuts. For safety: silica dust is a genuine health hazard — the water isn’t optional fussiness, it’s lung protection.
What’s a rubbing stone for?
Smoothing the sharp, rough edges left by nippers and grinder cuts — a few passes knock down the razor edge and even out irregularities. Essential for any cut edge that will be visible or handled. $8–$12, lasts forever.
Can I use a regular circular saw to cut tile?
Technically yes with a diamond blade — but the large blade and high speed make it unwieldy for tile’s small scale, and the dust is extreme. The angle grinder is the better handheld choice. (And never use a wood blade on tile — obvious, but stated.)
Mistakes to Avoid — Bookmark This Checklist
Most broken tiles aren’t bad luck — they’re one of these seven mistakes. Check this list before your first cut.
- Scoring twice, lightly: score firmly in one smooth pass only. Re-scoring, or two light scores, creates competing break lines and the tile picks neither.
- Cutting face-up with a grinder: chips happen on the exit side, so cut face-down with grinders.
- Using a segmented blade on tile: use a continuous-rim diamond blade for the cleanest cut; segmented blades chip tile edges.
- Holding tile by hand while grinding: clamp the tile and never hold it by hand, and cut slowly with a 4.5-in (11.4 cm) angle grinder, letting the blade do the work.
- Running a diamond hole saw dry: hole saws need water cooling — a constant drip or squirt bottle is non-negotiable, or dry use kills the saw in one hole.
- Trusting a paper dust mask for grinder dust: dry diamond cutting makes enormous silica dust. Cut outdoors, wear a P100 respirator, and wet the cut where you can.
- Taking big bites with nippers, or skipping spares: nibble in small bites from the edge inward, smooth with a rubbing stone, and buy 10 percent extra tile plus one practice tile — your first few nips will be ugly, and that’s normal.
Reference sizes from this guide: snap cutters handle straight cuts on ceramic and porcelain up to about 24 in (61 cm); common hole-saw sizes are 1/2 in (1.3 cm), 3/4 in (1.9 cm), and 1-1/4 in (3.2 cm) for plumbing.
The verdict: the method matrix
| Cut type | Best no-wet-saw method |
|---|---|
| Straight cuts | Manual snap cutter |
| Curves and notches | Tile nippers (+ rubbing stone) |
| L-cuts and cutouts | Angle grinder with diamond blade |
| Round holes | Diamond hole saws with water |
| Edge smoothing | Rubbing stone |
| Everything, fast, on big projects | Rent the wet saw |
The wet saw is the best tile cutter — but “best” and “necessary” aren’t the same. For small projects, the manual kit (snap cutter + nippers + grinder + hole saws) handles every cut type at lower cost and zero rental hassle. Know the methods, respect the dust, and cut with confidence.
Keep Reading
More projects in the same league — measure twice, build once:
- How to Drill Into Tile Without Cracking It (Pro Method)
- How to Install a Bathroom Faucet (Step-by-Step Guide)
- How to Install a Replacement Window (Step-by-Step Guide)
Tool Worth Lab provides research-based DIY guidance. Always wear eye protection and a P100 respirator when dry-cutting tile — silica dust is a serious health hazard. Freshly cut tile edges are razor sharp; handle with gloves.