
Here is a sound every DIYer learns to dread: the high-pitched squeal of a drill bit spinning on steel, going nowhere, while a thin wisp of blue smoke curls up from the hole. That sound is money burning — your bit is dying, and the steel underneath it is hardening into something the bit can barely touch.
I used to think drilling metal was a talent — something the guys in the machine shop were just born with. It is not. It is three boring-sounding things done right: the right bit, a slow speed, and plenty of cutting fluid. Get those three right and the squealing stops, the chips come off in neat little springs, and one good bit survives job after job.
This guide is the whole recipe, no talent required: which bit for which metal, the speeds that actually work, and the technique that keeps your bits alive. Read it once, and the next hole you drill in steel will feel completely different.
Here is a sound every DIYer learns to dread: the high-pitched squeal of a drill bit spinning on steel, going nowhere, while a thin wisp of blue smoke curls up from the hole. That sound is money burning — your bit is dying, and the steel underneath it is hardening into something the bit can barely touch.
I used to think drilling metal was a talent — something the guys in the machine shop were just born with. It is not. It is three boring-sounding things done right: the right bit, a slow speed, and plenty of cutting fluid. Get those three right and the squealing stops, the chips come off in neat little springs, and one good bit survives job after job.
This guide is the whole recipe, no talent required: which bit for which metal, the speeds that actually work, and the technique that keeps your bits alive. Read it once, and the next hole you drill in steel will feel completely different.
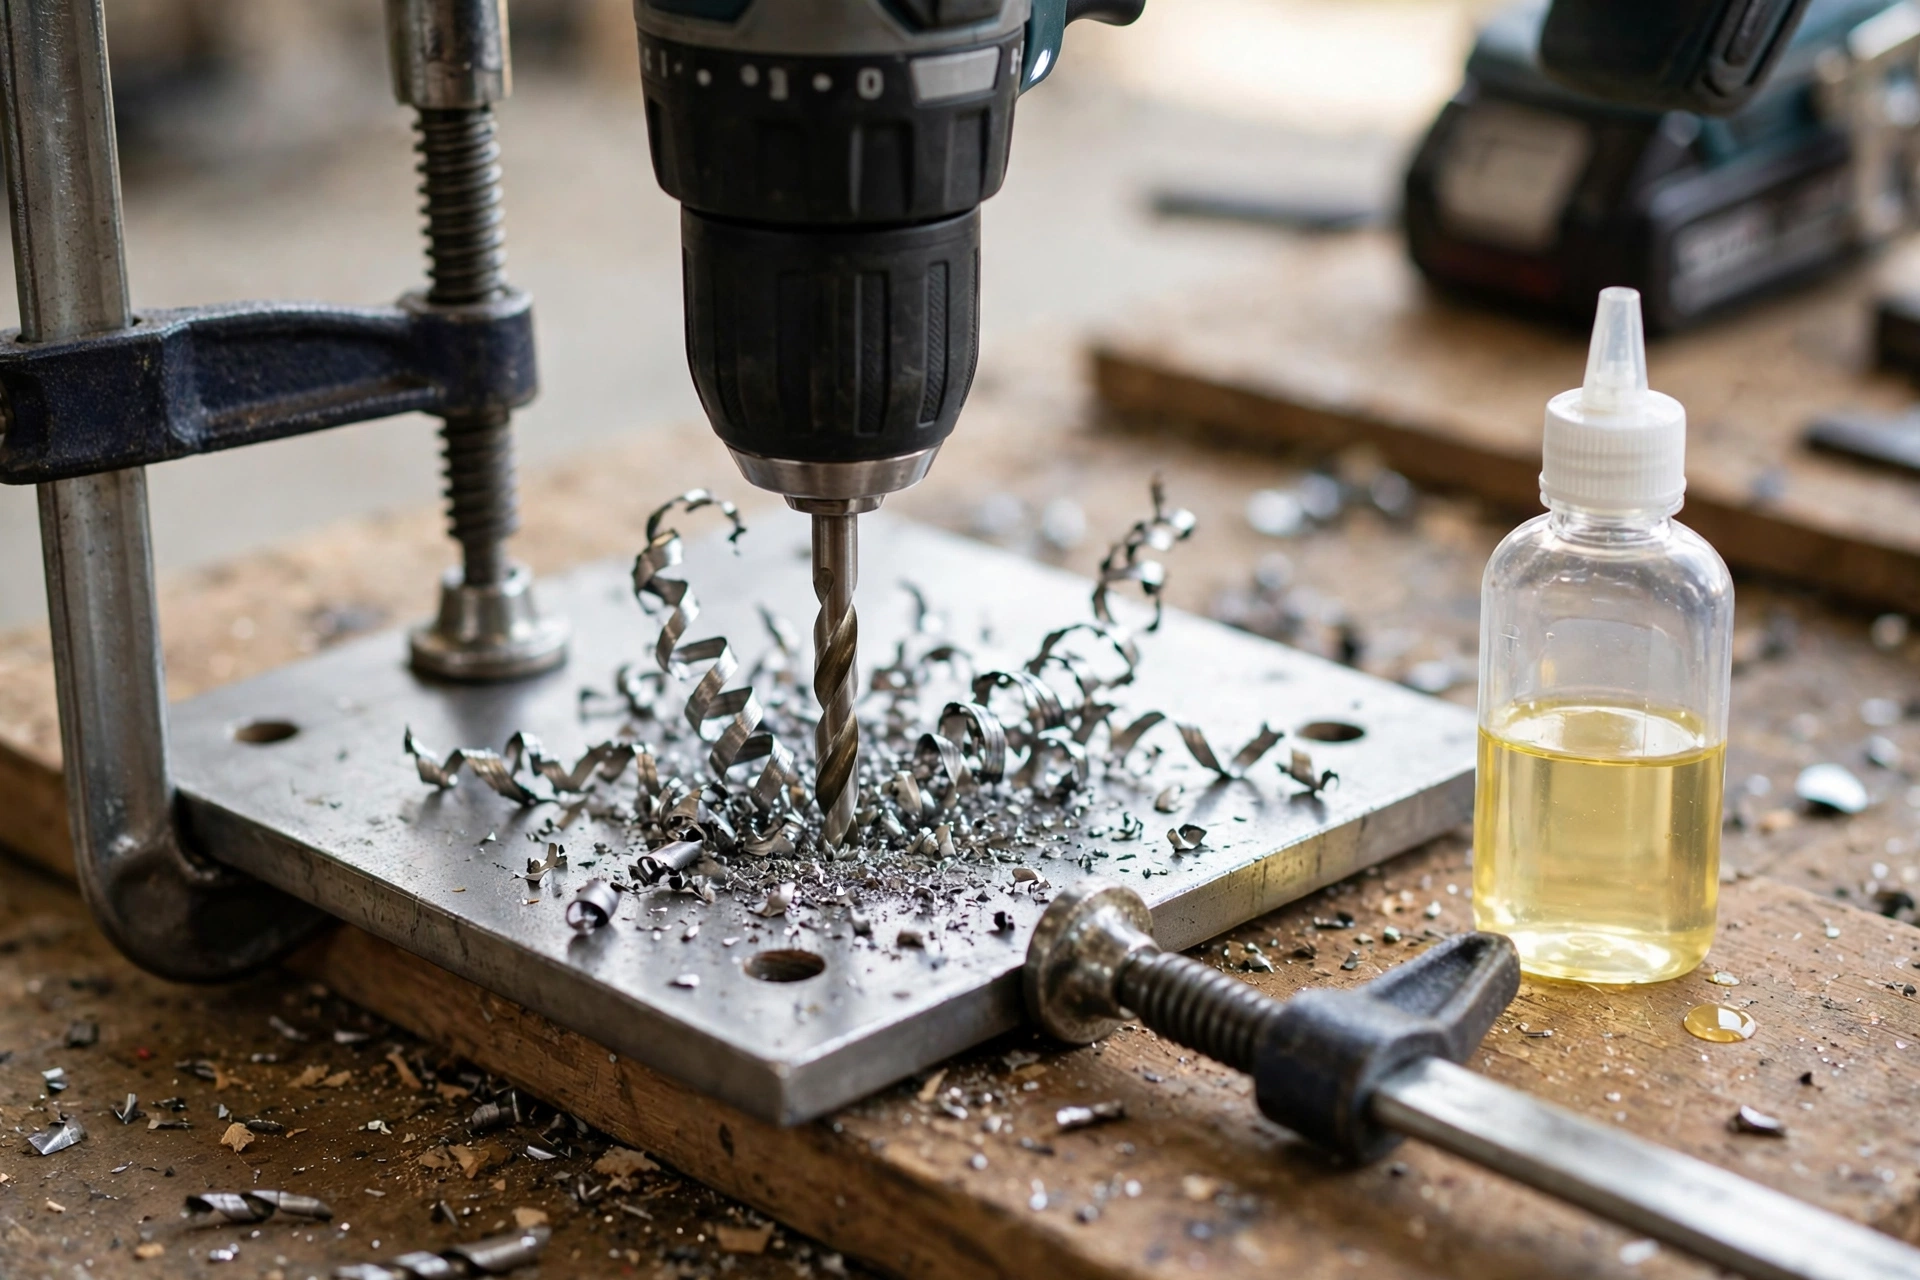
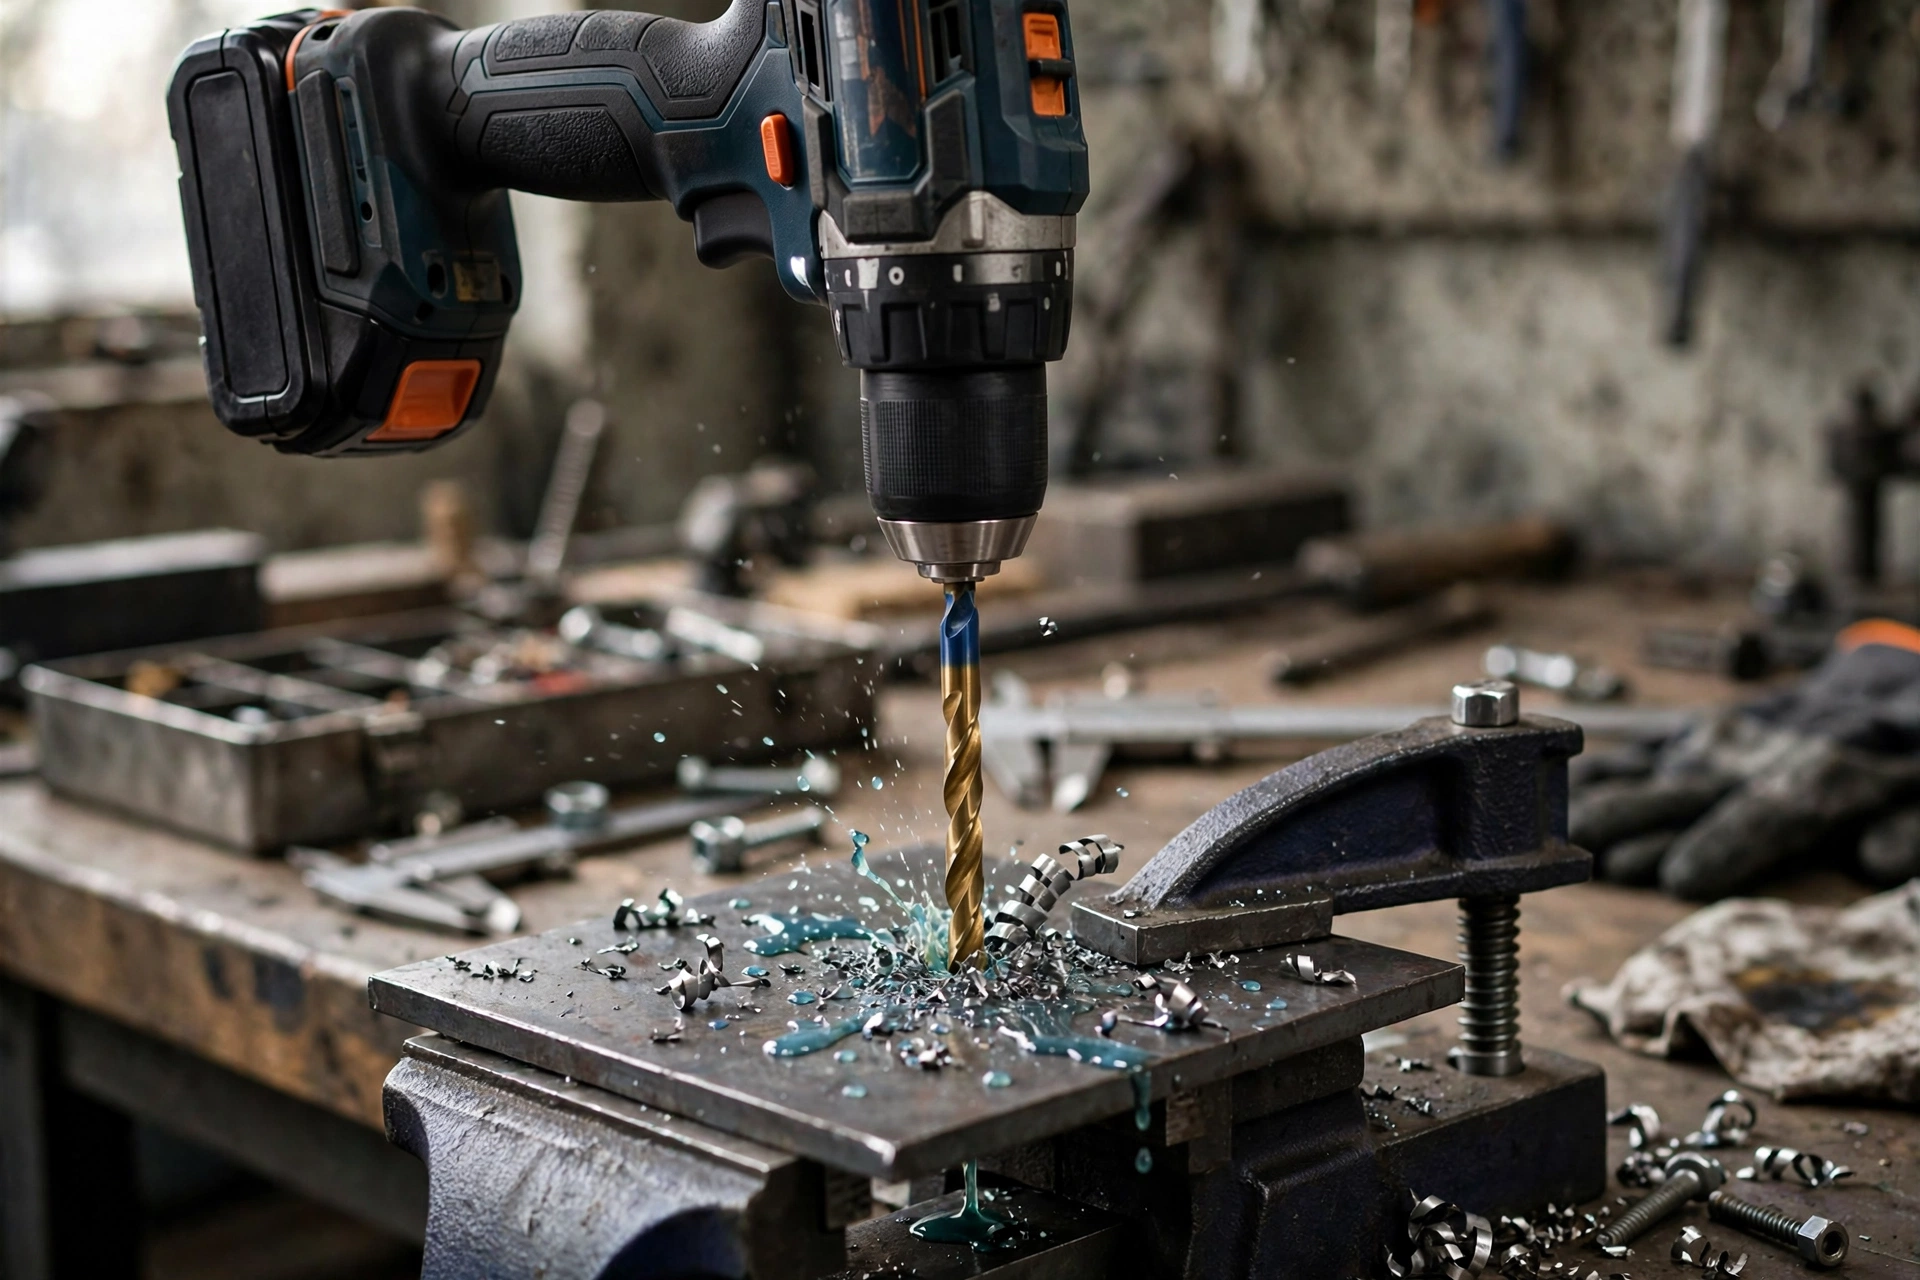
Pro tip: listen to the bit — continuous cutting sounds and curled chips mean you’re winning; squealing means stop and slow down. Mistake to avoid: running full speed on stainless and letting the bit rub without cutting, which work-hardens the surface into something nearly undrillable.
Safety first: Metal drilling creates razor-sharp chips and hot workpieces — wear safety glasses (chips fly fast and hot), gloves when handling drilled metal (edges are sharp, metal gets hot), and secure the workpiece (a spinning metal piece is extremely dangerous). Never hold small metal parts by hand while drilling.
The bits: what actually works
HSS (high-speed steel) — the standard
The baseline metal-drilling bit. Handles mild steel, aluminum, brass, copper, and plastics.
- The 135° split point is the feature that matters — it starts on contact without wandering (no center punch needed on flat surfaces) and cuts more aggressively than the standard 118° point.
- Good for: 90% of DIY metal drilling — brackets, enclosures, general fabrication.
Cobalt bits — the step up
HSS with cobalt alloyed in (M35/M42) — harder, more heat-resistant.
- For: stainless steel, hardened steel, and production drilling where bits get hot. The heat resistance is the real advantage — they stay hard where HSS softens.
- Worth it if: you drill stainless or hard steel regularly. For occasional mild steel: HSS suffices.
Titanium-coated — the marketing trap (mostly)
Titanium nitride coating on HSS — gold-colored, prominently marketed.
- The truth: the coating helps briefly, but once it wears off the cutting edge (quickly), you’re left with ordinary HSS underneath. Don’t pay a large premium for the coating alone.
- Verdict: fine if the price is close to uncoated HSS, but the coating isn’t a substitute for proper technique.
Step bits (unibits) — the sheet metal specialist
Cone-shaped bits that drill multiple hole sizes — perfect for thin sheet metal, enclosures, and panels.
- For: sheet metal up to ~1/8″ — electrical panels, automotive sheet, thin brackets. One bit replaces a full set for common sizes.
- Technique: light pressure, moderate speed, cutting fluid. Let each step cut fully before advancing.
Full drill bit guide here for the complete bit family.
Speed: the #1 mistake
Bigger bit + harder metal = slower speed. This is the rule beginners violate most — they run full speed on everything, overheat the bit, and wonder why it stopped cutting.
| Material | 1/8″ bit | 1/4″ bit | 1/2″ bit |
|---|---|---|---|
| Aluminum | 3000 RPM | 3000 RPM | 1500 RPM |
| Mild steel | 2000 RPM | 1000 RPM | 500 RPM |
| Stainless steel | 1000 RPM | 500 RPM | 250 RPM |
(Approximate — the principle matters more than exact numbers: slow down as bits get bigger and metal gets harder.)
Why slow matters: heat is the enemy — it softens the bit’s cutting edge, work-hardens the metal (especially stainless), and destroys temper. A slow bit with cutting fluid cuts faster than a fast bit that’s overheated and dull. Counterintuitive but absolute.
The sound test: a properly-fed bit makes continuous cutting sounds with curled chips. Squealing = too fast or too little pressure. Smoking = stop immediately, you’re killing the bit.
Cutting fluid: not optional
Cutting fluid (cutting oil) does three things: cools the cut, lubricates the cutting edge, and helps evacuate chips.
- What to use: dedicated cutting fluid is best; in a pinch, motor oil, WD-40 (for aluminum especially), or even soapy water work. Something is infinitely better than nothing.
- How: apply generously at the start and reapply during the cut. For deep holes, withdraw periodically to clear chips and reapply.
- Aluminum special case: aluminum galls (sticks to the bit) — WD-40 or kerosene-based fluids prevent this specifically. Dry drilling aluminum is asking for a seized bit.
The difference: with cutting fluid, bits last 10x longer and cut noticeably faster. It’s the highest-ROI consumable in metal drilling.
The technique (step by step)
1. Mark and center-punch
Mark your hole location. Center-punch it (a sharp dimple) — this gives the bit a place to start and prevents wandering. (With 135° split-point bits on flat surfaces, you can often skip this — but the punch never hurts.)
2. Secure the workpiece
Clamp it. A spinning workpiece is one of the most dangerous situations in DIY — the metal catches the bit and whirls. Vise, clamps, or a drill press vise — never hand-hold.
3. Start slow, establish the cut
Begin at moderate speed with firm, steady pressure. You want continuous chip formation — curled spirals of metal coming off the bit. If you’re making dust instead of chips, something’s wrong (too fast, dull bit, no fluid).
4. Peck for deep holes
For holes deeper than the bit diameter: drill a bit, withdraw to clear chips, reapply fluid, repeat. Packed chips overheat the bit and can seize it in the hole.
5. Break through gently
As the bit breaks through the far side, ease off the pressure — the bit grabs as it exits, which can yank the workpiece or leave a ragged burr. Light pressure through the breakthrough, then deburr the hole (larger bit twirled by hand, or a deburring tool).
6. Step up for large holes
Don’t drill a 1/2″ hole in one shot — step up through intermediate sizes (1/8″ → 1/4″ → 3/8″ → 1/2″). Each step removes less material, needs less force, and gives a cleaner hole. The pilot hole also guides the larger bits.
Metal-specific notes
Mild steel
The baseline — HSS bits, moderate speeds, cutting fluid. Straightforward.
Stainless steel
The difficult one — it work-hardens: if the bit rubs without cutting, the surface hardens and becomes nearly undrillable.
- Use cobalt bits, slow speeds, firm pressure (the bit must cut, not rub).
- Generous cutting fluid, never let it run dry.
- Once it work-hardens from rubbing, even cobalt struggles — prevention (slow + pressure + fluid from the start) is everything.
Aluminum
Soft, gummy, grabs bits:
- High speeds OK, but use lubricant (WD-40) to prevent galling.
- Back the thin sheet with scrap wood — prevents the bit grabbing and deforming the exit.
- Step bits excel here.
Cast iron
Abrasive and dusty — it eats bits:
- Carbide or cobalt bits, slow speeds, no fluid needed (the graphite in cast iron is self-lubricating — fluid makes an abrasive paste).
- Dust mask essential — the fine graphite dust is unpleasant.
Bookmark This Checklist — Before You Drill Metal
- Bit picked: HSS for mild steel, aluminium, brass and copper; cobalt for stainless and hardened steel; step bit for thin sheet metal.
- Speed rule applied: larger bits and harder metals need slower speeds (if it squeals or smokes, stop — you are too fast).
- Cutting fluid ready: dedicated cutting fluid, or WD-40 for aluminium; reapply during the cut, and withdraw to clear chips on deep holes.
- Workpiece clamped: vise or clamps — never hand-hold small metal parts.
- Hole marked and centre-punched so the bit starts without wandering.
- Peck on deep holes: drill a bit, withdraw, clear chips, reapply fluid, repeat.
- Breakthrough eased off: light pressure as the bit exits, then deburr the hole.
- Large holes stepped up through intermediate sizes instead of drilled in one shot.
- Stainless rule remembered: once the bit starts cutting, keep it cutting — stopping lets the surface work-harden.
Keep This Chart Handy — Pick the Right Bit for Your Metal
Grab the wrong bit and no amount of technique saves you. Match the metal first, then the speed:
| Metal | Grab this bit | Speed rule | Fluid |
|---|---|---|---|
| Mild steel | HSS with a 135° split point — the baseline metal-drilling bit | Slow down as the bit gets bigger: 1/8 in (3.2 mm) ≈ 2,000 RPM; 1/2 in (12.7 mm) ≈ 500 RPM | Cutting fluid, reapplied during the cut |
| Stainless steel | Cobalt (M35/M42) — harder and more heat-resistant than HSS | Slow and firm: 1/8 in (3.2 mm) ≈ 1,000 RPM; 1/2 in (12.7 mm) ≈ 250 RPM | Generous cutting fluid from the very first contact — never let it run dry |
| Aluminium | HSS — or a step bit for thin sheet metal | High speeds are OK | WD-40 to stop galling — dry drilling seizes the bit |
| Brass and copper | HSS | Moderate speeds | Cutting fluid |
| Cast iron | Carbide or cobalt | Slow speeds | None — the graphite in cast iron is self-lubricating, and fluid makes an abrasive paste |
| Thin sheet metal (up to ~1/8 in / 3.2 mm) | Step bit — one bit replaces a full set for common sizes | Light pressure, moderate speed; let each step cut fully before advancing | Cutting fluid |
One warning that applies to every row: a titanium coating alone does not make a cheap bit good. The coating wears off the cutting edge quickly, leaving ordinary HSS underneath — fine if the price is close to uncoated HSS, but never a substitute for proper technique.
A speed chart you can actually use
Guessing drill speed is how bits die. The rule is simple: bigger bits and harder metals go slower, and the numbers below are starting points for a hand drill in mild steel, not laboratory maximums. If the bit squeals, smokes, or turns blue, you are already too fast — stop, let it cool, and drop the speed before the next hole.
| Bit size | Mild steel | Stainless steel | Aluminium |
|---|---|---|---|
| 1/8 inch | 1,500–2,000 RPM | 750–1,000 RPM | 2,500–3,000 RPM |
| 1/4 inch | 800–1,000 RPM | 400–500 RPM | 1,500–2,000 RPM |
| 3/8 inch | 500–650 RPM | 250–350 RPM | 1,000–1,200 RPM |
| 1/2 inch | 350–450 RPM | 180–250 RPM | 700–900 RPM |
Two habits matter more than hitting an exact number. First, drill in steps for anything over 1/4 inch: a 1/8 inch pilot hole, then the final size, keeps the big bit centred and cuts the force it needs. Second, peck the drill — short bursts of cutting with brief lifts to clear chips and let fluid reach the edge — instead of leaning on the trigger continuously. Continuous pressure packs chips into the flutes, traps heat, and is the usual reason a hole halfway through suddenly seizes.
For thin sheet metal, the danger flips: the bit grabs as it breaks through and spins the sheet. Back the sheet with scrap wood, clamp both, and ease off the pressure for the last millimetre. For stainless, add one more rule and never break it: once the bit starts cutting, keep it cutting. Stopping and restarting on the same spot lets the surface work-harden, and a hardened spot can be harder than the bit itself.
Something Went Wrong? Diagnose the Hole — Keep This Chart Handy
Every bad hole leaves a clue. Read the clue, fix the cause, and the next hole behaves:
| What you see | What went wrong | The fix |
|---|---|---|
| Bit spins without cutting | Too fast, no cutting fluid, too little pressure, or the bit is already dull | Slow down, add fluid, push firmly, or start with a fresh bit |
| Blue smoke from the hole | Bit overheated past its temper — the cutting edge has softened and will not hold an edge well again | You can resharpen it, but the overheated steel is compromised; prevention (slow + fluid) beats recovery |
| Squealing, chips not curling | Too fast for the bit and the metal | Stop, let the bit cool, and drop the speed before the next hole |
| Stainless surface suddenly undrillable | Work hardening — the bit rubbed without cutting and the surface hardened | Cobalt bit, slow speed, firm continuous pressure, and a flood of cutting fluid from the very first contact |
| Hole seizes halfway through | Chips packed into the flutes, heat trapped by continuous pressure | Peck the drill: short bursts of cutting with brief lifts to clear chips and let fluid reach the edge |
| Thin sheet spins or grabs at breakthrough | Bit grabs as it breaks through the sheet | Back the sheet with scrap wood, clamp both, and ease off the pressure for the last millimetre |
Why does my drill bit just spin without cutting?
Usually: too fast (overheated/dulled the edge), no cutting fluid, insufficient pressure (especially in stainless — it work-hardens), or the bit is already dull from previous abuse. Slow down, add fluid, push firmly, or start with a fresh bit.
Can I drill metal with a regular drill?
Yes — any drill works for metal with the right bit and speed. A drill press is better (consistent speed, perpendicular holes, both hands free for the workpiece), but a hand drill handles most DIY metal drilling fine. Drill buying guide covers the drill side.
How do I drill a perfectly straight hole without a drill press?
Drill guide attachments ($15–$30) hold your hand drill perpendicular — a worthwhile accessory. Or: start the hole with a small bit (easier to keep straight), then step up — the pilot guides the larger bits.
What’s the blue smoke — did I ruin my bit?
Blue smoke means the bit overheated past its temper — the cutting edge has softened and won’t hold an edge well again. You can resharpen it, but the overheated steel is compromised. Prevention (slow + fluid) beats recovery.
Can I enlarge an existing hole in metal?
Yes — step bits are ideal for enlarging (they follow the existing hole), or use progressively larger twist bits. Clamp securely — the bit wants to grab the hole edge.
Why does stainless steel destroy my bits?
Work hardening — the #1 stainless killer. If the bit spins without cutting (too fast, too little pressure, no fluid), the surface hardens to the point where even fresh bits struggle. The fix is all prevention: cobalt bit, slow speed, firm continuous pressure, flood of cutting fluid, from the very first contact.
The verdict: the metal-drilling formula
Right bit (HSS minimum, cobalt for stainless) + slow speed + cutting fluid + firm pressure + secured workpiece = clean holes.
Five elements, none optional. Skip the fluid and you halve bit life. Skip the slow speed and you work-harden stainless into undrillability. Skip the clamping and you risk injury. But get all five right, and drilling metal becomes as routine as drilling wood — just slower, oilier, and more satisfying.
Tool Worth Lab provides research-based technique guidance. Always wear safety glasses, secure workpieces (never hand-hold), and use cutting fluid — dry high-speed drilling destroys bits and work-hardens steel.
Bookmark This Checklist — Metal-Drilling Kit, Packed Before You Start
Pack it all before the first hole. Metal does not forgive a mid-job shopping trip:
- The right bit for the metal — HSS for general work, cobalt for hard steel and stainless; a titanium coating alone does not make a cheap bit good.
- A step bit for sheet-metal holes.
- A center punch — a skating bit starts with a skipped punch mark.
- Clamps — the workpiece must not move, ever, not even a little.
- Cutting fluid — not optional on metal, and reapplied as you drill.
- Eye protection, plus gloves for handling cut metal afterward — never near the spinning bit.
- A file or deburring tool for the exit burr.
- A scrap piece for a test hole at the right speed — prove the setup before the real workpiece.