
Quick Answer: Almost every angle grinder injury comes from the same handful of preventable mistakes — removed guards, wrong discs, a one-handed grip, standing in the wrong spot. Keep the guard on, fit the right disc, use both hands, and stay out of the disc’s line: follow the rules and the grinder is a safe tool; skip them and it becomes the cautionary tale.
Here is the uncomfortable truth about the angle grinder: it is the only tool in your workshop that can hurt you faster than you can flinch. No slow-motion warning, no second chance — just a spinning disc, one casual shortcut, and a story you will be telling in the emergency room.
Here is the twist, though: the grinder is not actually out to get you. It is just brutally honest about shortcuts — skip the guard, grab the wrong disc, stand in the wrong spot, and it collects the debt on the spot. Respect a handful of simple rules and it pays you back with the fastest cutting and grinding you will ever own.

Safety first: This entire article is safety. The non-negotiables: eye protection (face shield for heavy grinding), the guard stays ON always, correct disc for the task, two-handed grip with the auxiliary handle, and never grind with the disc’s edge facing you in the kickback zone. Read the whole guide before first use.
The safety rules (memorize these)
1. The guard stays on. Always.
The #1 grinder injury cause is guard removal — usually “for better visibility” or to fit a larger disc. The guard deflects shattered disc fragments away from you. A shattered disc without a guard sends shrapnel in all directions at ballistic speed.
No exceptions. If the guard prevents the cut, you need a different tool or approach — not a guardless grinder.
2. Right disc, right task, undamaged
- Grinding disc (thick) for grinding; cutting disc (thin) for cutting. Never grind with a cutting disc (the thin disc flexes and shatters under side load) or cut with a grinding disc (it binds and kicks back).
- Inspect every disc before mounting — cracks, chips, warping = discard. Tap test: a good disc rings; a cracked one thuds.
- Check the RPM rating — the disc’s max RPM must exceed the grinder’s RPM. This is printed on every disc. Mismatched = shattering risk.
- Correct mounting — the right flange orientation, snug (not gorilla-tight), correct bore size. A wobbling disc is a shattering disc.
3. Two hands, auxiliary handle, solid stance
- Always use the auxiliary (side) handle — it gives the control that prevents kickback injuries. One-handed grinding is asking for it.
- Stance: balanced, to the side of the disc’s plane (not in line with it — if the disc shatters or kicks back, you don’t want to be in the fragment path).
- Grip firmly — the grinder will try to move; your grip is the control system.
4. Let the tool do the work
Don’t force it. Excessive pressure causes binding, overheating, disc damage, and kickback. Guide the grinder; let the disc’s speed do the cutting. If it’s not cutting, the disc is wrong or dull — not your pressure.
5. Mind the kickback zone
Kickback happens when the disc binds or pinches — the grinder violently throws back toward you. Prevention:
- Cut so the disc exits freely — support the workpiece so the cut doesn’t close on and pinch the disc.
- Never cut between two supported points where the offcut can sag and pinch (support both sides, or support so the offcut falls free).
- Approach at the right angle — grinding at 15–30° to the surface; cutting perpendicular.
- Anticipate the direction — know which way the grinder will kick if it binds, and don’t have body parts there.
Basic technique: grinding
- Secure the workpiece — clamped, in a vise, never hand-held.
- Guard positioned between you and the disc.
- Start the grinder away from the work — let it reach full speed first.
- Approach at 15–30° — the disc’s face does the work, not its edge.
- Smooth, sweeping motions — keep moving, don’t dwell (dwelling gouges and overheats).
- Light to moderate pressure — the weight of the tool plus guidance.
Basic technique: cutting
- Mark the cut clearly.
- Support so the offcut falls free — the critical setup. If the offcut pinches the disc: kickback.
- Cutting disc (thin) mounted correctly.
- Start away from work, full speed, then enter the cut gently.
- Straight, steady feed — don’t twist or angle the disc in the cut (side load shatters thin discs).
- Let it cut — minimal pressure, steady advance.
Keep This Chart Handy — Which Disc for Which Job
Screenshot this for the workshop wall or the store aisle. Every row names the job, and the one thing that will ruin your day if you get it wrong.
| Disc | For | Never |
|---|---|---|
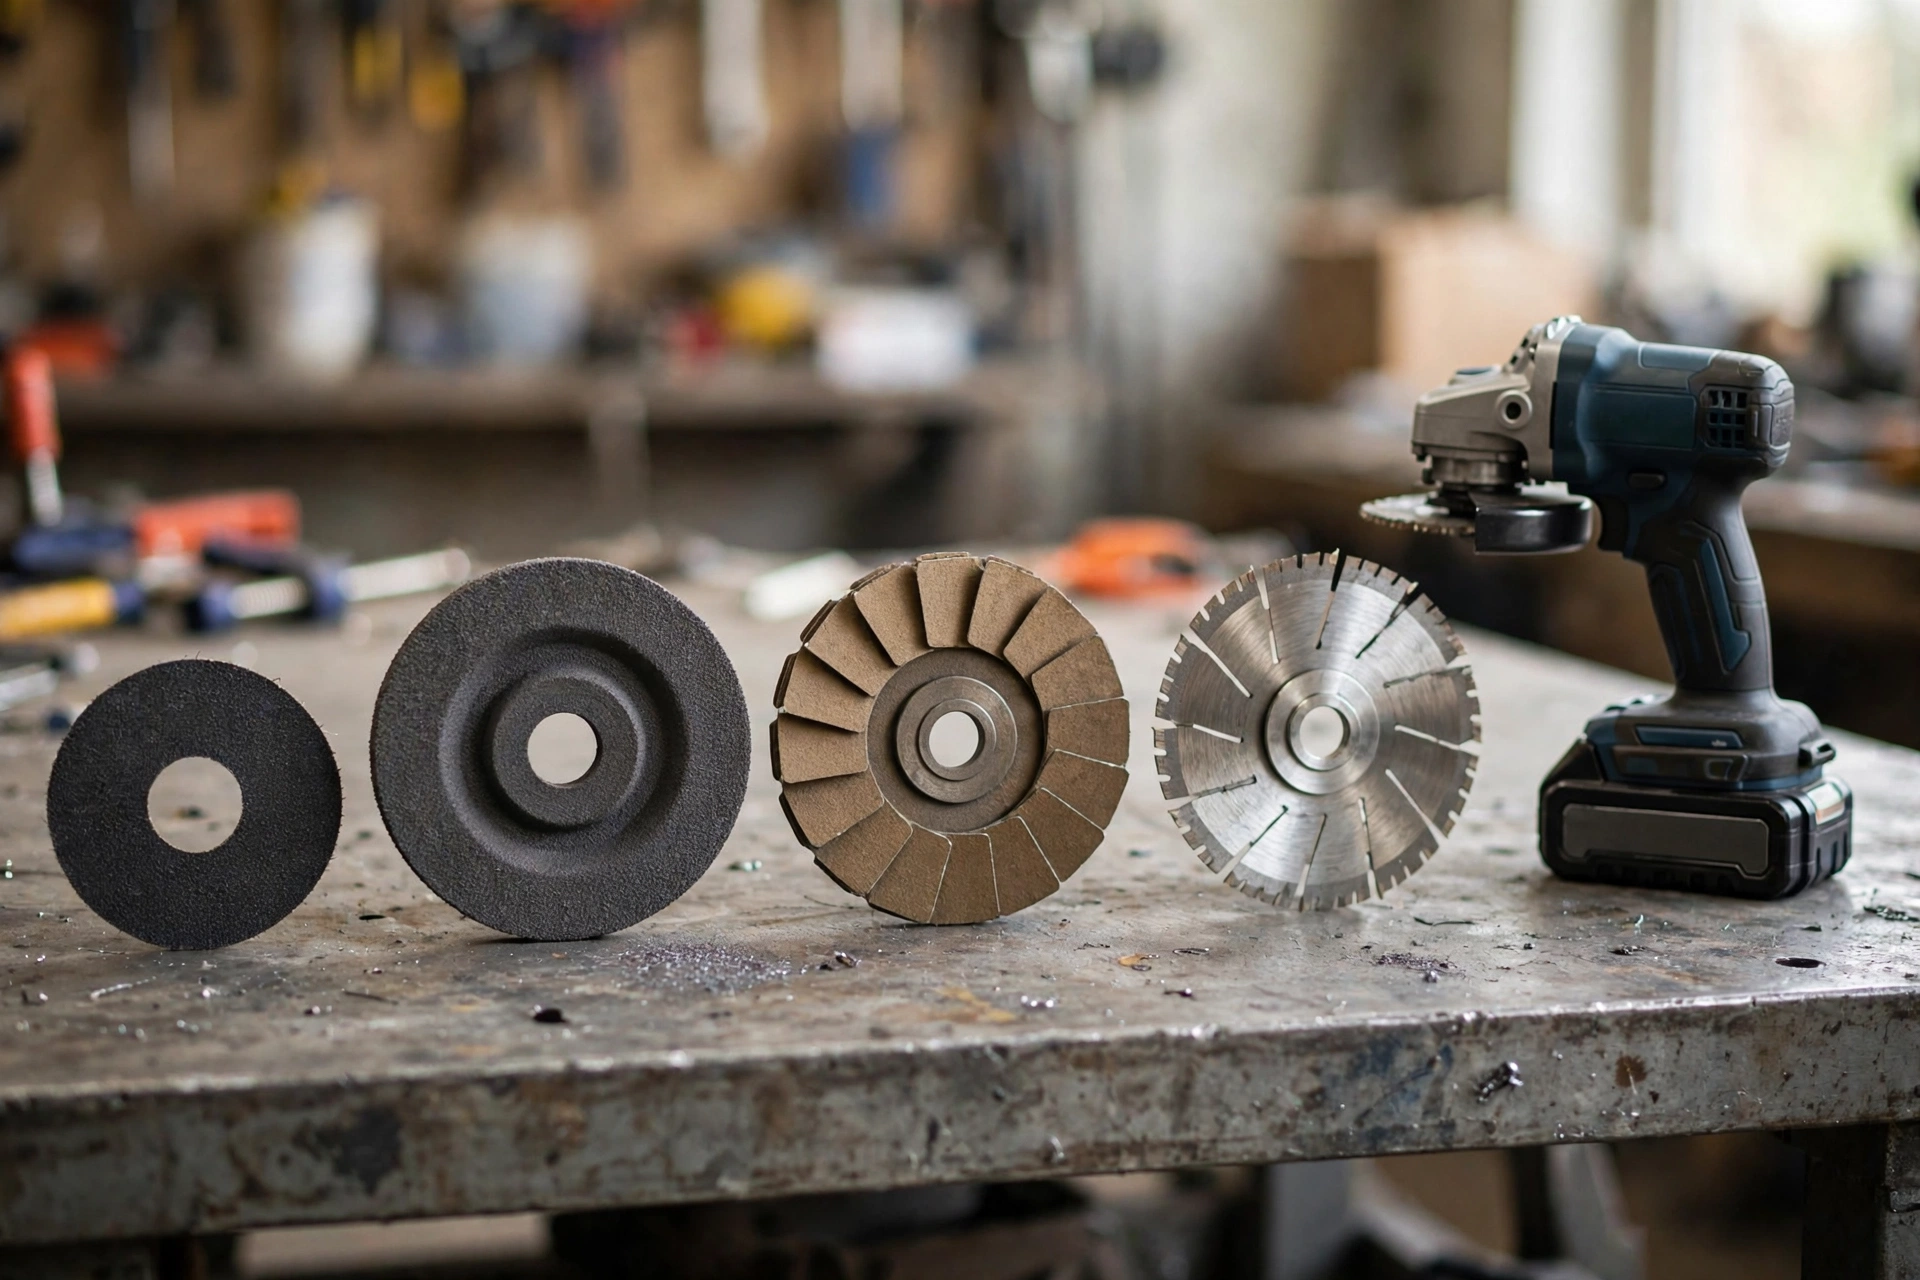
| Grinding disc (thick, depressed center) | Grinding welds, beveling, stock removal | Cutting (binds, kicks back) |
| Cutoff wheel (thin) | Cutting metal, bolts, rebar | Grinding / side pressure (shatters) |
| Flap disc | Blending, finishing, light stock removal | Heavy grinding (wears fast) |
| Wire wheel | Rust/paint removal | On thin material (destroys it); without face protection (wires fly) |
| Diamond blade | Masonry, tile, concrete | Dry cutting without dust protection |
| Wire cup brush | Large flat rust removal | Edges (wires catch and throw the grinder) |
The rule under every row: the disc’s max RPM rating (printed on every disc) must exceed the grinder’s RPM. A 4-1/2″ (115 mm) grinder typically spins ~11,000 RPM — a disc rated below that can shatter at full speed.
Related: Why Does My Angle Grinder Spark So Much? — heavy sparking is usually a disc or technique problem, and the fix is in that troubleshooting guide.
PPE: the full kit
Match Your PPE to the Job — Keep This Chart Handy
The full kit is not one-size-fits-all — match the protection to the job and you will actually wear it.
| Job | Wear | Why |
|---|---|---|
| Any grinding or cutting | Safety glasses minimum + hearing protection (plugs or muffs) | Eye protection is the minimum for every session; grinders run 90+ dB |
| Heavy grinding or cutting | Add a face shield | Disc fragments vs. your face — the shield wins |
| Masonry work | Add a dust mask / respirator | Silica dust |
| Paint removal | Add a dust mask / respirator | Possible lead in old paint |
| Extended grinding | Add a dust mask / respirator | Prolonged dust exposure |
| Every session | Gloves (not loose) + sturdy shoes; no loose clothing, tie back long hair | Vibration, heat, sharp edges; dropped grinders and hot fragments; loose gloves or clothing can catch |
- Eyes: safety glasses minimum; face shield for heavy grinding/cutting (disc fragments vs. your face — the shield wins).
- Ears: grinders are loud (90+ dB) — plugs or muffs, always.
- Lungs: dust mask/respirator for masonry (silica!), paint removal (lead?), and extended grinding.
- Hands: gloves — vibration, heat, sharp edges. (But not loose gloves that could catch.)
- Body: no loose clothing, tie back long hair, sturdy shoes (dropped grinders, hot fragments).
The mistakes that cause injuries (the hall of shame)
- Guard removed — the #1 cause, by far. No visibility is worth shrapnel.
- Cutting disc used for grinding — side pressure shatters thin discs explosively.
- Overspeed disc — disc rated below the grinder’s RPM. Check every time.
- One-handed operation — no auxiliary handle, no control when it kicks.
- Body in the fragment path — standing in line with the disc plane.
- Forcing the cut — pressure causes binding causes kickback.
- Damaged disc reused — “it’s just a small chip” — until it isn’t.
- Grinder on the flammable — sparks + sawdust/gasoline/fuel = fire. Clear the area.
Keep This Handy — The Kickback-Proof Cutting Setup
Set up every cut in this order. Each row removes one way a disc can bind, pinch, or throw the grinder back at you.
| Setup step | Do this | Why it saves you |
|---|---|---|
| Check the disc rating | Disc maximum RPM, printed on every disc, must exceed the grinder’s RPM. A 4-1/2 in (115 mm) grinder typically spins around 11,000 RPM. | A disc rated below the grinder’s speed can shatter at full speed. |
| Secure the workpiece | Clamp the workpiece or hold it in a vise. Never hold the workpiece by hand. | A moving workpiece pinches the disc. |
| Support the offcut | Support the work so the offcut falls free. Never cut between two supported points where the offcut can sag. | A sagging offcut pinches the disc and throws the grinder back. |
| Grinding angle | Approach at 15–30° to the surface, with the disc face doing the work. | Grinding on the edge gouges the surface and overheats the disc. |
| Cutting angle | Cut perpendicular, with a straight, steady feed and no twisting in the cut. | Side load shatters thin cutting discs. |
| Start-up | Start away from the work, let the grinder reach full speed, then enter the cut gently. | A damaged disc shatters at startup, away from the cut. |
| Pressure | Guide with light to moderate pressure and let the disc’s speed do the cutting. | Forcing the cut causes binding, overheating, disc damage, and kickback. |
Bookmark This Checklist — The 60-Second Pre-Use Safety Check
Run through this before every single session — it takes under a minute and covers every rule in this guide. Screenshot it for the workshop wall.
- Guard on? The guard stays on, always — it deflects shattered disc fragments away from you. If the guard prevents the cut, you need a different tool or approach, not a guardless grinder.
- Right disc, undamaged? Thick grinding disc for grinding, thin cutting disc for cutting. Inspect for cracks, chips, or warping — discard anything damaged. Tap test: a good disc rings, a cracked one thuds.
- RPM rating checked? The disc’s max RPM (printed on every disc) must exceed the grinder’s RPM. A 4-1/2″ (115 mm) grinder typically spins ~11,000 RPM — a disc rated below that can shatter at full speed.
- Mounted snug, not gorilla-tight? Correct flange orientation and bore size, then spin by hand to check for wobble — a wobbling disc is a shattering disc.
- 30-second no-load test run done? Start away from the work, let it reach full speed, and stand clear — if a damaged disc is going to shatter, it happens at startup.
- Two hands, auxiliary handle, solid stance? Always use the side handle, and stand to the side of the disc’s plane — never in line with it, never in the fragment path.
- Workpiece secured, offcut free to fall? Clamped or in a vise, never hand-held — and supported so the offcut falls free instead of sagging and pinching the disc.
- PPE on and area clear? Safety glasses minimum (face shield for heavy grinding), hearing protection (grinders run 90+ dB), dust mask for masonry, gloves that are not loose — and sparks kept away from sawdust, gasoline, and fuel.
Can a beginner use an angle grinder?
Yes — with this guide’s rules internalized and practice on scrap first. Start with grinding (more forgiving) before cutting. Respect it, don’t fear it — fear causes the tense, jerky handling that leads to mistakes.
Why did my cutting disc shatter?
In order of likelihood: side pressure (twisting in the cut), damaged/old disc, overspeed (wrong RPM rating), over-tightened mounting, or forcing a bind. Honest diagnosis prevents repeats — it’s almost always technique, not a defective disc.
What size angle grinder should I buy?
4.5″ for most DIY — the standard, maneuverable, adequate for cutting and grinding. 7″/9″ for heavy fabrication and masonry — more capable, much harder to control (not beginner tools). Start 4.5″.
How do I change the disc?
Unplug (or remove battery) first — always. Lock the spindle (button), loosen the flange nut with the wrench, swap discs (check orientation — the label usually faces out), snug the nut (firm, not forced), spin by hand to check for wobble, then a 30-second no-load test run (stand clear — if it’s going to shatter from damage, it happens at startup).
Can I cut wood with an angle grinder?
With a proper wood-cutting disc (and extreme caution) — but it’s the wrong tool for wood. A circular saw is safer, faster, and better. The chainsaw-type carving discs are especially dangerous — they’re implicated in a disproportionate share of grinder injuries. Just use the right saw.
How long do discs last?
Cutting discs: they’re consumables — a few dozen cuts in steel, fewer in hard material. Grinding discs: much longer. When performance drops noticeably, replace — a worn disc requires more pressure, and more pressure means more risk.
The verdict: respect, not fear
The angle grinder’s injury statistics aren’t because the tool is uncontrollable — they’re because the safety rules get skipped. Guard on, right disc, two hands, let it cut, stay out of the fragment path, never force it. Six rules, and the most dangerous-feeling tool in the shop becomes one of the most useful.
Learn on scrap. Internalize the rules until they’re reflex. And never — ever — take the guard off.
Related: Kickback is not just a grinder problem — read circular saw kickback: causes and how to prevent it before your next rip cut.
Tool Worth Lab provides research-based safety guidance. Always wear eye protection (face shield for heavy work), keep the guard on, verify disc RPM ratings, and unplug before changing discs. When in doubt about a cut setup, reconsider the approach.
Keep Reading
Loved this guide? These related articles will keep your project moving: